Setting Content Expiry
You can set expiry dates to content items from the Appspace Library, allowing you to manage your Library capacity by deleting unused content items in a scheduled manner to free up space. By default, content items added to the Library do not have expiration dates.
Once you set an expiry date to your content items, an Appspace background agent runs daily to check for content items with expiry dates. The agent then proceeds to delete these content items at midnight (UTC) on the set date(s). Once the content item has been deleted, it will no longer be allocated to any application.
All user and system actions related to this feature are logged in the user activity log within the Reports extension.
This article provides the instructions to set and manage expiry dates to your content within the Library extension.
- Setting an Expiry Date
- Viewing Expiry Dates of All Content
- Managing Content with an Expiry Date in an App
- Removing the Expiry Date
Setting an Expiry Date
To set an expiry date to a content item, follow the instructions below:
Go to Content > Library.
Select a content item and double-click to open the Content Properties window.
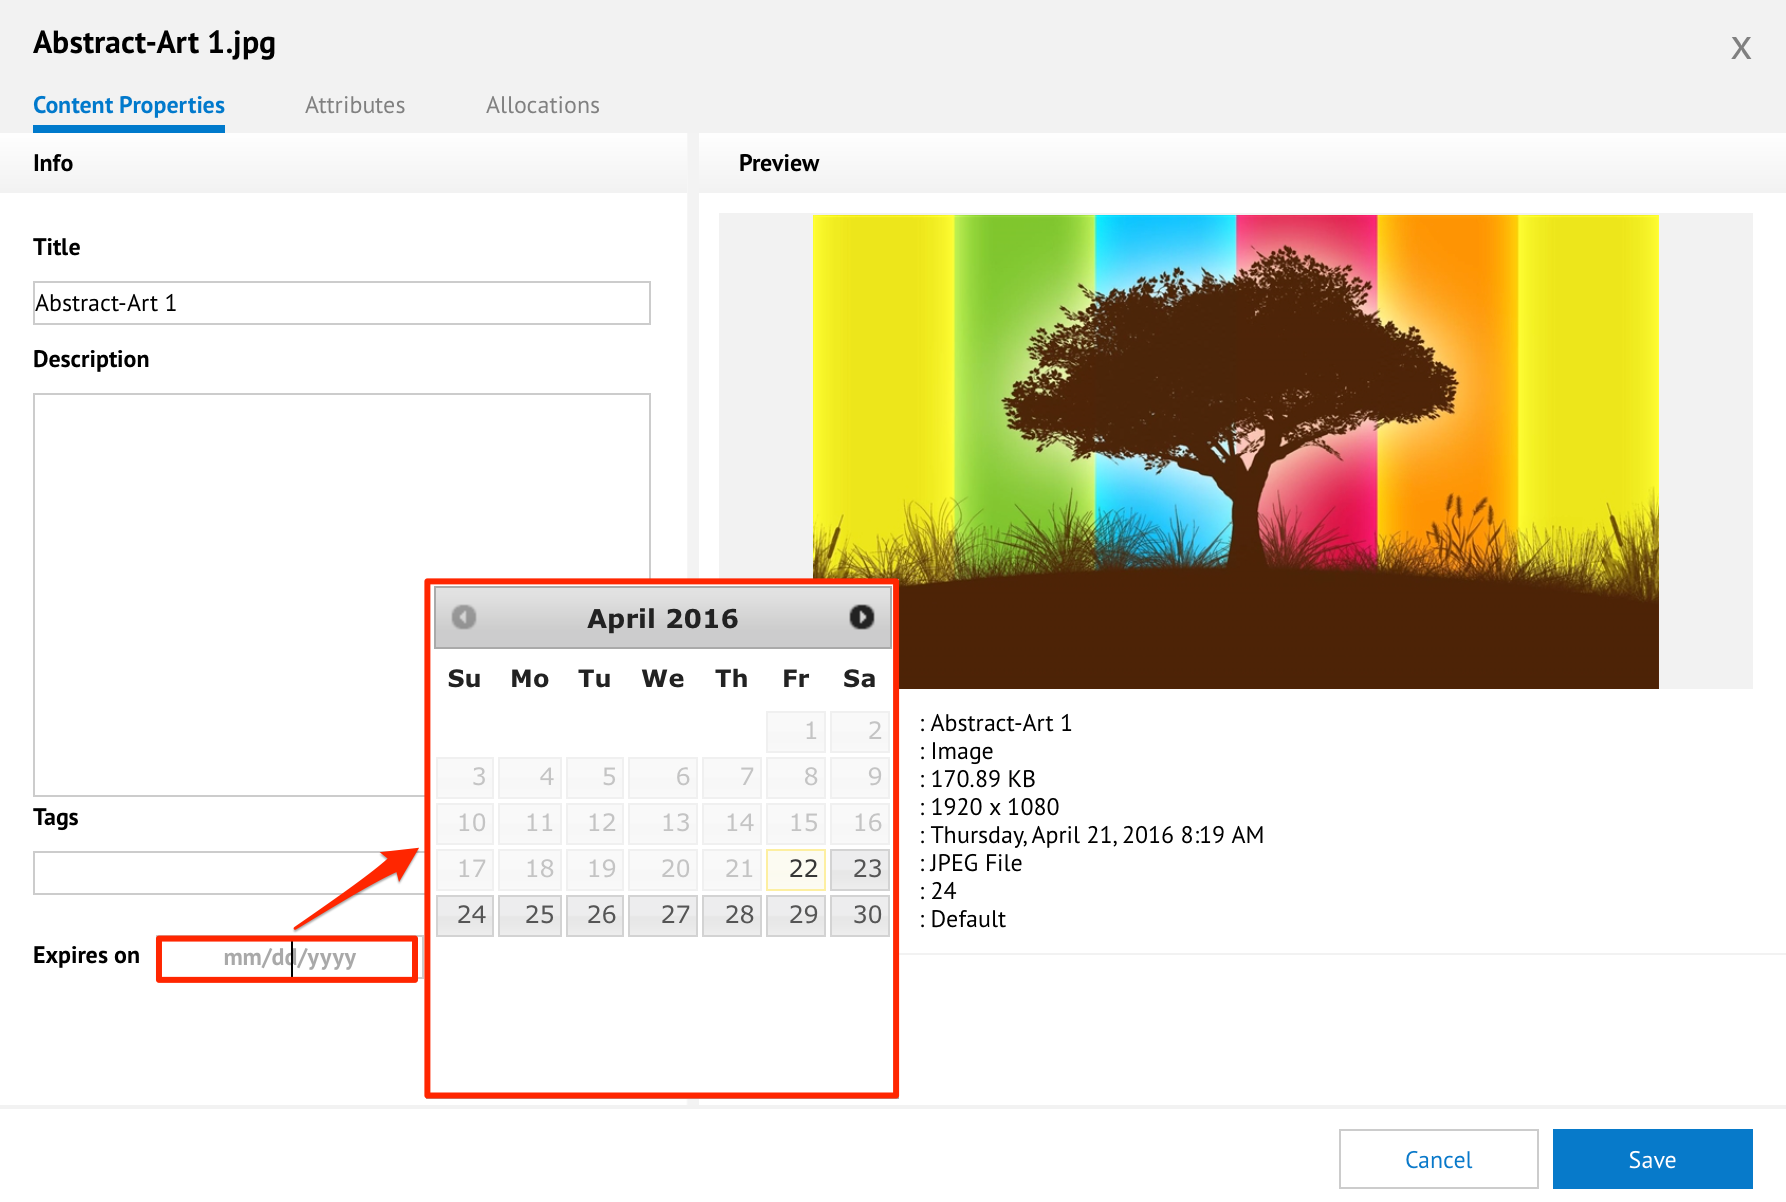
In Content Properties, click the text box next to ‘Expires on’ and select the desired expiry date on the calendar displayed.
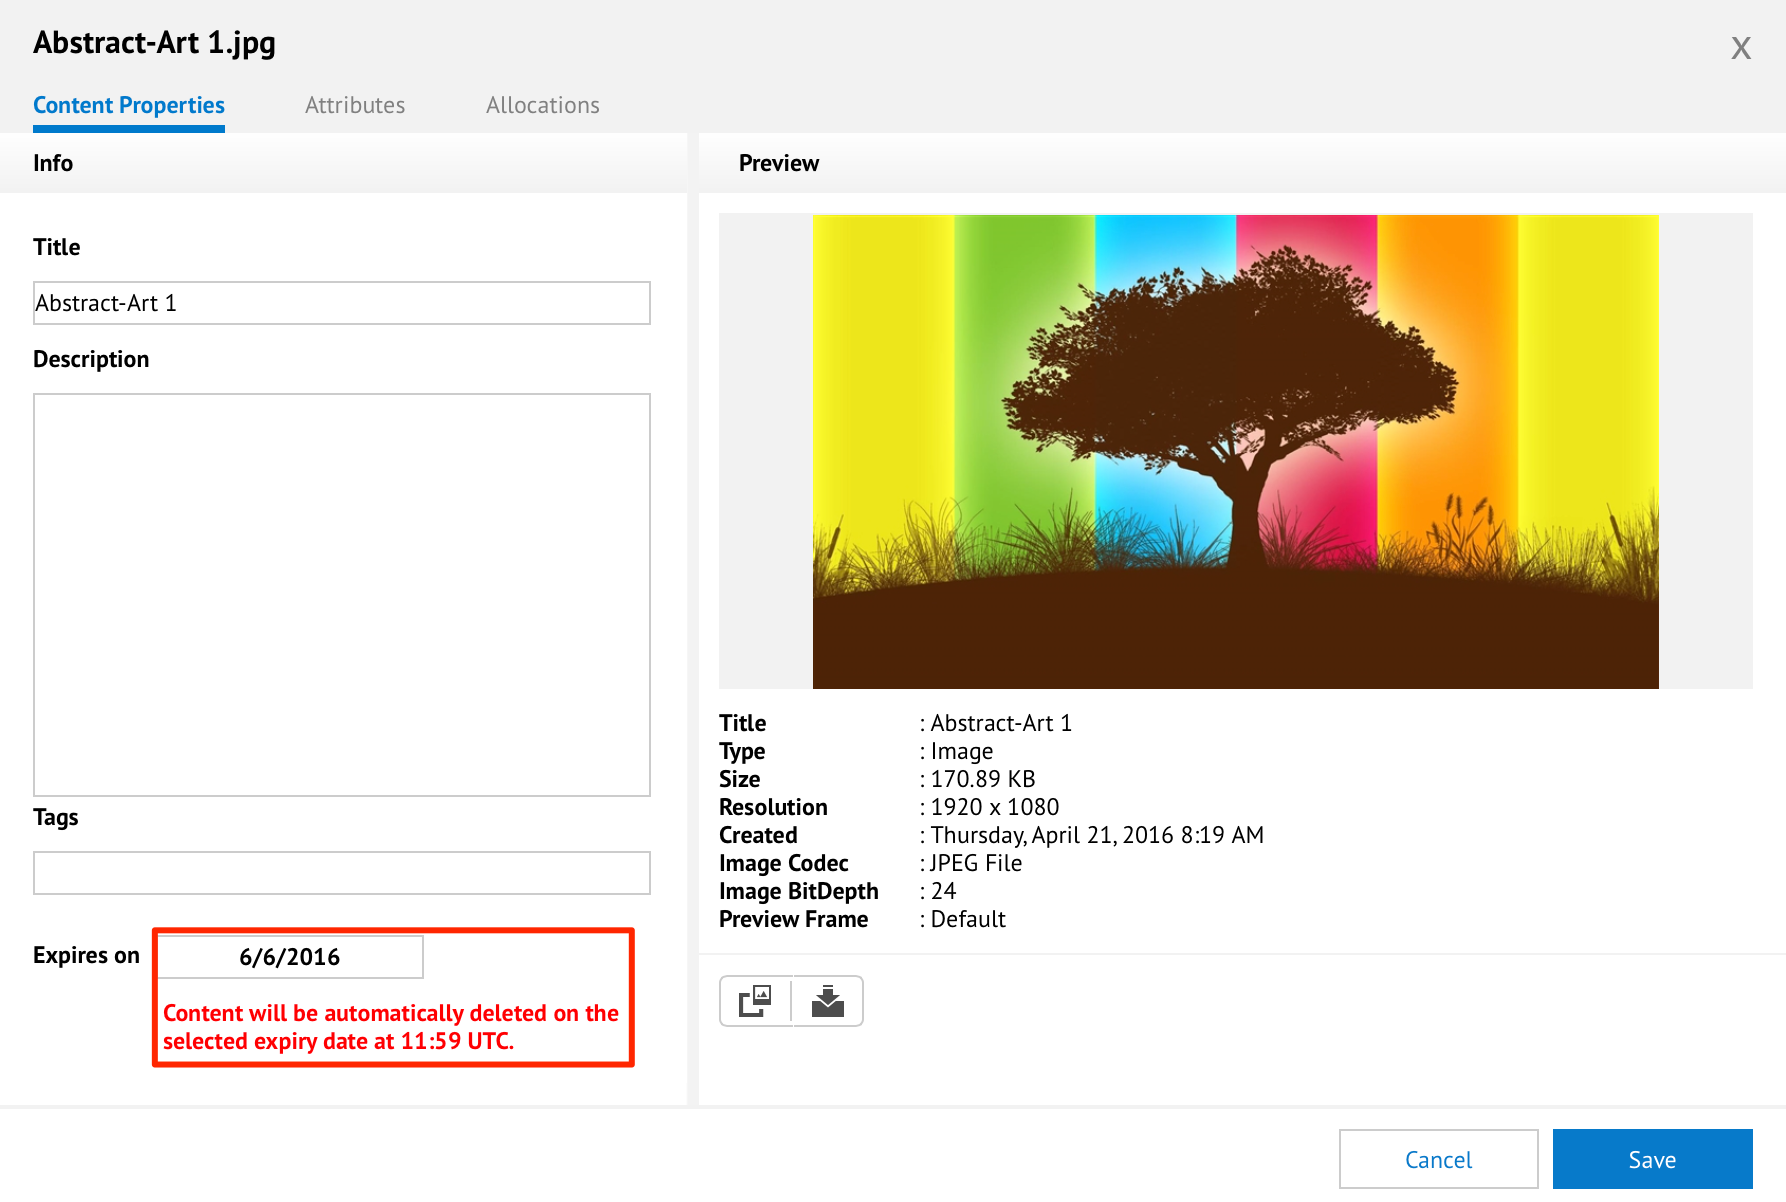
Once the date has been selected, the desired expiry date and a message providing details of the expiry are displayed. Click the Apply button on the top right corner of the Content Properties window.
The expiry date is displayed next to the content item when viewing your Library in list view, or in the Content Properties window when you double-click the content item in icon view.
Viewing Expiry Dates of All Content
To view the expiry dates of all content items in your Library:
Go to Content > Library.
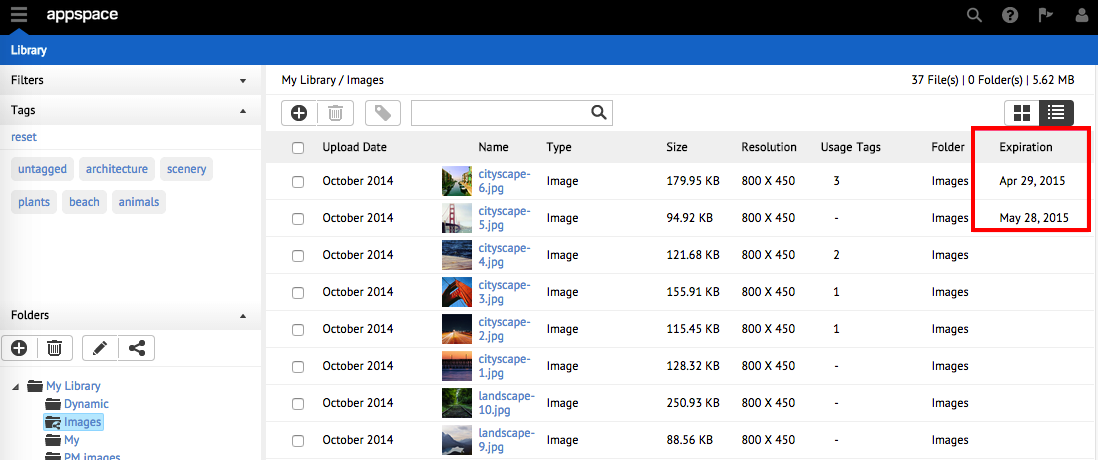
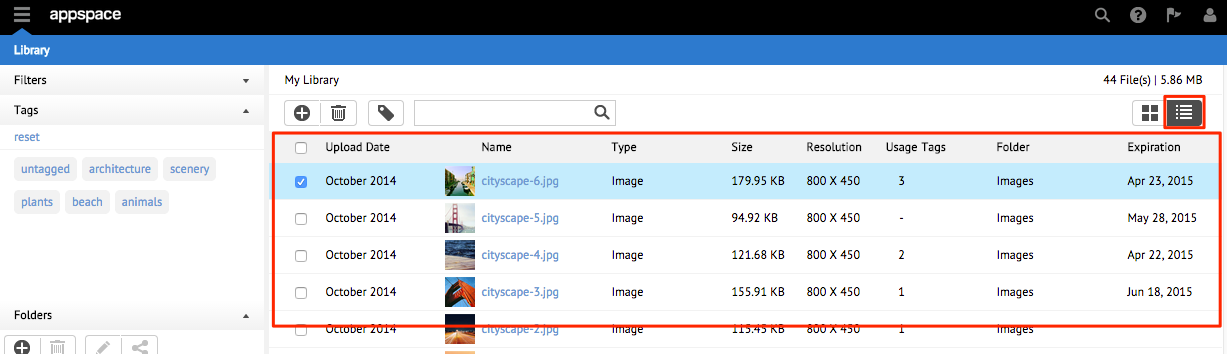
Click the list view icon. The expiry dates are displayed in the Expiration column for each content.
Note
You may click on the Expiration column header to sort the dates in ascending or descending order.
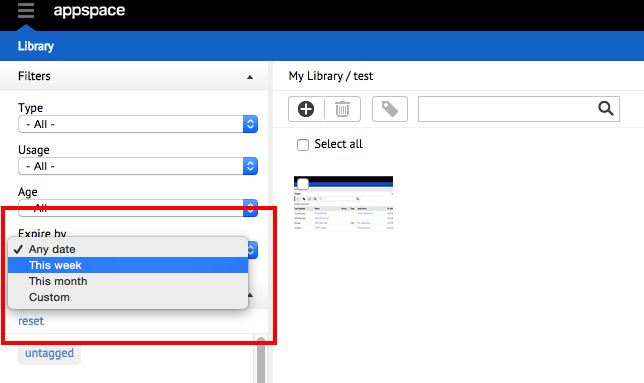
To view content items with expiry dates with filters applied:
Click the Filters arrow on the left pane.
In the ‘Filter by’ drop-down list, select the desired filter (‘This week’, ‘This month’, or a custom date). Content items with the filtered expiry dates are displayed.
Managing Content with an Expiry Date in an App
What you need to know about adding content items with expiry dates to an application:
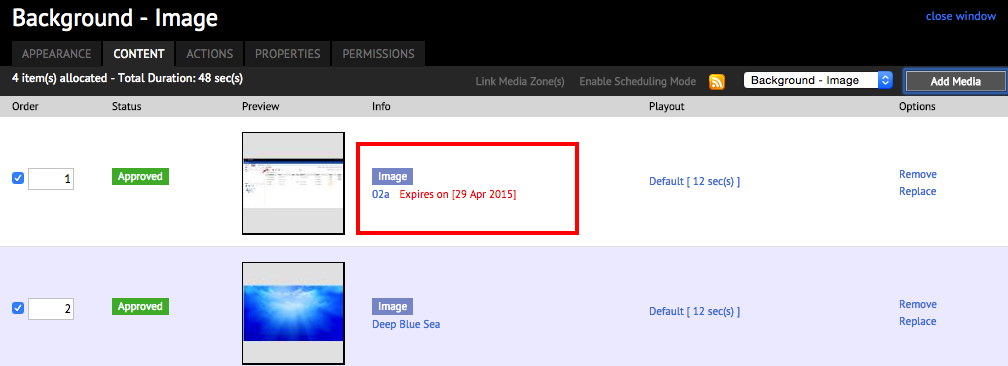
After a content item with an expiry date is added to an app, the expiry date is displayed next to the content item in the playlist.
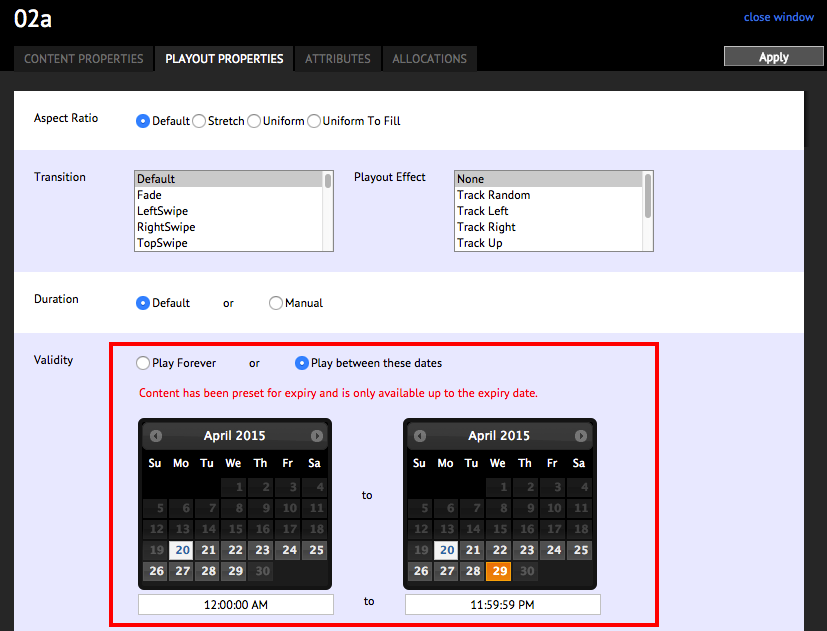
When setting Playout Properties to the content item that is allocated to an app, the ‘Play between these dates’ setting allows you to select a date range only within the content item’s set expiry date.
- Once a content item is deleted on the set expiry date, the content item will no longer appear in any app.
Removing the Expiry Date
To remove the set expiry date from a content item:
- Go to Content > Library and select the content item from your Library.
- Double-click the content item to display the Content Properties window.
- In the ‘Expire by’ text box, simply delete the set date and click Apply.