MS SQL Installation and Configuration
Introduction
The Microsoft SQL Server database is a required component for the operation of Appspace. To install Appspace, the server requires a licensed copy of Microsoft SQL installed and configured.
The following describes the steps to complete the installation process of Microsoft SQL Server for use with Appspace.
Step 1
Locate and launch the MS SQL 2012 installation ISO file to initiate the SQL Server Installation Center.
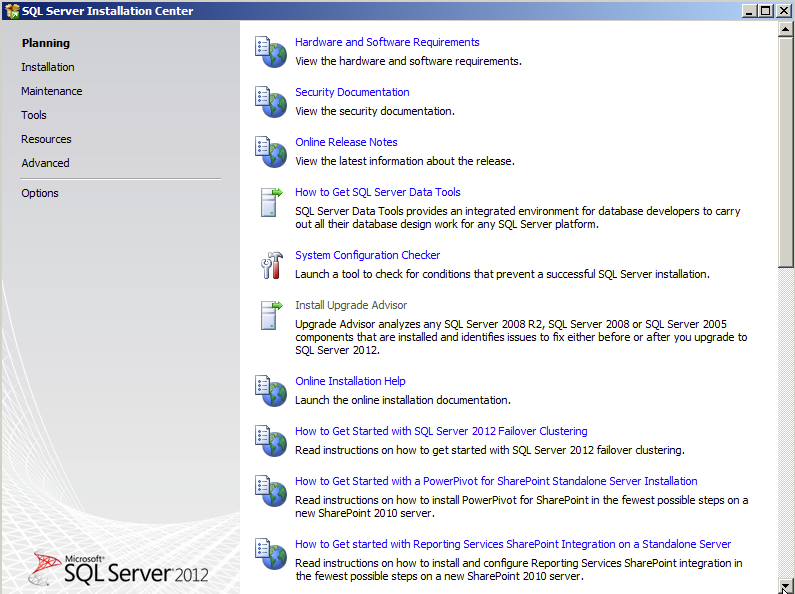
Step 2
Select Installation from the options on the left-pane and select the ‘New SQL Server stand-alone installation or add features to an existing installation’ option.

Step 3
The installer will run a check on the server. Click OK once the check has completed to continue.

Step 4
In the ‘Product Key’ window, enter your purchased Microsoft SQL product key. Click Next to continue.

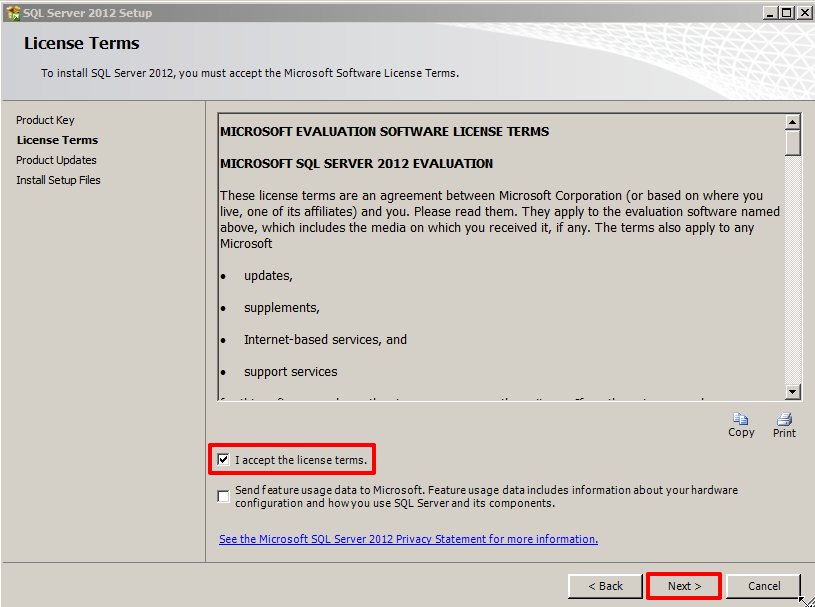
Step 5
In the ‘License Terms’ window, check the box to accept the license terms. Click Next to continue.
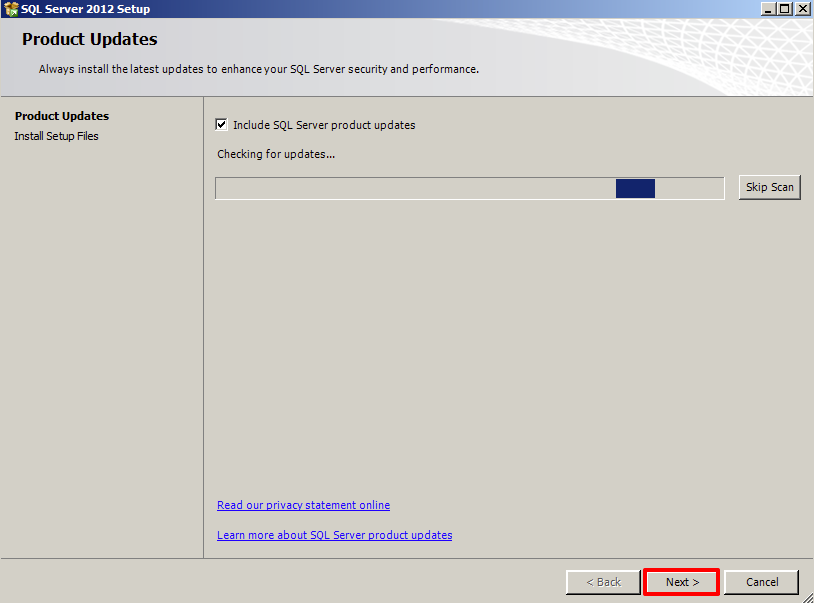
Step 6
The installer will then attempt to update the product. You may perform the updates (recommended) or skip the updates to the SQL Server security and performance. When finished, click Next to continue.
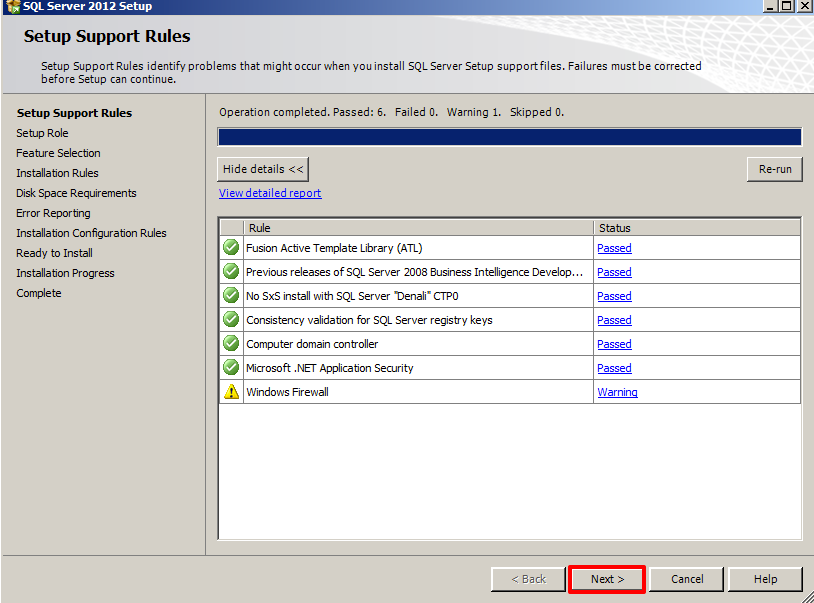
Step 7
As the installer progresses to the ‘Setup Support Rules’ window, it will run a quick scan to ensure all setup support files are present. Resolve any failures and click Next to continue.
Step 8
In the ‘Setup Role’ window, select the radio button for ‘All Features With Defaults’ and click Next to continue.

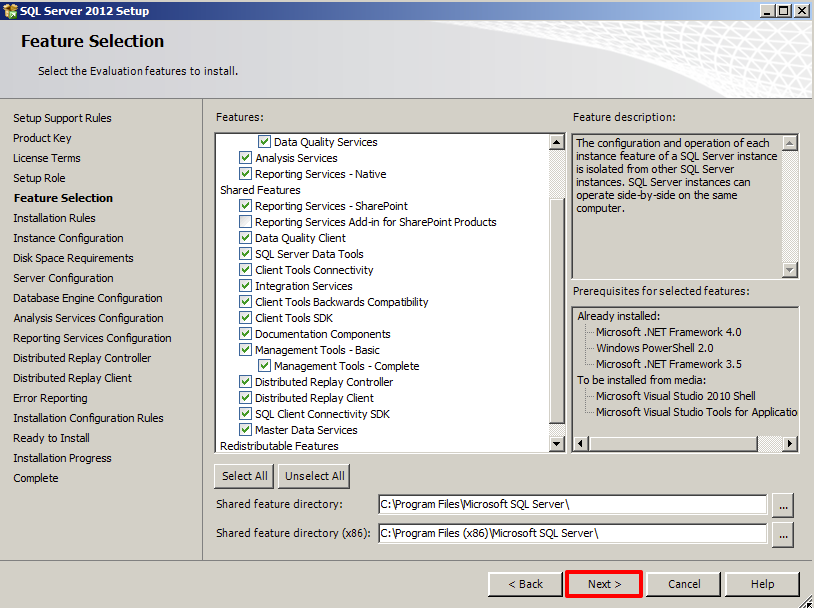
Step 9
In the ‘Feature Selection’ window, simply keep all features that are selected by default and click Next to continue.
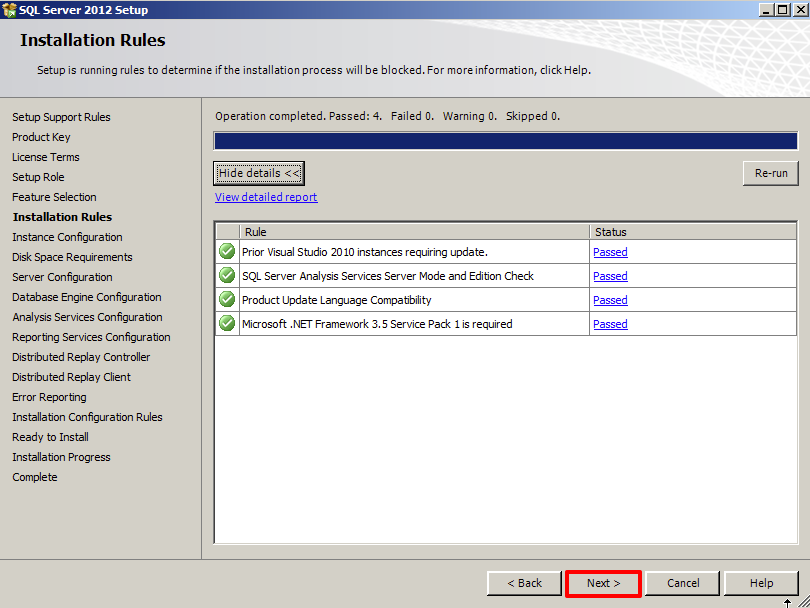
Step 10
In the ‘Installation Rules’ window, the installer will run a scan to ensure the installation process will be fully executed. Resolve any failures and click Next to continue.
Step 11
In the ‘Instance Configuration’ window, you may choose to change the Instance ID (give it a custom name) or you may elect to keep the default name. When finished, click Next to continue.

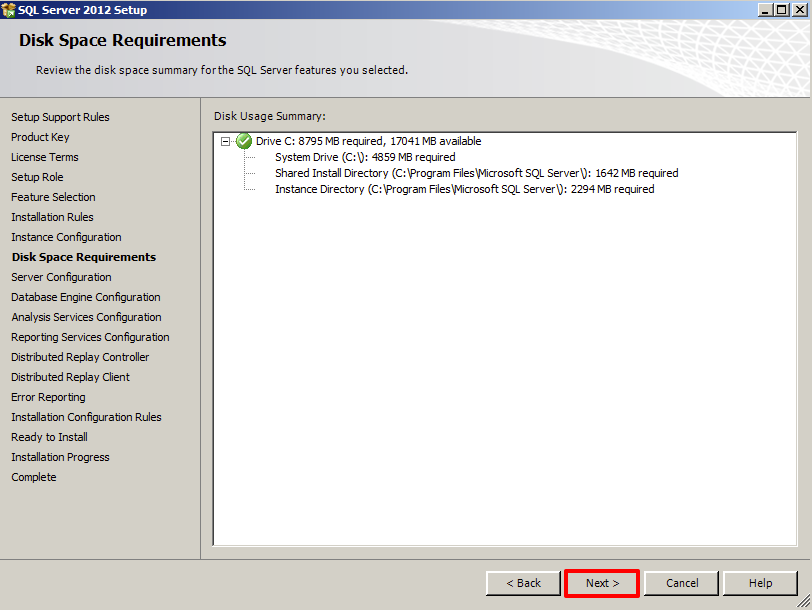
Step 12
In the ‘Disk Space Requirements’ window, ensure that you’ve met the required disk space and click Next to continue.
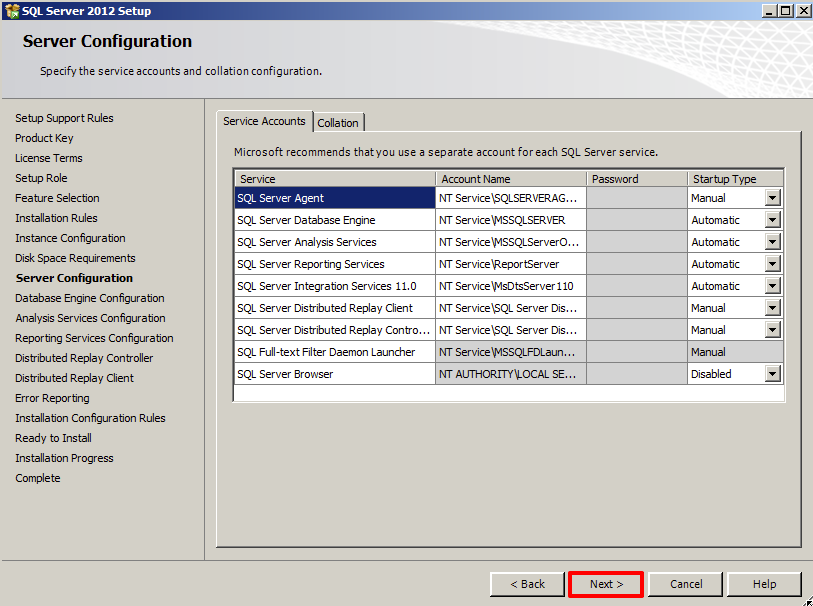
Step 13
In the ‘Server Configuration’ window, leave the default values for the service accounts and click Next to continue.
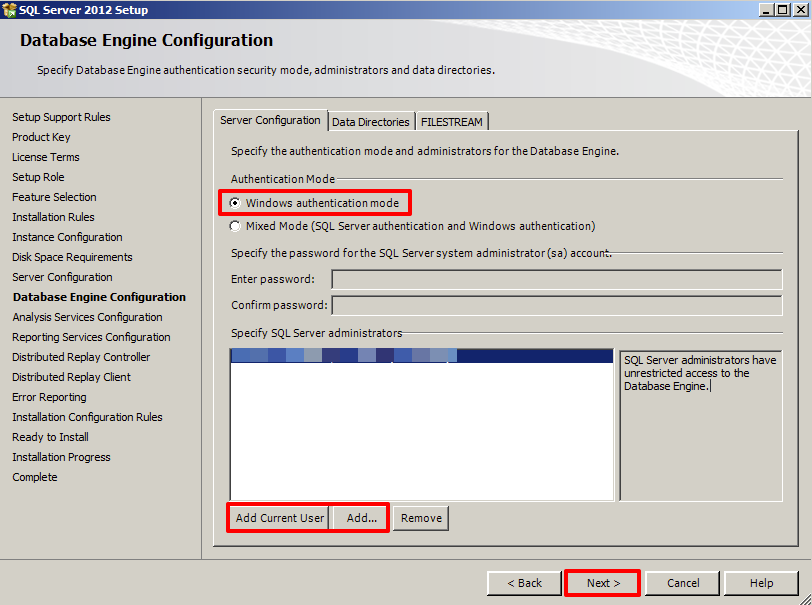
Step 14
In the ‘Database Configuration’ window, click the Server Configuration tab and select the ‘Windows authentication mode’ option. Ensure that at least one user has been assigned administrative permissions for Analysis Services. You may use either the Add Current User button (current user logged into the Windows server) or the Add… button (to select from Active Directory) to designate users. When finished, click Next to continue.
Step 15
In the ‘Analysis Services Configuration’ window, ensure that at least one (or more) user has been assigned administrative permissions for Analysis Services. You may use either the Add Current User button (current user logged into the Windows server) or the Add… button (to select from Active Directory) to designate users. When finished, click Next to continue.

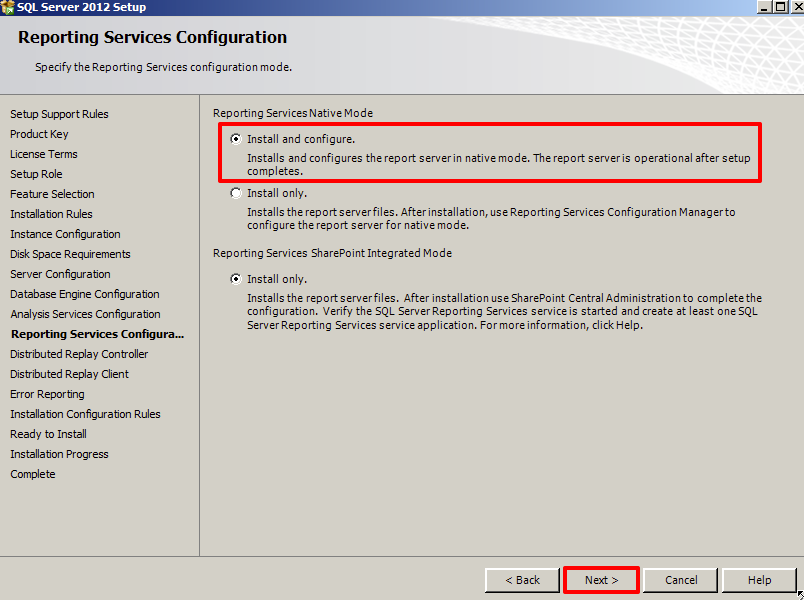
Step 16
In the ‘Reporting Services Configuration’ window, select the ‘Install and configure’ option, and click Next to continue.
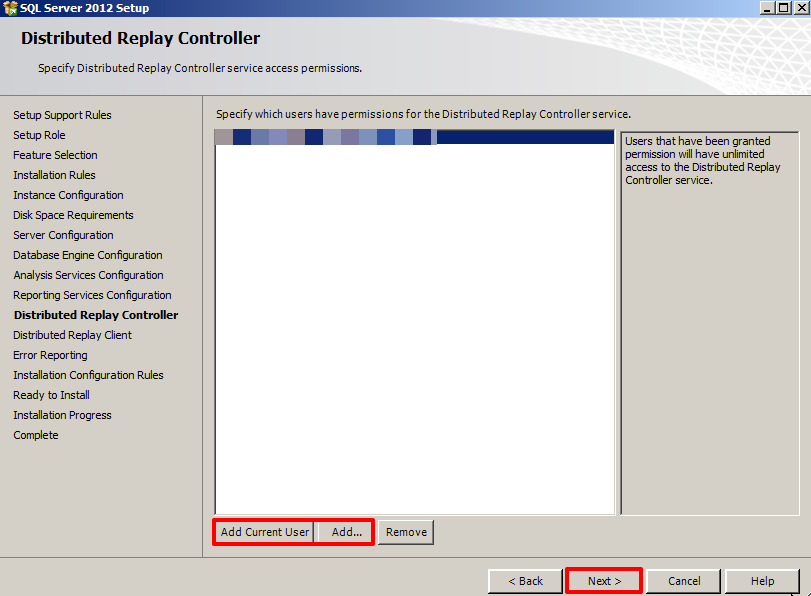
Step 17
In the ‘Distributed Replay Controller’ window, make sure that at least one (or more) user has been assigned permissions for the Distributed Replay Controller service. You may use either the Add Current User button (current user logged into the Windows server) or the Add… button (to select from Active Directory) to designate users. When finished, click Next to continue.
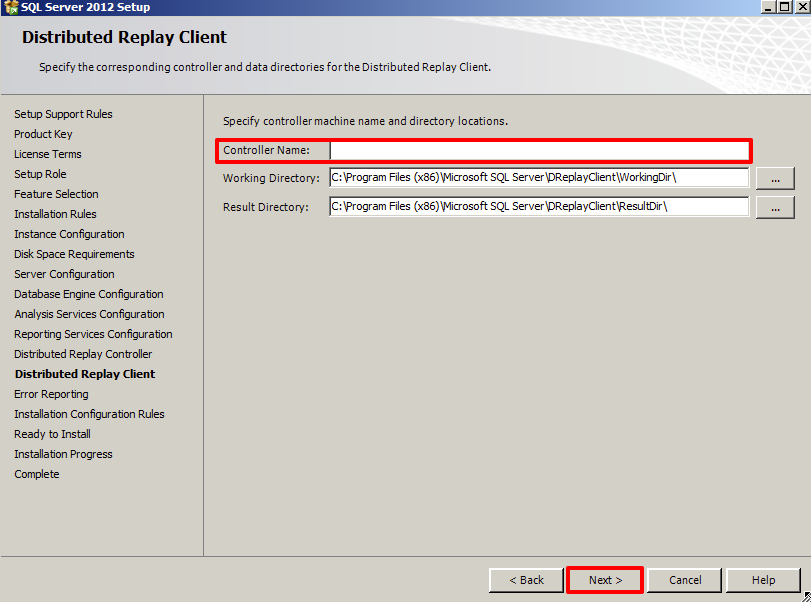
Step 18
When prompted to specify the corresponding Controller Name in the ‘Distributed Replay Client’ window, give it a name and click Next to continue.
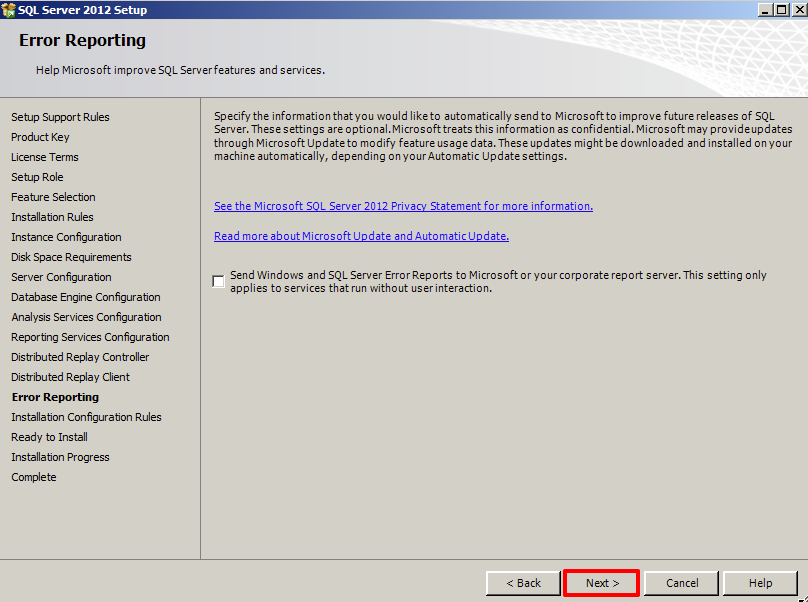
Step 19
In the ‘Error Reporting’ window, simply click Next to continue (you may elect to check the box to send error reports to Microsoft or your corporate report server if desired).
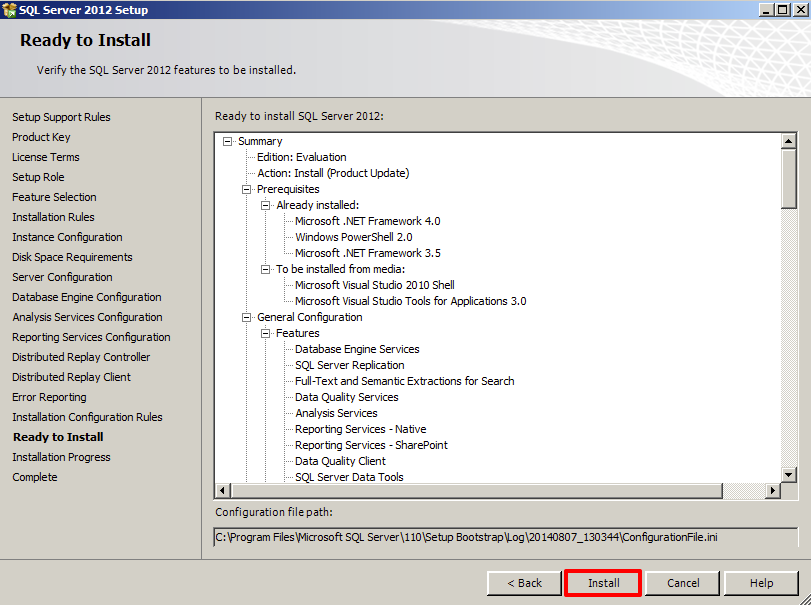
Step 20
Verify the SQL Server features and settings in the ‘Ready to Install’ window. Click Install to begin the database installation.
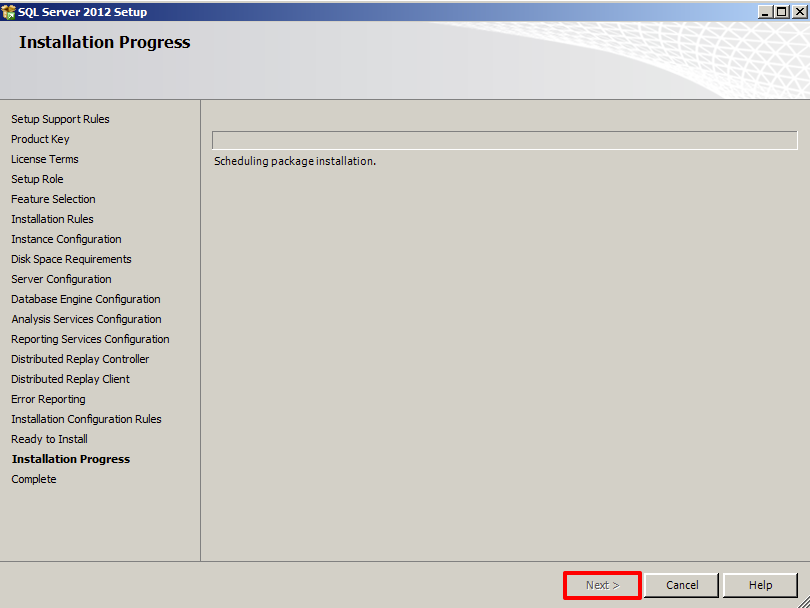
Step 21
The database installation will take several minutes. Once it has completed, click Next to continue.
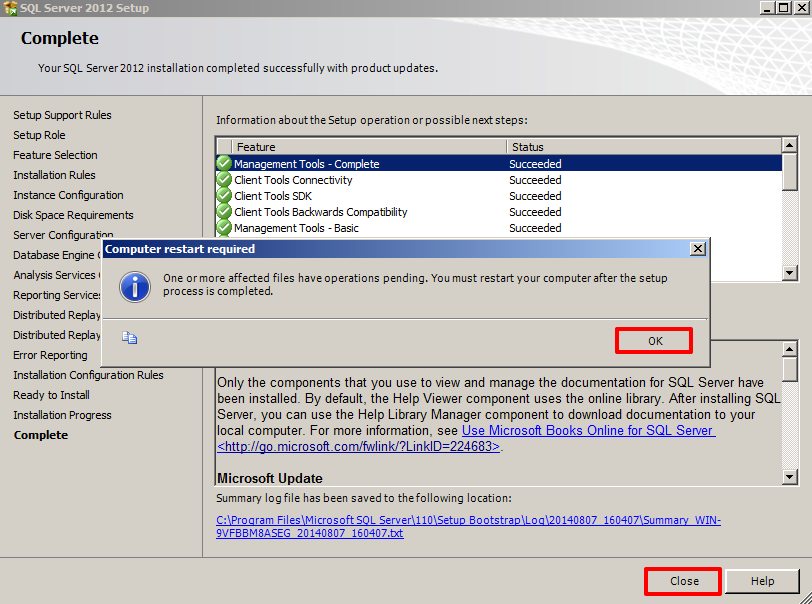
Step 22
In the ‘Complete’ window that confirms the successful database installation (and product updates), you may be prompted to restart your computer. Click OK on this dialog box, and click the Close button on the SQL installer.
Step 23
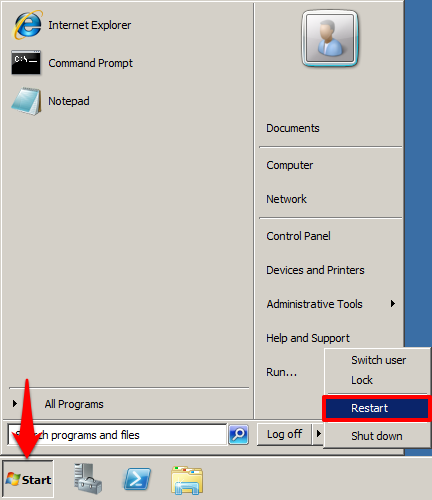
Perform a manual restart of your Windows server.
For Windows 2008, click on the Start button and select the Restart option (you may also alternatively use CTRL + ALT + DEL).
For Windows 2012, press CTRL + ALT + DEL and select the Restart option.

Note
You have completed the MS SQL Installation and Configuration. You may now proceed to the MS SQL Setup (Management Studio) article.