Getting Started
The purpose of this guide is to quickly bring you up to speed with the Sign Manager extension. To do so, we will cover six key sections:
- Section 1: Creating an Application
- Section 2: Working with Layouts
- Section 3: Working with Widgets
- Section 4: Scheduling Layouts
- Section 5: Action Scripting
- Section 6: Preview
Section 1: Creating an Application
We will begin the process of building a sign manager application (passive) by selecting one of the simple templates from the application templates library.
Selecting a template
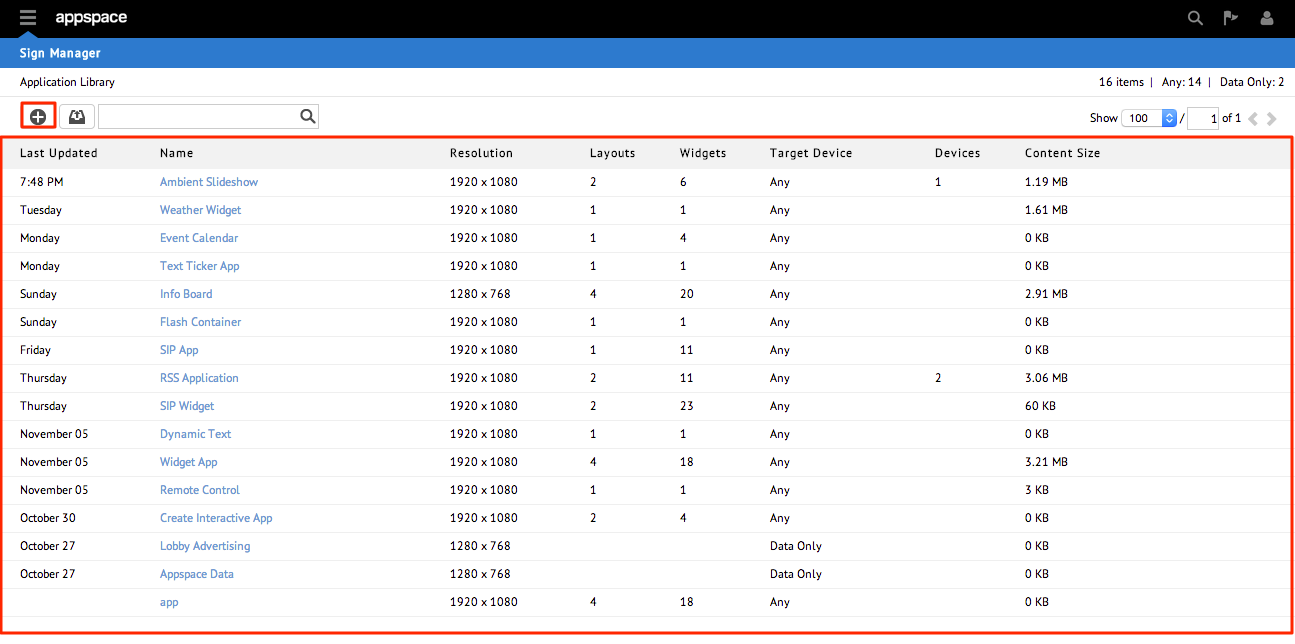
Step 1
From the Sign Manager extension you should initially see the main application listings page which presents a summary of all applications on the server. Click the + (New Application) icon to begin.
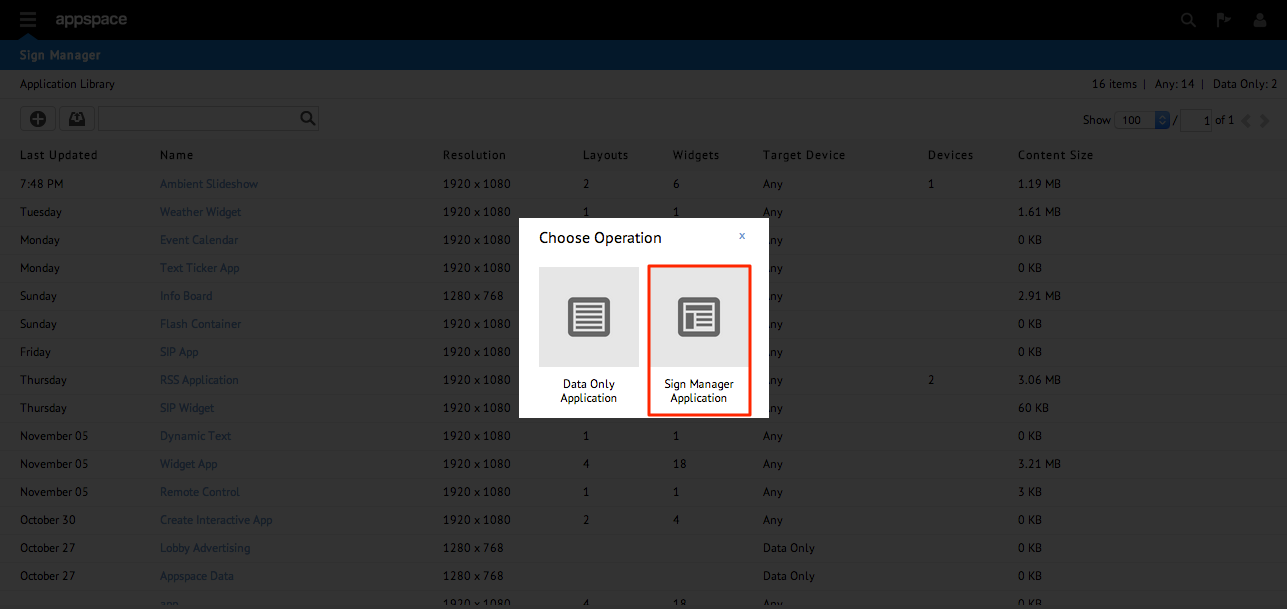
Step 2
Select the Sign Manager icon to proceed.
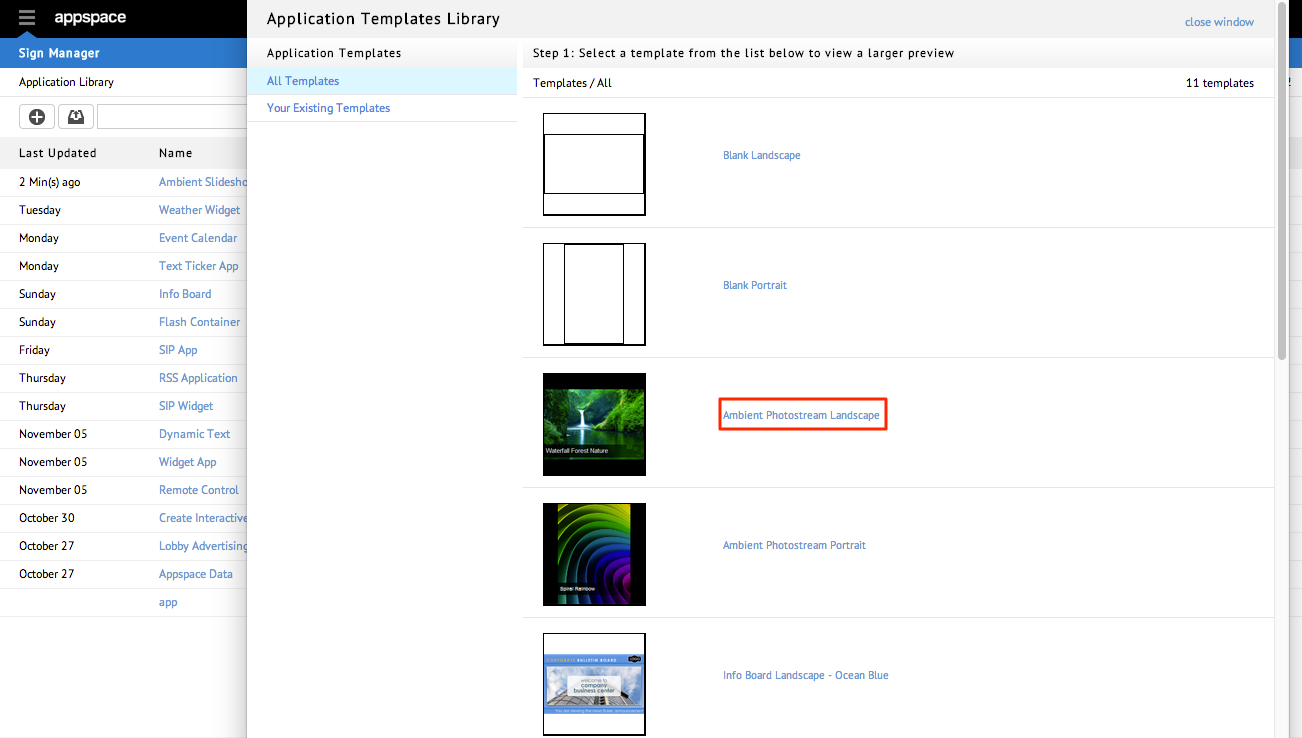
Step 3
You should now see the Application Templates Library. Browse through the templates and select one of the templates by clicking on the name link.
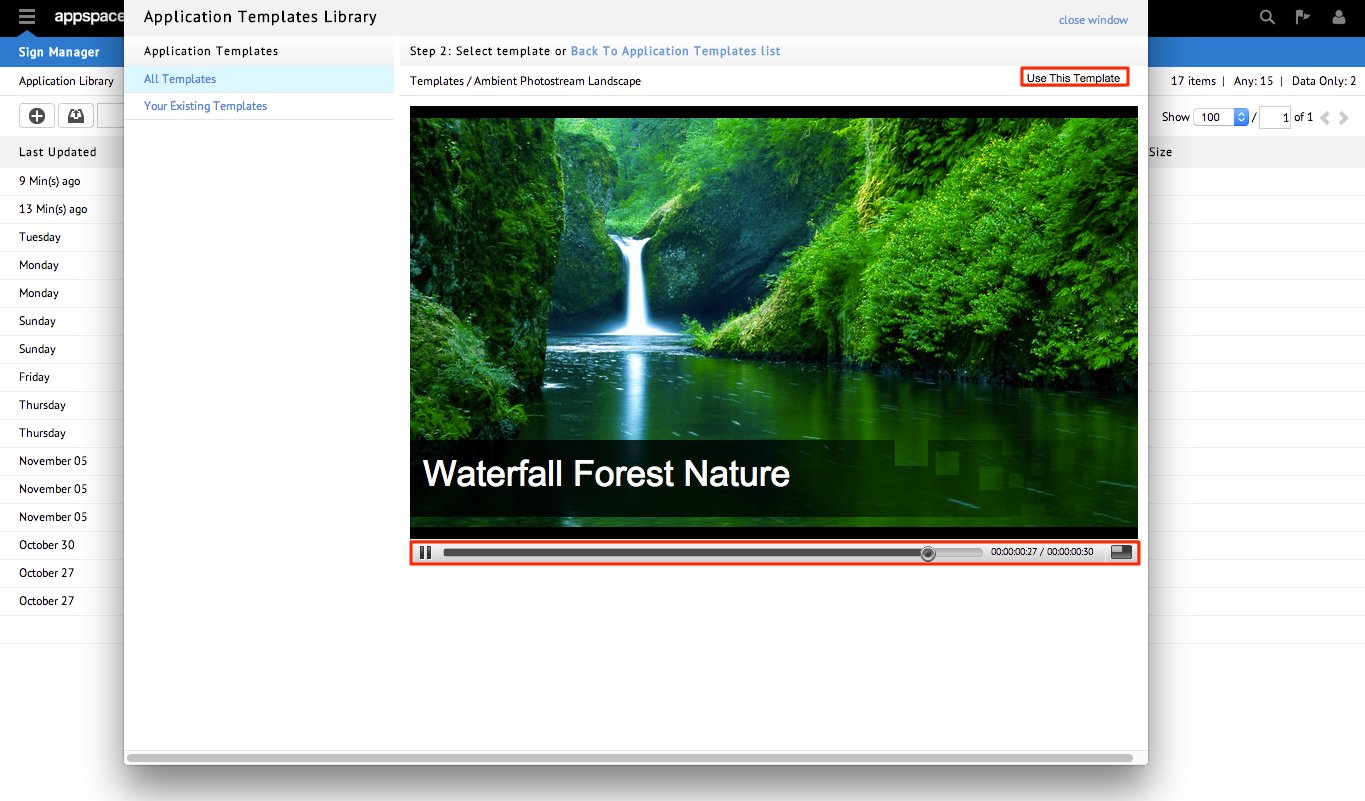
Step 4
The page should now display a live preview of the template that you have selected. You may notice a playback bar under the application preview which lets you pause or seek ahead (drag the playhead) to review the overall behavior as time elapses. Click the Use This Template button when you are finished reviewing the template.
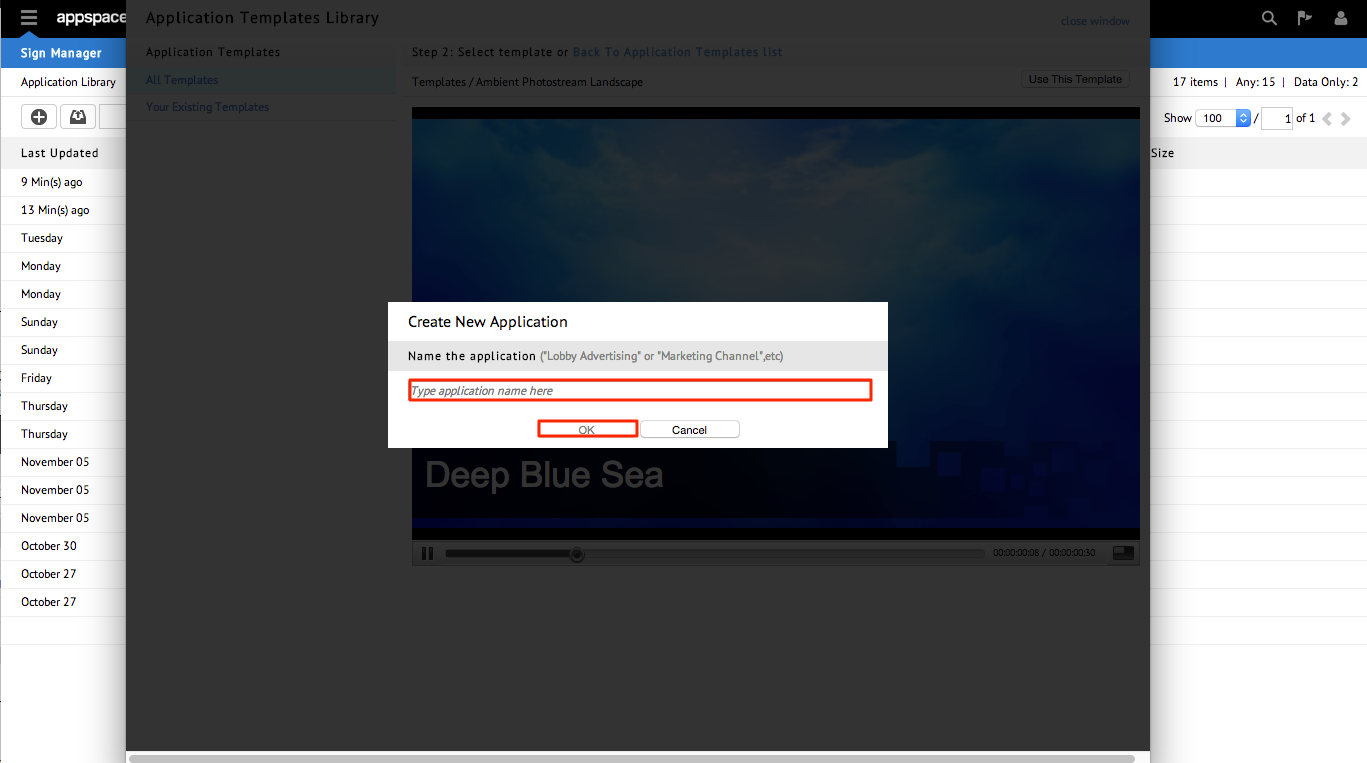
Step 5
On the Create New Application pop-up window, gave the app a name and click OK. At this point you should be returned to the Overview tab for this application.
Section 2: Working with Layouts
As previously described, layouts are the main “canvas” area for applications in which your media assets and widgets are constructed upon. An application will have at least one but may contain multiple layouts for more advanced scheduling and presentation designs.
Accessing layouts
Step 1
From the main application listings page, first click on the name link of an application. You should be brought immediately to the main Overview tab of this application.
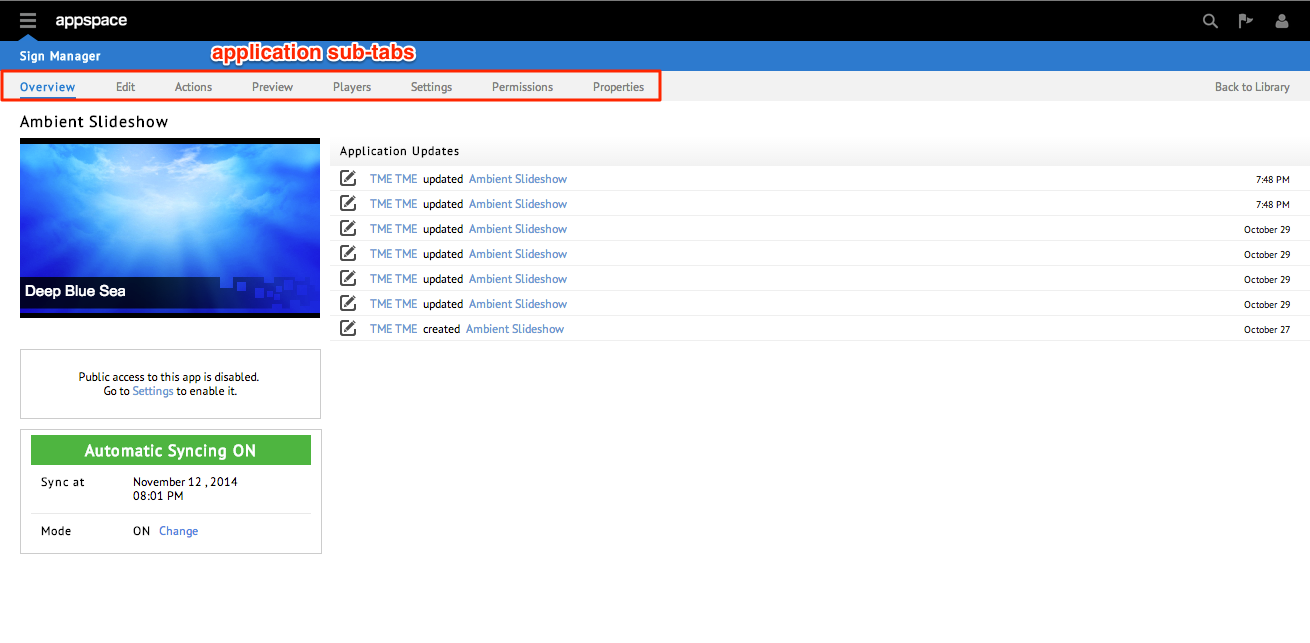
Step 2
Select the Edit sub-tab. You should now have access to the layout dashboard which provides you with various options to manipulate the layout(s) for this application.
Adding additional layouts
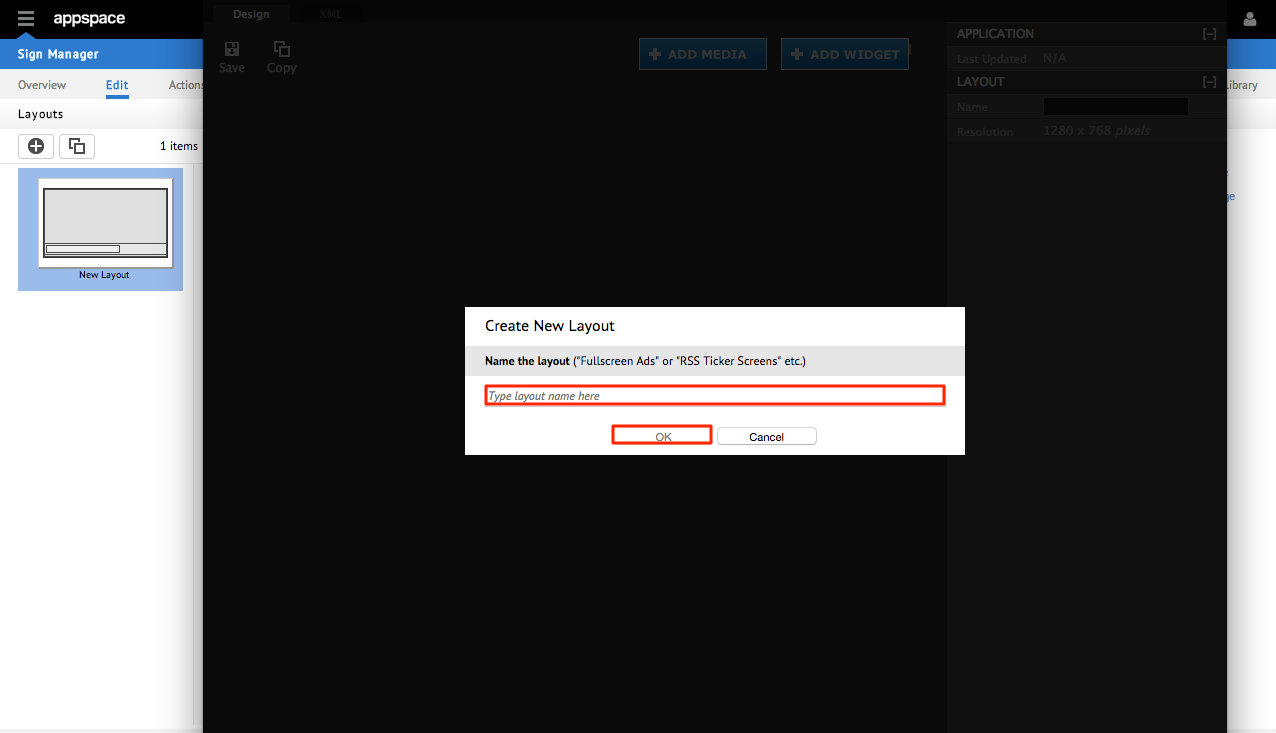
Step 1
To add additional layouts to your application, click the + (New layout) icon.

Step 2
A new window should pop-up (Visual Editor) and prompt you to give the new layout a name. Name the layout and click OK to continue.
Step 3
Click the Save icon in the upper-left corner of the Visual Editor. If you close the VE window and return to the Edit tab of the application, you should now see the new layout added and listed on the page.

Note
The resolution of the layout is automatically set to match the resolution of the application (which is configured under the Settings tab of the application).
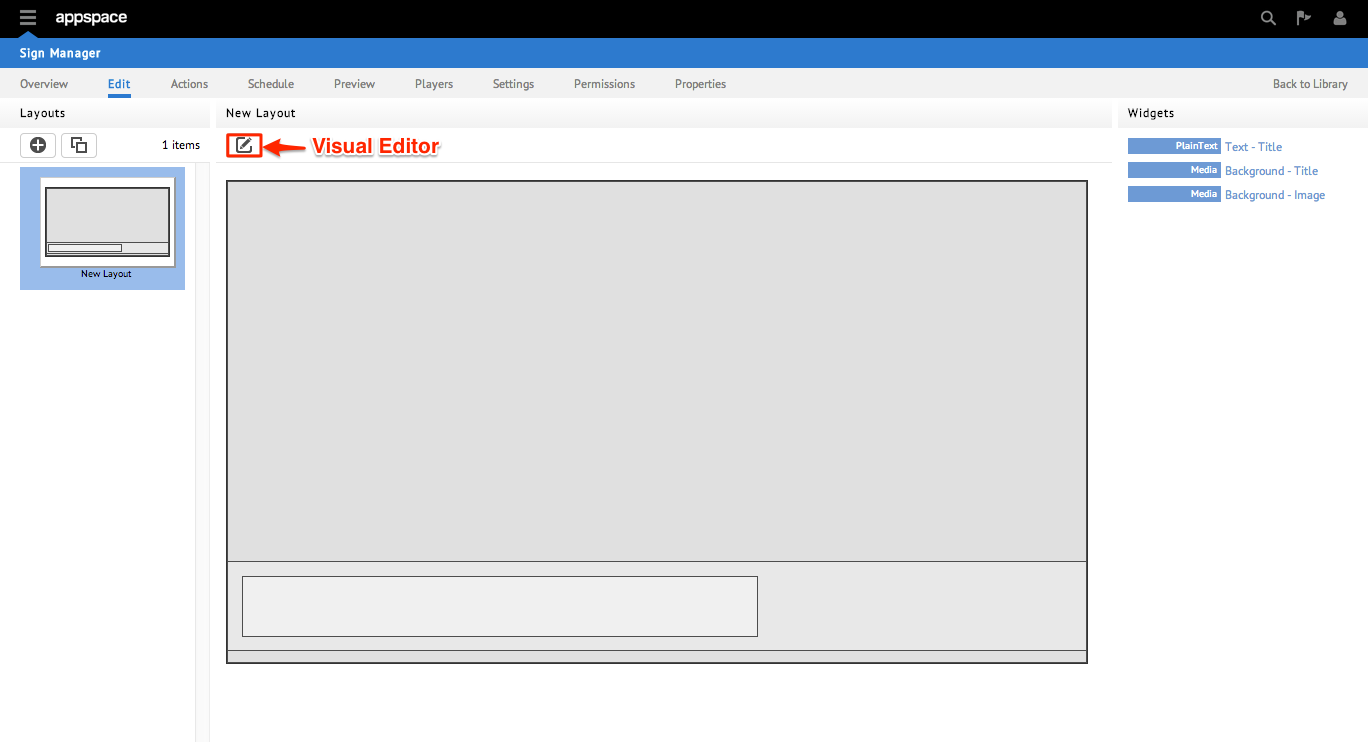
Visual Editor
The Visual Editor is the primary app building tool and user/designer interface which provides drag-and-drop layout editing capabilities and several app preview modes. It can be accessed from the Edit tab once a layout has been selected.
Section 3: Working with Widgets
Now that you have at least one layout created for your sign manager application, it is time to assign some widgets by using the Visual Editor.
Adding Widgets
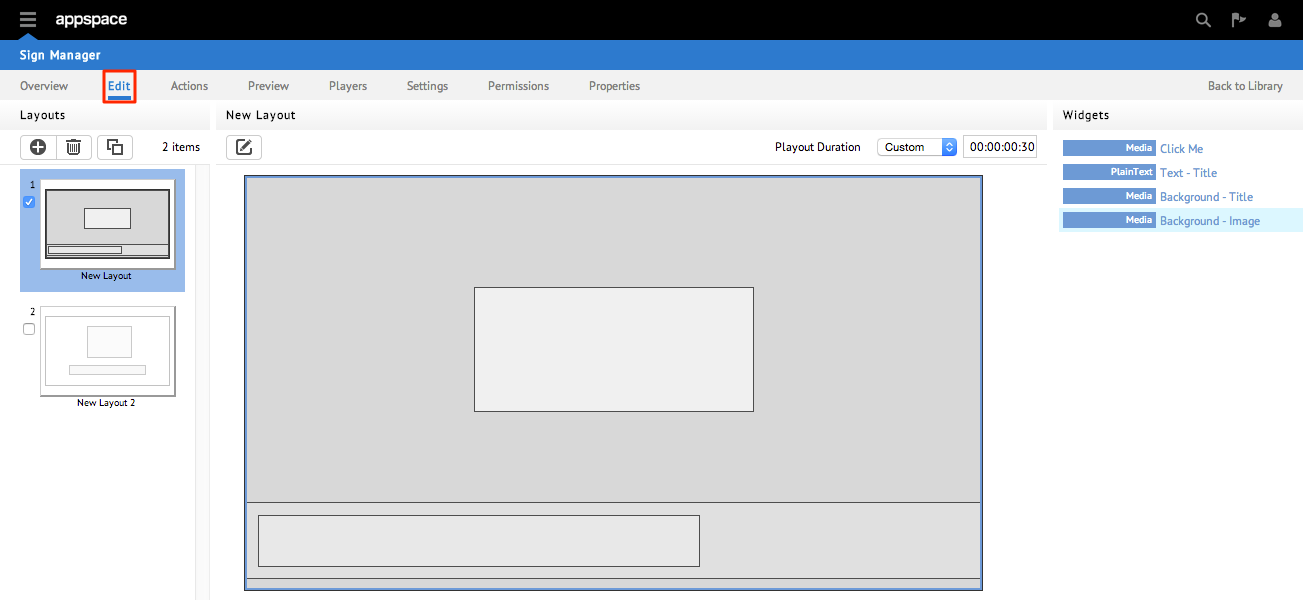
Step 1
Begin by accessing and launching the Visual Editor for the layout on which you choose to add widgets. Click on the Add Widget button.
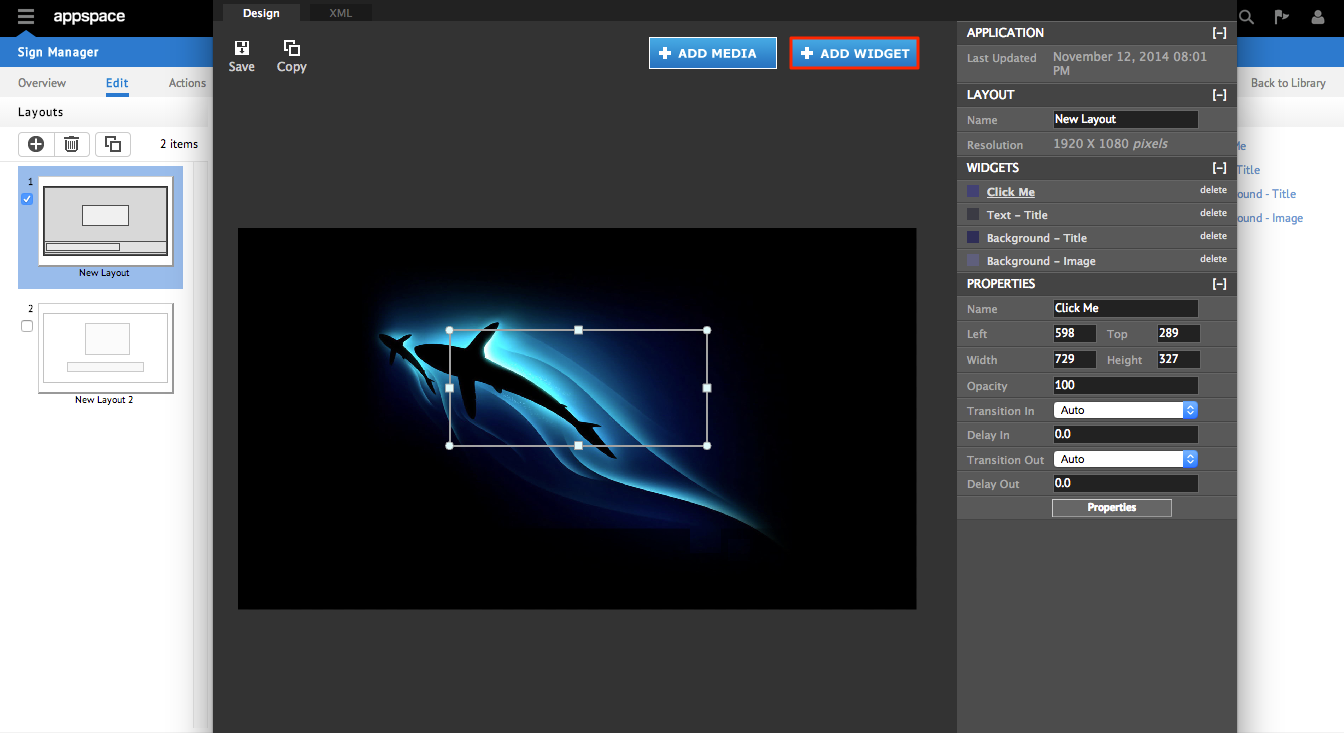
Step 2
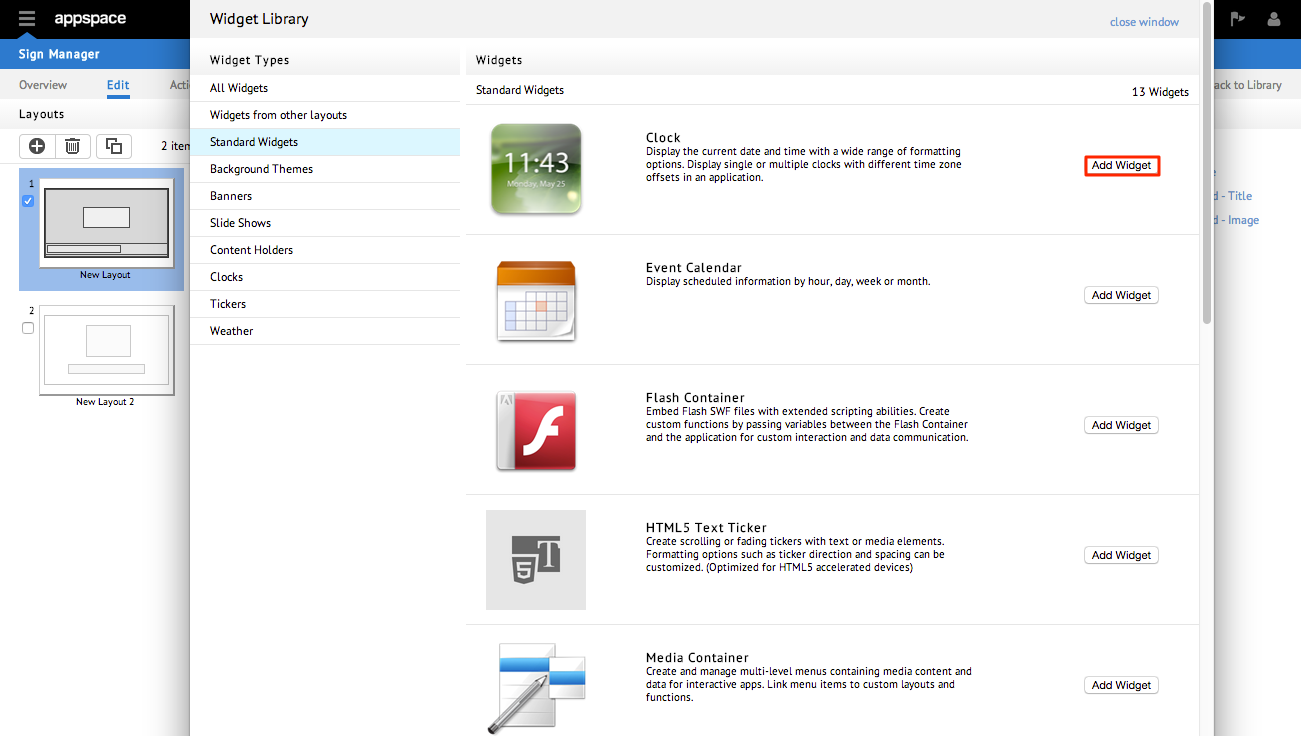
A new window should pop up with the Widget Library. Here you will find an entire library of pre-built/pre-configured widgets which are sorted into different category types for easier browsing. Once you have found the desired widget to be added, click the Add Widget button.
Note
If prompted by a confirmation message – double check that you have selected the desired widget and click OK to continue.
Step 3
The new widget should now be added to your layout. At this point, you will have several options that will vary depending on the type of widget you have added. For most widgets, you should be able to click + drag to re-position the widget anywhere on the layout. You should also be able to click + pull to re-size the widget as you see fit. On the right-hand side of the Visual Editor should be a section named Properties which usually contains layout alignment, size adjustments, and additional properties specific to your selected widget.
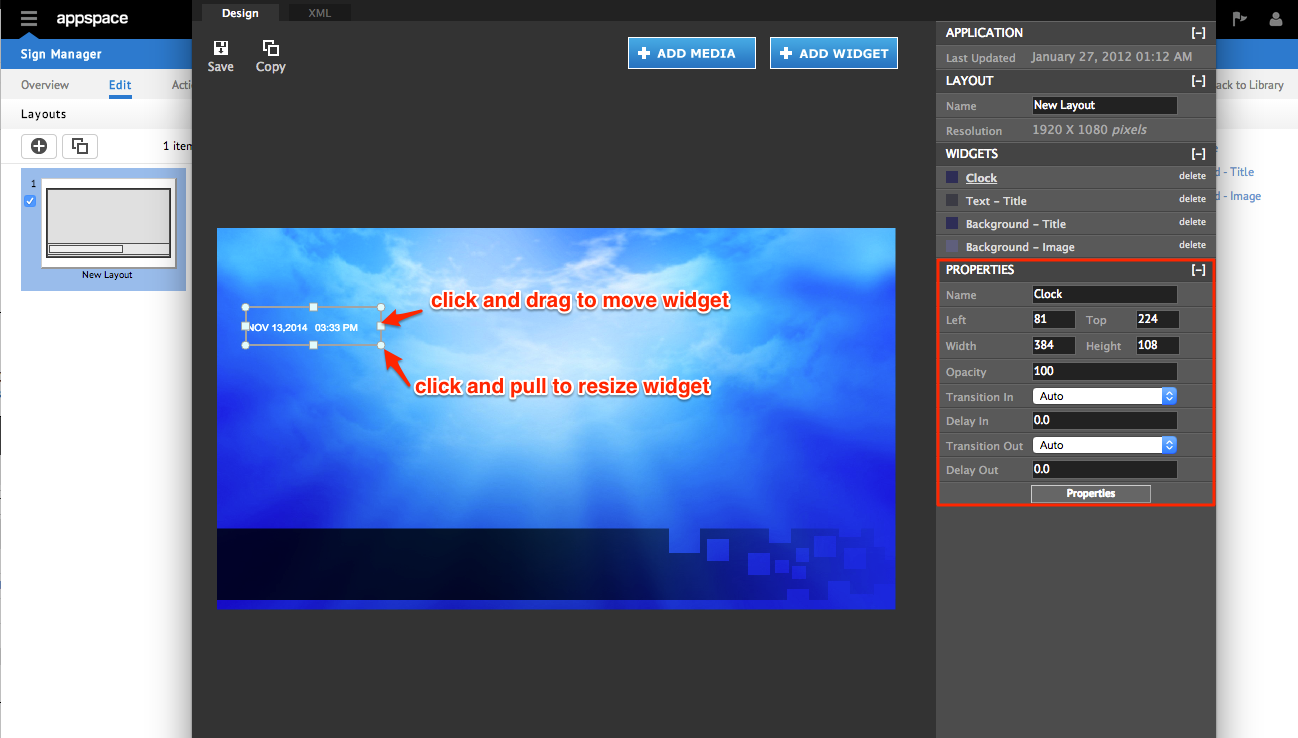
Note
Please refer to additional articles in the Knowledge Center for more in-depth definitions and guides to configuring widget properties.
Step 4
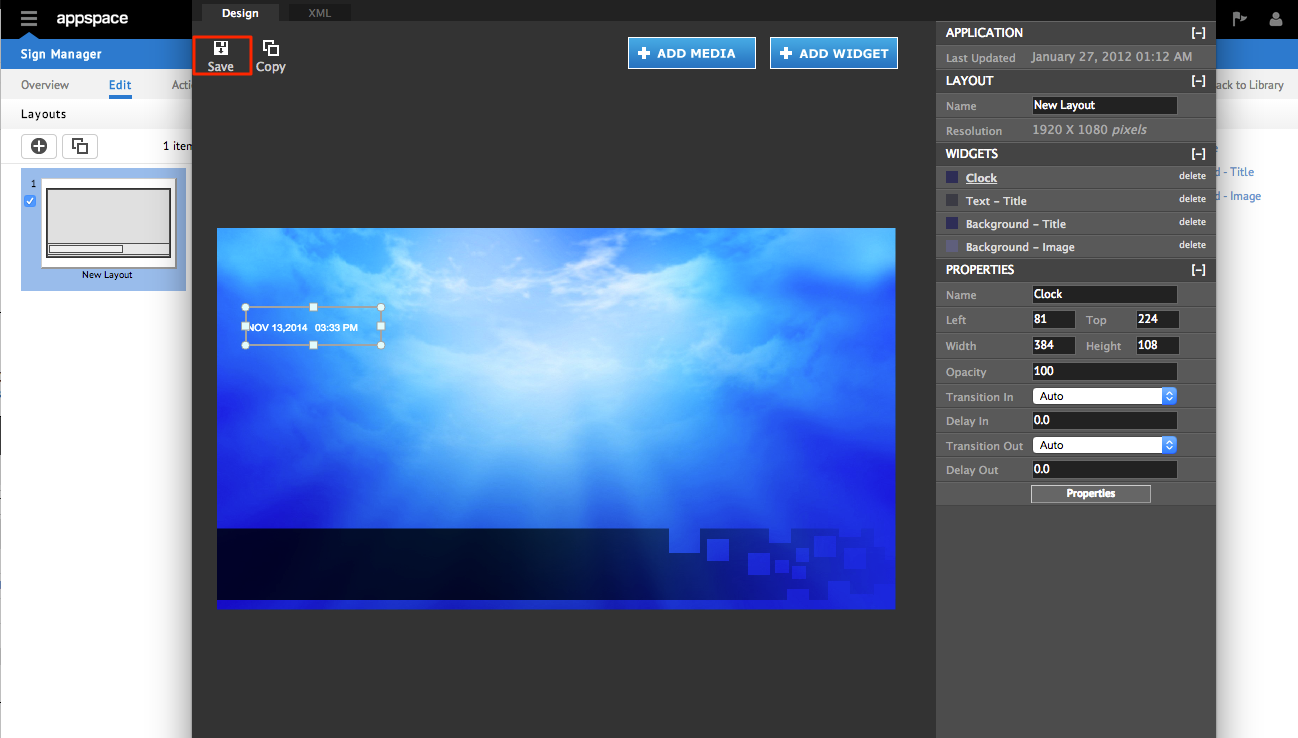
Repeat the process of adding widgets until you are satisfied with your creation and have added all of the desired assets. Click the Save icon in the upper-left corner when finished. Once saved, you may close the Visual Editor browser window.
Section 4: Scheduling Layouts
Applications can have various schedules be assigned in simple re-occurrences or users may choose to implement much more complex schedules for various layouts per app. By default, once an application is synced/deployed to a device – it will continue to run indefinitely. Layout scheduling is disabled out of the box for each sign manager app and must be enabled before the scheduling option is available to be configured.
Enabling and Configuring Scheduling
Step 1
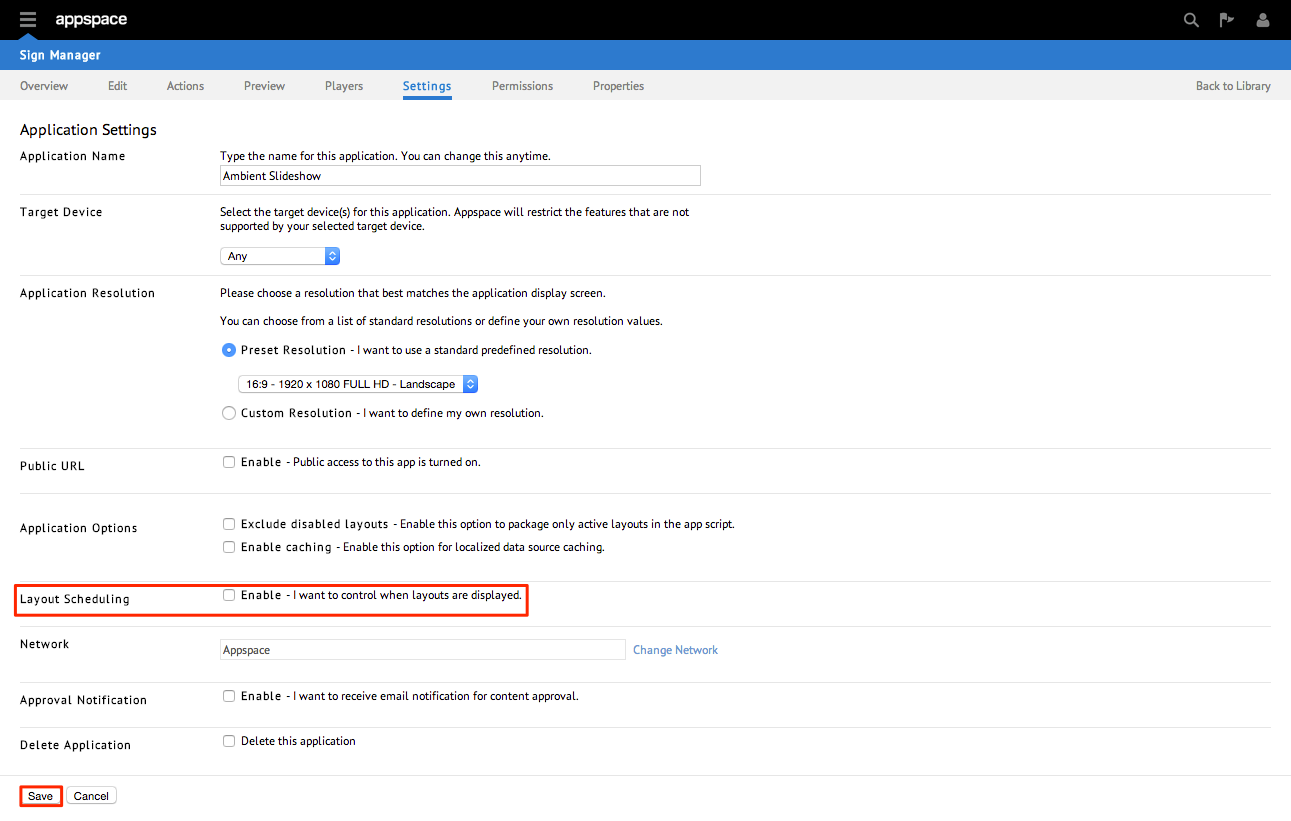
Begin by selecting the application in which you are working with. Proceed to the Settings tab of the application and scroll down until you see the option for Layout Scheduling. Check the box and click the Save button to save this change.
Step 2
Once scheduling has been enabled, you should notice a new tab named Schedule become accessible. When you access this tab for the first time, you should notice the one schedule that all applications will have (named Default Schedule).
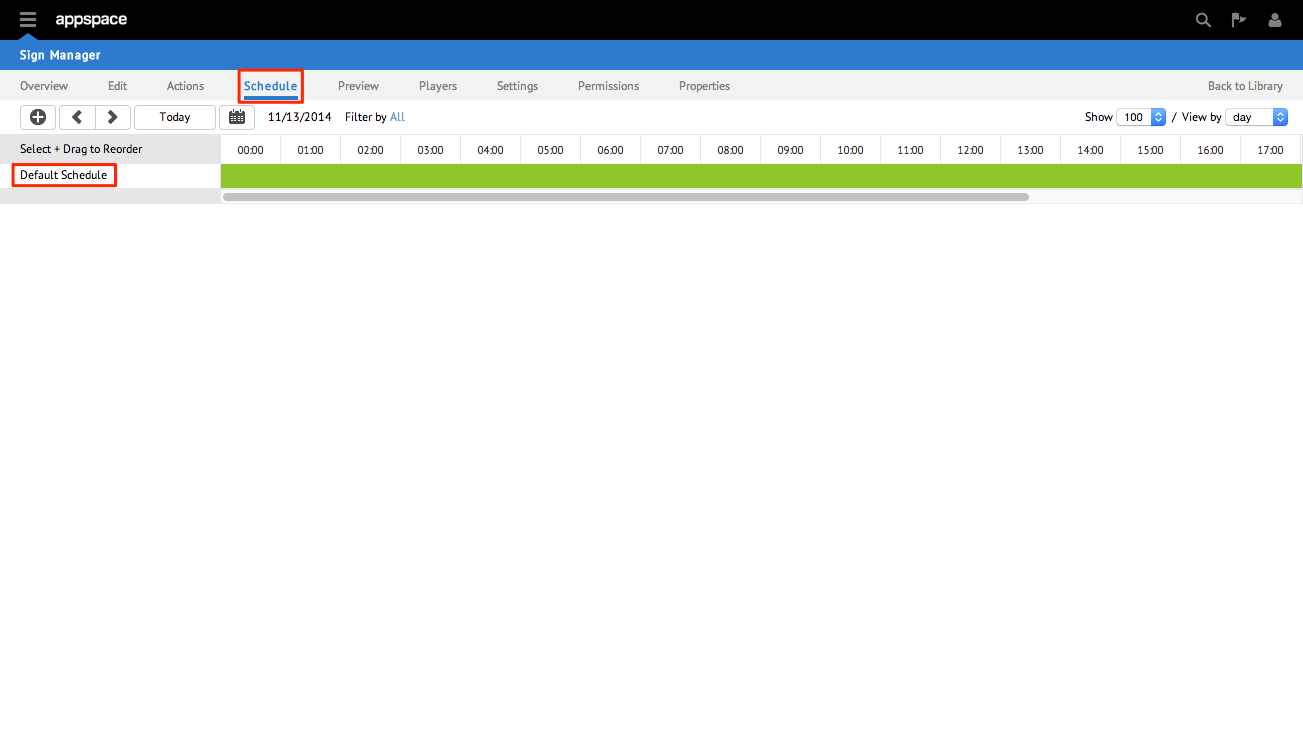
Note
The Default Schedule cannot be deleted from the application. It is the schedule that will be relied upon and activated when there are other active schedules programmed.
Step 3
To add new/custom schedules to your app, click on the + icon to bring up a New Schedule window. Proceed to configure the various fields on this window in order meet your scheduling needs. When finished, click the Apply button at the upper-right corner of the window.
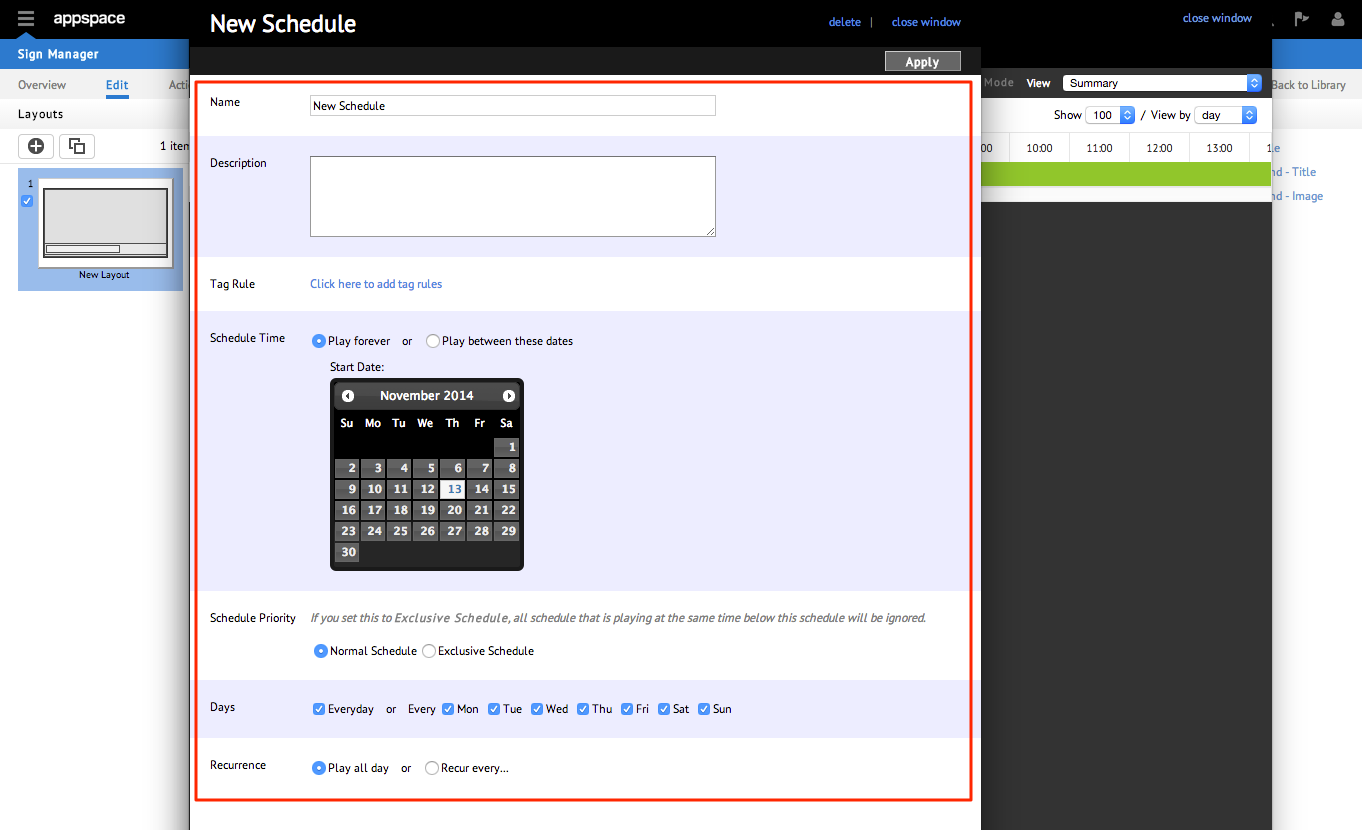
Note
Tag Rules are used to restrict schedule/content playback to specific players. Please refer to additional articles in the Knowledge Center for more information on player tagging.
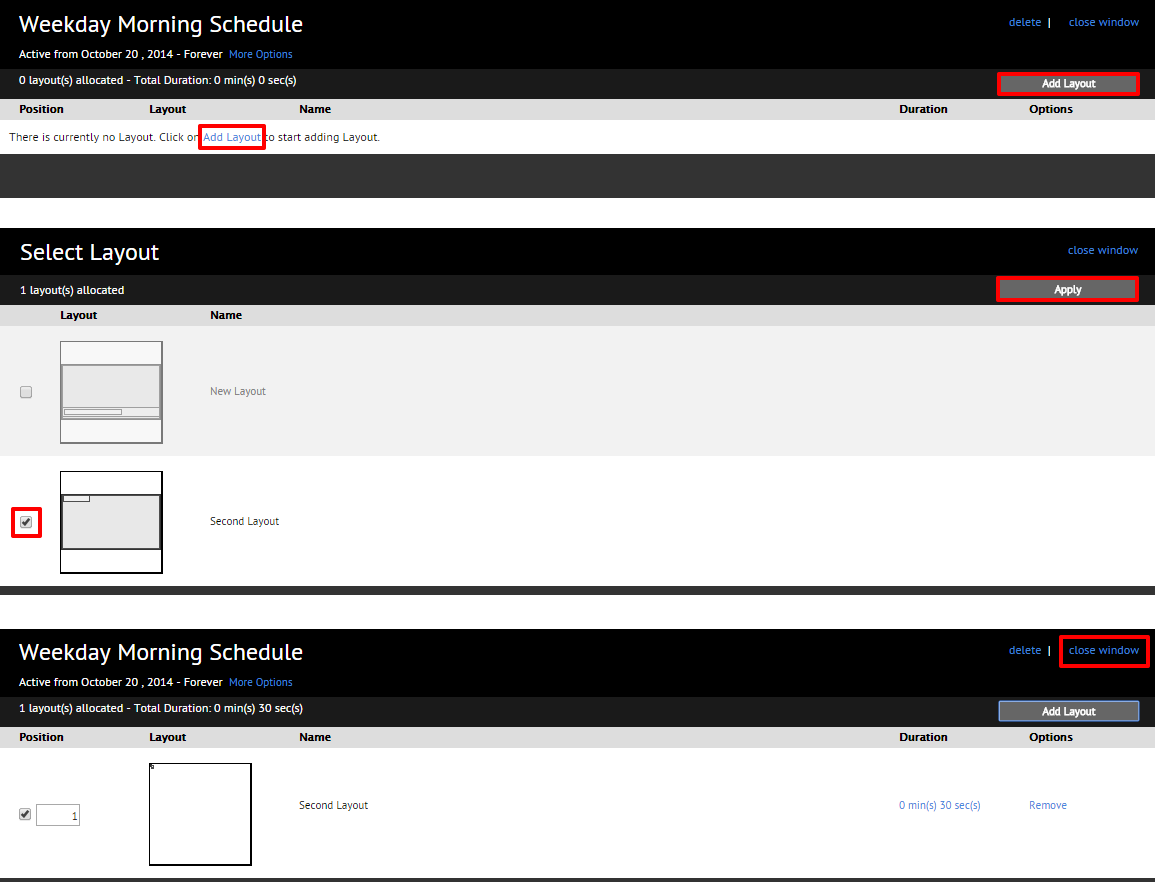
Step 4
The next screen should prompt you that no layouts have yet been assigned to correspond with the newly defined schedule. Click on the Add Layout link in the middle of the page or the button in the upper-right corner to bring up the Select Layout window. Select the layout(s) that you wish to be associated with the schedule and then click Apply. Once you see that the selected layout(s) appear correctly for your newly defined schedule, you may close the window (in the upper-right corner of the window).
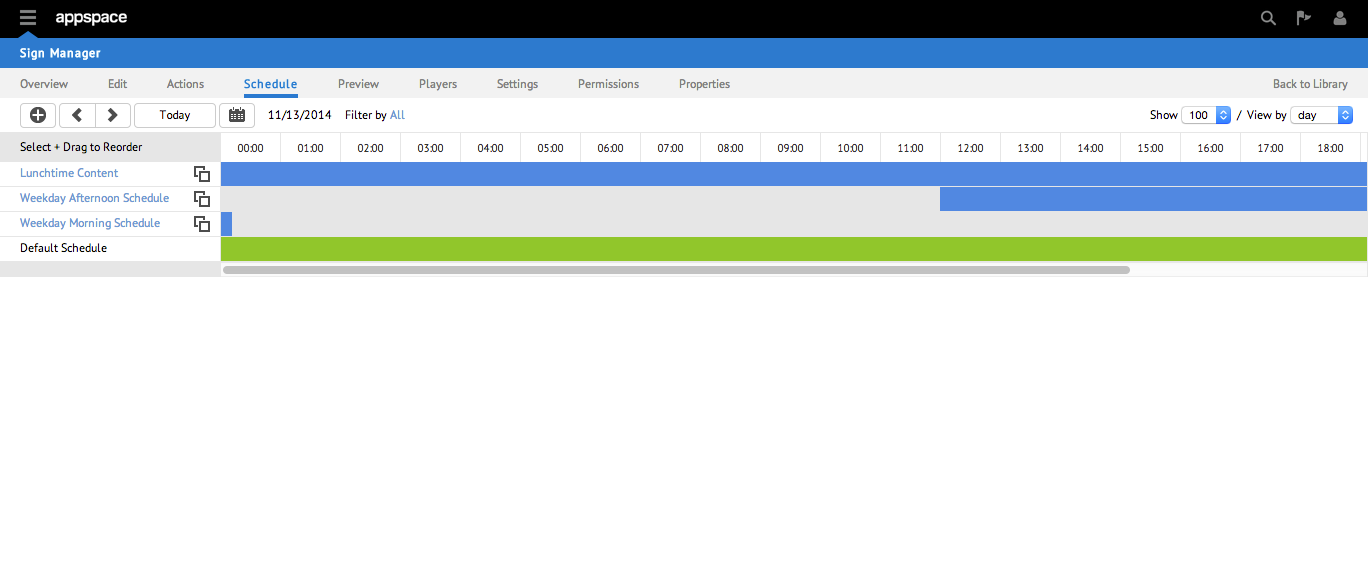
Step 5
You should be returned to the Schedule tab of the app. Your newly added schedule should appear on your calendar (you may need to select the appropriate date and time range to notice the new additions on the timeline) and listed. Repeat this process as many times as necessary until you are satisfied with customized schedule(s) for your organization’s needs.
Note
The order of arrangement of the rows of schedules is important. The schedules are listed in ascending order of priority, which affects the playback order. The schedules are also color coded into three main categories: green represents the default schedule, blue represents a normal schedule, and red represents an exclusive schedule.
Section 5: Action Scripting
Action scripting allows designers and developers to integrate custom actions into their digital sign applications to respond dynamically. When used in conjunction with widgets, it provides a near endless number of combinations of advanced passive and interactive applications. Actions are triggered when an event is executed from the application, layout, or widget. Depending on the widget, the types of events and resulting actions supported will produce varying results/effects.
Adding Action Scripts
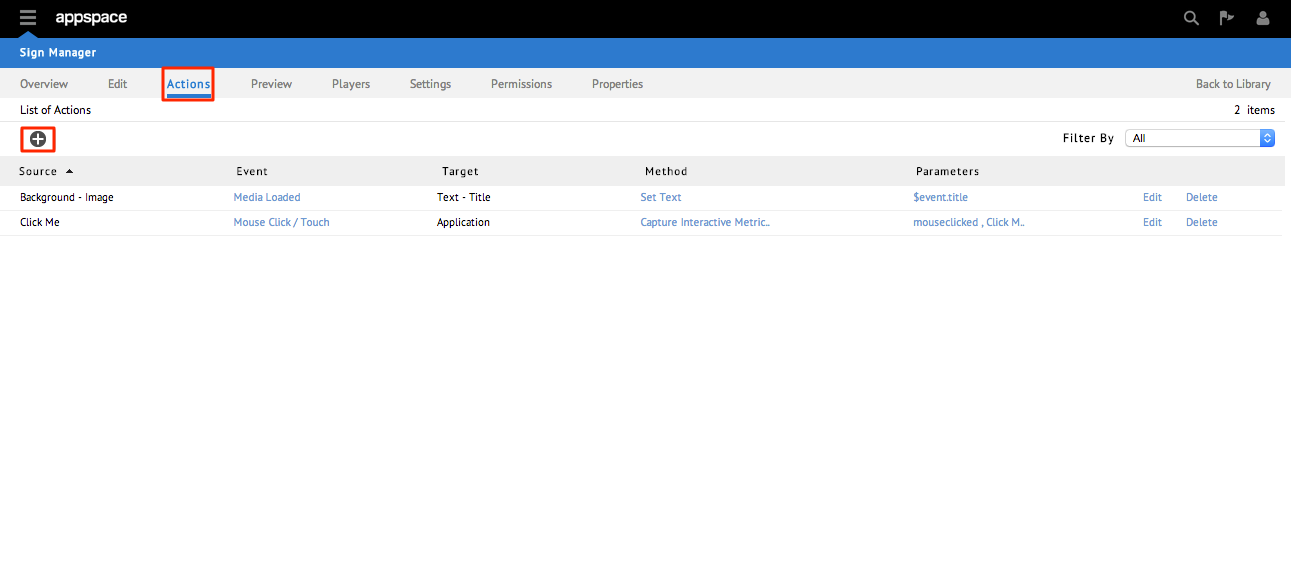
Step 1
From within the application in which you are working on, click the Actions tab. The various actions currently associated with this application should be listed on this page. Click the + (New Action) icon to begin adding a new action.
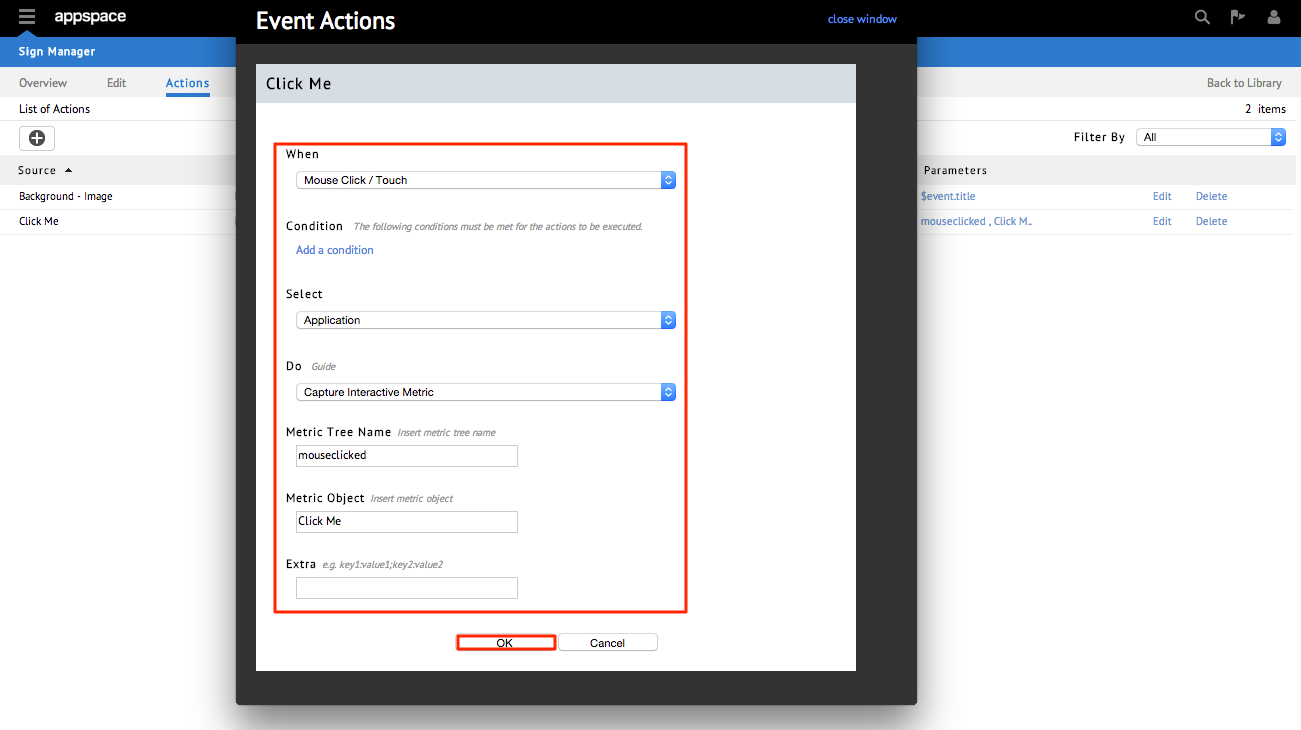
Step 2
A new Event Actions windows should appear. Configure and customize the new action to properly act upon your sign manager application. When finished, click the OK button to save the changes. Close the window to be returned to the Actions tab of the app, which should contain the newly added action.
Note
Event action scripting is an advanced topic for the Sign Manager extension. For additional guides and configuration articles, please visit the Knowledge Center for complete lists of action scripts available along with their definitions and parameters.
Section 6: Preview
One of most useful abilities while creating and editing applications within Appspace is the ability to preview your app directly from within the Appspace UI (within your web browser).
Step 1
Once you have selected the application, click on the Preview tab. You should be presented with a live preview of the application for you to review the quality and any related scheduling elements. You may also choose to access a higher quality/resolution of your application by clicking on the Preview Player link which should launch a new full-sized window.
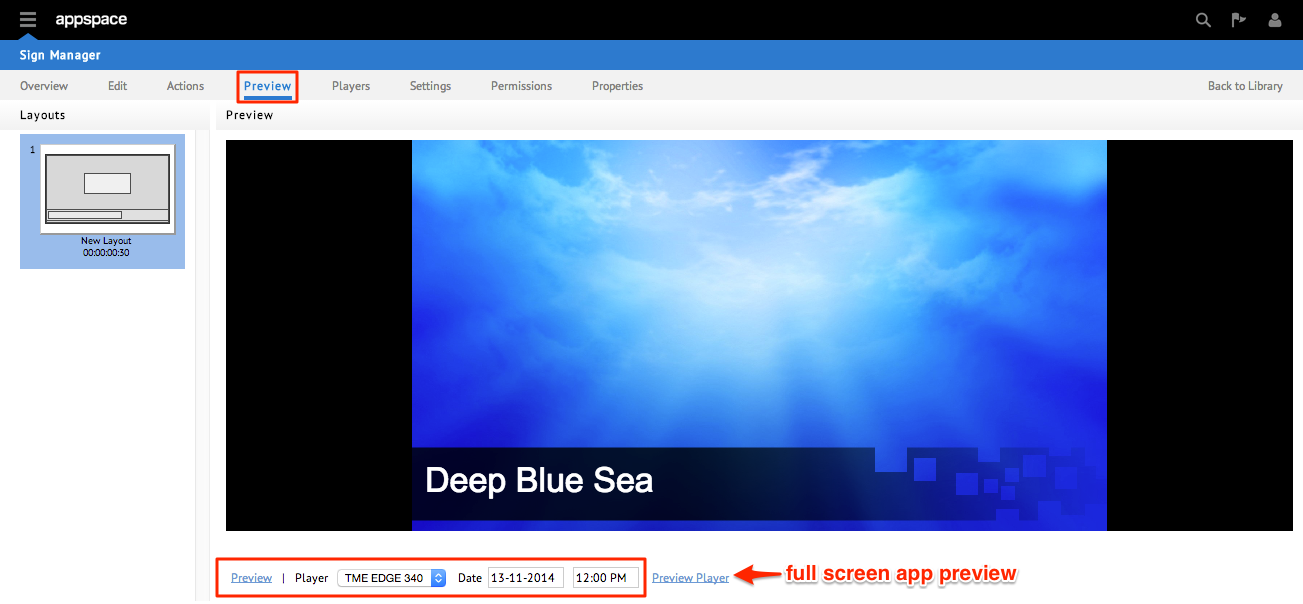
Step 2
You also have the option to select the desired date and time to access a preview of layouts of your app that are scheduled to take place at a later point in time. This can be accomplished by clicking on the date and time fiends near the bottom of the screen and selecting the desired date and time from the popup calendar and clock slider respectively.
Recap
Now that your sign manager application is now fully set up, you should be able to:
- Review and preview your application on your desktop
- Access and edit your application through the Visual Editor
- Customize your application through the use of widgets, scheduling, and action scripting