Adding Widgets
Overview
This guide outlines the steps involved in creating an application and adding widgets from the Widget Library.
Adding a Widget
Step 1
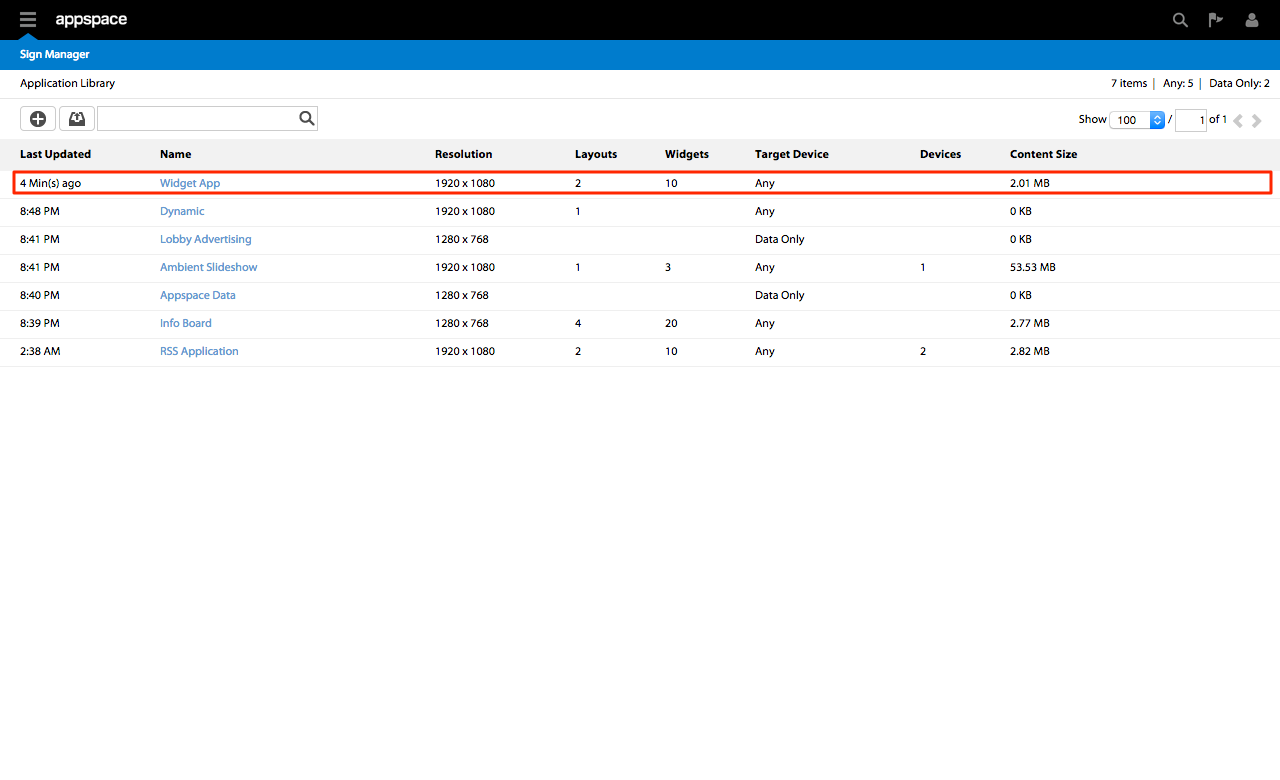
From the Sign Manager extension select the application that you are planning to add a widget to.
Step 2
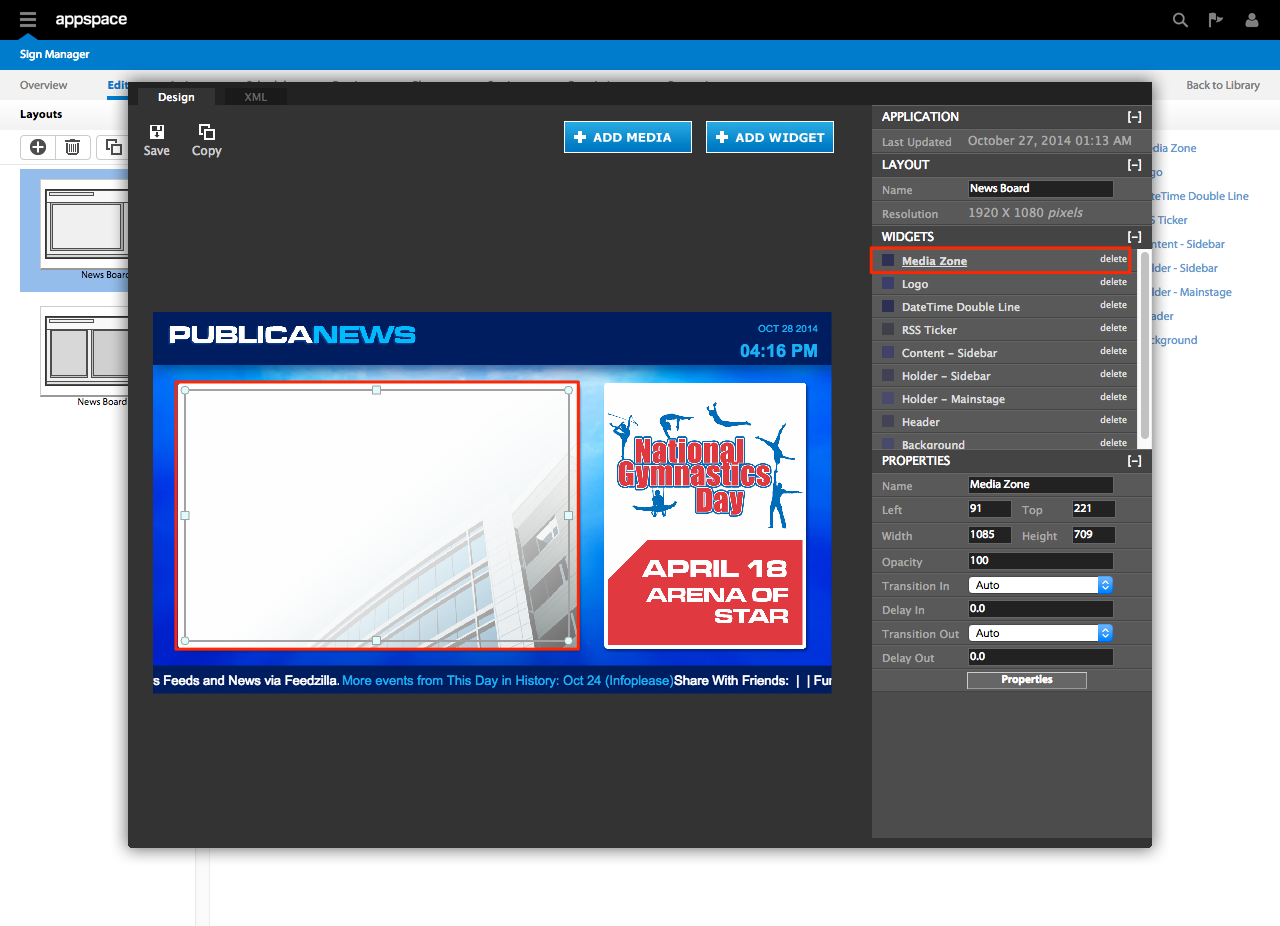
Select the Edit sub-tab and the layout that you would like to add the widget to from the Layouts section on the left. Click the Visual Editor icon to bring up the Visual Editor dialog window. Next click on the Add Widget button in the dialog window and the Widget Library will be displayed, containing a selection of pre-built widgets to choose from.

Note
Alternatively, you can also directly select a widget type from the Widgets column on the right – without opening up the Widget Library.
Step 3
The Widget Library contains a list of pre-built widgets. Click the Add Widget button for the desired widget to continue. If you wish to add a widget from a different layout, click the Widgets from other layouts link. This is typically done if you require the same widget to be displayed on multiple layouts (e.g. backgrounds, logos, banners, tickers, etc.).

Step 4
Once the widget has been added, it will be displayed as a colored box in the layout preview. Re-position and re-size your widgets as desired on the layout within the Visual Editor.
Step 5
The Widgets list on the right panel of the Visual Editor represents the layering order of widgets on the layout. Widgets at the top of the list will visually overlap any widget(s) that are lower down on the list. The order can be changed by dragging the widget name up or down in the list.
