Moving Apps Between Networks
Overview
This article outlines the steps used to move existing applications between/across networks.
Moving Apps Between Networks
Important
When moving applications between networks, all devices assigned that application will no longer be assigned to that application. Those devices will still be playing local content however will not receive application updates from Appspace.
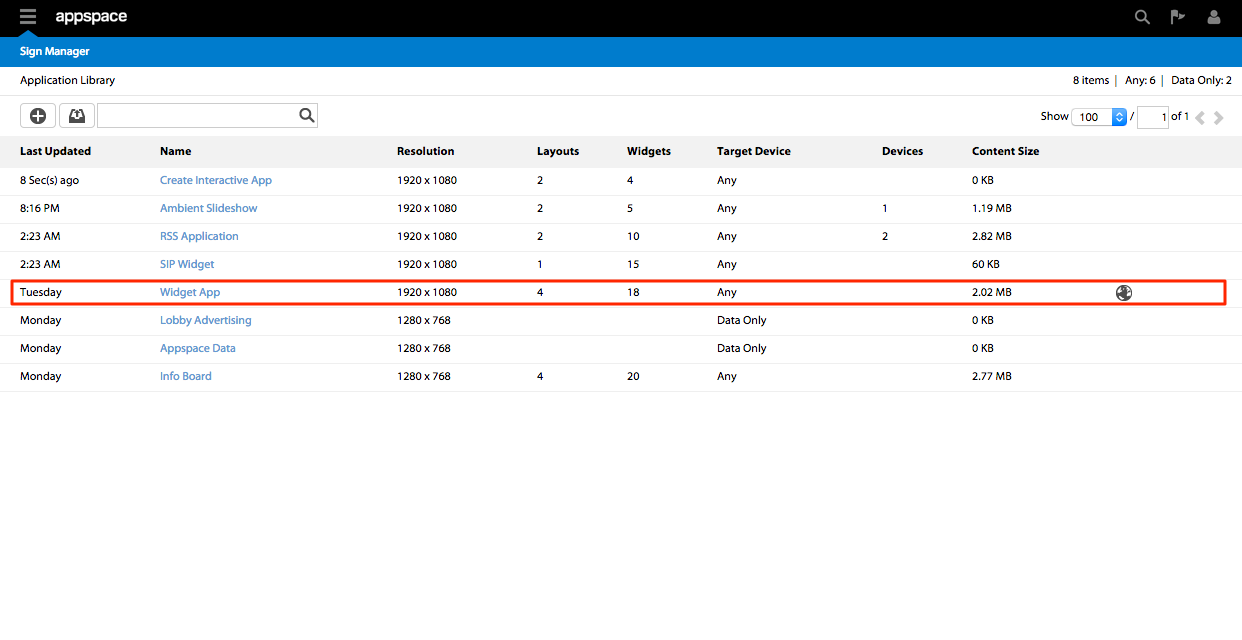
Step 1
From the Sign Manager extension’s Application Library select the the desired application.
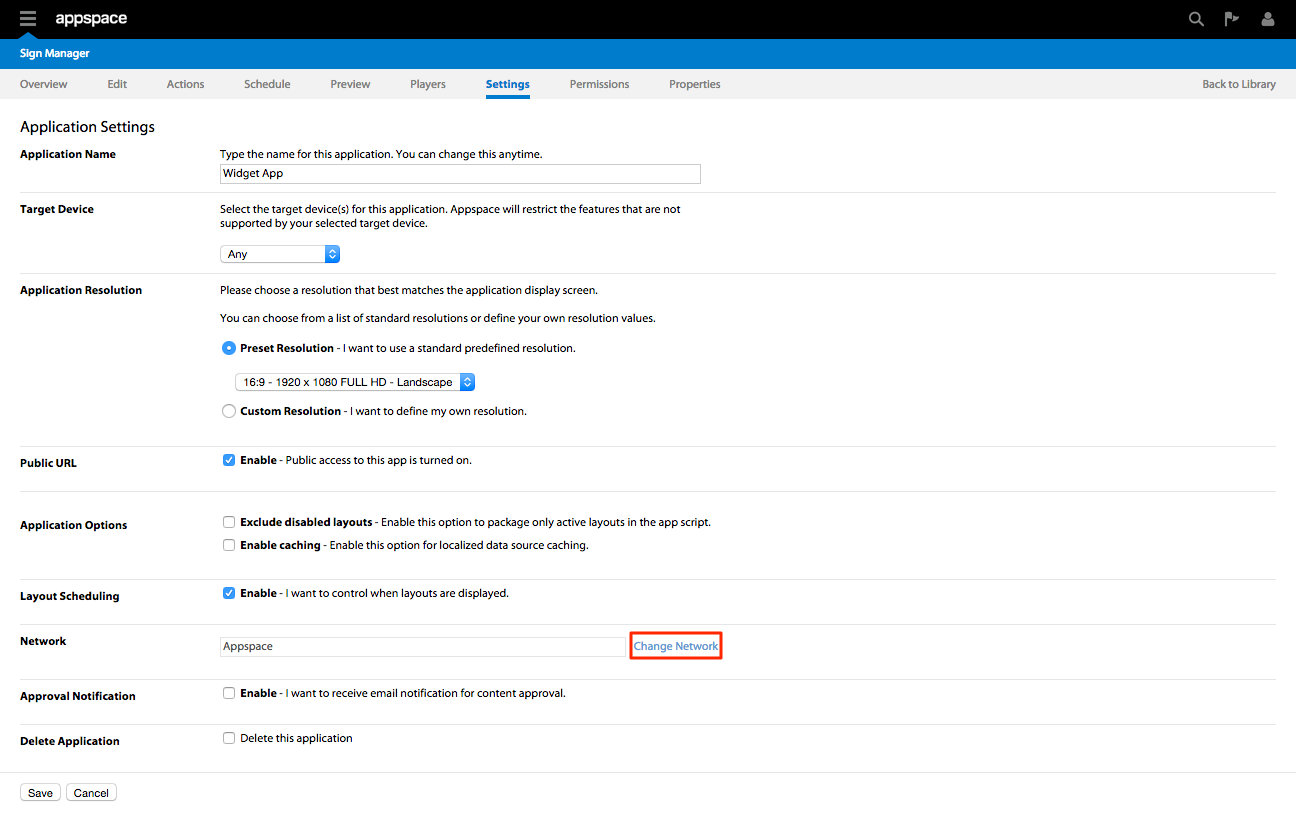
Step 2
Click on the Settings tab. Within the Settings tab, scroll down to the Network section – you should see the network listed for which the app currently belongs to. Click on the Change Network link.
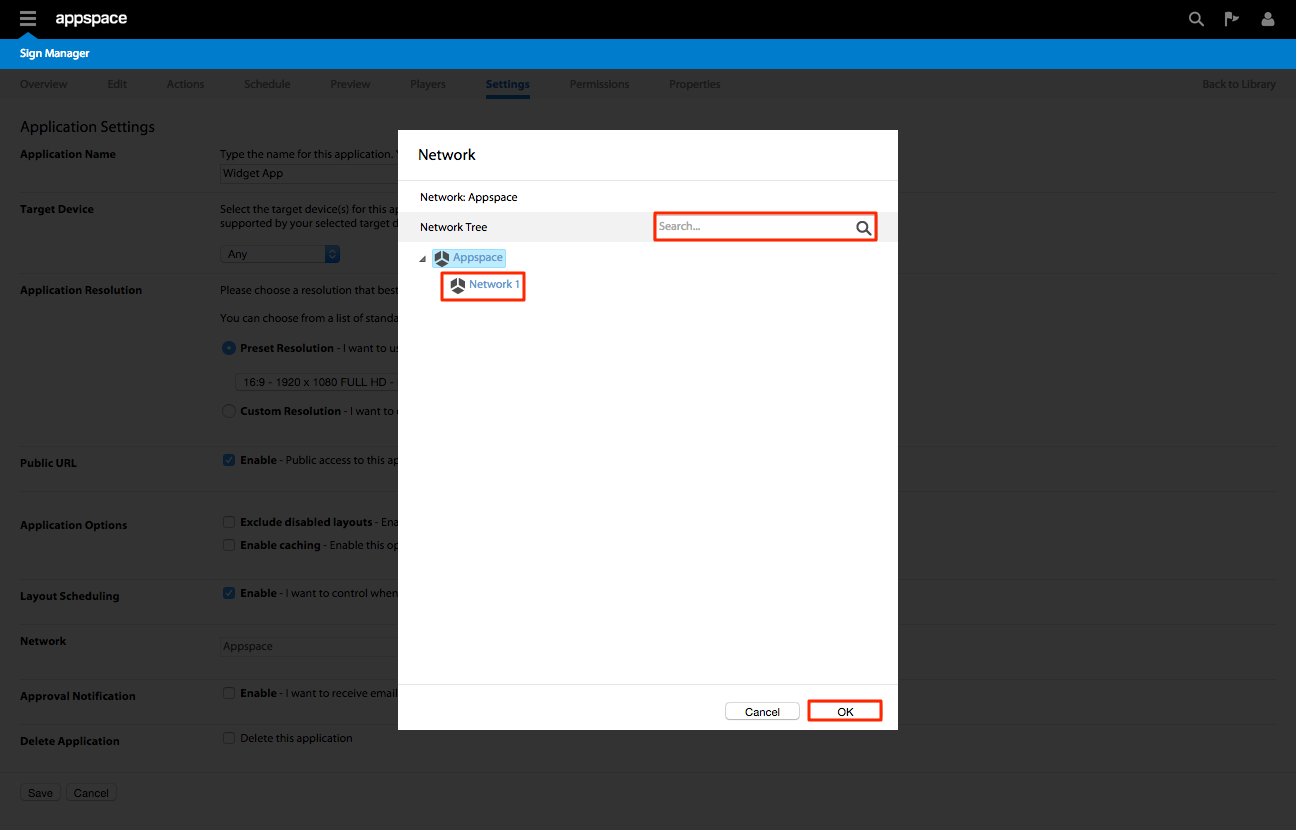
Step 3
A new window named Network should appear and allow you to select any network or sub-network from the overall Appspace network tree. Expand the tree structure until you have found the desired network in which to move your application to. Click on the network to highlight it and then click OK to continue. You may alternatively also use the Search bar to find and highlight/select the desired network to move your application to.
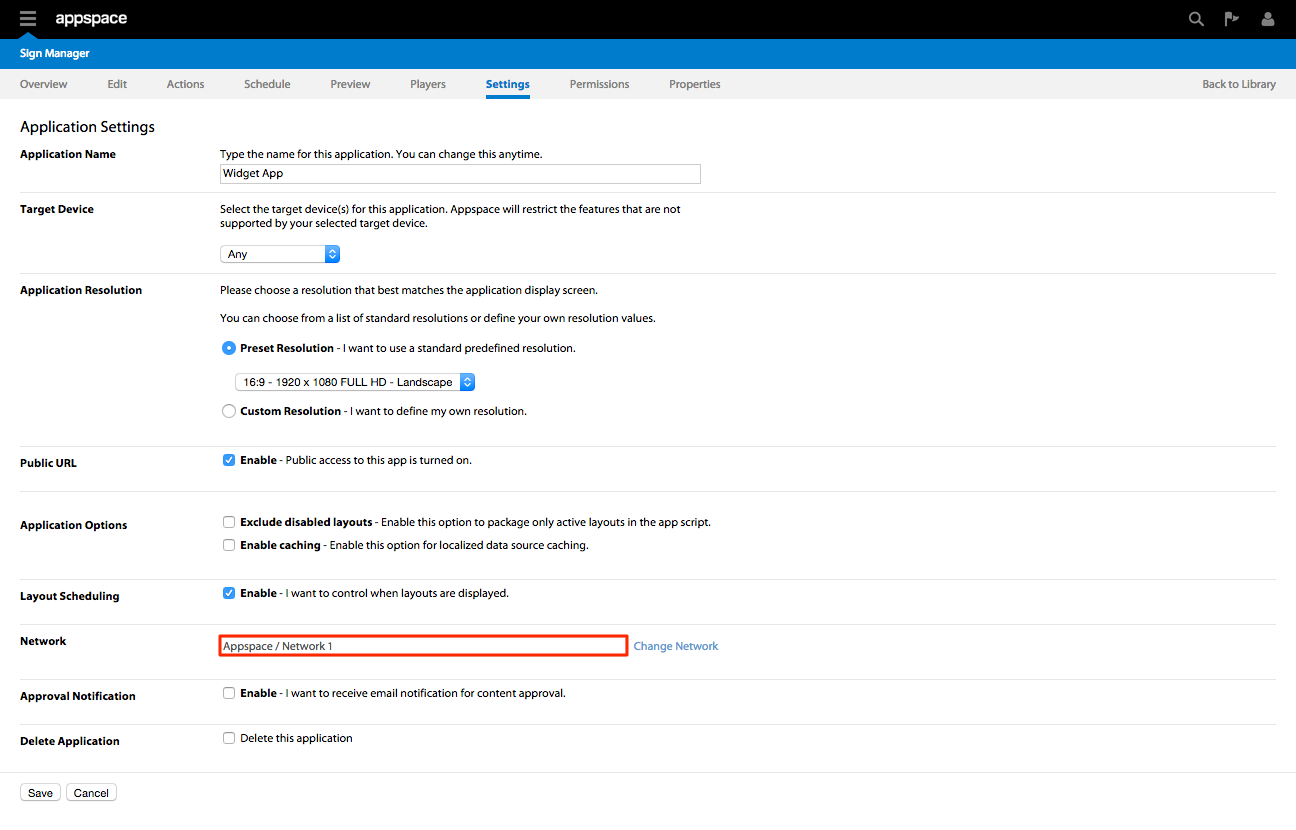
Step 4
The Network field should now display the new destination network that the application will be moved to. Click Save to complete the process – the application should now be in the new network location.