Widget: Flash Container
Overview
The Flash Container widget allows developers to embed Flash SWF files into Appspace applications with extended scripting abilities. You can create custom functions by passing variables between the Flash Container and the application for custom interaction and data communication.
The diagram below illustrates the communication between Appspace application and the custom Flash Container widget.
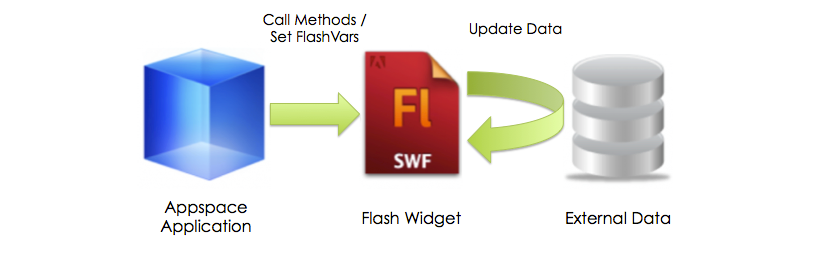
| Use Action Scripting to communicate with custom built Flash widgets by setting FlashVars or calling methods on the widget. | Flash widgets are built using AS2 or AS3 to extend the functionality of an Appspace application by integrating with 3rd party systems. | External systems can be any web-based system accessible by Flash via common protocols such as HTTP, FTP, web services, or sockets. |
Writing A Flash Widget
Exposing Methods
You can expose any method in your Flash file to be accessible by external programs using the ExternalInterface method in AS3.0 or public methods in AS2.0. For AS2.0 Flash files, you can expose your methods to Appspace by creating a public method as below:
public function Update(name:String, address:String) : void
For AS3.0 Flash files, add the following code to your initialization method.
if (ExternalInterface.available == true)
{ExternalInterface.addCallback("DoUpdate", Update);}
The format of the ExternalInterface method is as follows:
ExternalInterface.addCallback("{Method Name}", {Internal public function})
- Method Name – the name of the method external programs will call
- Internal public function – reference to the function in the Flash file that will be executed.
Using FlashVars
Another option to communicate with your Flash file is via FlashVars. This is the common method to initialize a Flash file with start up parameters when embedded inside a web page. To use FlashVars with Appspace, you must place your FlashVars initialization code in the main method of your Flash file. DO NOT place your FlashVars as static properties in the Flash file. As an example, lets assume your FlashVars are ip=192.168.1.9 and f=60. The following demonstrates how you would initialize these values.
public class Main extends Sprite
{
private var _ip:String;
private var _f:Number;
public function Main() : void {
_ip = this.root.loaderInfo.parameters["ip"];
_f = this.root.loaderInfo.parameters["f"];
}
}
Editing a Flash Container Widget
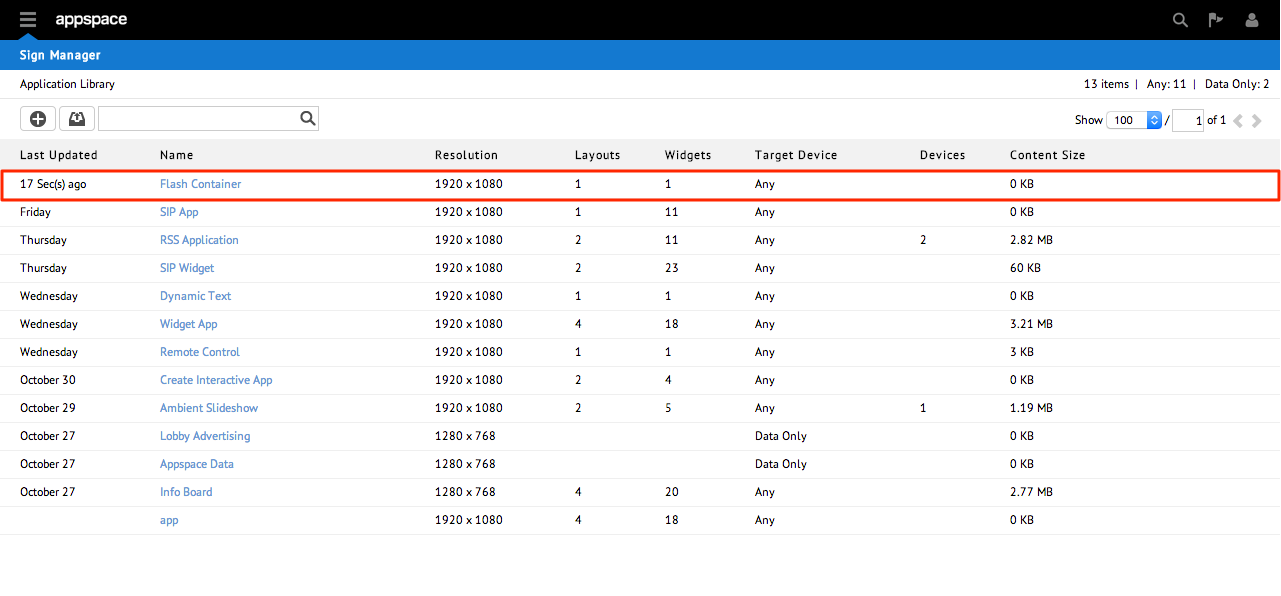
Step 1
From the Sign Manager extension, select the application with a flash container.
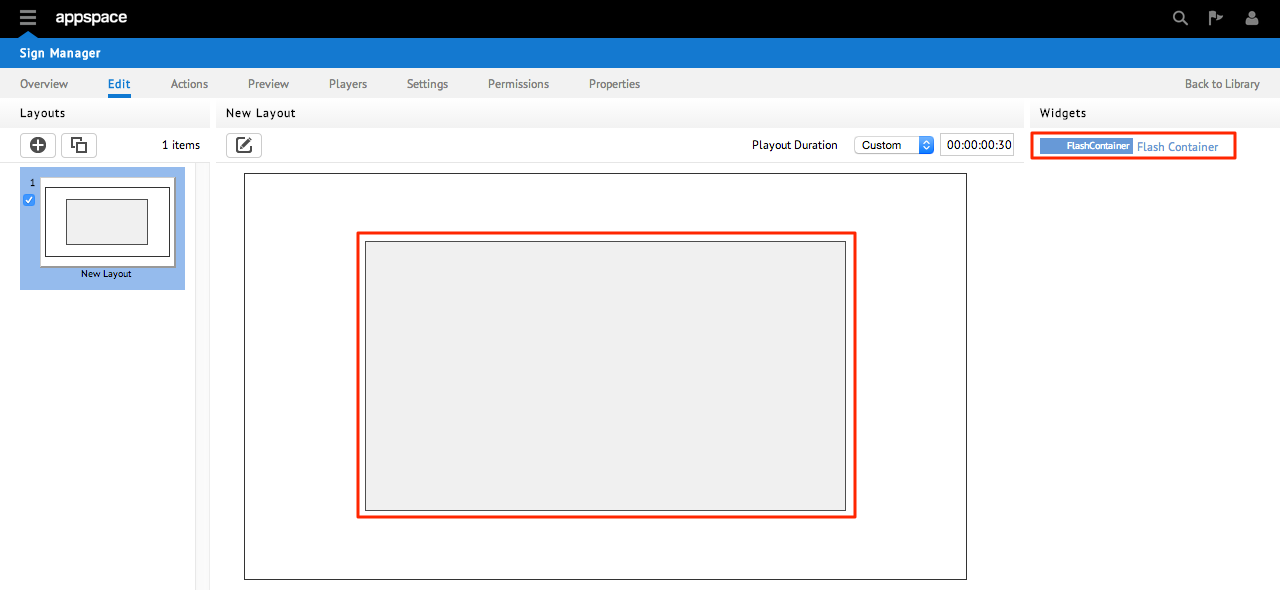
Step 2
Click the Edit tab and click the Flash Container widget from either the Current Layout or Widgets pane.
Step 3
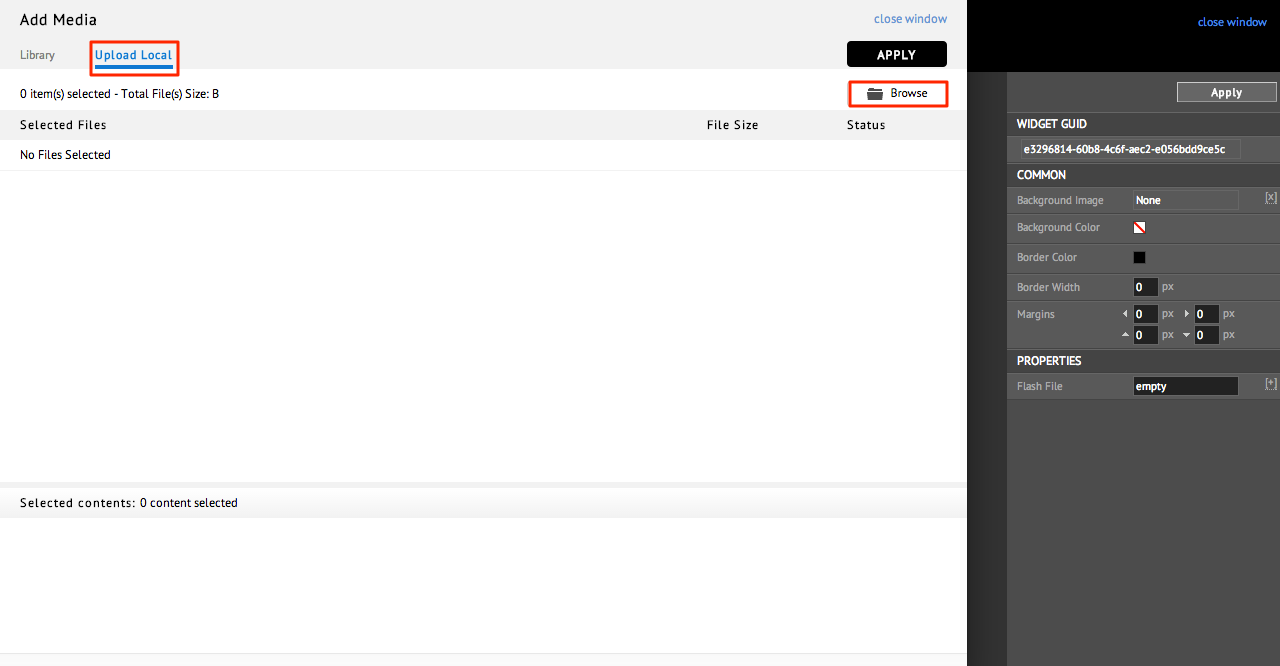
Click the [+] icon under the properties section.
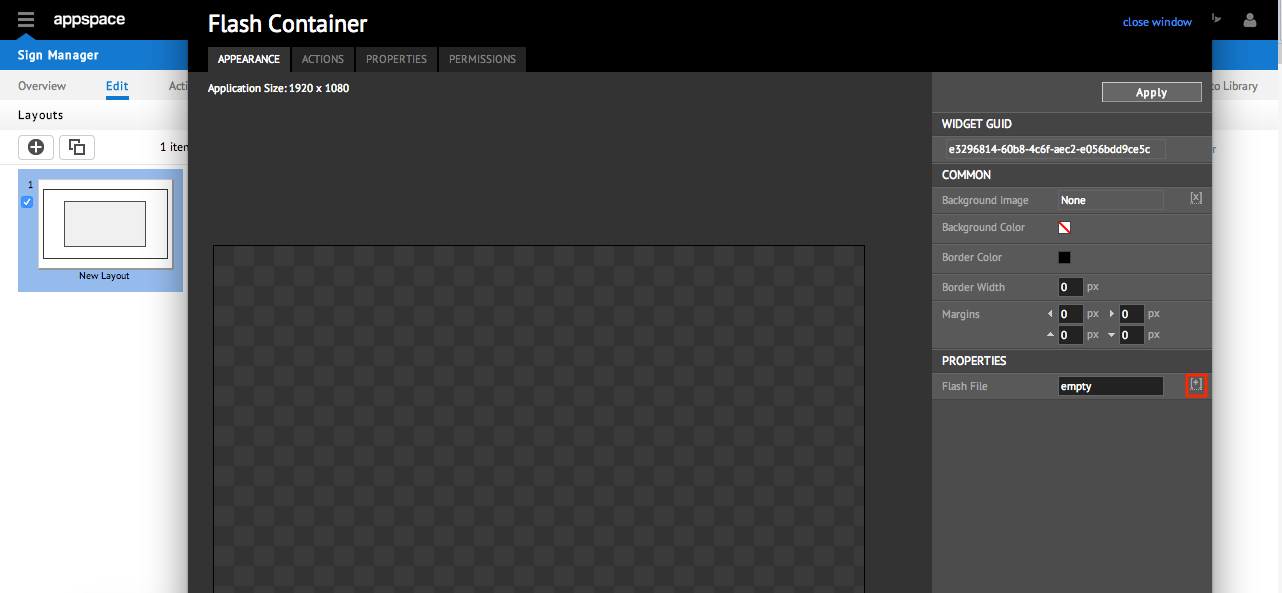
Step 4
Flash contents can be added by selecting them from the library or uploading directly to the widget.
Using Your Flash Container Widget
The following tasks are done via the XML editor in the Visual Editor. Under the Application’s Edit tab, select any layout in your application and click on the Visual Editor link. In the Visual Editor dialog, select the XML tab.

Setting FlashVars on your Widget
FlashVars are key value pairs that you can pass to configure a Flash file during its initialization method. To set the FlashVars in your custom Flash file follow these steps:
Locate your Flash Container element in the XML editor.
<Elements>
<Element>63250</ElementID>
<ApplicationID>8649</Application>
<Name>Flash Container</Name>
<Properties>…
Under the <Properties> tag, add a collection of key value pairs corresponding to your FlashVars. The format is as follows:
<KeyValuePair>
<Key>custom.flashcontainer.flashvar.{KEY}</Key>
<Value>{VALUE}</Value>
</KeyValuePair>
For example, if your FlashVars are: ip=192.168.1.1 and f=60 You would add the following key value pairs:
<KeyValuePair>
<Key>custom.flashcontainer.flashvar.ip</Key>
<Value>192.168.1.1</Value>
</KeyValuePair>
<KeyValuePair>
<Key>custom.flashcontainer.flashvar.f</Key>
<Value>60</Value>
</KeyValuePair>
Calling Methods on your Widget
Actions on a Flash widget can be called via events on Action Script.

Select the widget that will trigger the function call on the Flash Container. Click on the Action command in the Flash Container’s Properties page. Create an action for the Mouse Click/Touch event. Save the changes by clicking on the Apply button.
In the app XML editing tab in the Visual Editor, locate the Trigger XML for your Flash Container widget. The format of the Trigger XML is as follows:
<Trigger
RoutedEvent="{EVENT}"
SourceName="{SOURCE ELEMENT ID}"
Scope="Application">
<Actions>
<Action
Name="{METHOD NAME}"
TargetName="{FLASH CONTAINER ID}"
{PARAMETER}="{VALUE}" />
</Actions>
</Trigger>
Based on the example earlier, we exposed a method called DoUpdate that takes 2 parameters name and address. The XML to call the method would be:
<Trigger
RoutedEvent="OnClick"
SourceName="element_123"
Scope="Application">
<Actions>
<Action
Name="DoUpdate"
TargetName="element_789"
name="John"
address="10%20Lincoln%20Street"/>
</Actions>
</Trigger>