Moving Users Between Groups
Overview
This article outlines the steps used to move existing users between/across user groups. This process is applicable to moving users across groups that are within the same network as well as traversing across groups under different networks.
Pre-requisites
- The ability to move users between groups require at minimum the Portal Administrator, Network Administrator, or User Management role
Moving User(s) Between Groups
Note
Applications, shared content and group user roles are tied to a user’s user group. Moving a user between networks essentially moves a user from one user group within a network to another. Therefore all settings (shared content and group user roles) and applications tied to the user’s previous user group will be removed.
Step 1
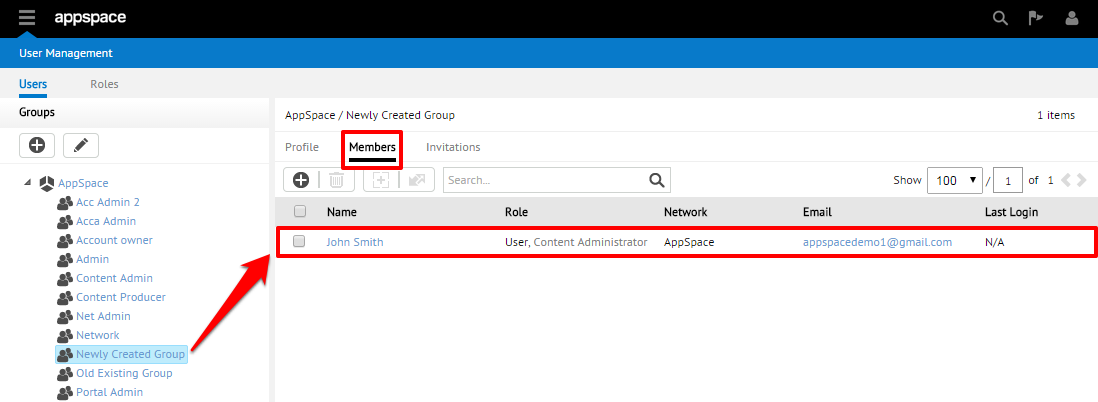
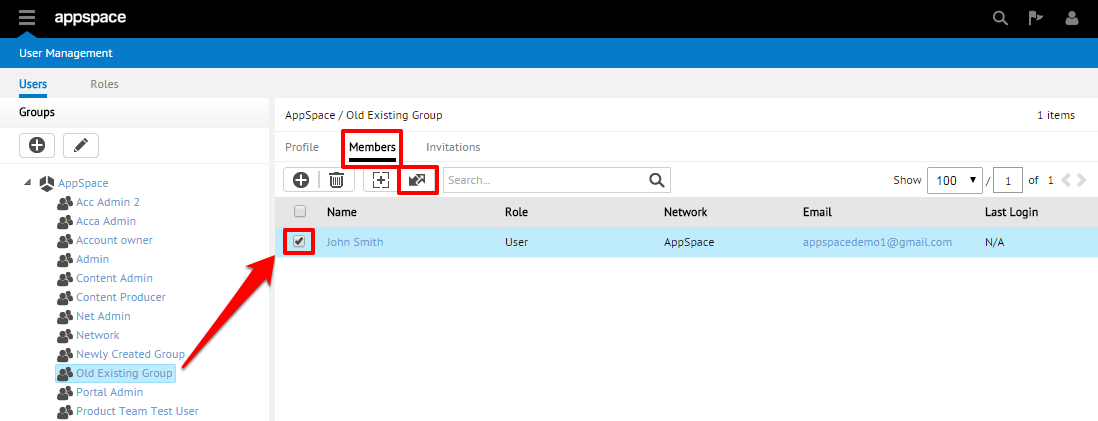
From the User Management homepage, begin by selecting the desired group from the group listing that contains the user(s) that you would like to change and move into a different group. Click on the Members sub-tab and proceed to select the box(es) next to the user(s) that are to be moved. Once the user(s) are selected, click on the Move User icon from the toolbar.
Step 2
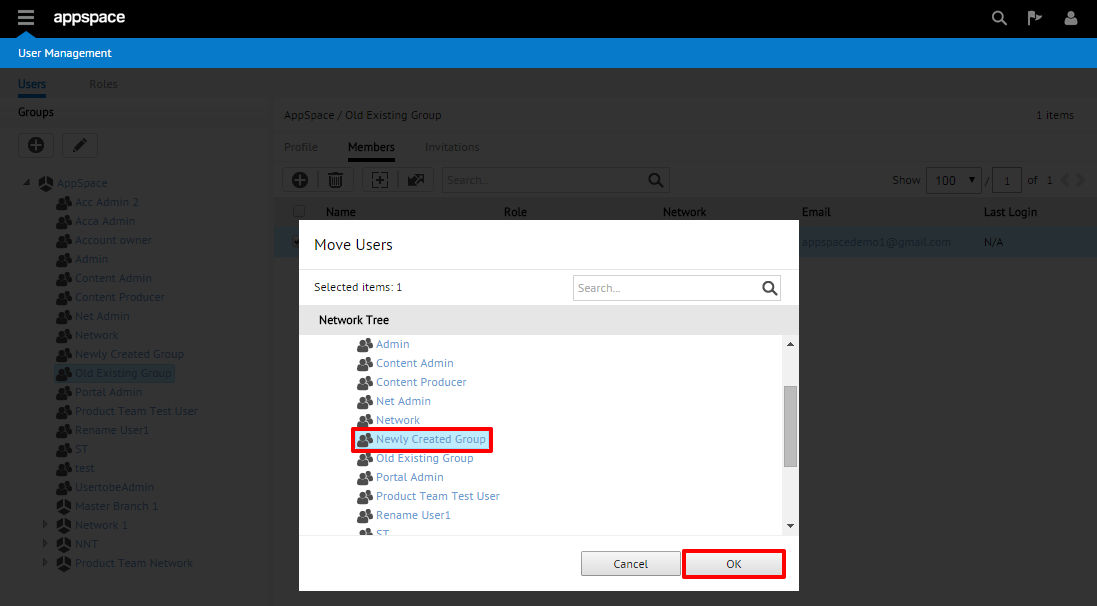
A new Move Users window should pop up that presents the Appspace Network Tree. Find the desired new destination group (which may or may not be in the same network) and click to select it. Click OK to proceed and complete the moving of the user(s).
Note
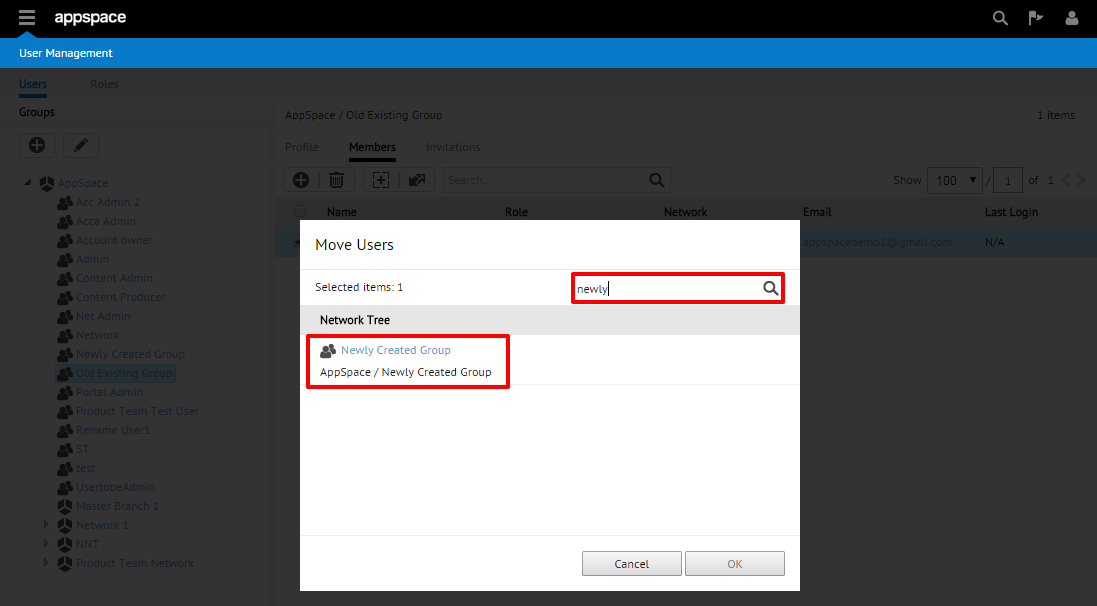
You may alternatively also use the Search bar to find the name of a group. When you click on a network or group from the search result, you will be taken to that location in the network tree structure.
Step 3
You should now be returned to the main User Management homepage where your newly moved user(s) should appear listed under the Members sub-tab of the new group.