AD/LDAP Authentication Over SSL
Introduction
Important
This is only applicable to on-premise deployments.
This guide will show you the steps to configure AD or LDAP over SSL. Here are a few types of certification that’s relevant for this guide:
- Self-Signed – The certificate is self-signed and needs to be imported into the trust store of the Appspace server.
- Private CA-Signed (Trusted) – The certificate is signed by a trusted private authority therefore no manual configuration is needed.
- Private CA-Signed (Untrusted) – The certificate is signed by an untrusted private authority therefore that authority’s certificate needs to be imported into the trust store of the Appspace server.
- CA-Signed – The certificate is signed by a trusted CA therefore no manual configuration is needed.
Prerequisites
Important
This feature has been designed to only work a flat Active Directory structure.
- An AD or LDAP server with SSL enabled.
- The SSL certificate CN must match the FQDN of the AD or LDAP server.
- The SSL certificate must be valid and be certified from a trusted Certificate Authority (CA).
- Windows Server user credential on the Appspace server with local administrator privileges.
- Appspace user credential with Portal Administrator role.
- Basic knowledge of navigating Windows Server 2008 and IIS (Internet Information Services).
Importing a Self-Signed/Private CA-Signed SSL Certificate
Follow these steps to import a self-signed/private CA-signed SSL certificate into Appspace Server’s trust store:
Step 1
Retrieve the SSL certificate (encoded in DER or Base_64) from the AD server.

Note
Your IT administrator will be able to retrieve the certificate from the AD server.
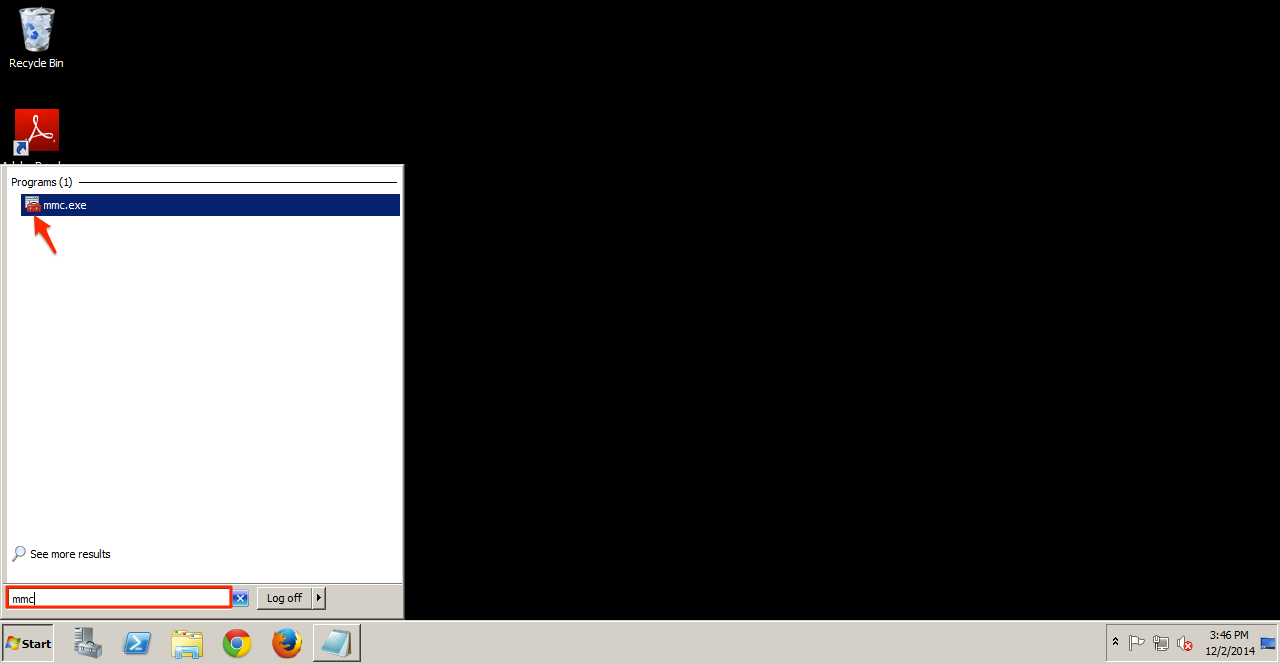
Step 2
Click the Start icon and in the search bar, type mmc. Click mmc under the search programs.
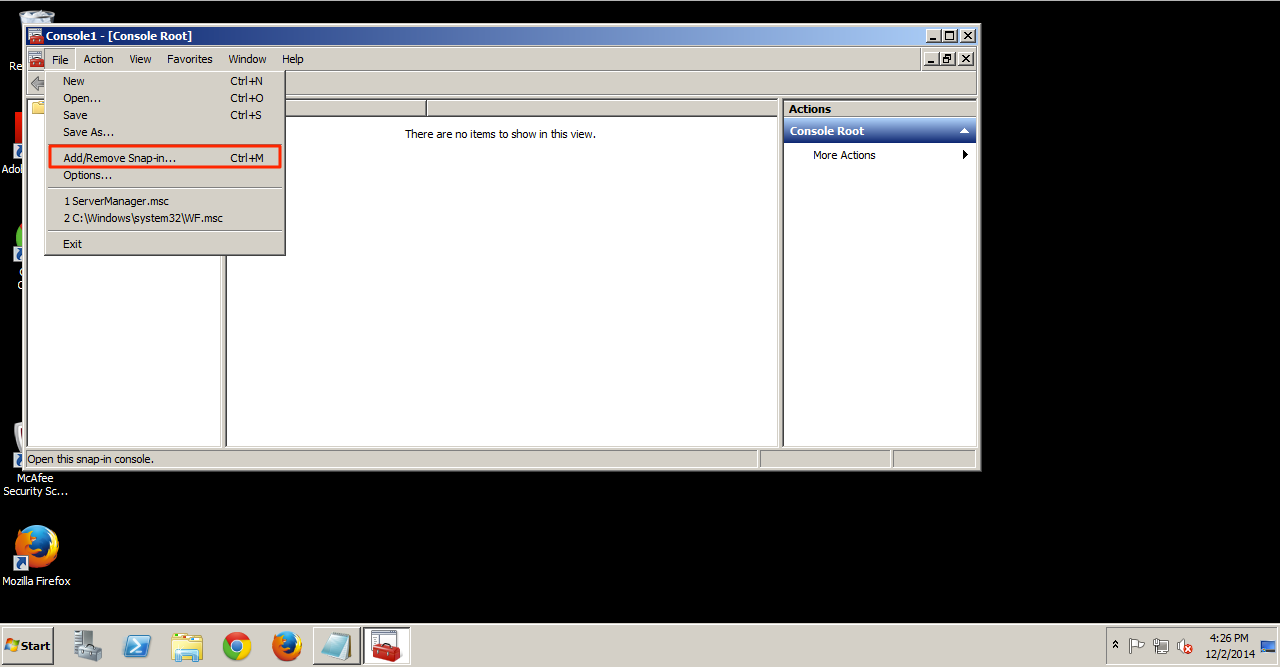
Step 3
Click File and select Add/Remove Snap-in.
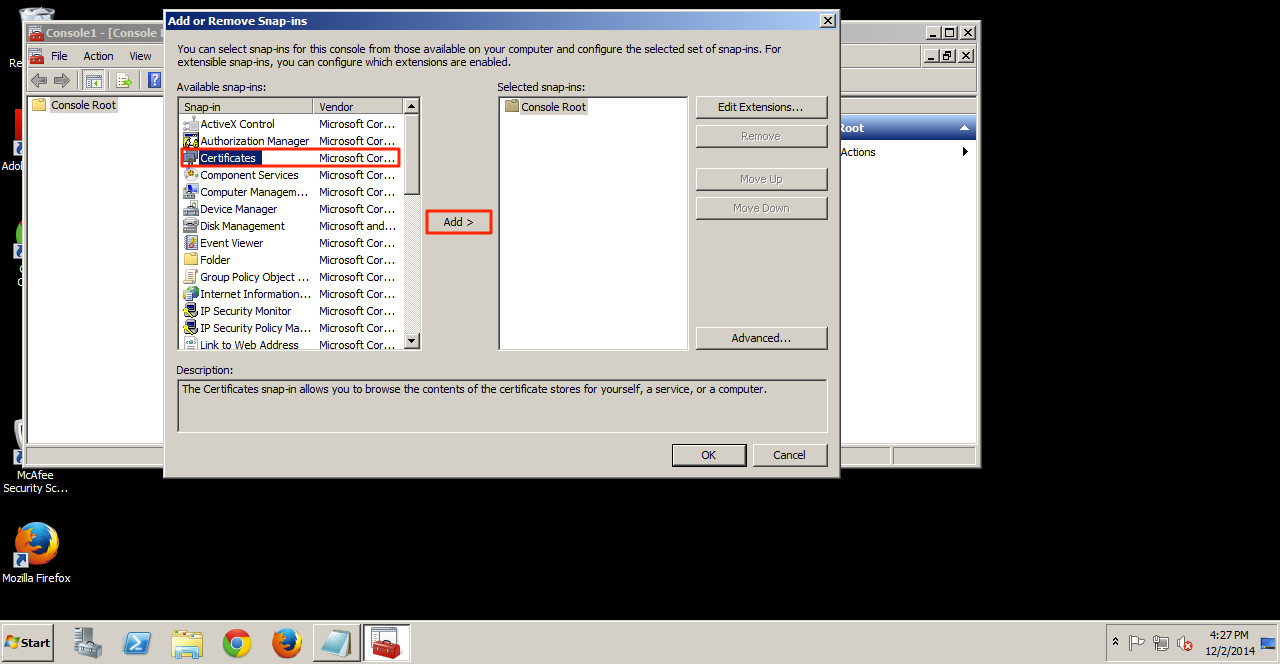
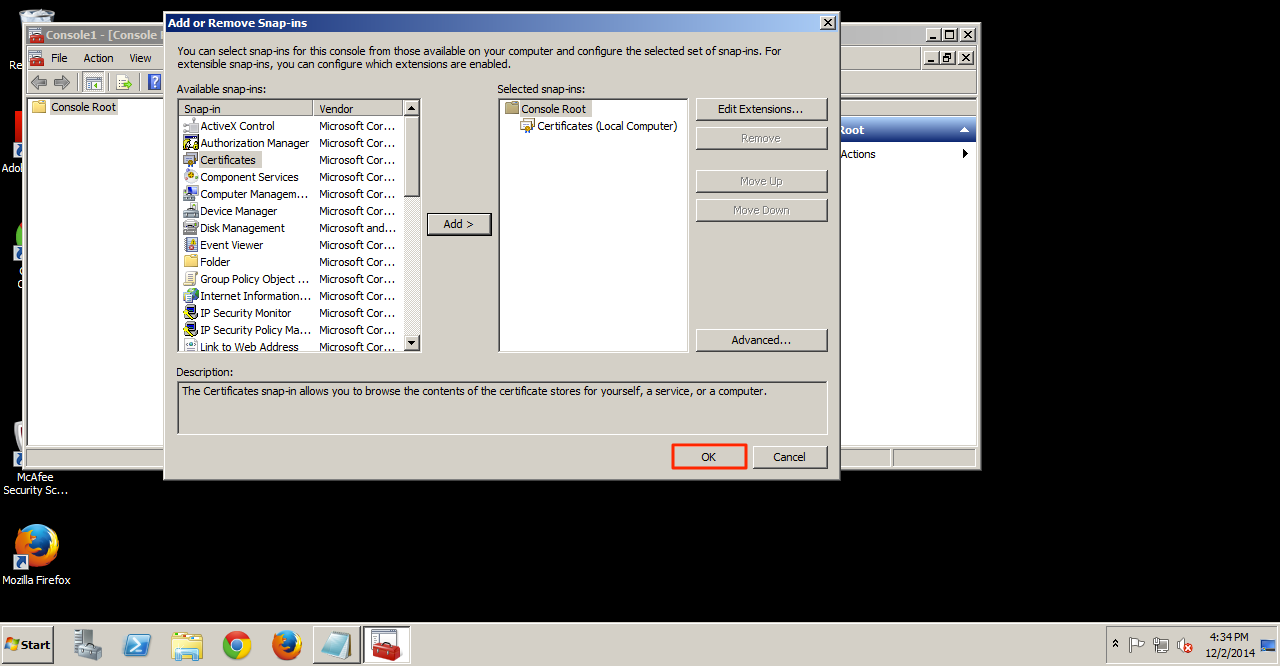
Step 4
Select Certificates and click Add.
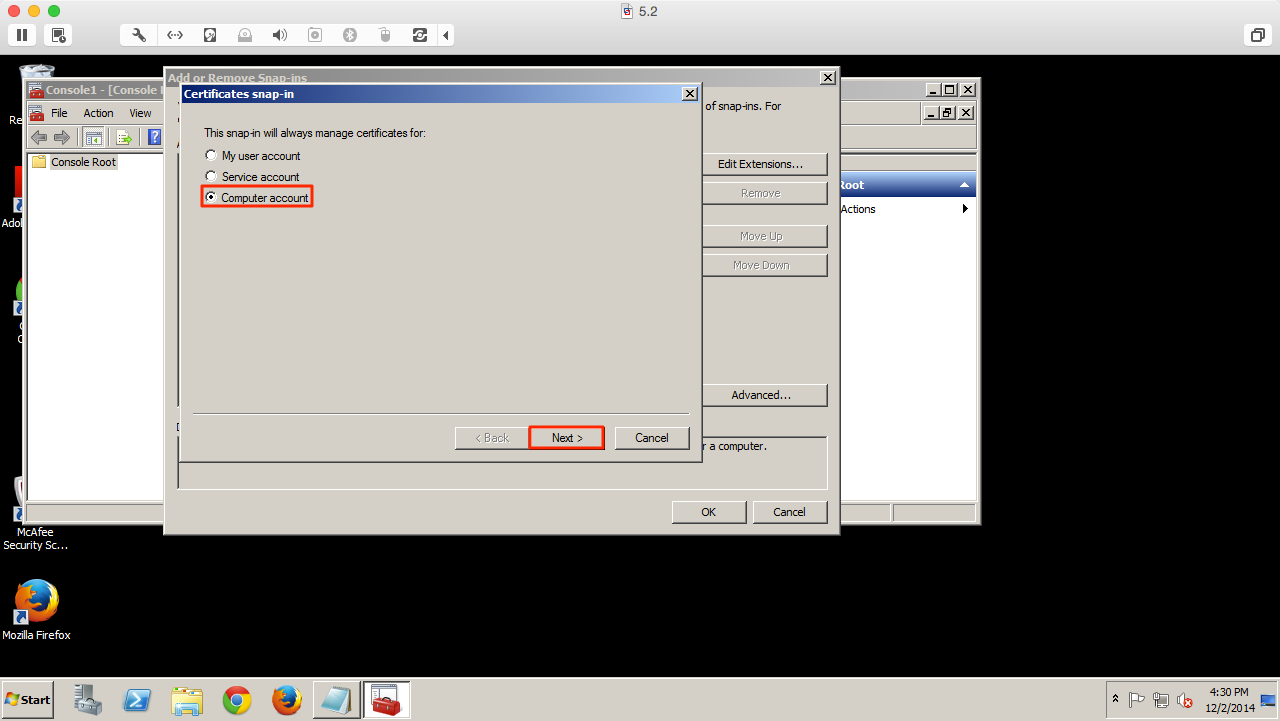
Step 5
In the Certificates snap-in pop-up box, select Computer account and click Next.
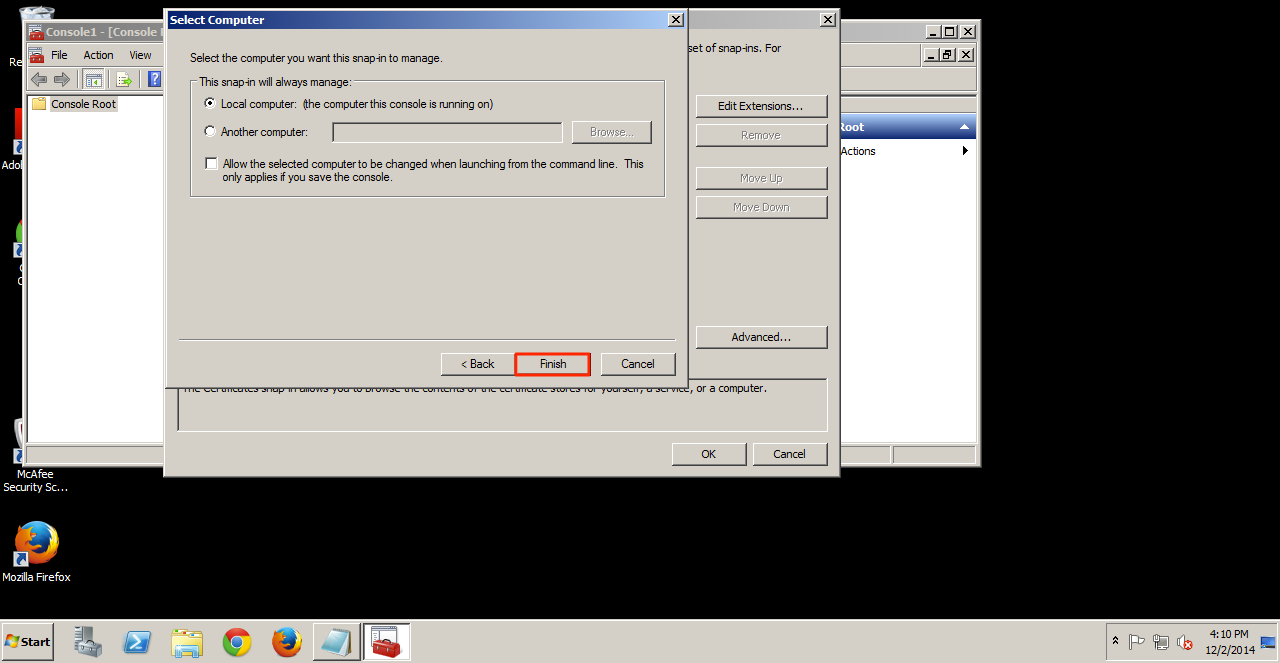
Step 6
Click Finish.
Step 7
Click OK to add your new snap-in.
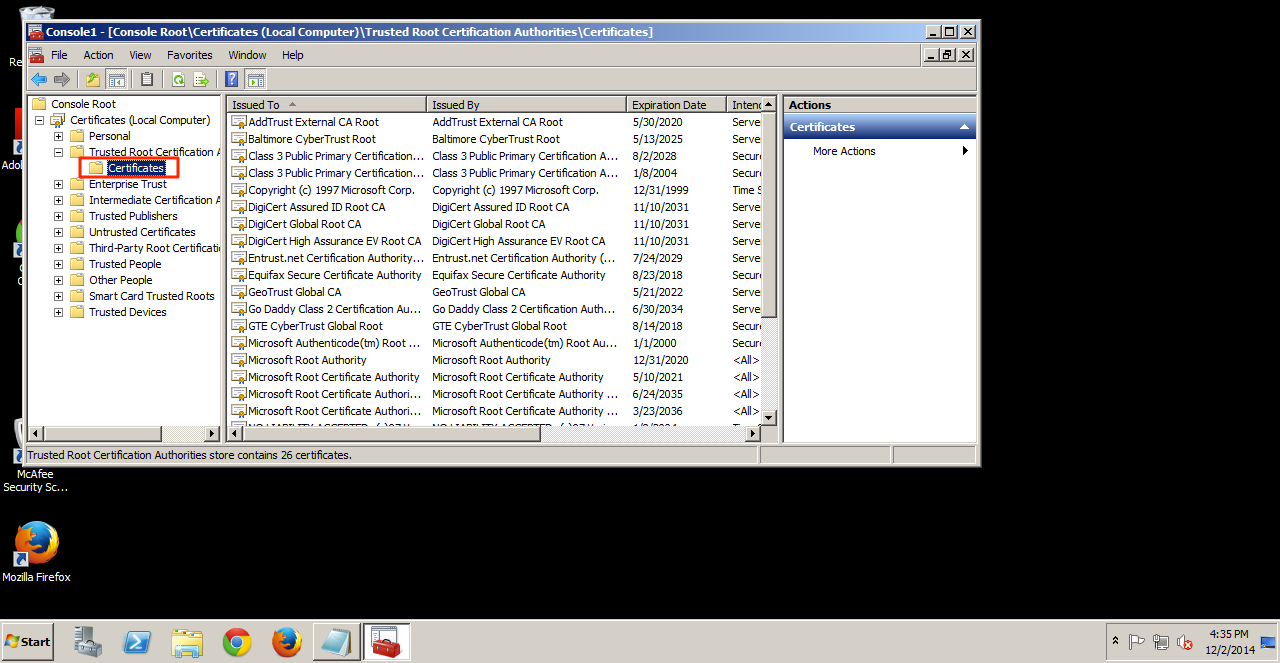
Step 8
From the console tree, expand Certificates (Local Computer), expand Trusted Root Certification Authorities and click Certificates. Trusted certificates will be listed in the details pane.
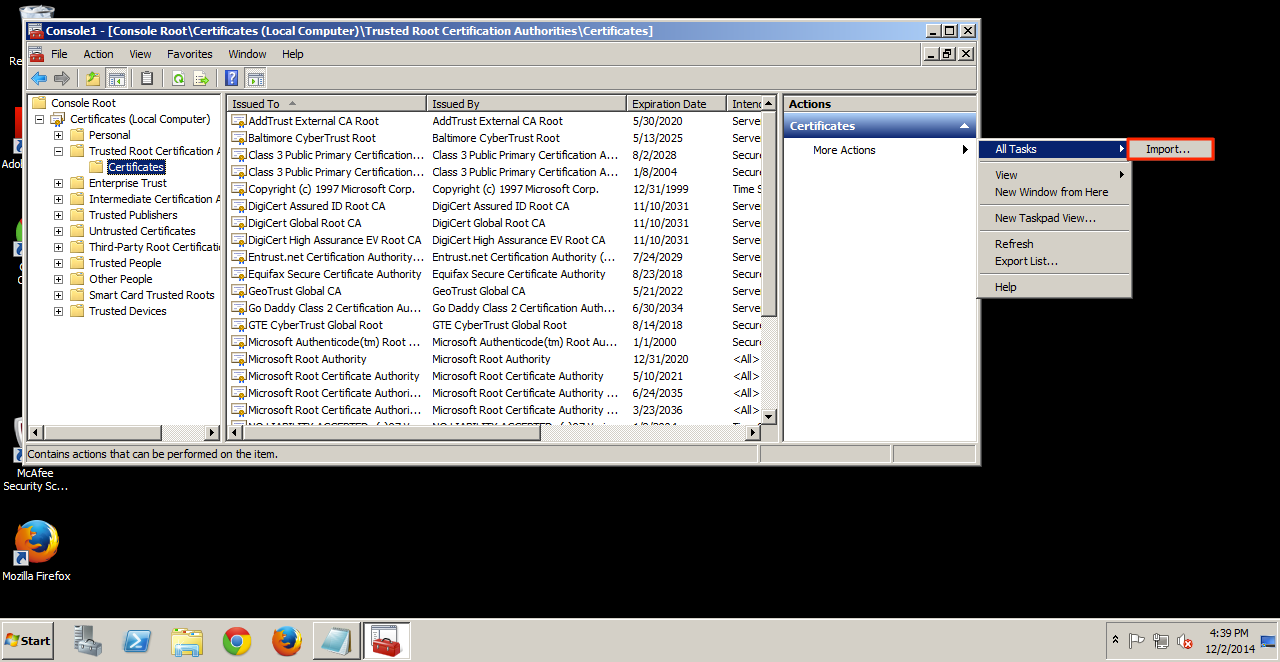
Step 9
Click on More Actions, select All Tasks and Imports and this will bring up the Certificate Import Wizard.
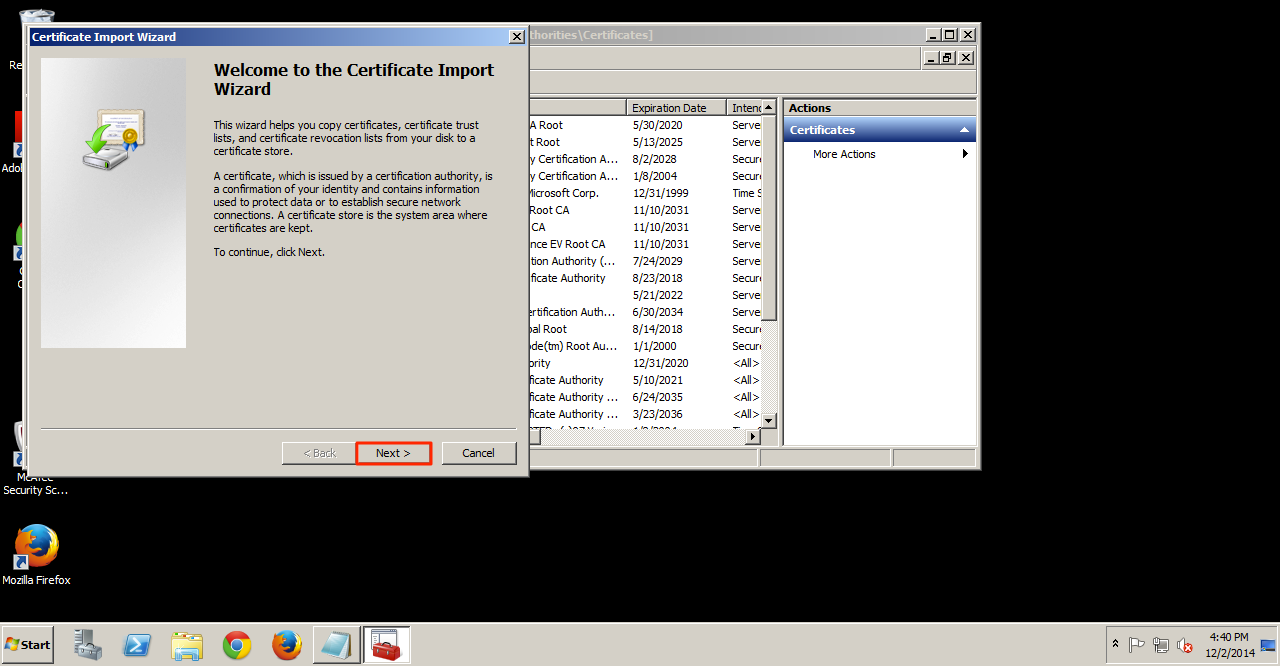
Step 10
Click Next.
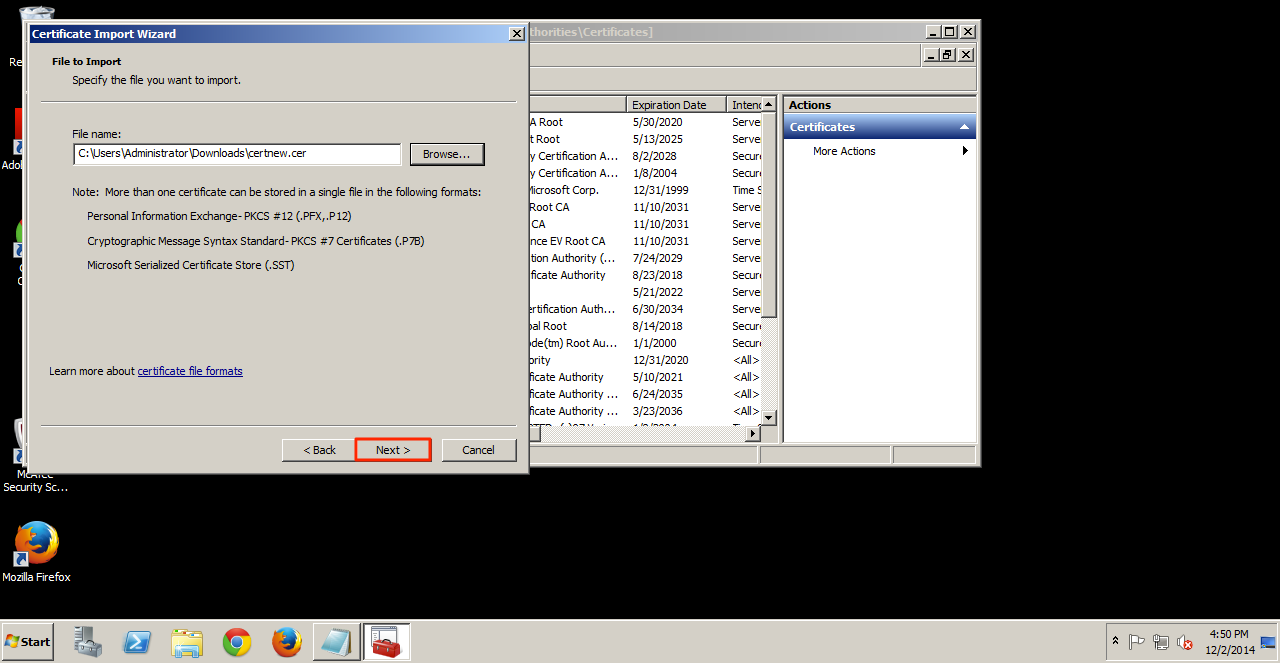
Step 11
Click Browse to browse for the certificate.

Step 12
Select your certificate and click Open.

Step 13
Click Next.
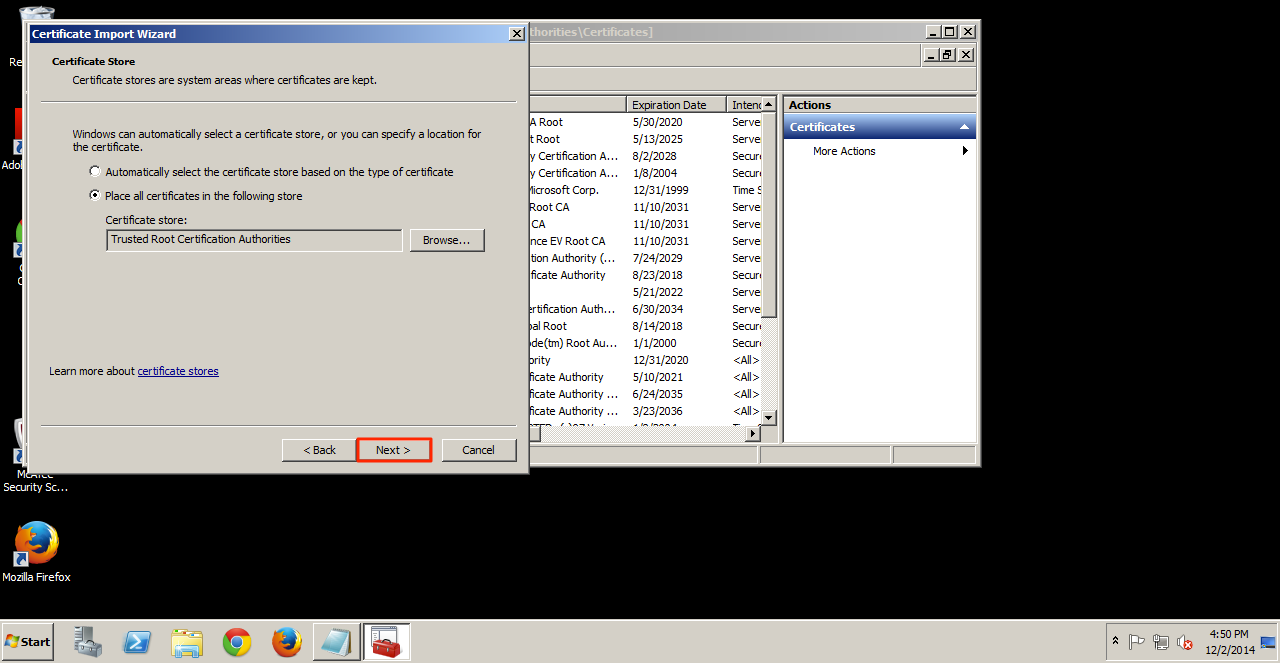
Step 14
Click Next.
Step 15
Click Finish.
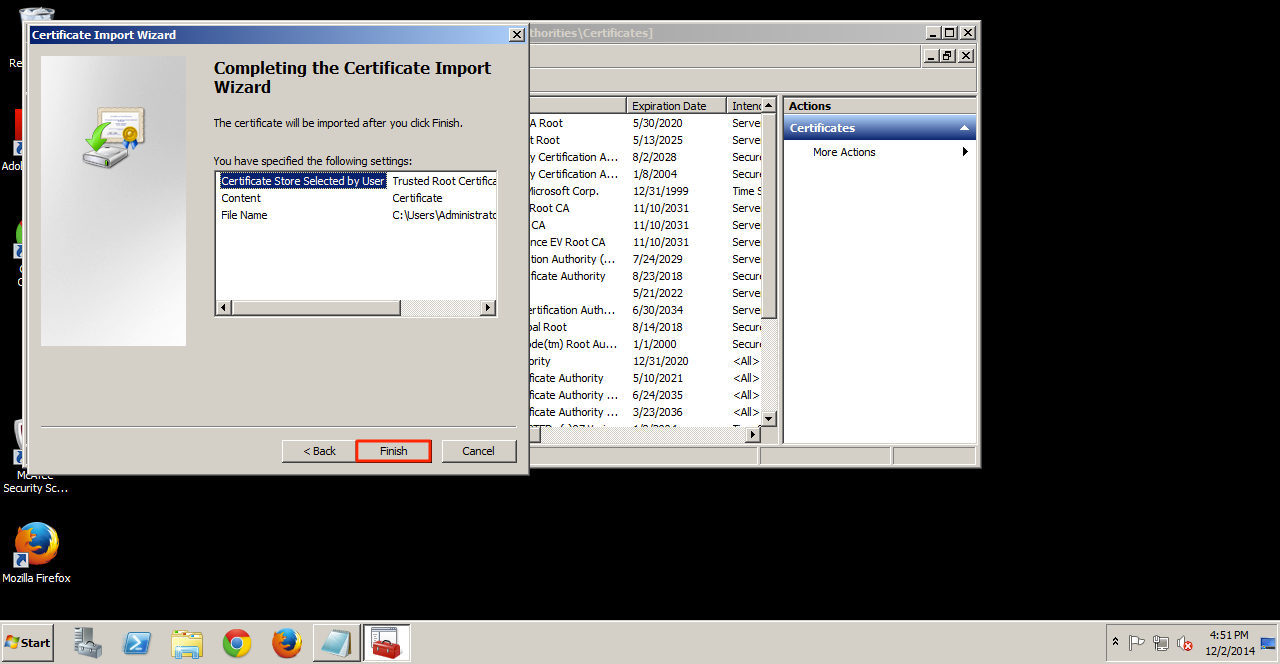
Step 16
A pop-up will confirm if the import was successful.
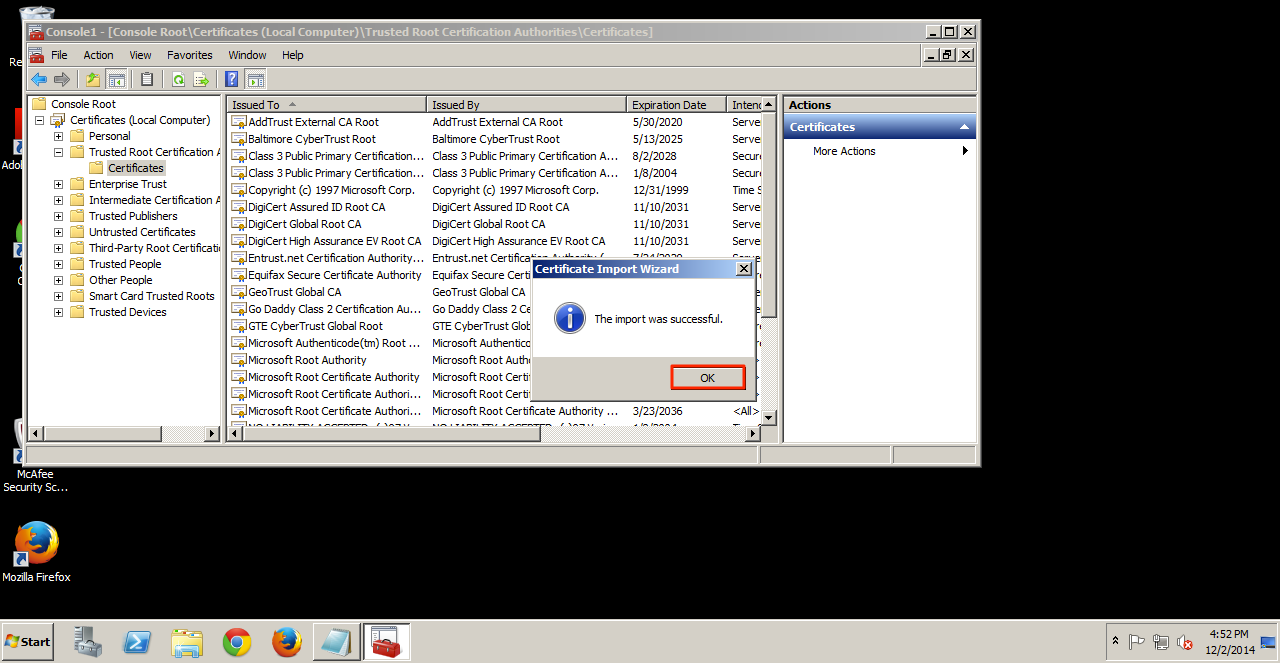
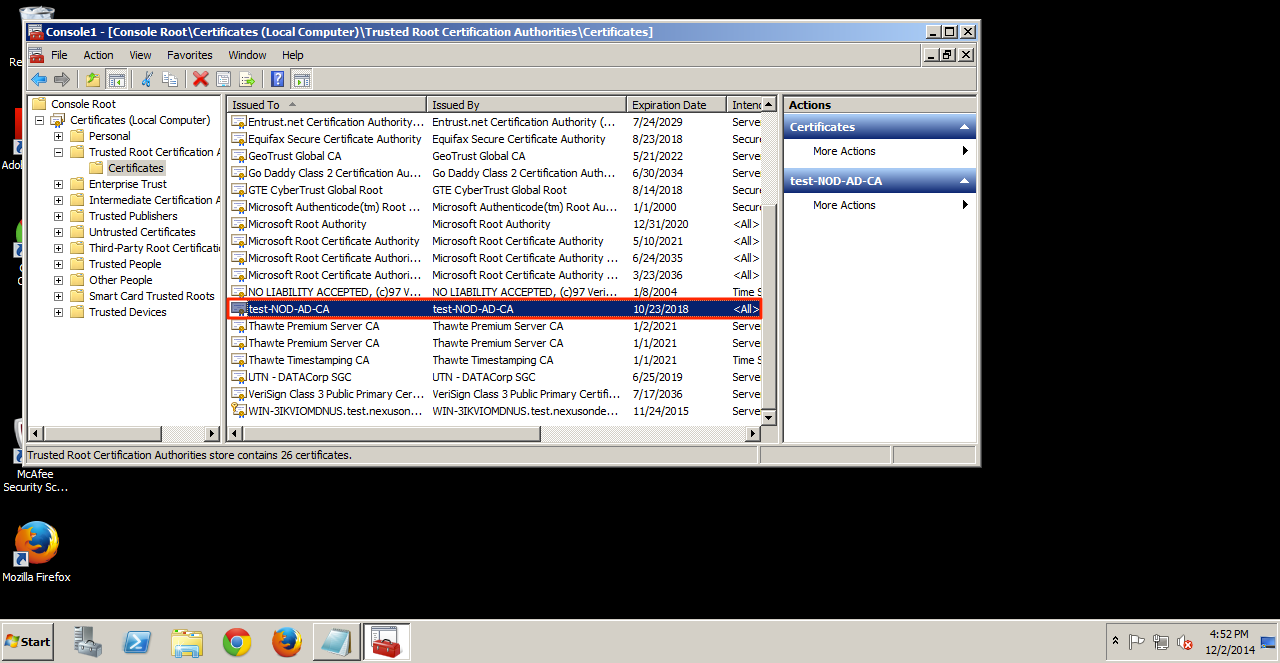
Step 17
Your certificate will be displayed in the details pane.
Configuring AD Authentication Over SSL
Important
You MUST setup the Active Directory in your server with an Administrator-level account BEFORE going through this authentication process.
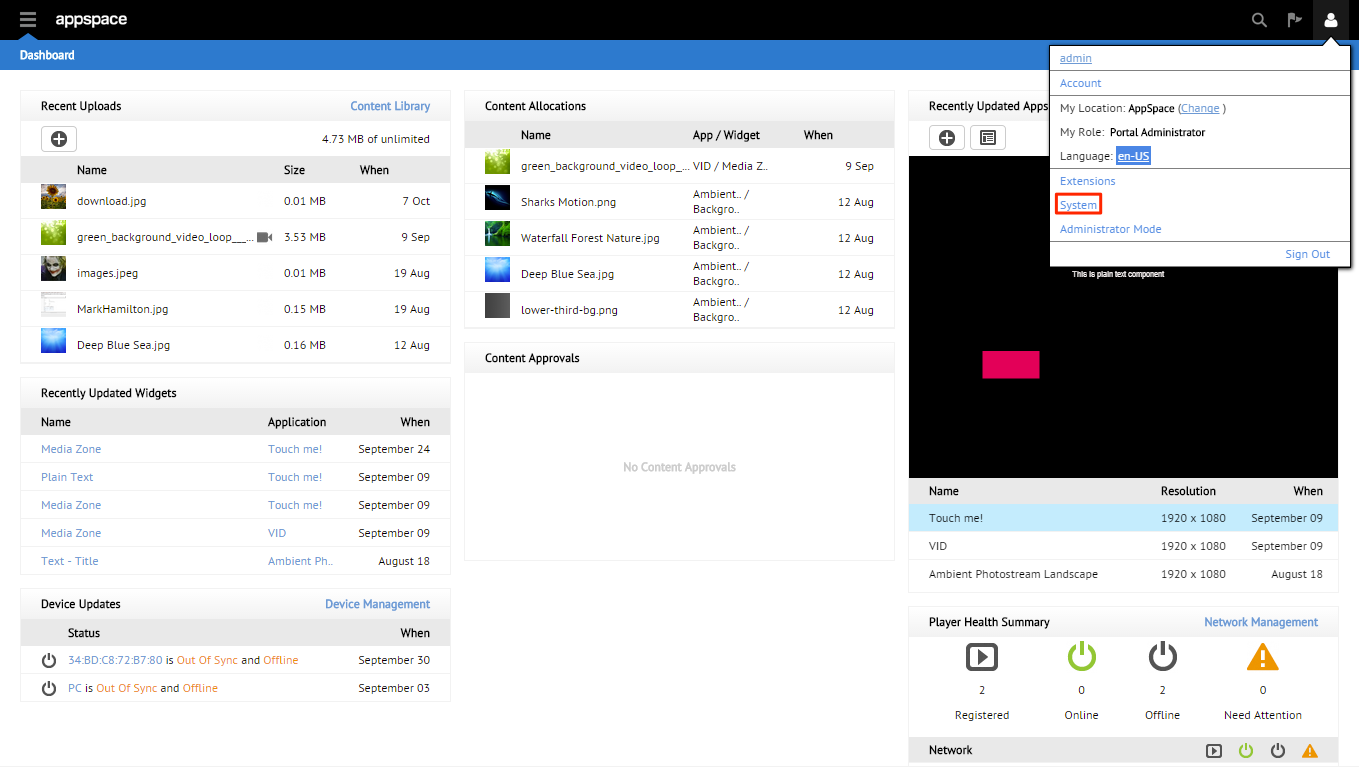
Step 1
Click the profile (settings) icon on the top-right corner of the toolbar and select System tab.
Step 2
Click the Authentication tab and choose AD Authentication from the drop-down menu. To add a Domain click on the + button.

Step 3
Complete the relevant details in the AD Authentication Parameters section, including Server Address, Port, Username, Password, Default Account and Base DN. Click on Validate Connection to verify connection is successful to the AD.
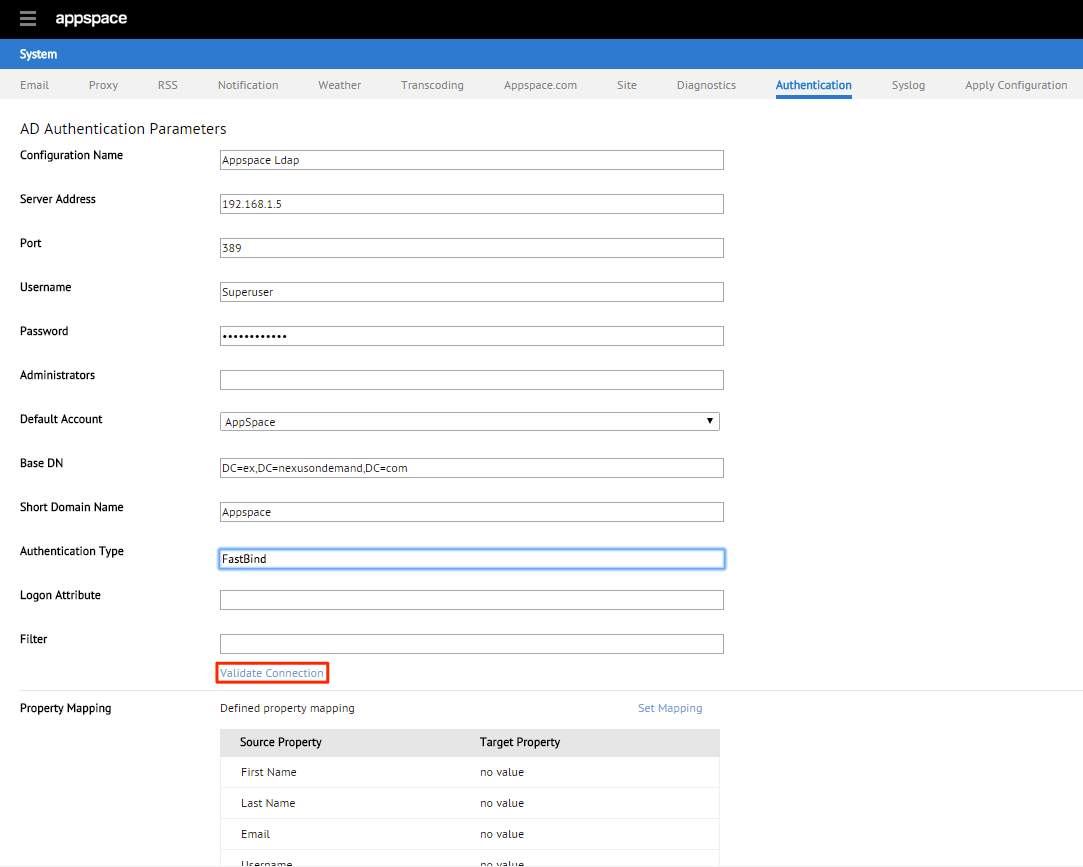
Warning
Please create an Administrator-level account (in this case, Superuser) in your Active Directory BEFORE proceeding with this step to avoid Appspace system lock-outs
Note
The credentials shown in the screenshot are provided only as an example. For more information on obtaining Active Directory credentials, please consult your organization’s IT Department or personnel. For Windows Server 2008 onwards would require the full CN name of users.
Ports: 389 (Non-SSL) / 636 (SSL).
Server Address: The AD server’s IP should never be used when deploying with SSL
Step 4
To validate the configuration fill in the Text Field box with the username of any user that belongs to the Domain and click Submit. A successful validation will display a property table of the user.

Note
If validation fails please ensure that the username belongs to a user that belongs to the Domain in question and also confirm the AD configurations are populated correctly.
Step 5
Once connection is validated proceed to the Property Mapping section to map the Source Property of the user to the Target Property available from the drop down list. You can also set the Automatic User Creation to Enable or Disable.
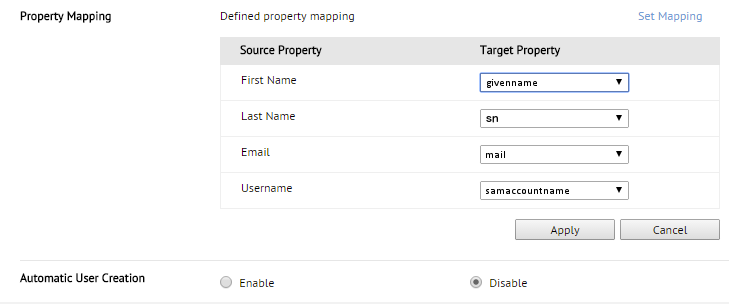
Sample default values:
- FirstName: givenname
- LastName: sn
- Email: mail
- Username: samaccountname
The Enable option will allow users who do not have an existing Appspace login to log in and it will automatically create a login for the user.
The Disable option will allow Administrator to manually Import users however Property mapping must be setup prior to this.
Step 6
Select Yes in the Confirmation dialog box.

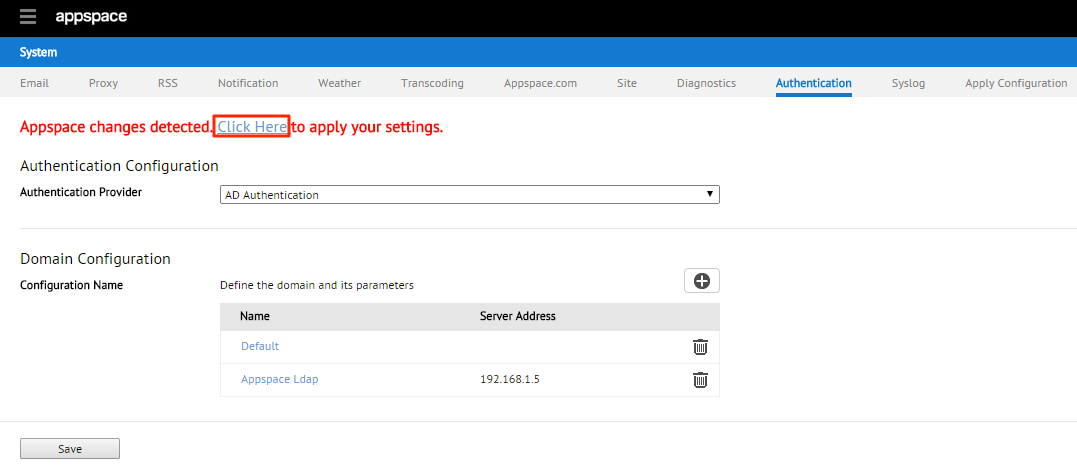
Step 7
The following status message will be displayed at the top of the page. Select the Click Here link to apply the settings you have made.
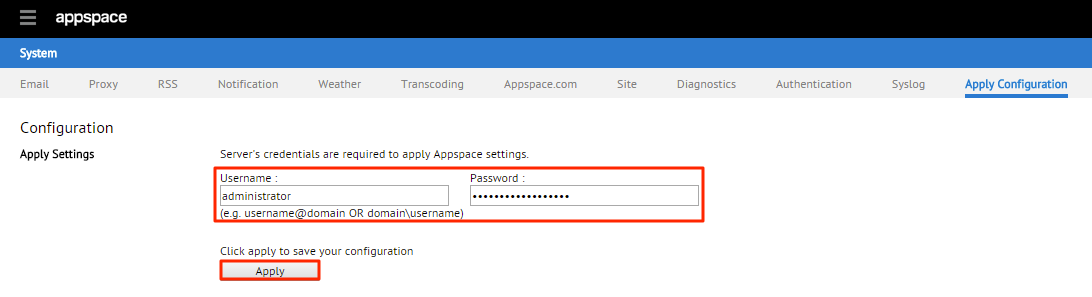
Step 8
A new Apply Configuration subtab will be displayed. Complete the Appspace installation server’s username and password credentials in the relevant sections and click Apply.
Note
In the event of an error message, please verify your authentication settings and credentials. Press the OK button to try again.
Step 9
Click Yes in the Confirmation dialog box.

Note
In the event of an error message, please verify your authentication settings and credentials. Press the OK button to try again.
Step 10
If all the details and credentials were entered correctly, allow a few moments of inactivity while the system restarts itself.

Step 11
Once Appspace has restarted, verify that the AD authentication has been processed by logging out of your Appspace account and logging in again using the AD username (Superuser) and password credentials. If Automatic Creation is enabled it will automatically create the user and upon successful creation user will be presented with the EULA. Click Accept to proceed.
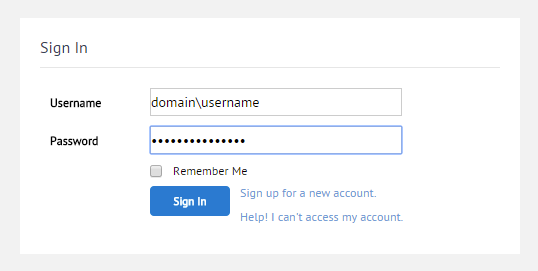
Step 12
If Automatic Creation is enabled it will automatically create the user and upon successful creation user will be presented with the EULA. Click Accept to proceed.

Rolling Back Active Directory Authentication
In some instances (such as On Premises installation), you may need to roll back the AD Authentication method and reuse the Appspace Authentication method instead. The following guide explains the necessary steps to perform this task.
Step 1
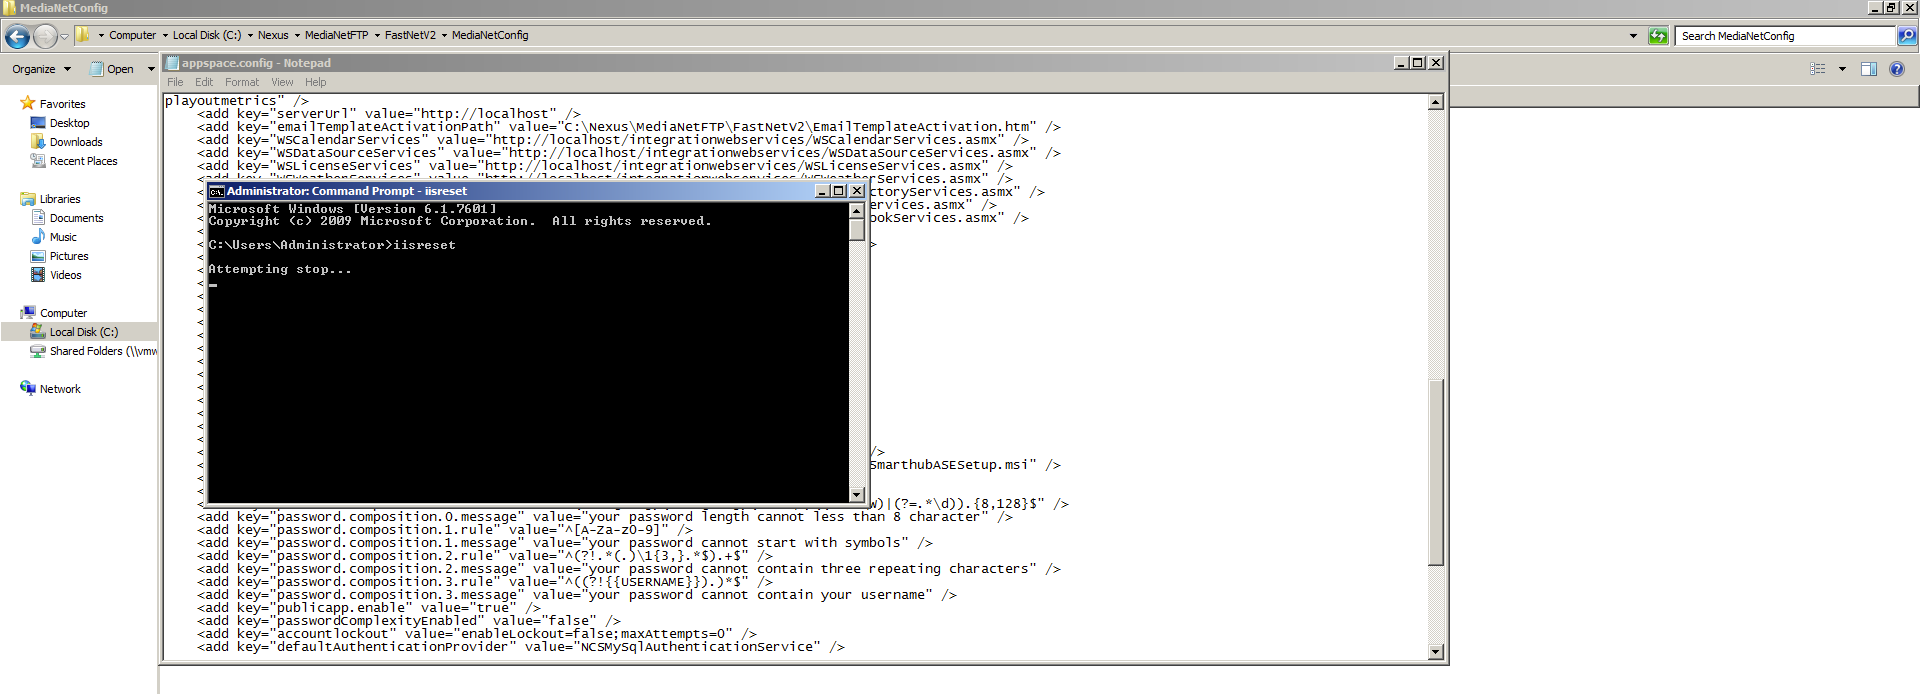
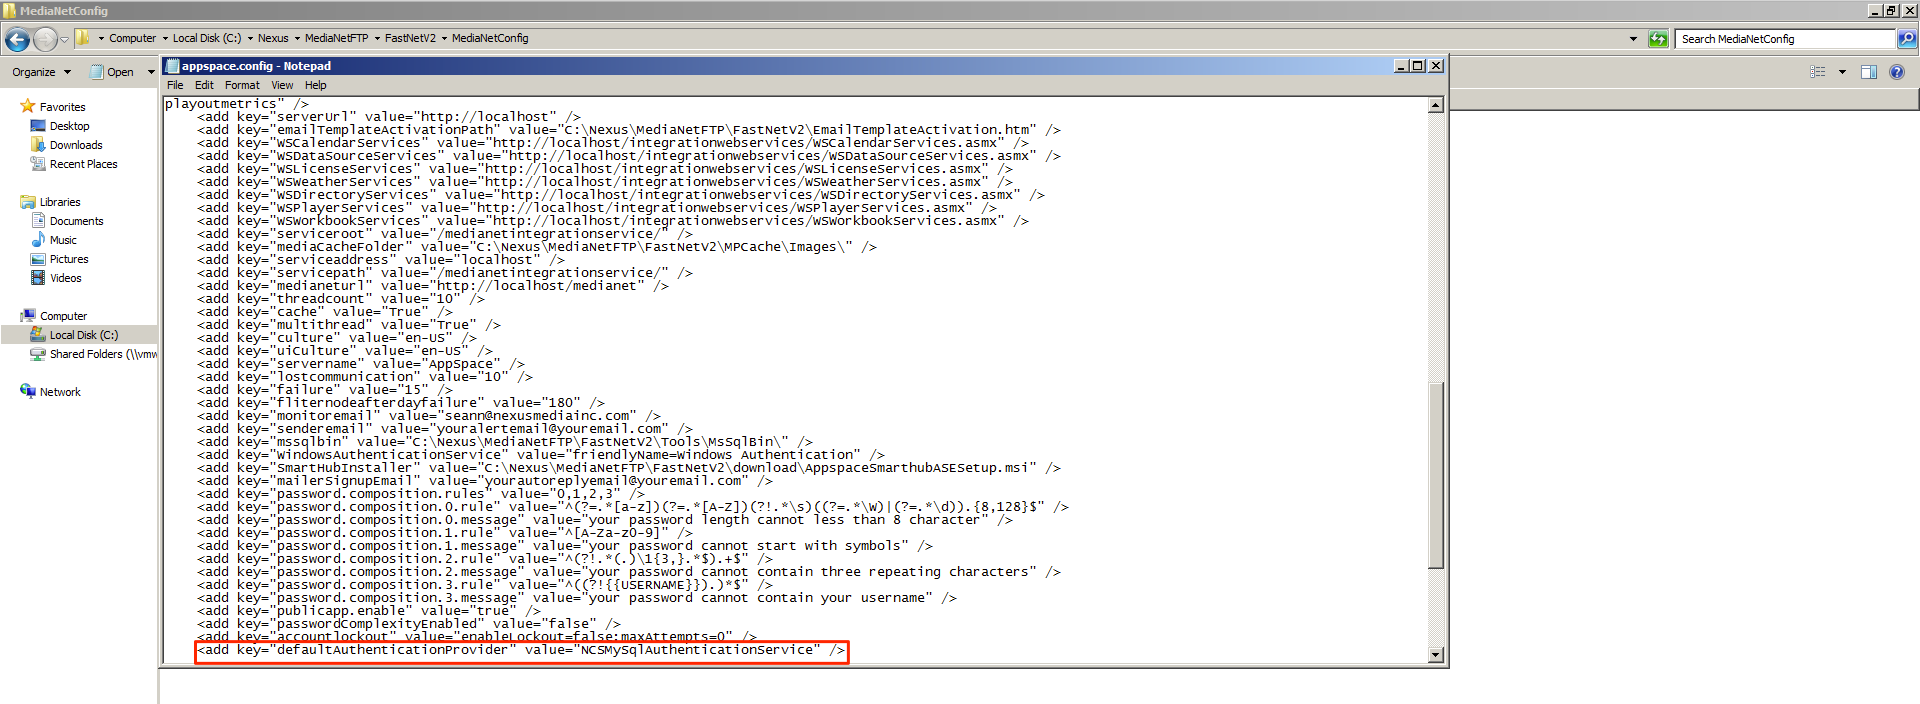
On your Windows server computer, locate the Appspace installation folder and browse to the MediaNetConfig folder (by default it is located at C:/Nexus/MediaNetFTP/FastNetV2/MediaNetConfig).

Step 2
Open the appspace.config file as a text file. Locate the key=”defaultAuthenticationProvider” line, and change the value to “NCSMySqlAuthenticationService” and save your changes.
Step 3
Open the command prompt, and key in iisreset to reset your settings. You may now log in to Appspace using the default Appspace Authentication credentials.