Updating Licenses (Omni Subscribers)
Introduction
Important
This article is only applicable to Omni plan subscribers (i.e. Omni-D, Omni-E, Omni-F, or Omni-G) that are deploying an on-premise instance of Appspace server. If you are a traditional subscriber (i.e. Pro, Pro+, or Enterprise) – please refer to the Applying Add-on Licenses (Traditional) article.
This article will guide you through the process to update your license key for your on-premise Appspace instance. The purpose of updating your license key is so that your server is licensed/enabled to support the latest features (extensions) that are available as well as keeping the total number of Appspace IDs up-to-date with respect to your current Omni subscription plan.
Prerequisites
- Your Cloud user account must be upgraded to one of the Omni subscription plans
- Your on-premise Appspace server instance must have an active Internet connection
- You must have Portal Administrator privileges on your Appspace server
Updating Your Appspace Server License
Step 1
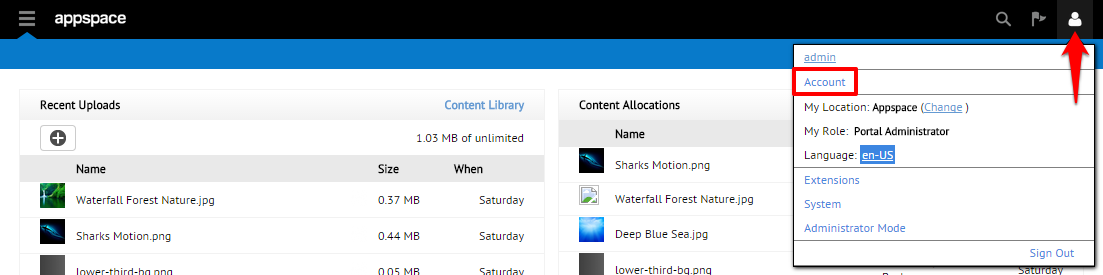
Once you have logged into your on-premise Appspace server instance, begin by accessing the Account page.
Step 2
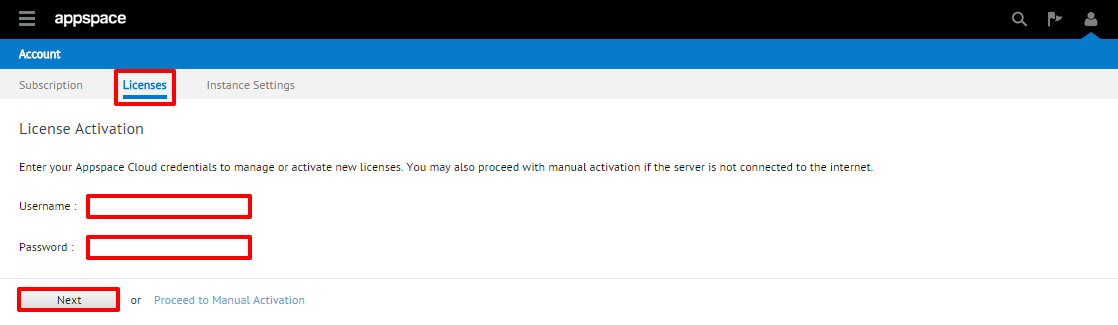
Click on the Licenses tab, and enter your Cloud account credentials in the username (typically an e-mail) and password fields on the License Activation page. Click Next to continue.
Note
Make sure that you are using a Cloud account with the most up-to-date Omni subscription plan for your organization.
Step 3
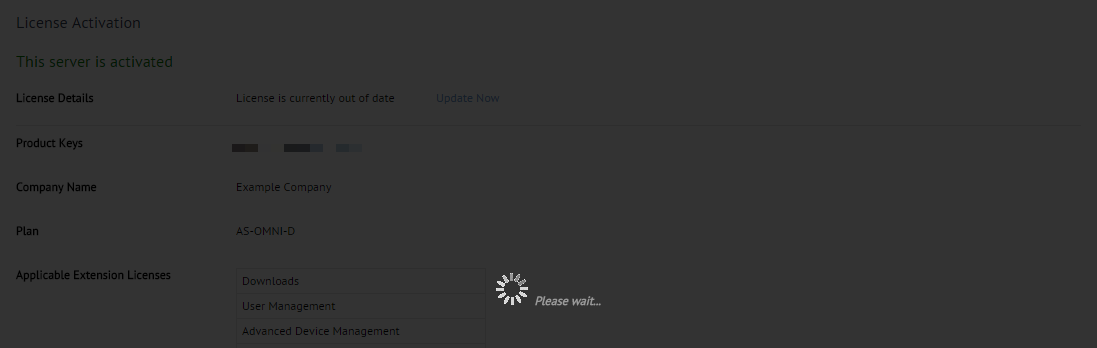
Your Appspace server should then authenticate your Cloud account to pull your Omni subscription plan and license information. Should the system detect that your current license key is not the newest, the page should reflect that your “License is currently out of date”. To proceed with updating your license key, click on the ‘Update Now’ link.

Step 4
You may see a “Please wait…” message for a minute or two. During this time, your Appspace server is again communicating with the Cloud server database to generate a new license key, downloading the key itself, and updating your server’s license key.
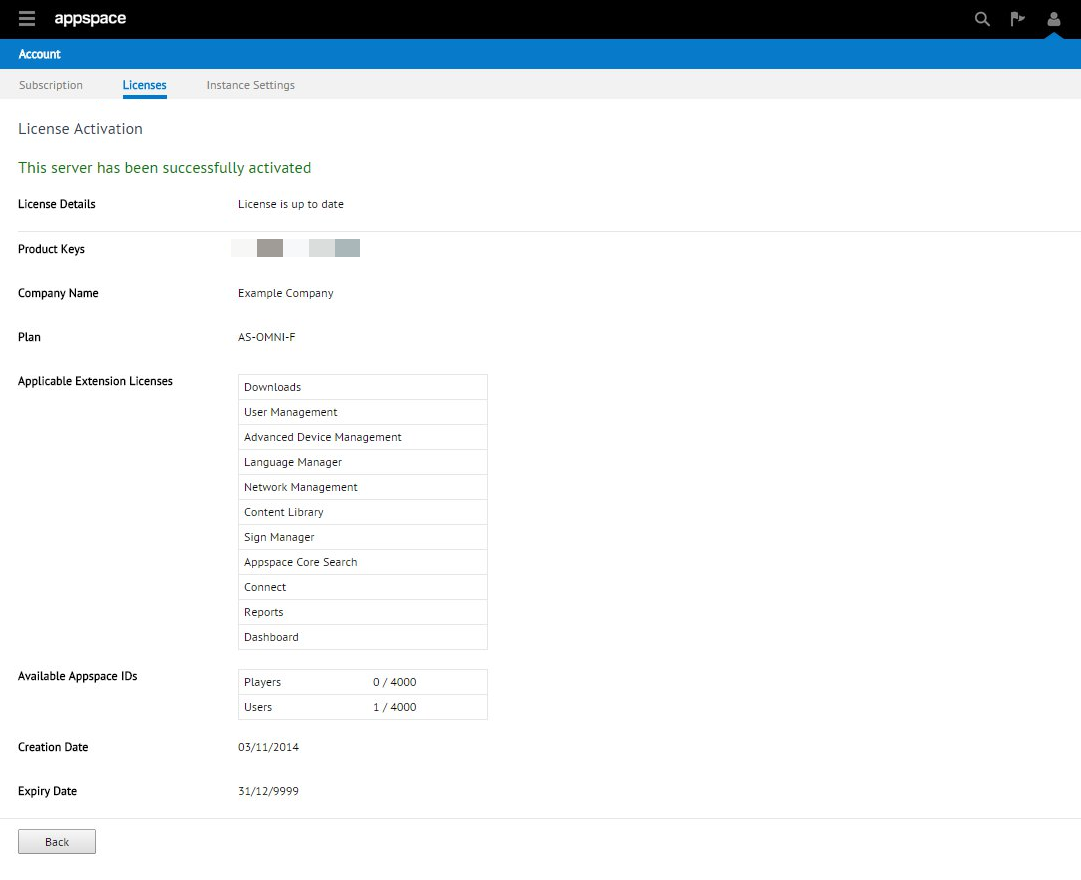
Step 5
If everything is successful, you should see a confirmation message at the top of the next page and the License Details field should read “License is up to date”. The details for your updated server instance should now be listed on this page that covers everything including your current Omni subscription plan, applicable extension licenses, as well reflect your available Appspace IDs.