MySQL 5.6 Installation and Configuration
Introduction
The MySQL server database is a required component for the operation of Appspace. An instance of the MySQL server database must be installed and configured, prior to installing Appspace.
The following describes the steps to complete the installation process of the MySQL server for the installation of Appspace.
Step 1
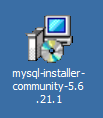
Locate and launch the MySQL 5.6 installer file on your server machine.
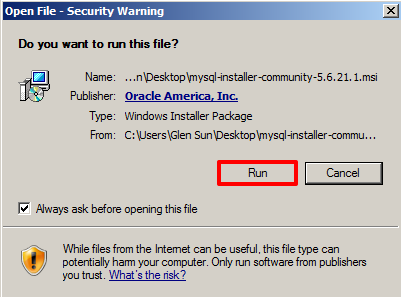
If prompted, click Run to proceed through the security warning.
Step 2
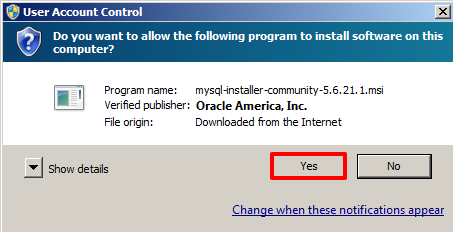
If prompted, click Yes to allow the program to install software on the local machine.
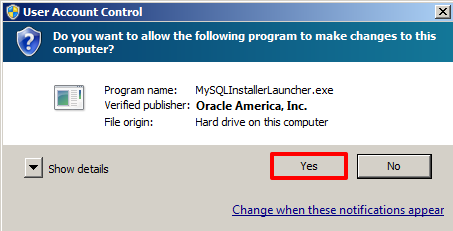
Similarly, click Yes to allow the program to make changes to the computer.
Step 3
Check the box to accept the license terms and click Next on the ‘License Agreement’ window.

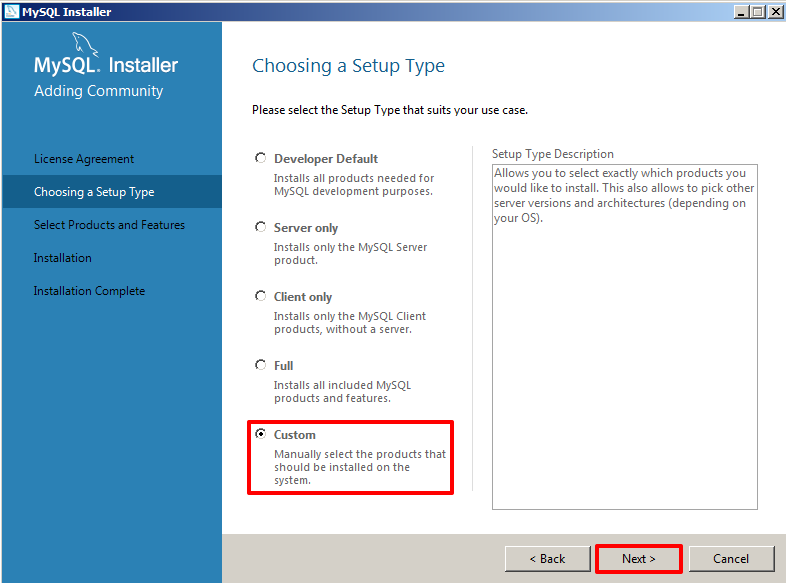
Step 4
Select the Custom option on the ‘Choosing a Setup Type’ window and click Next to continue.
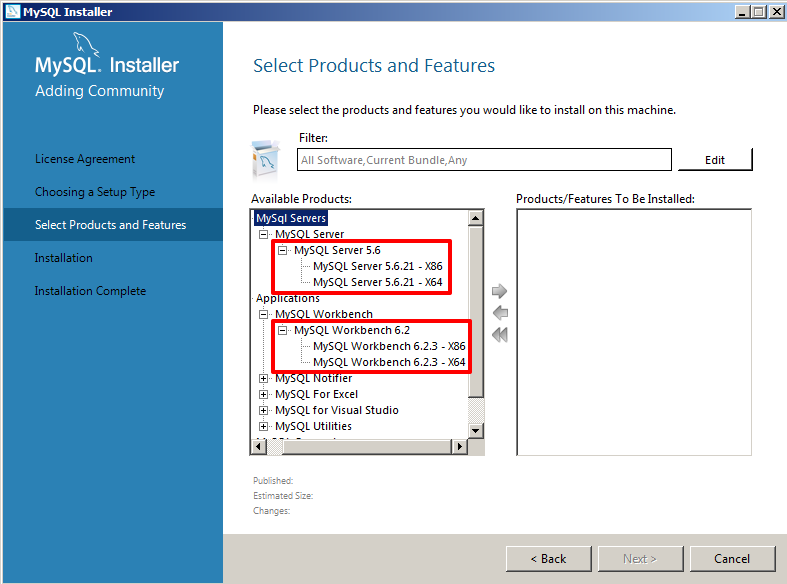
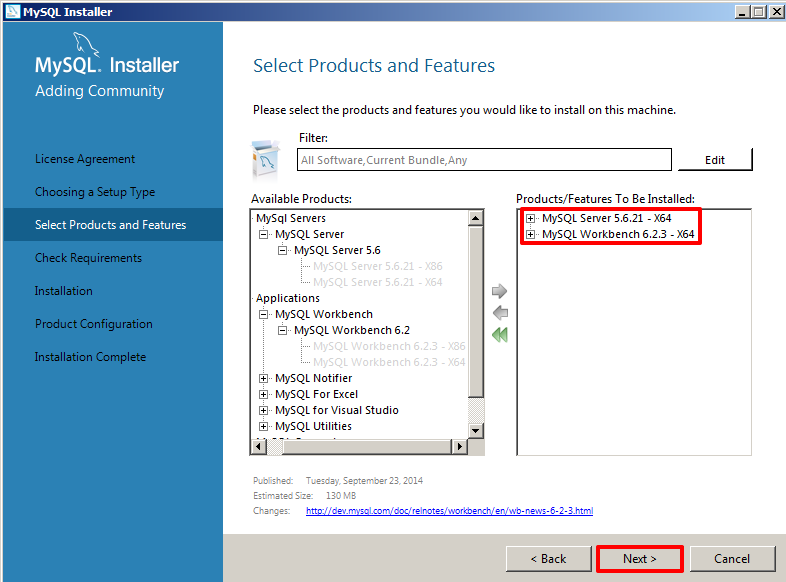
Step 5
On the ‘Select Products and Features’ window, ensure the following options are selected and moved under the ‘Products/Features To Be Installed’ section.
- MySQL Server 5.6.23 (either the x86 or x64 version depending on your server)
- MySQL Workbench CE 6.2.3 (either the x86 or x64 version depending on your server)
Danger
Only select these 2 options. Leave all the other options unchecked. It is important to make sure that the other options (such as MySQL Connectors) are not selected during the MySQL installation.
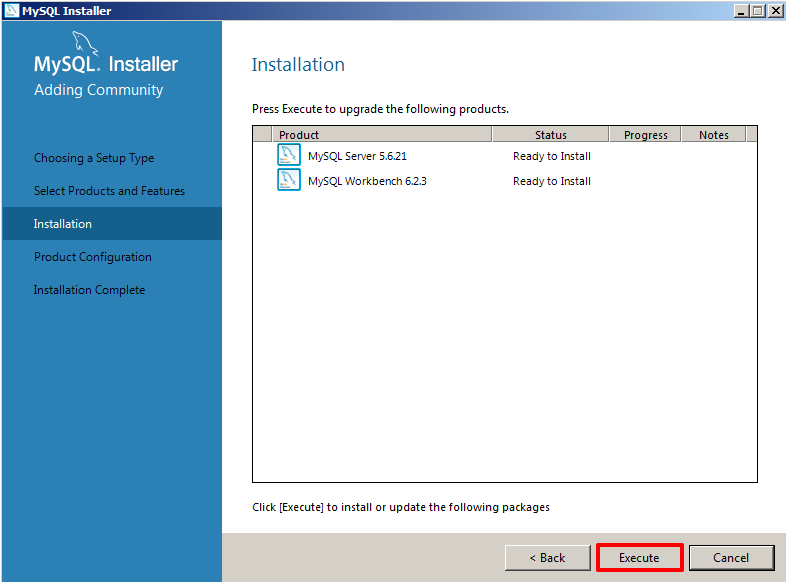
Step 6
Click Execute on the ‘Installation Progress’ window.
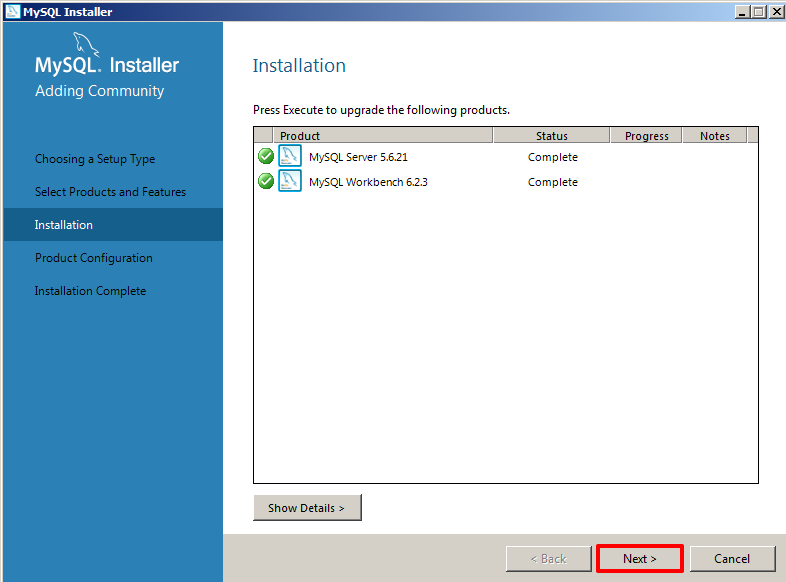
Step 7
When the installation has completed, click Next to continue.
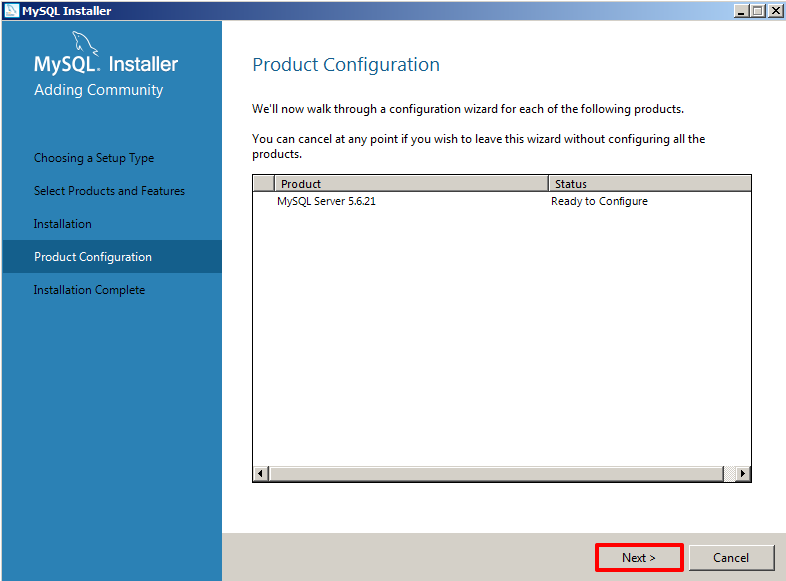
Step 8
Click Next on the ‘Product Configuration’ window.
Step 9
Begin the MySQL server configuration by selecting Server Machine from the Config Type drop-down menu. Under Connectivity, check ‘TCP/IP’ and set the ‘Port Number’ as 3306. Also check ‘Open Firewall port for network access’ and ‘Show Advanced Options’. Click Next to continue.

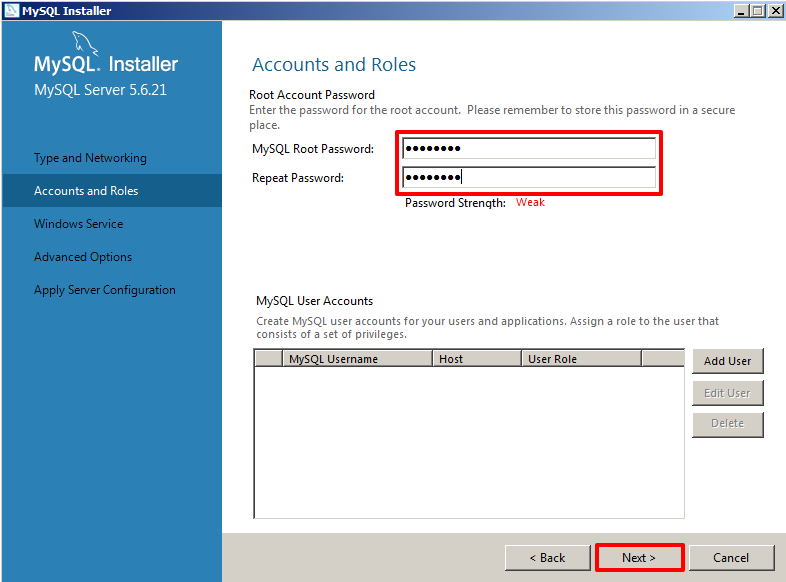
Step 10
Enter the MySQL Root Password as: g56*k9lp (note: it is a lower case L between 9 and p). Confirm the password a second time and click Next.
Warning
You may choose your own custom MySQL password for the root account. The stated g56*k9lp is a suggested/recommended password and will be referenced at a later point in this guide. If you select your own custom password, please take special care to note and write it down to be used later.
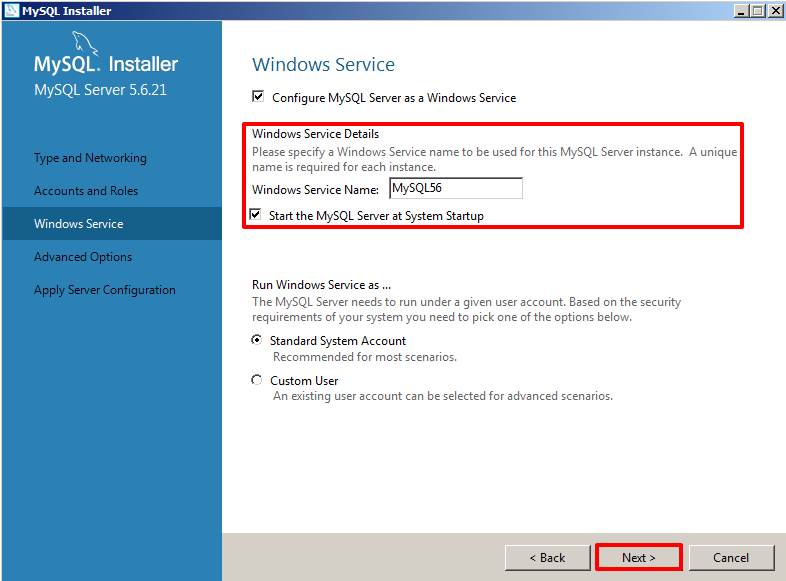
Step 11
You may optionally choose to assign/change the Windows Service Name or keep the default value. Check the box for ‘Start the MySQL Server at System Startup’. Click Next to continue.
Step 12
In the ‘Logging Options’ window, the ‘Slow Query Log’ option is selected by default. You may check additional options if desired. Click Next to continue.
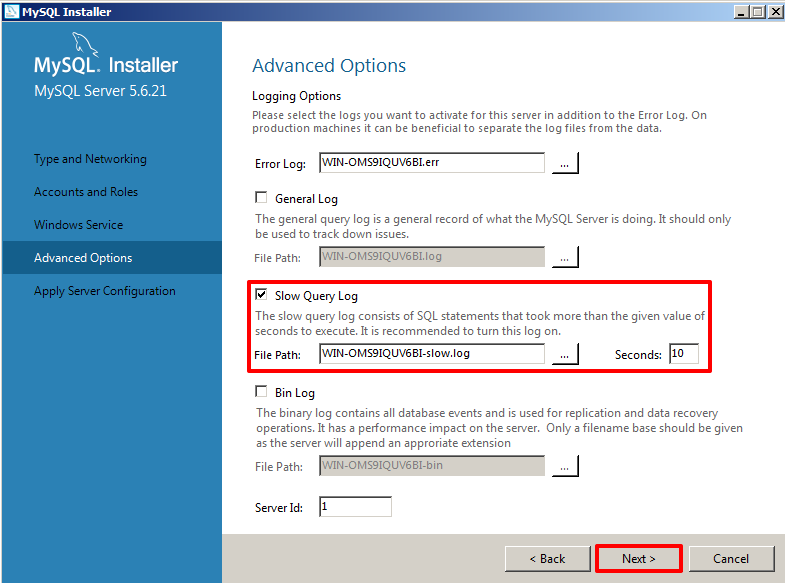
Step 13
Click Execute on the ‘Apply Server Configuration’ window to begin the configuration process. Allow a few minutes for the configuration process to complete.

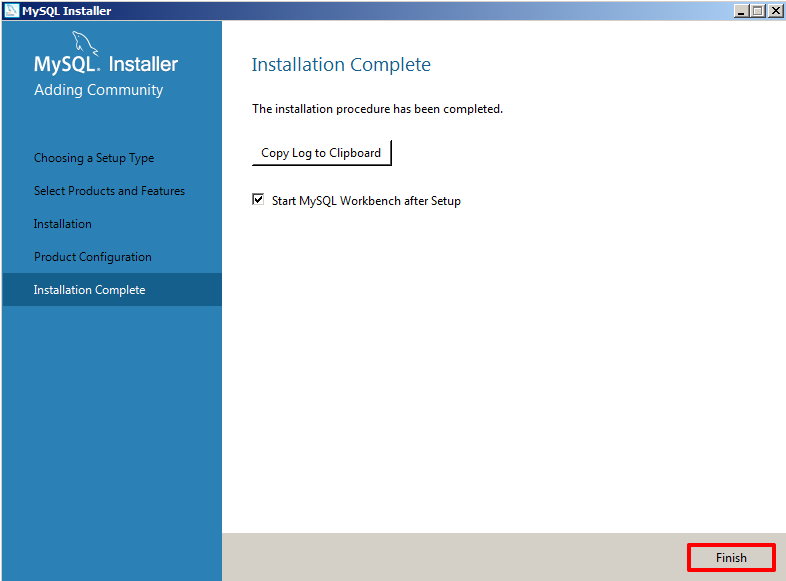
Step 14
Click Finish on the ‘Installation Complete’ window to exit the installer.

Note
You have completed the MySQL 5.6 Installation and Configuration. You may now proceed to the MySQL Setup (Workbench) article.