Getting Started
Important
This is only applicable for On-Premise deployments.
The purpose of this guide is to quickly bring you up to speed with the Extension Manager extension. To do so, we will cover three key sections:
- Section 1: Adding (Installing ) Extensions
- Section 2: Rearranging Extensions
- Section 3: Deleting or Disabling Extensions
Section 1: Adding (Installing ) Extensions
In order to add additional extensions to your Appspace instance, you must already have the extension file downloaded. As previously mentioned, extensions are most typically obtained from the Appspace Marketplace. The Marketplace is most easily accessible through your Appspace Cloud account, but may also be accessed in a similar fashion if your on-premise Appspace server is properly configured and already set up for Cloud Linking.
Note
Extension files are packaged in a .zip archive format. Preserve this file format for the extension and proceed without unpacking the contents.
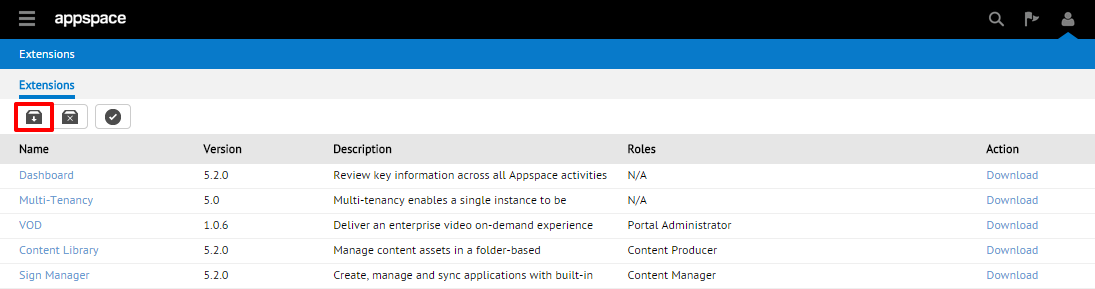
Step 1
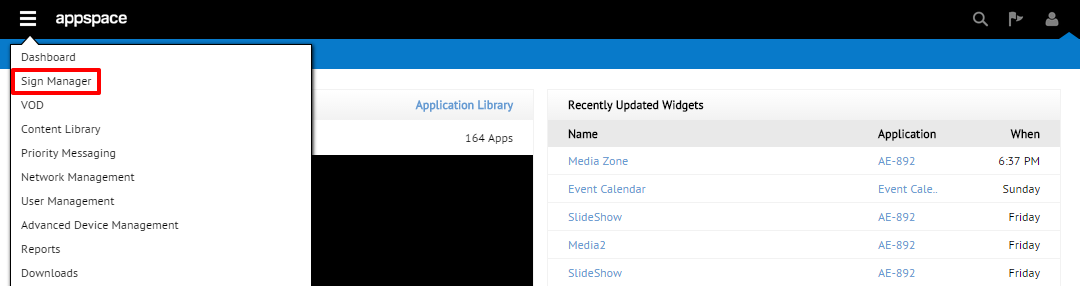
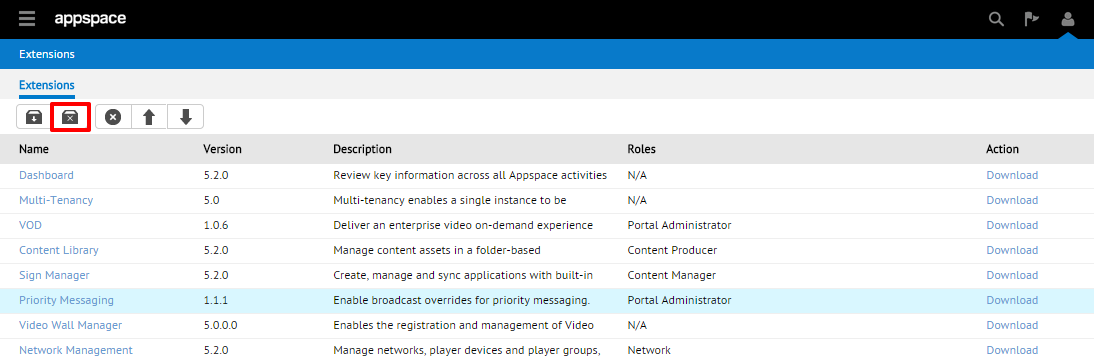
From the Extensions page, click on the Install quick-launch button.
Step 2
On the Create New Extension page, click on the folder (browse) icon and select the extension to be added from your local machine. Extensions should be in the .zip archive format. Click Upload to continue.

Note
The upload process may take some time, depending on the extension’s file size and speed of the network connection between the local machine and the Appspace instance.
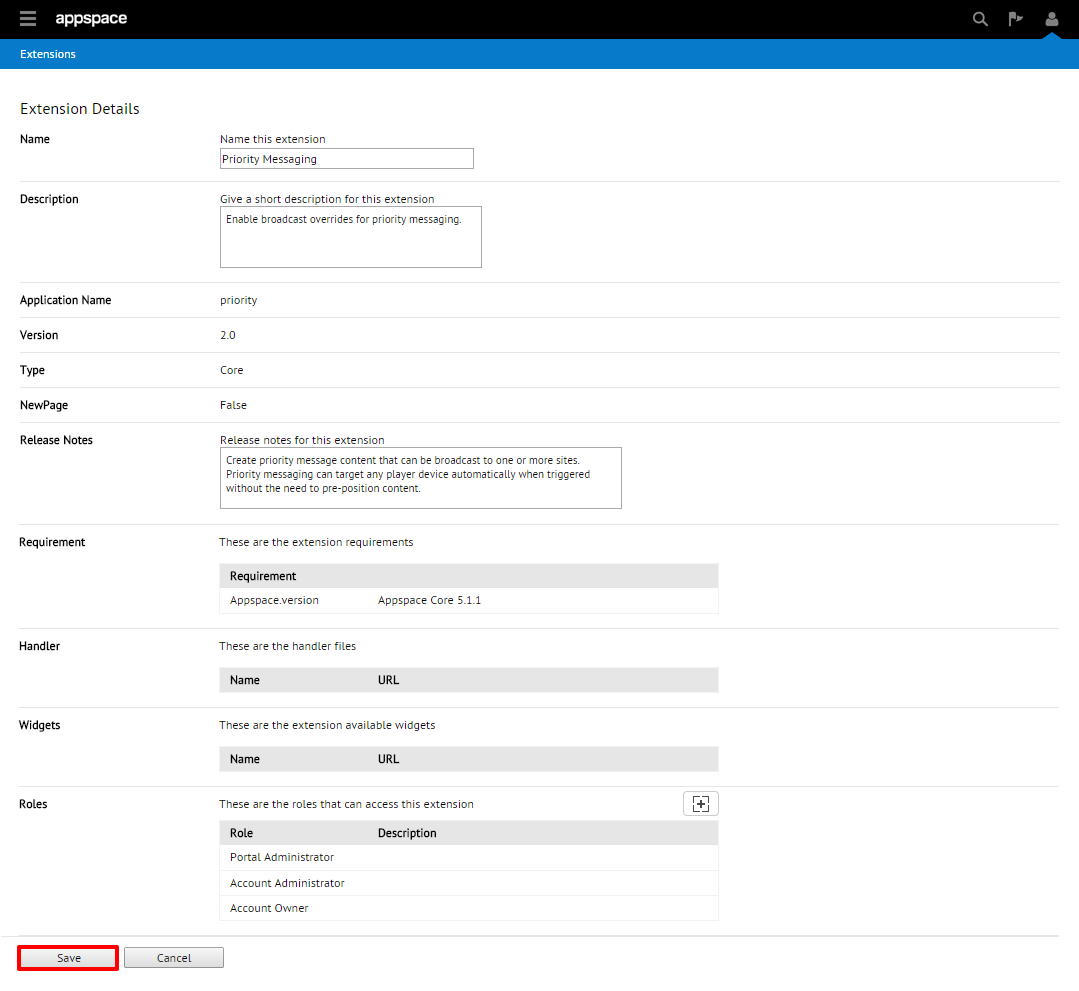
Step 3
Review and verify the details of the extension. Most of the fields should be auto-populated with the default values. Click Save to finish adding the extension and return to the main extensions listings. The newly added extension should now appear and available to be accessed on your Appspace server instance.
Section 2: Rearranging Extensions
The Extensions listings page sorts and lists the extensions in a particular order that is reflected in various user interface locations on your Appspace instance.
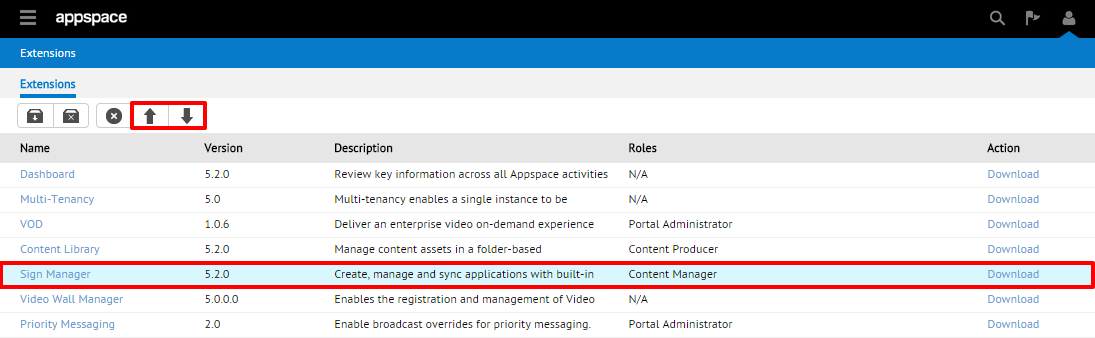
Step 1
From the Extensions page, click to select one of the extensions. The entire row should be highlighted to denote and help you confirm your selection. You should notice two arrows appear in the quick-launch shortcuts.
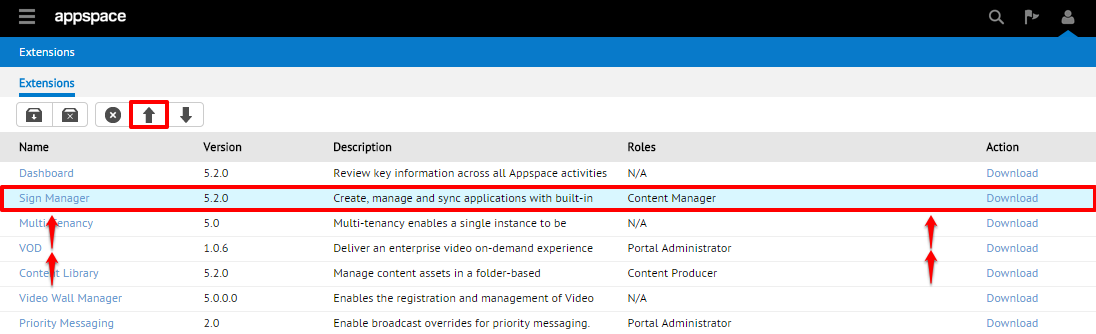
Step 2
By using the Up or Down arrows, you should be able to rearrange and move the selected extension to the desired priority (appearance) order.
Step 3
You should be able to verify that the extension now appears in the desired order from the extension stack drop-down menu.
Note
You may have to log out and log back into your Appspace instance to see the extension reappear in the proper order in the extension stack drop-down menu.
Section 3: Deleting or Disabling Extensions
There are two different options for an administrator to remove access to an extension from a global level. If you have an extension on your Appspace server that you choose to remove (possibly for re-installation or upgrade reasons) – you should use the Delete option to completely remove the extension from the server. You also have the ability to Disable an extension which renders the extension inaccessible by all users on the server until it has been re-enabled. Disabling an extension will preserve all configurations, data files, and assets that are related to that extension.
Deleting Extensions
Step 1
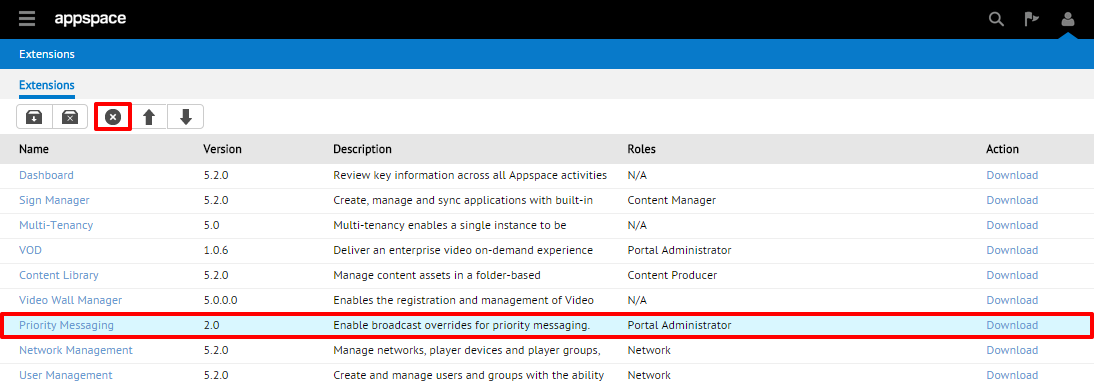
From the main Extensions page, click to select the extension you wish to delete and remove from the Appspace server (the selected extension’s row should be highlighted in light blue). Click on the Delete button from the quick-launch shortcut bar.
Step 2
In the Confirmation dialog box, verify that you have selected the correct extension to be removed. Click Yes to continue. You should be returned to the extensions listing page where the removed/deleted extension should no longer be visible nor accessible on the server.

Disabling Extensions
Step 1
From the main Extensions page, click to select the extension you wish to disable on the Appspace server (the selected extension’s row should be highlighted in light blue). Click on the Disable button from the quick-launch shortcut bar.
Step 2
In the Confirmation dialog box, verify that you have selected the correct extension to be disabled. Click Yes to continue. You should be returned to the extensions listing page where the disabled extension should be grayed out – indicating that it has been disabled. The extension will now be inaccessible and not appear in the extension stack drop-down menu.


Note
To re-enable the extension, simply perform the same process as disabling but use the Enable button from the quick-launch shortcut bar.
Recap
You should now be familiar with the Extension Management page that allows you to administer the following things:
- Add/install new extensions to your Appspace server
- Re-arrange extensions for a more customized UI navigation experience
- Delete or disable any unused extensions on your server