Managing Language Packs
Important
This is only applicable for On-Premise deployments.
Introduction
This guide will detail the basic steps involved in adding, importing, editing and removing languages in the Appspace Language Manager extension.
Adding New Language Packs
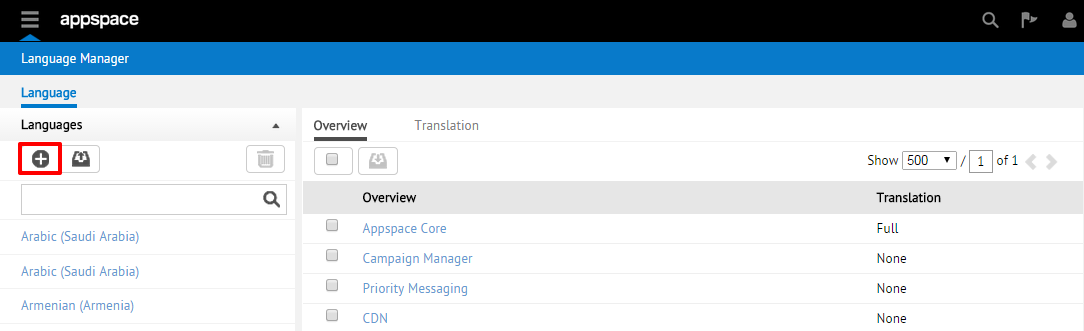
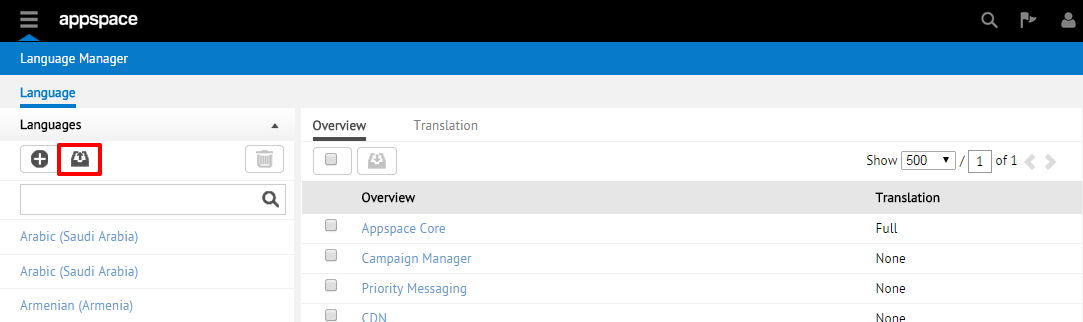
Step 1
From within the Language Manager extension, click the + (Add New Language) icon.
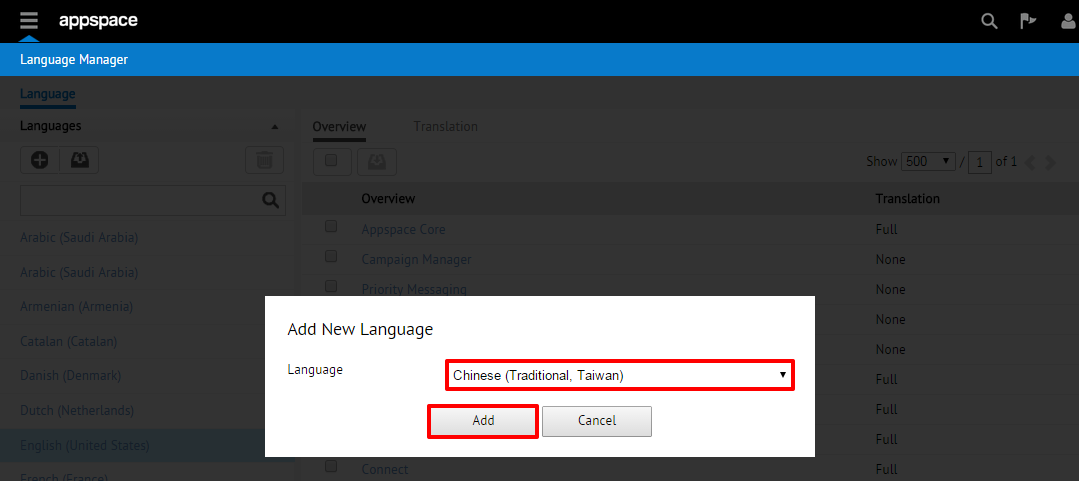
Step 2
On the Add New Language popup window, select the desired language pack to be added from the drop-down menu. Click Add to continue.
Step 3
The page will update to reflect the newly added language pack in the list of installed languages. The Overview sub-tab displays the status of translations for this language, with the Translation column indicating None for all extension modules. Select the Translation tab to begin adding translations to this language pack (refer to the Editing Languages section for more information).

Removing Language Packs
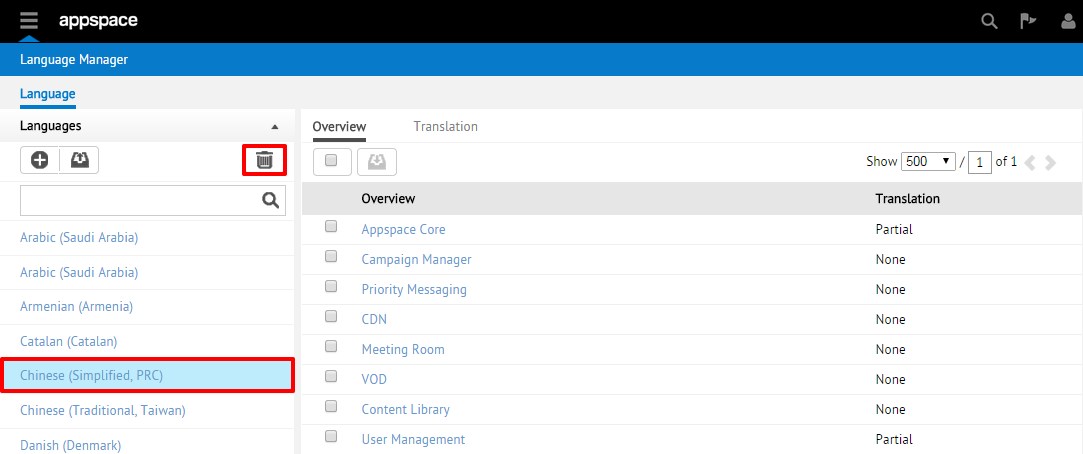
Step 1
To remove a language pack from the system, select the language to be removed and click the trash bin (Delete Selected Language) icon.
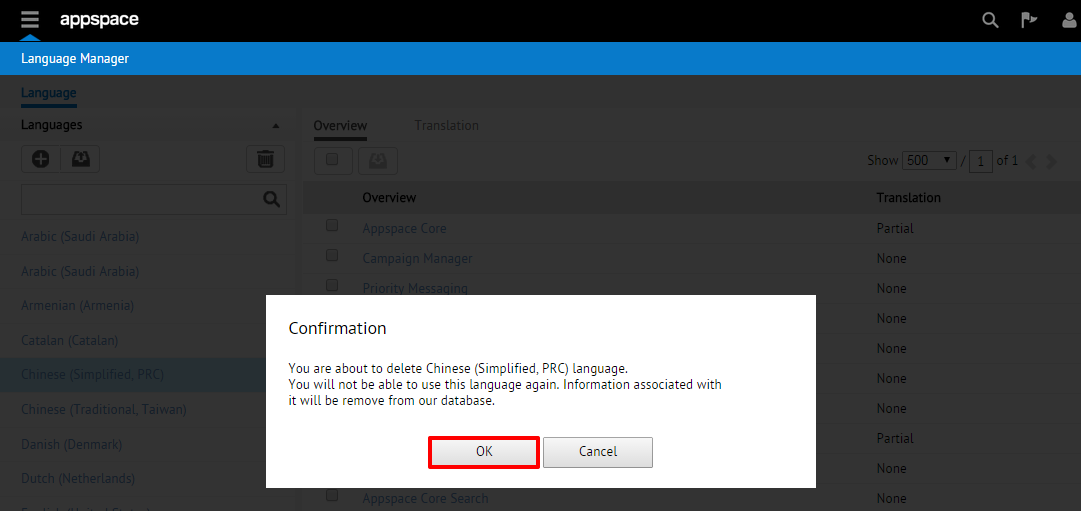
Step 2
You will be prompted with a confirmation dialog. Confirm that you have selected the correct language pack to be removed, and click OK finish this process. Once completed, you should no longer see that language listed in the language pack listings.
Importing Language Packs
Note
The process of importing language packs is only applicable to those language packs that have been previously exported out of another Appspace instance (version 5.0 or later). It is currently not possible to import another other language translation packs that did not originate from an Appspace server.
Step 1
From the language pack listings section, click the icon for Add New Package.
Step 2
Click the folder (browse) icon to select the language file stored on your local machine and click Upload to continue. This language pack file must be in the .lpkg file format.
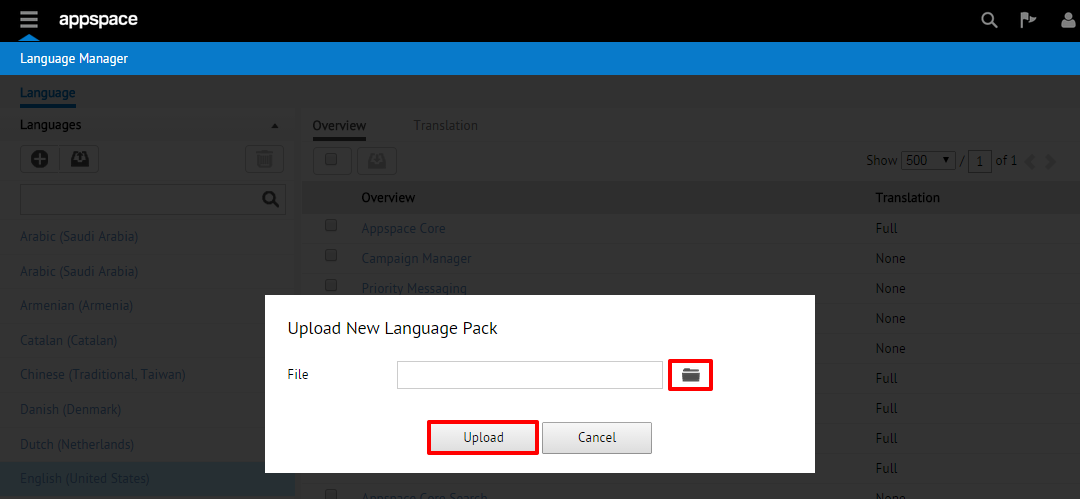
Note
Disregard the file path that may be listed (which may or may not represent the exact file path) for the language pack file.
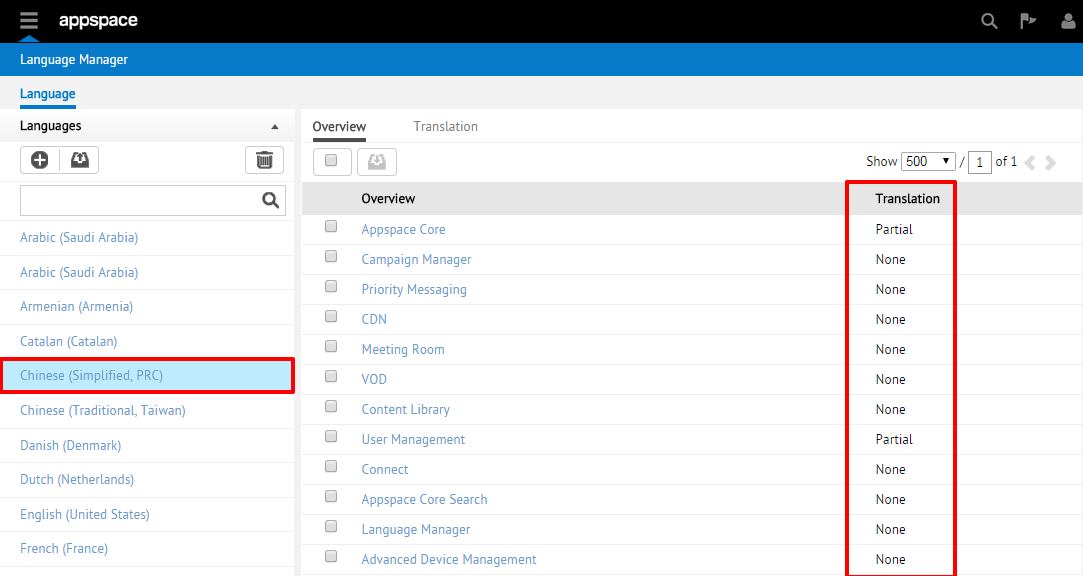
Step 3
The page will update to reflect the newly added language in the list of installed languages. In the Overview sub-tab, notice that the Translation column will display different statuses for the individual modules, indicating that some of the modules have been pre-populated with translated phrases. The completeness of these translations are directly related to the language translations at the point that they were exported from the previous system.
Exporting Language Packs
Step 1
Begin by selecting the desired language pack to be exported from the language pack listings. Place a check in the box(es) next to the extension(s) for which you would like to export the language translations. Proceed by clicking on the icon for Export Selected Package.
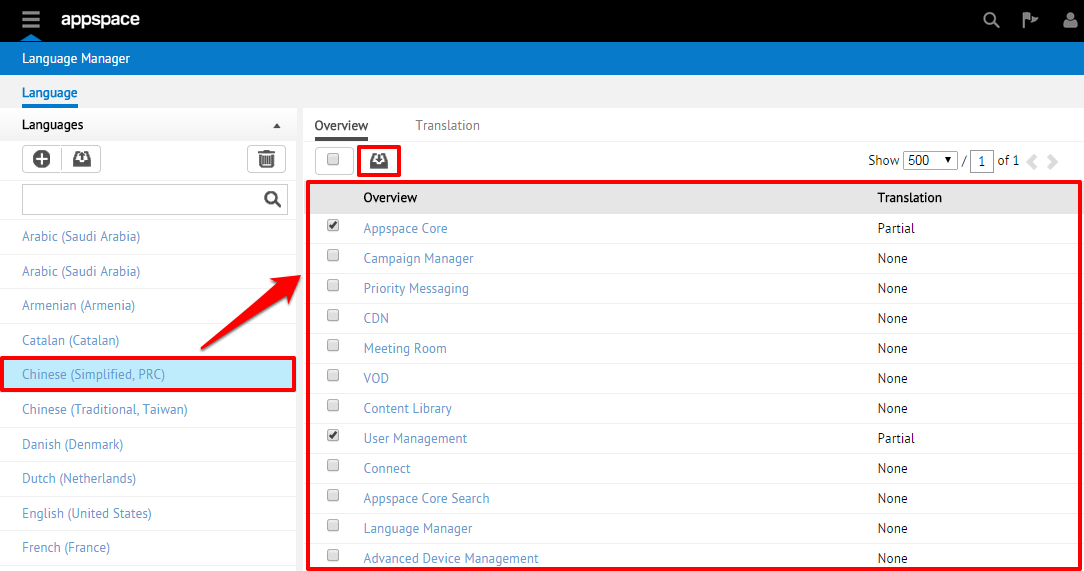
Note
You may choose to select all of the extensions by using the box at the very top (select all) even though not all extensions/module may have been translated.
Step 2
You will then be prompted to save the language pack as in the .lpkg file format to your local machine. This exported language pack file can now be imported into any Appspace server (version 5.0 or later).