Managing Multi-Tenanted Accounts
Important
This is only applicable for On-Premise deployments.
Introduction
This guide will detail the steps for the following actions:
- Adding a Multi-Tenancy extension.
- Accessing the extension.
- Managing groups.
- Managing multi-tenanted accounts.
Adding the MT Extension (On-Premise)
Note
Ensure that you have obtained and activated the appropriate license keys for use with this extension.
Step 1
Locate and download the Multi-Tenancy Extension from the Appspace Marketplace.
Step 2
Install the Multi-Tenancy Extension
Important
After completing the installation, open the command prompt and key in iisreset to reset your settings.
Accessing the MT Extension
The Multi-Tenancy extension is only accessible via the Administrator interface of Appspace. You will need Portal Administrator rights in order to do this.
Step 1
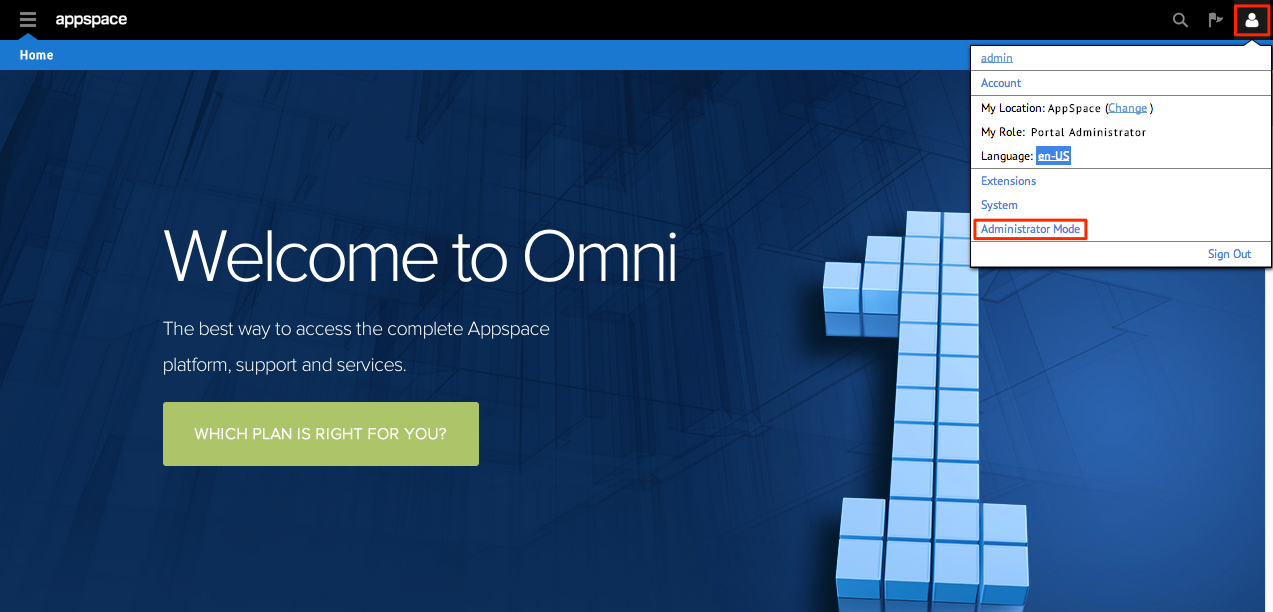
Click the user icon on the top-right of the toolbar and select Administrator Mode.
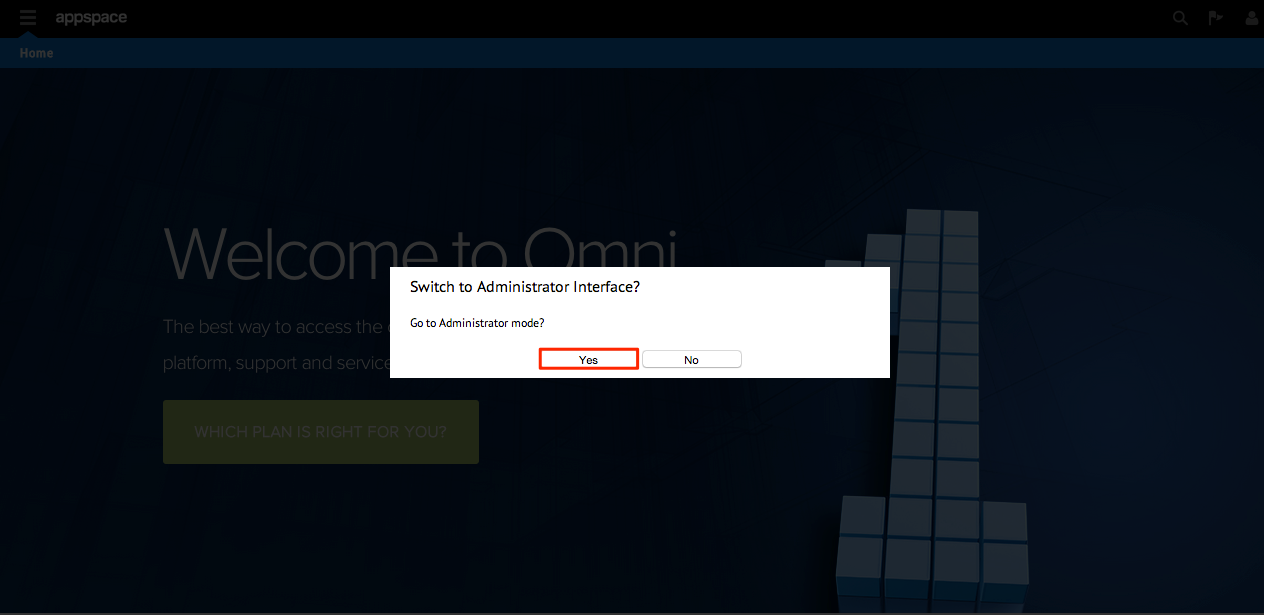
Step 2
Click Yes when prompted for confirmation.
Step 3
Click Yes when prompted for confirmation.
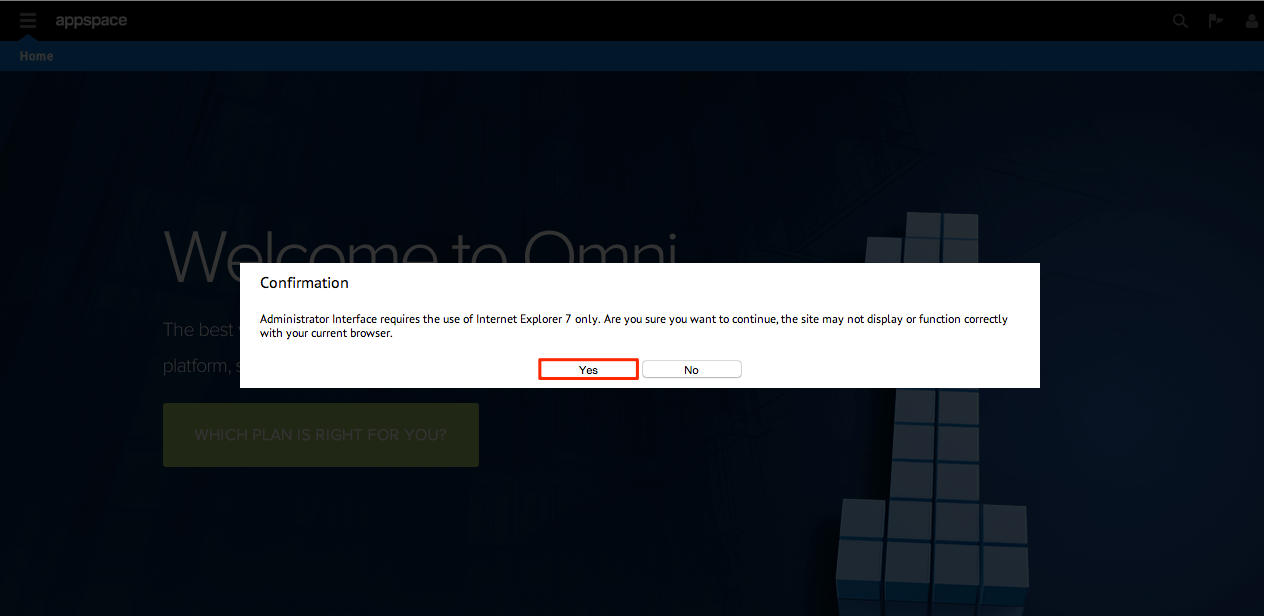
Note
The Administrator interface works best on Internet Explorer 7 and above.
Step 4
From the Administrator Mode interface, select the ACCOUNT tab. The default landing page for this view is Account Info.

Note
Here you will see all the additional links for the MT extension: * Account Management * Deleted Accounts * Account Importer
Creating a New Group
Groups represent the virtual location from which accounts are placed together (forming tenants), separate from other accounts that are not of the same organization.
Step 1
From the ACCOUNT tab of the Administrator interface, select the Account Management link. Click on the New Group link to begin creating a new group.

Step 2
Fill in the relevant details in the Name and Description section and click Save.
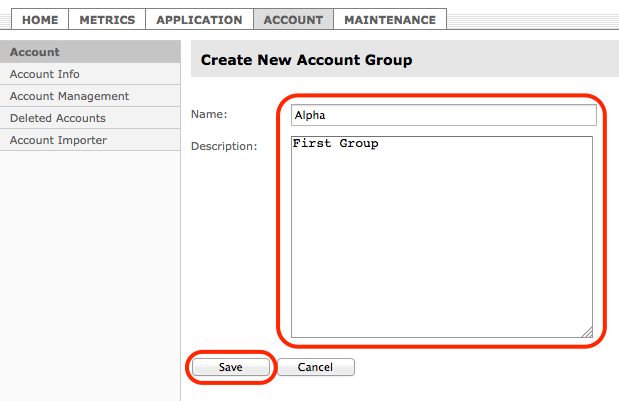
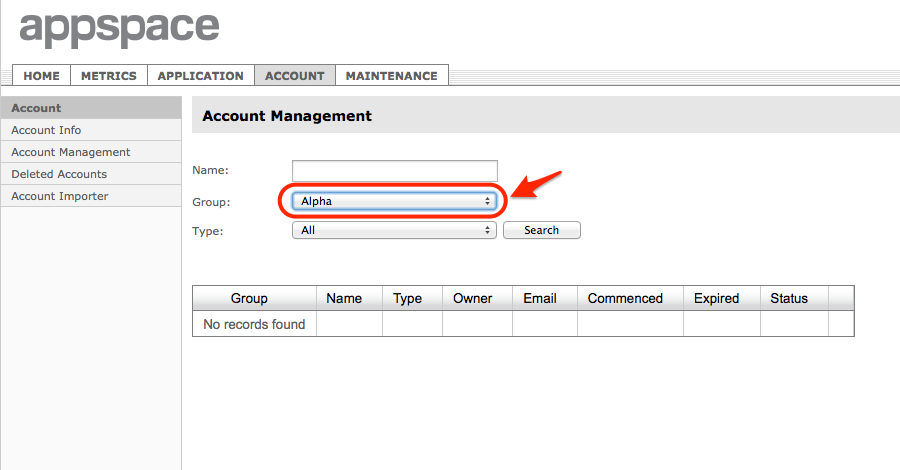
Step 3
The system will return to the previous page. Check the drop down menu to verify that your newly-created group is listed (in this case, group Alpha).
Creating a New Account
Multi-Tenancy allows you to create up to 10 accounts in a single Appspace On-Premise instance.
Important
You must complete the prerequisite for configuring e-mail notifications before proceeding. For more information, click here.
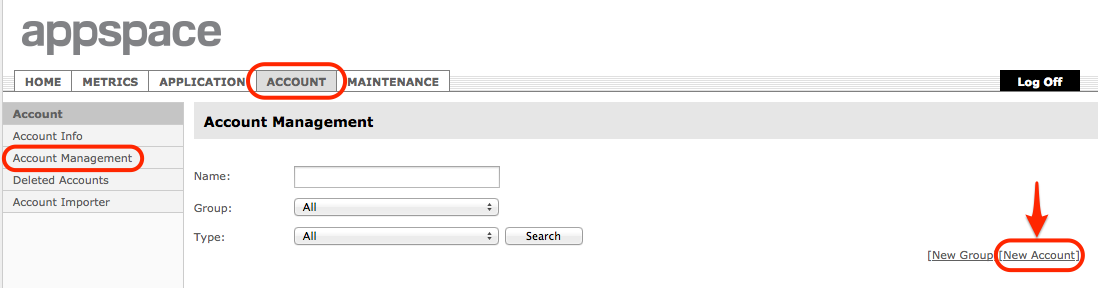
Step 1
From the ACCOUNT tab of the Administrator interface, select the Account Management link. Click on the New Account link to begin creating a new client account.
Step 2
Under Create Account, fill in ALL of the various fields for the user account. Choose the correct Group to allocate the new account to. Ensure that the Send Registration To: section contains the correct email address for sending the registration link. The API key is a code that can be generated by Appspace to allow users to access their Appspace API (Application Programming Interface). Date Commenced is where the Administrator can configure the commencement date of the account to begin upon registration or on a predetermined date.

Step 3
Administrators can also restrict the resource usage by defining the value for max players, max networks, etc. The various resource fields (Duration, Max Players, Max Networks, Max Users, Max Total Media Size, Max Application) are used to limit and control the account. Click on the Save button to finish creating the account. A confirmation email will be sent to the email address provided in the Send Registration To section, containing instructions on how to activate the account.

Note
Under the Account Type, Administrator can choose between two account types:
- Full Account: grants an option to either set a maximum value for the resource usage or set it to Unlimited.
- Trial Account: allows a maximum value to be set for the resource usage for the account.
Step 4
Click Back in the Create Account Successful page.

Activating An Account
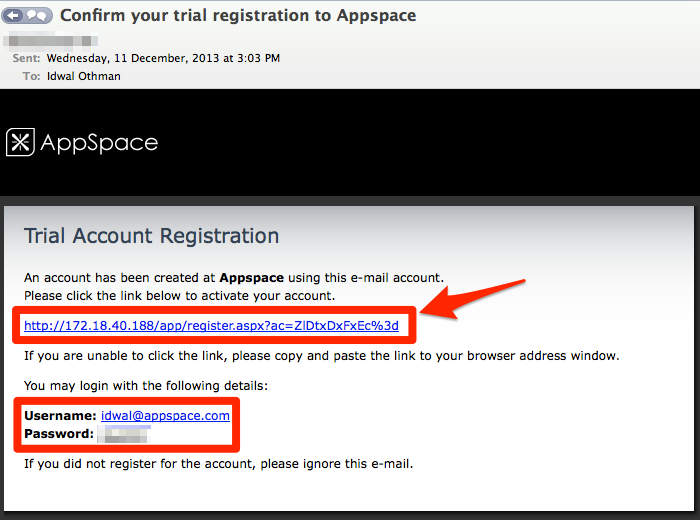
After a new account has been successfully created, an e-mail message containing activation instructions will be sent to the new account holder.
Step 1
From your designated e-mail provider, open the confirmation email containing the activation details of the new account. Take note of the credentials listed in the email (username and password combination). Click the link in the email to open your web browser and begin the account activation process.
Step 2
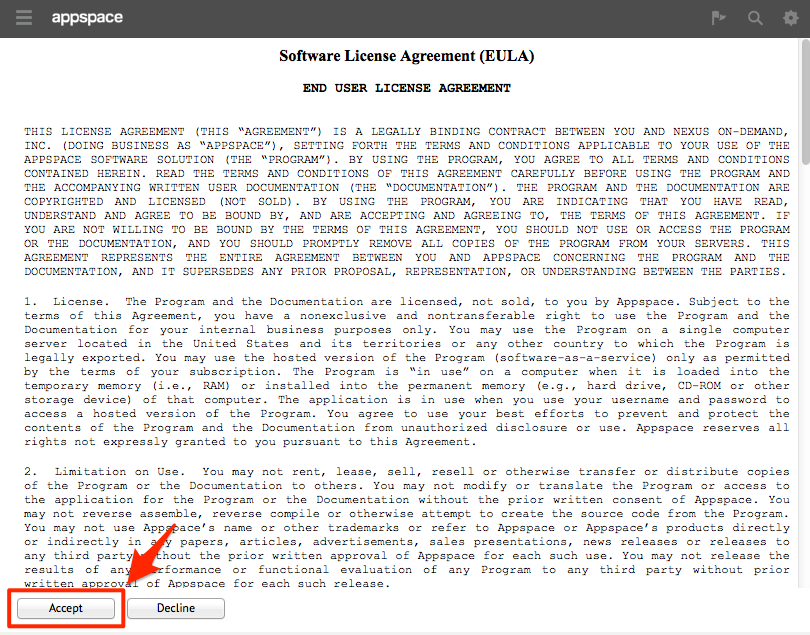
From your web browser, a message confirming that your account has been successfully created will be displayed. Click the Proceed to Appspace button. Read the Software License Agreement (EULA) and click Accept at the bottom of the page.

Step 3
The page will now display the Dashboard of the newly-activated account. Confirm the validity of this account by clicking the Gear (settings) icon to view the account name link at the top of the page.
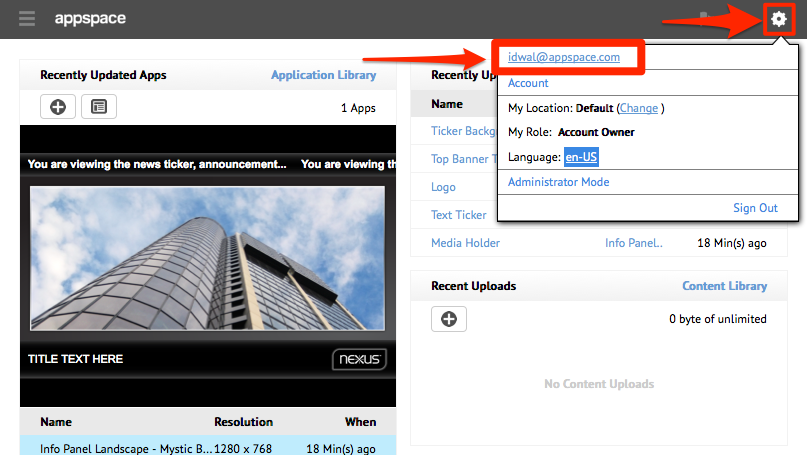
Note
It is highly recommended that you change your password at this point by clicking the account name link and accessing the profile settings.
Editing An Account
Step 1
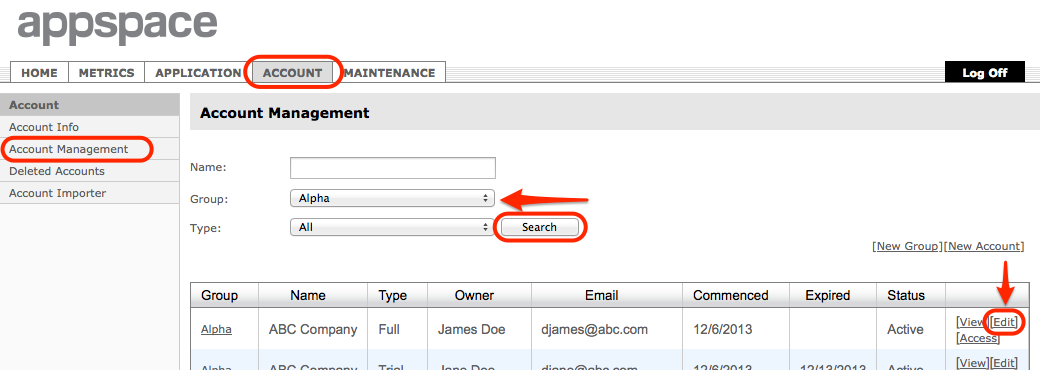
From the ACCOUNT tab of the Administrator interface, select the Account Management link, identify the account you want to edit from the account listings table. You can narrow down your search by selecting the correct Group from the drop down menu or use the search functionality to look for a specific account. Type in the account name and select the account group and click Search. The results will be displayed in the account listing table. Once you have identified the account to edit, click the Edit link for the account.
Step 2
Edit the account information as desired and click Save when finished to save your changes.

Deleting An Account
Step 1
From the ACCOUNT tab of the Administrator interface, select the Account Management link, identify the account you want to delete from the account listings table. You can narrow down your search by selecting the designated Group from the drop down menu or use the search functionality to look for a specific account. Type in the account name and select the account group and click Search. The results will be displayed in the account listing table. Once you have identified the account to edit, click the Edit link for the account.

Step 2
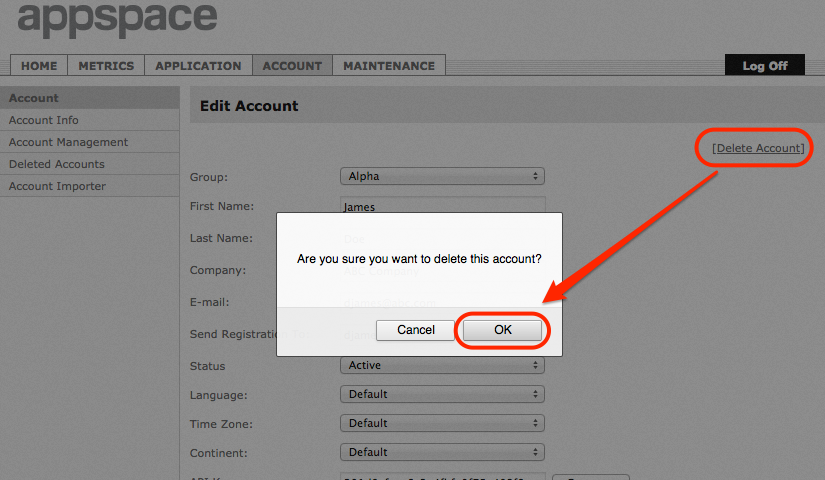
Click on the Delete Account link on the top-right corner of the Edit Account section. When prompted by the confirmation dialog, click OK to remove the account.
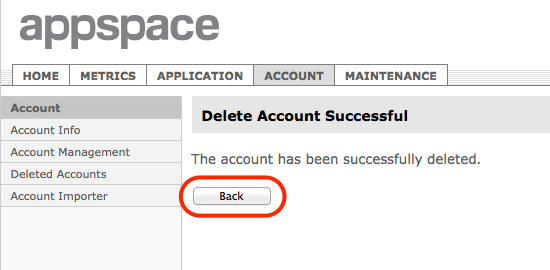
Step 3
Click Back in the Delete Account Successful page.
Switching Tenanted Accounts (For Administrators)
This feature enables Portal Administrators to switch locations and choose the tenanted accounts created in the Administrator interface.
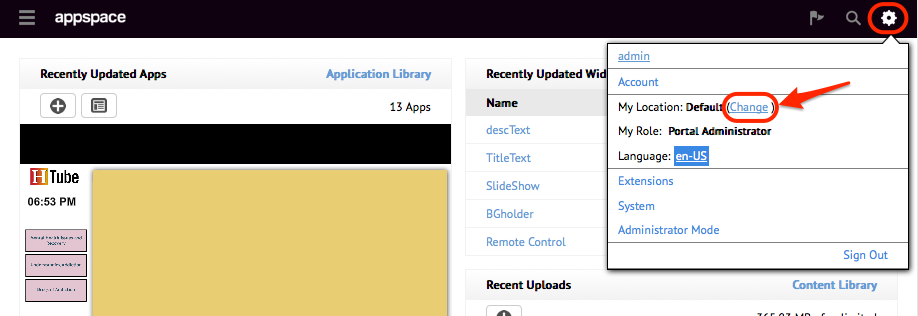
Step 1
From the Designer interface, select the Settings (gear) icon. In the My Location section, select the Change link.
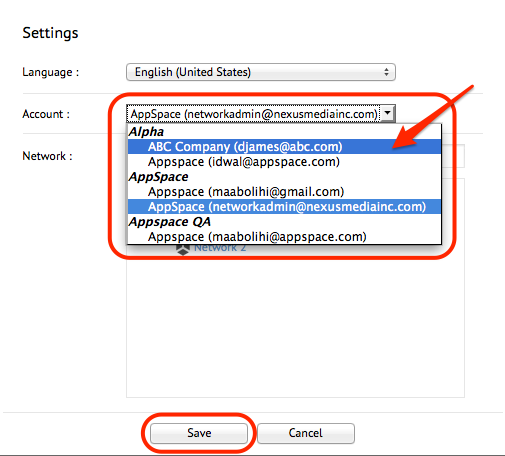
Step 2
Select the tenanted Account you would like to change location to from the drop down menu and click Save.
Step 3
The Appspace account will now switch to the newly-selected account and display content and interface relevant to that account.