Edge 300 Registration (Cloud)
Introduction
This guide outlines the steps to register Cisco Edge 300 devices to Appspace Cloud.
Prerequisites
- The Edge 300 device must be running at minimum firmware version 1.5.
- The registration is executed using a desktop wizard. The workstation running the wizard must have the Microsoft .Net Framework 4.5 installed.
- The Appspace on-premise server should have sufficient client access licenses (CALs) to register the desired quantity of devices.
- Ensure that the following network port requirements are met:
| Source | Destination | Ports | Description |
|---|---|---|---|
| Workstation | Appspace | HTTP(80) or HTTPS (443) | Access using a modern web browser (FireFox, Chrome, Safari) with Adobe Flash 10.0 Plugin. User must add appspace.com to list of trusted websites and enable pop-ups from this URL. Network firewall and proxy server must allow access to Appspace domain URL/IP. |
| Workstation | Edge 300 | SSH (22) | The Edge wizard tool runs on a Windows OS (Windows XP, Windows 7), and requires the Microsoft .Net 4.0 runtime and accesses the device via SSH during registration. |
| Edge 300 | Appspace | HTTP(80) or HTTPS (443) | Background agents on media player devices connect to Appspace for content sync and player status reporting. Network firewall and proxy server must allow access to the Appspace domain URL/IP. |
| Edge 300 | Valid NTP Server (e.g. pool.ntp.org) | UDP(123) ICMP | The media players requires access to a valid NTP server to sync its system clock. This can be an internal network NTP server or a public NTP server on the pool.ntp.org domain name. Network firewall and/or proxy server must allow access to a selected NTP server. |
Registering Edge 300 Using the Online Registration Tool
Step 1
From the Network Management extension and select the Players tab. Click the + (Add) icon to register a new player.

Step 2
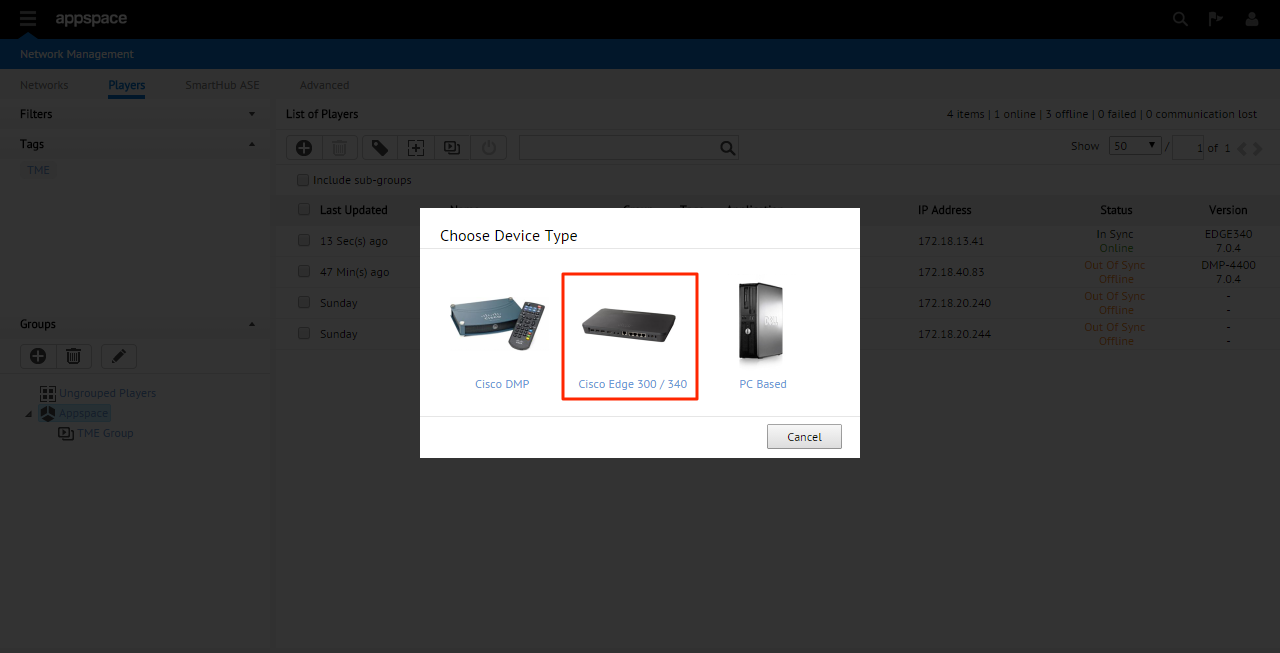
Select Cisco Edge 300/340 from the listed device types.
Step 3
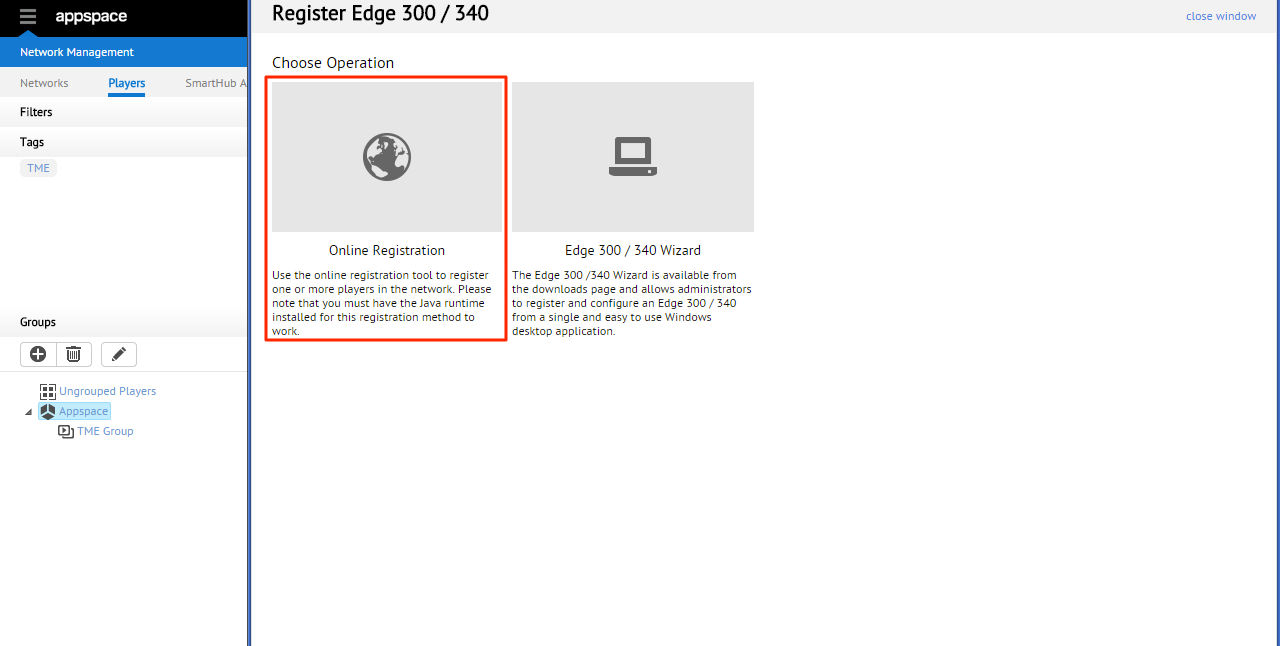
Select Online Registration.
Step 4
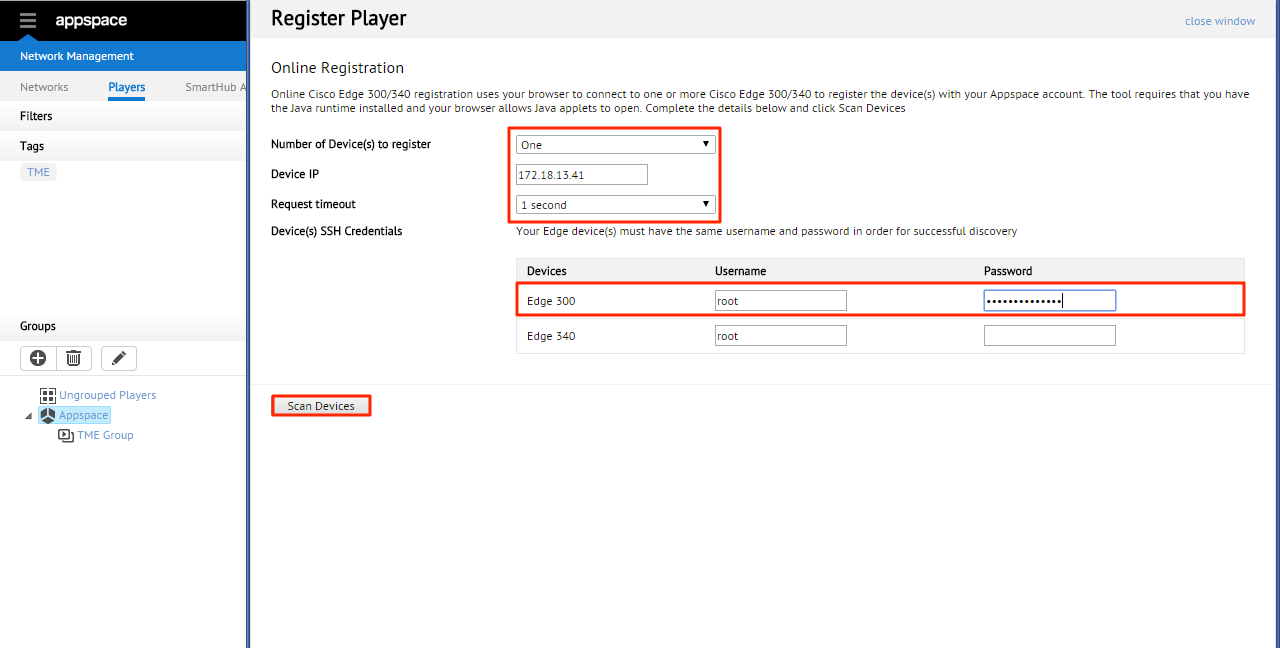
Enter the proper values for the various fields such as Device IP, Content delivery method, and Device Credentials. When finished, click Scan Devices to begin the device search.
Note
An IP range may be used for the Device IP field to find multiple devices.
Step 5
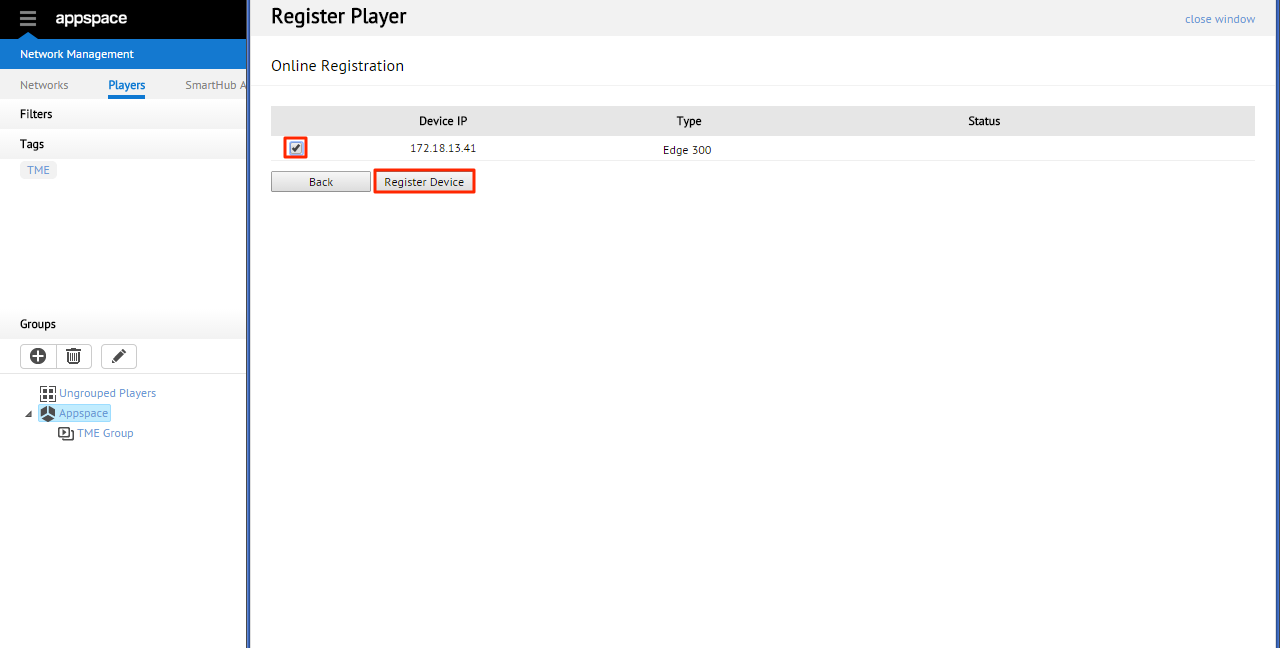
The tool will display the Edge 300(s) found within the defined IP or IP range. Select the checkbox of the Edge 300 you want to register and click Register Device. This process will take up to a few minutes depending on the number of Edge 300 being registered.
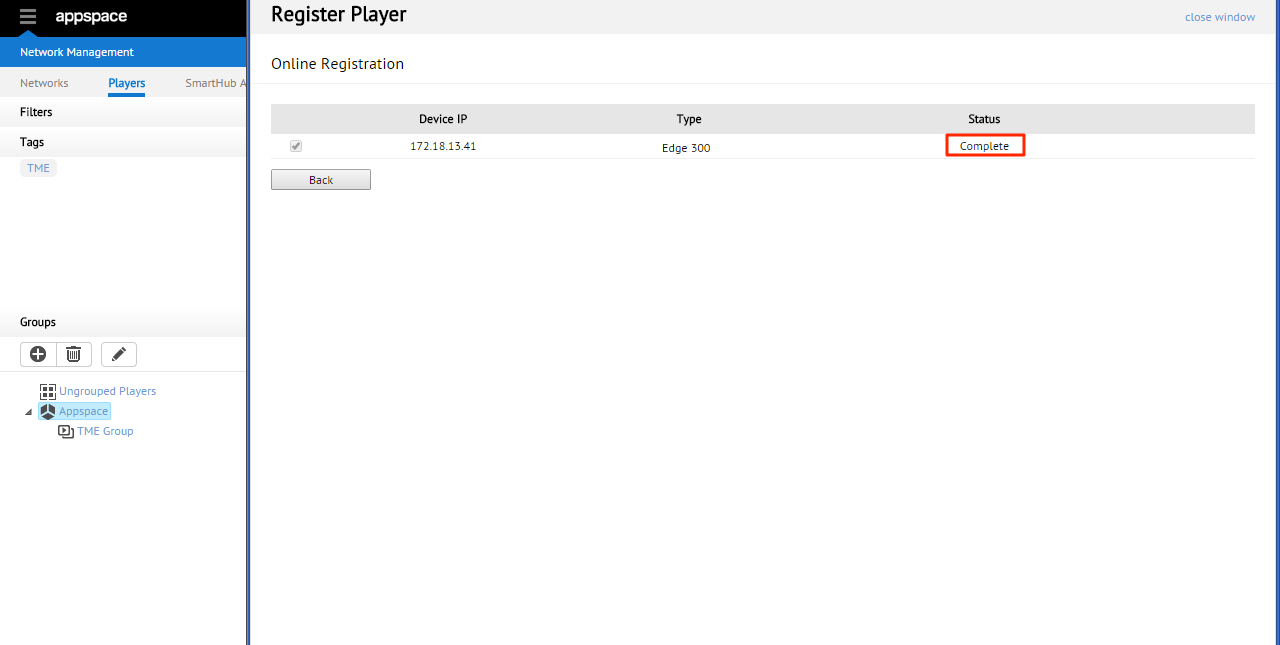
Step 6
Once the registration process is complete, the device’s status will change to Complete.
Registering Edge 300 Using the Edge Wizard
Step 1
From the Downloads extension, locate the Appspace Edge 300 wizard and click the Download button. Run the installer as the local Windows administrator (right-click on the installer file to select the Run as administrator option).
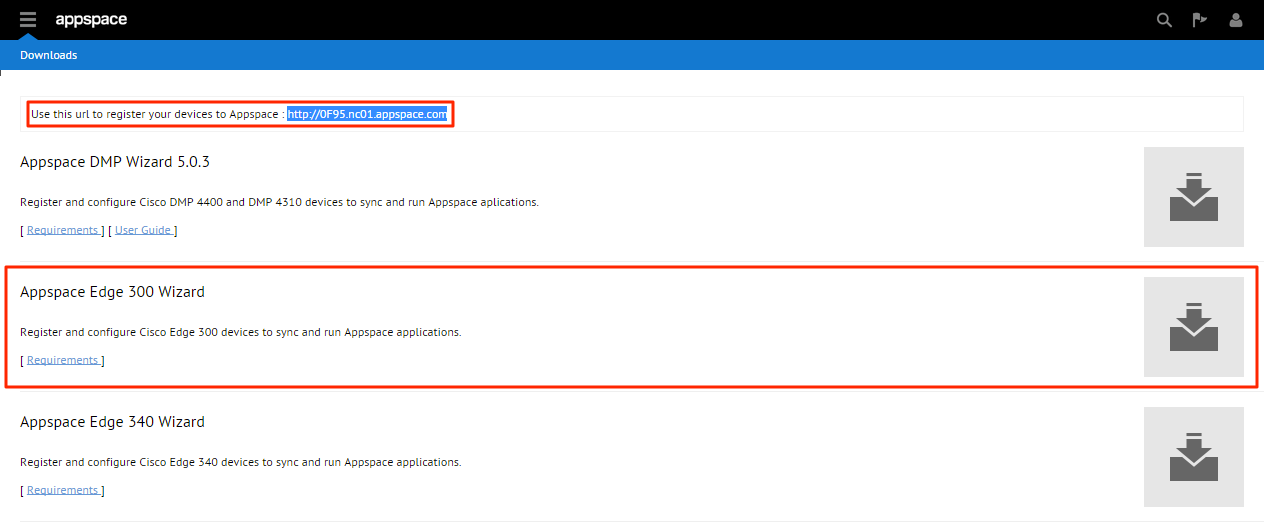
Important
Take note and record the URL displayed at the top of this page for the purpose of registration later on. Note that this URL is unique to your Appspace account.
Step 2
Once the installation has completed, an Appspace Edge 300 Wizard shortcut icon will be placed on the desktop. Double-click the shortcut icon to run the wizard.
Step 3
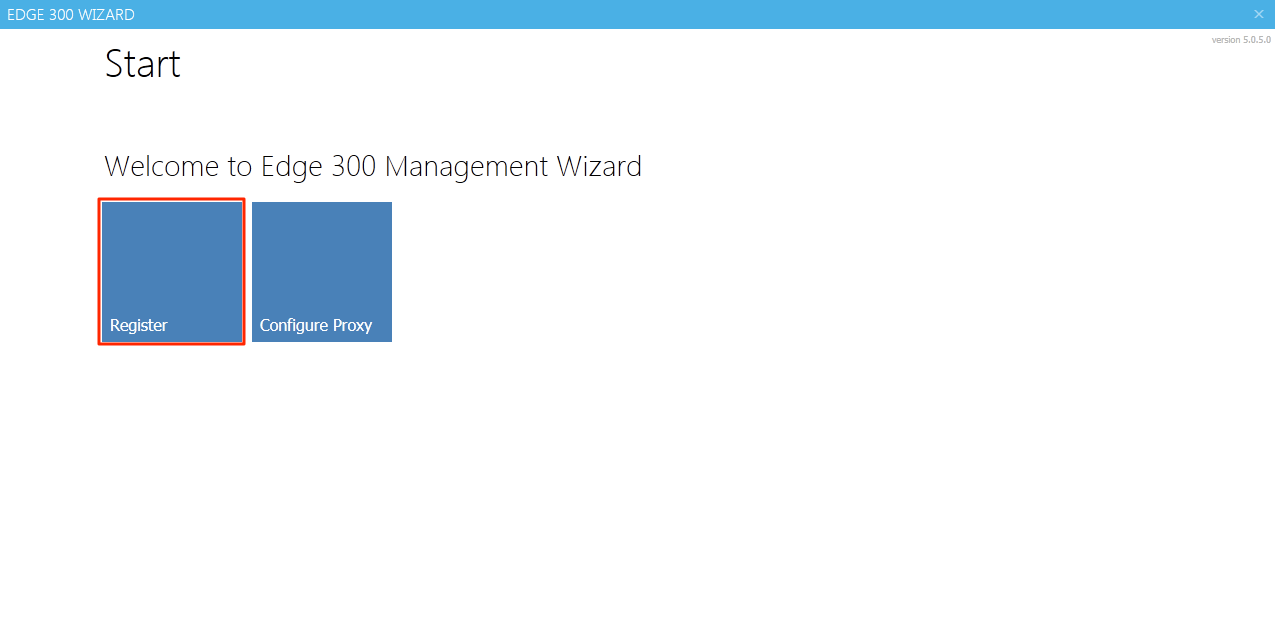
From the Start page, click Register.
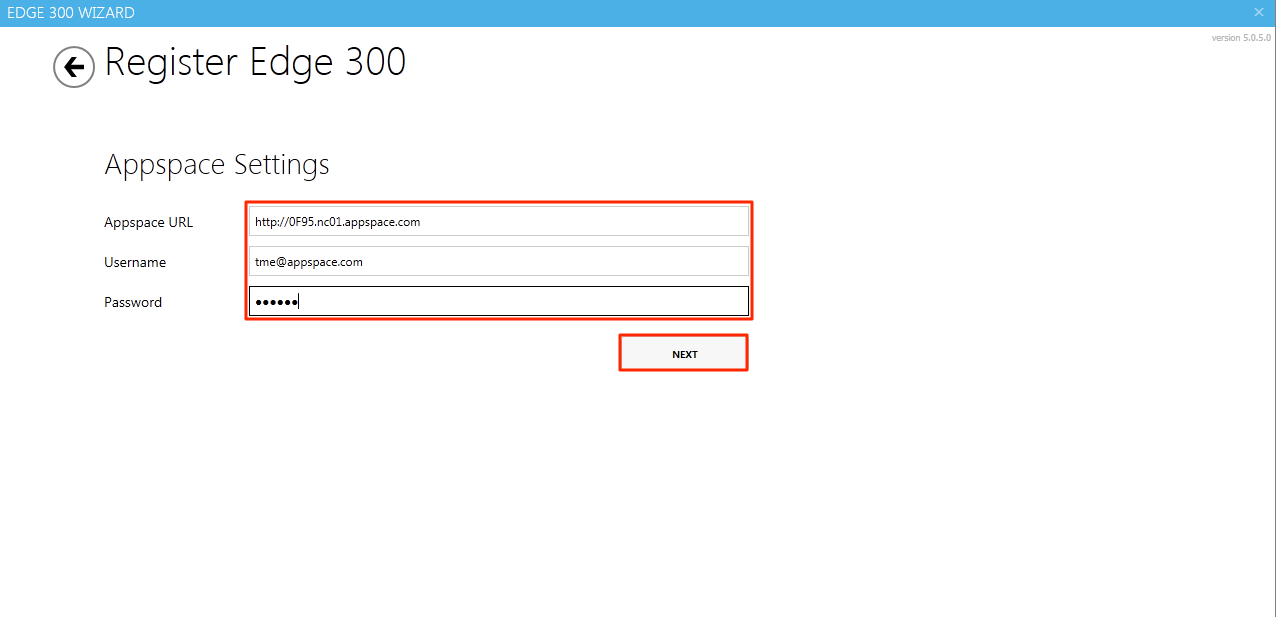
Step 4
In the Appspace Settings page, enter the details in the Appspace URL, Username and Password sections. The Appspace URL should have been recorded earlier (Step 1) from the Downloads page. Click Next to proceed.
Step 5
In the Device Settings page, fill in the relevant fields for the Edge device (IP Address, NTP Server, SSH Username/Password, time Zone, Output resolution). You have the option to select your storage options. Click REGISTER when finished to start the registration process.

Note
Selecting the No for Use Local Storage option will force the wizard to use an external USB drive as the main content storage (replacing the local storage). You will have to use the USB port on the right side of the device and ensure the USB drive is formatted in ext3.
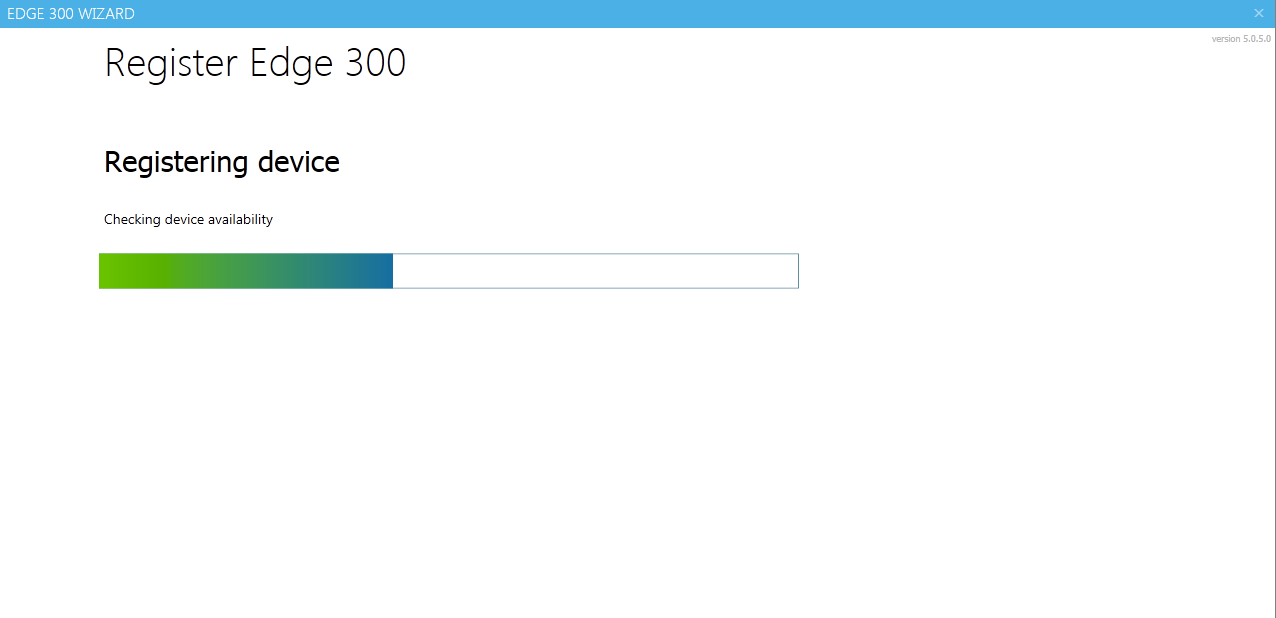
Step 6
The progress of the registration will be displayed in the wizard.
Step 7
Once registration has completed with the Registration Success confirmation message, you may exit the wizard by clicking the X on the top right corner of the page.
