Configuring Application Permissions
Overview
There are additional system-defined core roles that are specific permission-based roles. Note that these roles are assigned to users on a per-application basis. The following roles are automatically generated and assigned by the Sign Manager extension:
- Restricted Access - This permission restricts the user from having any access to the application unless a permission is explicitly granted to a widget.
- Manage Content - This permission allows a user to have access to the selected application’s content items only.
- Manage Schedule - This permission allows a user to have access to the selected application’s content items and its schedules.
- Manage Application - This permission allows a user to have full access of the selected application
Configuring Application Permissions
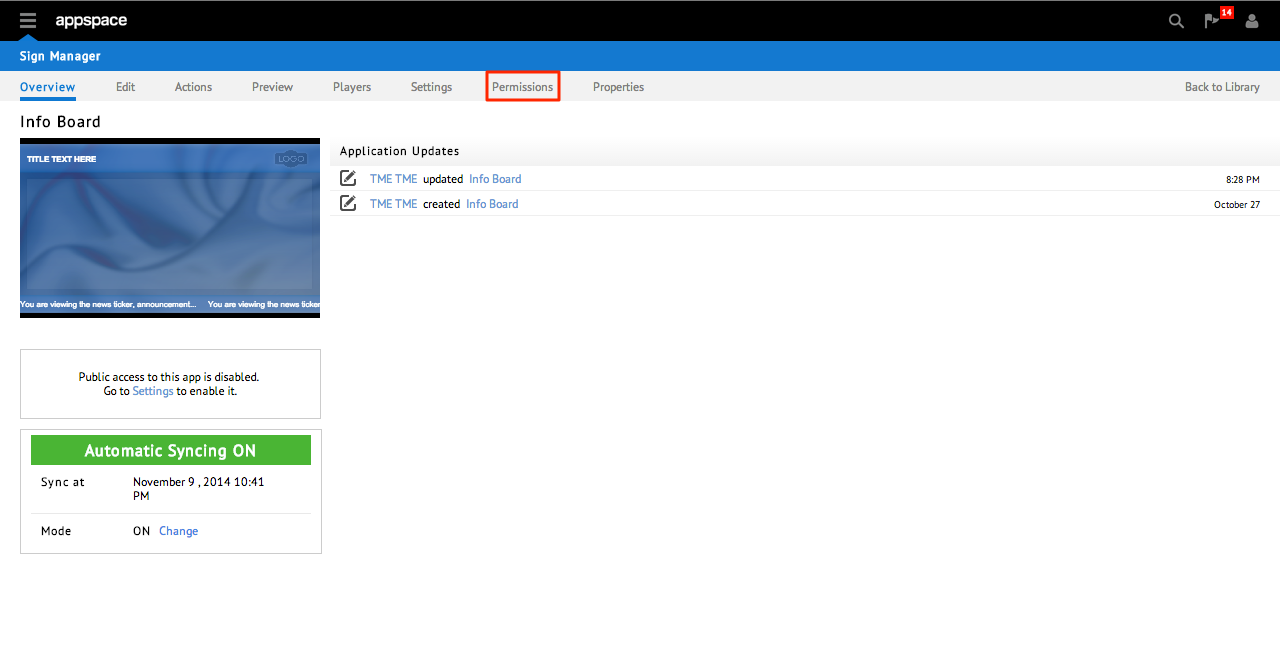
Step 1
Select the application for which you would like to configure a content approval workflow.

Step 2
Click Permissions.
Step 3
Select the user for whom you want to apply a content approval workflow.
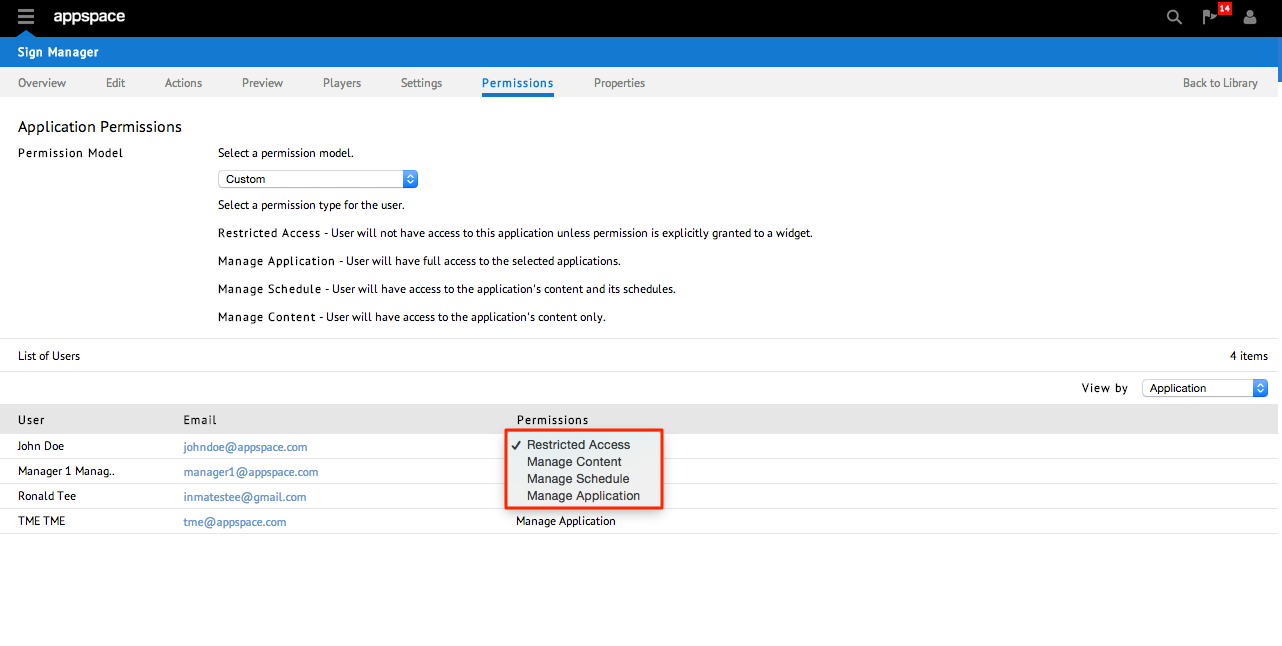
Note
Set the permission of the user to Restricted Access to ensure that any content allocation by the user goes through the content approval workflow.
- Manage Application – The user will have full access to the selected application.
- Manage Schedule – The user will be allowed to manage only the application’s content and its schedules.
- Manage Content – The user will be allowed to manage the application’s content.
- Restricted Access – The user will not have access to this application unless permissions are explicitly granted to a widget.
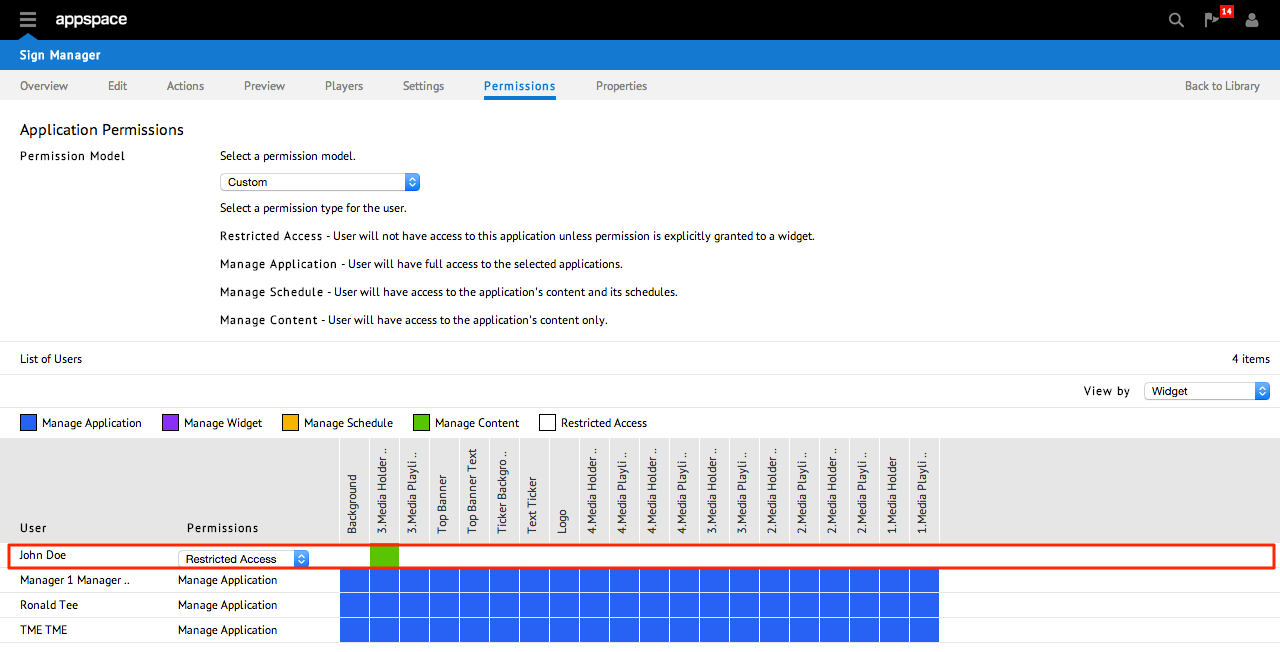
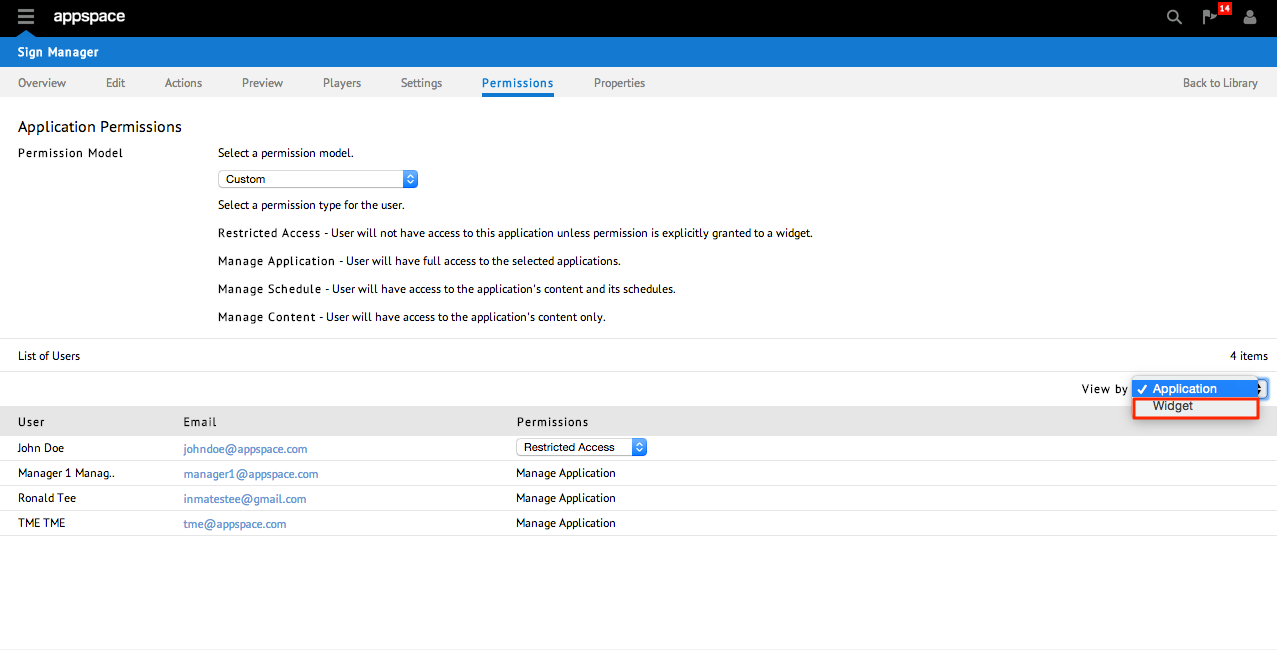
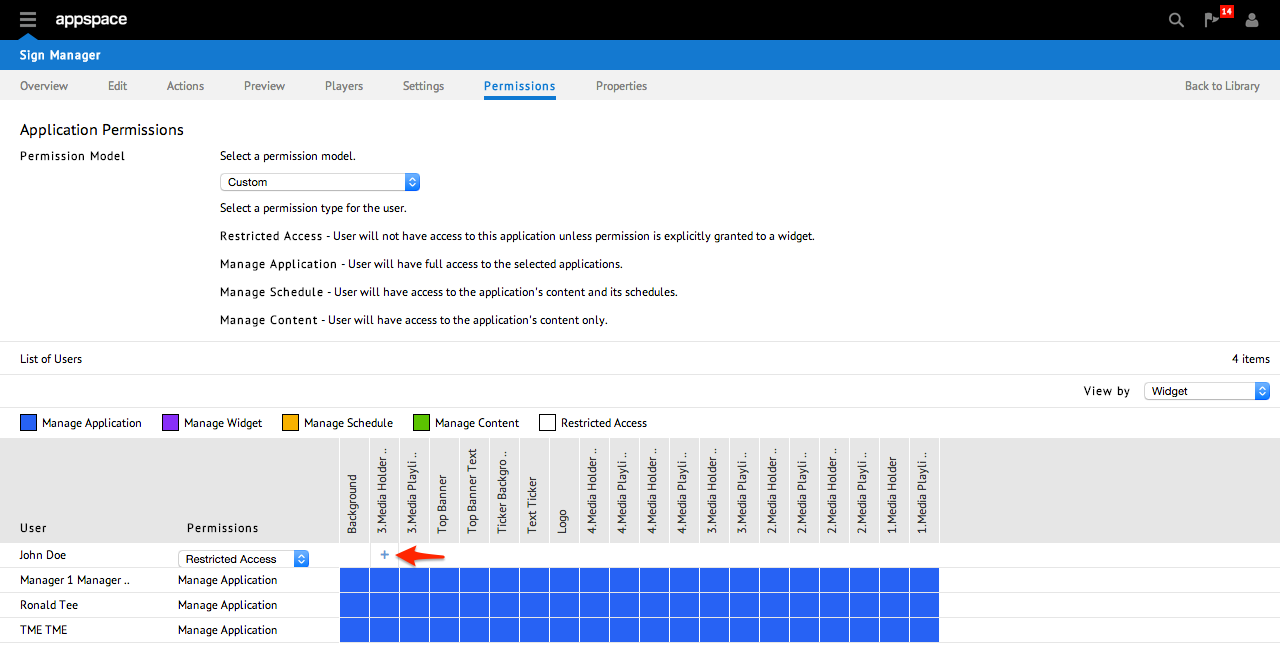
Step 4
Administrators can also configure user access on a per-widget basis. Select the Widget option from the View By drop-down list. The permissions matrix is color-coded for easy identification of each user permission.
Step 5
Select the user with Restricted Access and click on the plus icon in the cell that corresponds to the user and the widget you wish to assign.
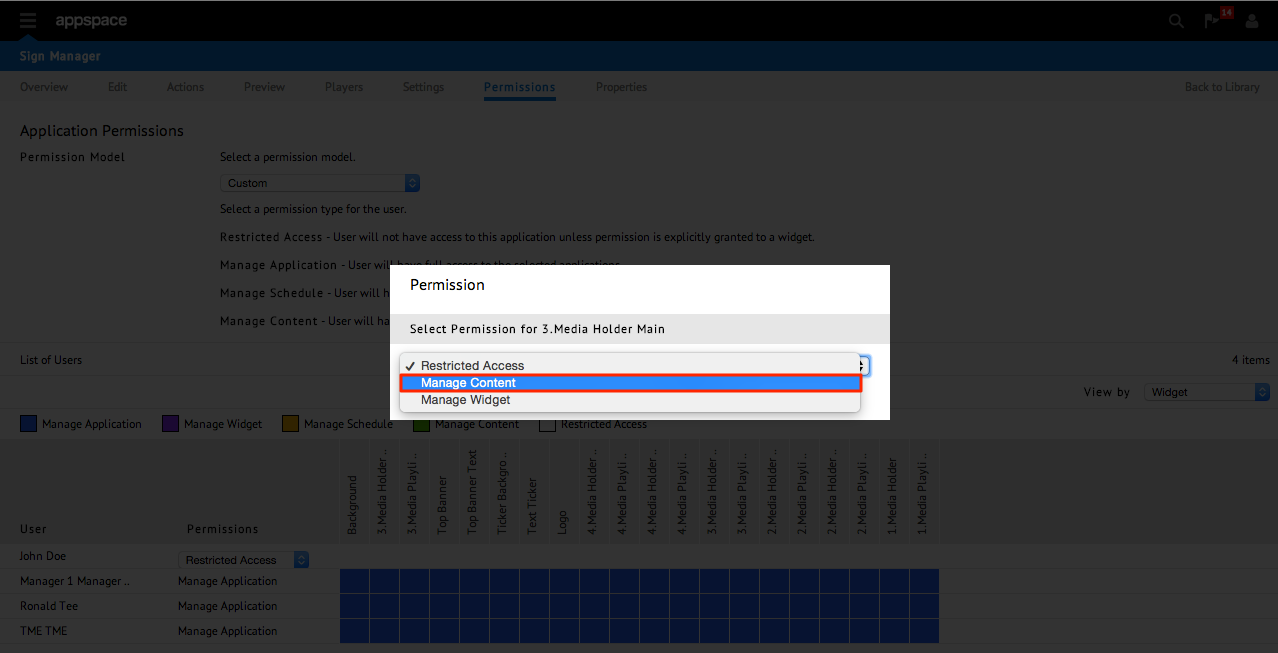
Step 6
Set a permission for that widget and click OK.
Step 7
You can repeat the above steps to configure access to other widgets and for other users.