(On-Prem) Assigning Roles
Administrators are able to assign roles to groups of users and/or individual users. This guide covers both scenarios.
Assigning Roles to a Group of Users
Within the User Management extension, it is possible to create groups with pre-defined and pre-assigned roles that users will automatically inherit when they are added to that group. The following steps will guide you through adding/applying these roles to existing groups within the User Management extension.
Step 1
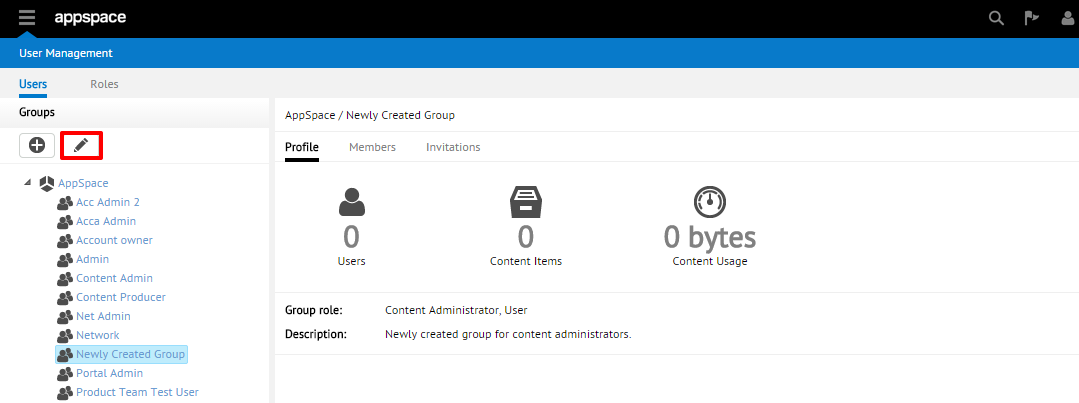
From the User Management homepage, begin by selecting the desired group from the tree listing to which you want to add the role(s). Click on the pencil (Edit group) icon.
Step 2
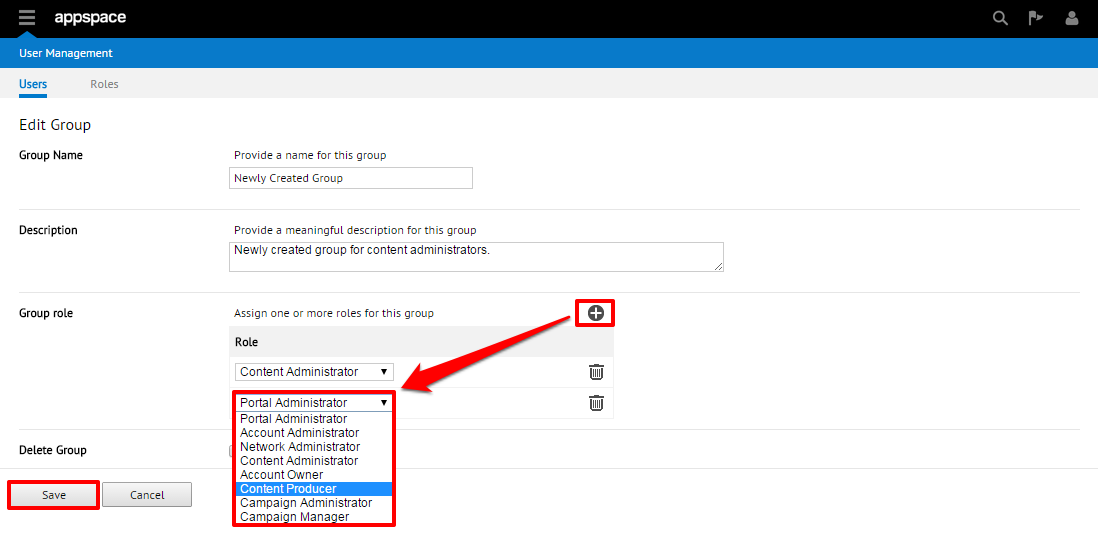
In the Group role field, click the + (add) icon to add a new role. Use the drop-down menu to select the desired role that all users of this group will inherit. You may add multiple roles to each group. When finished, click the Save button.
Note
If you are adding roles to a group that already contains users, those users will instantly and automatically inherit the newly added roles.
Assigning or Editing Roles for Individual Users
Step 1
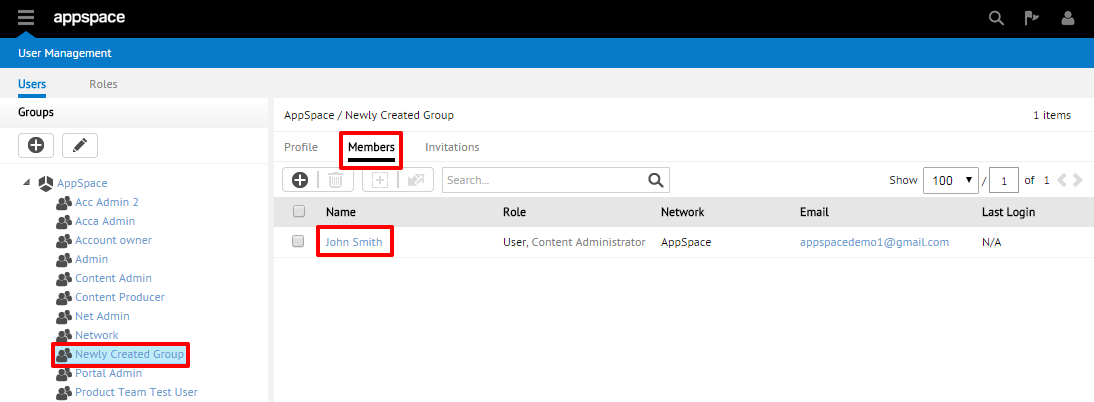
From the home page of the User Management extension, select the group to which the user to be given more role(s) belongs. Click on the Members sub-tab and click on the name link of the user to be modified.
Step 2
Under Edit User, select the Group & Role Settings sub-tab. In the Group section, you’ll see the roles that this user has already inherited from the group that they currently belong to. In the Role section, you’ll be given the option to add additional roles. Click the + (add) icon to add additional roles by using the drop-down menu. Click the Save button when finished adding or editing the user’s role(s).

Note
The Permissions section is a summary that lists the various permissions for this user as a result of their roles and the Access level.