Transcoder Plugins
Introduction
The Appspace Content Transcoding is a plugin framework that allows Appspace administrators to install transcoding engines that allow users to convert media files into formats compatible for playback on their selected media player devices. Transcoder plugins are not pre-intsalled with Appspace and have to be downloaded from the Marketplace or manually added transcoders for self-developed plugins.
Importing Transcoder Plugins From Marketplace
Click the Appspace extensions drop-down menu and select Content > Marketplace.

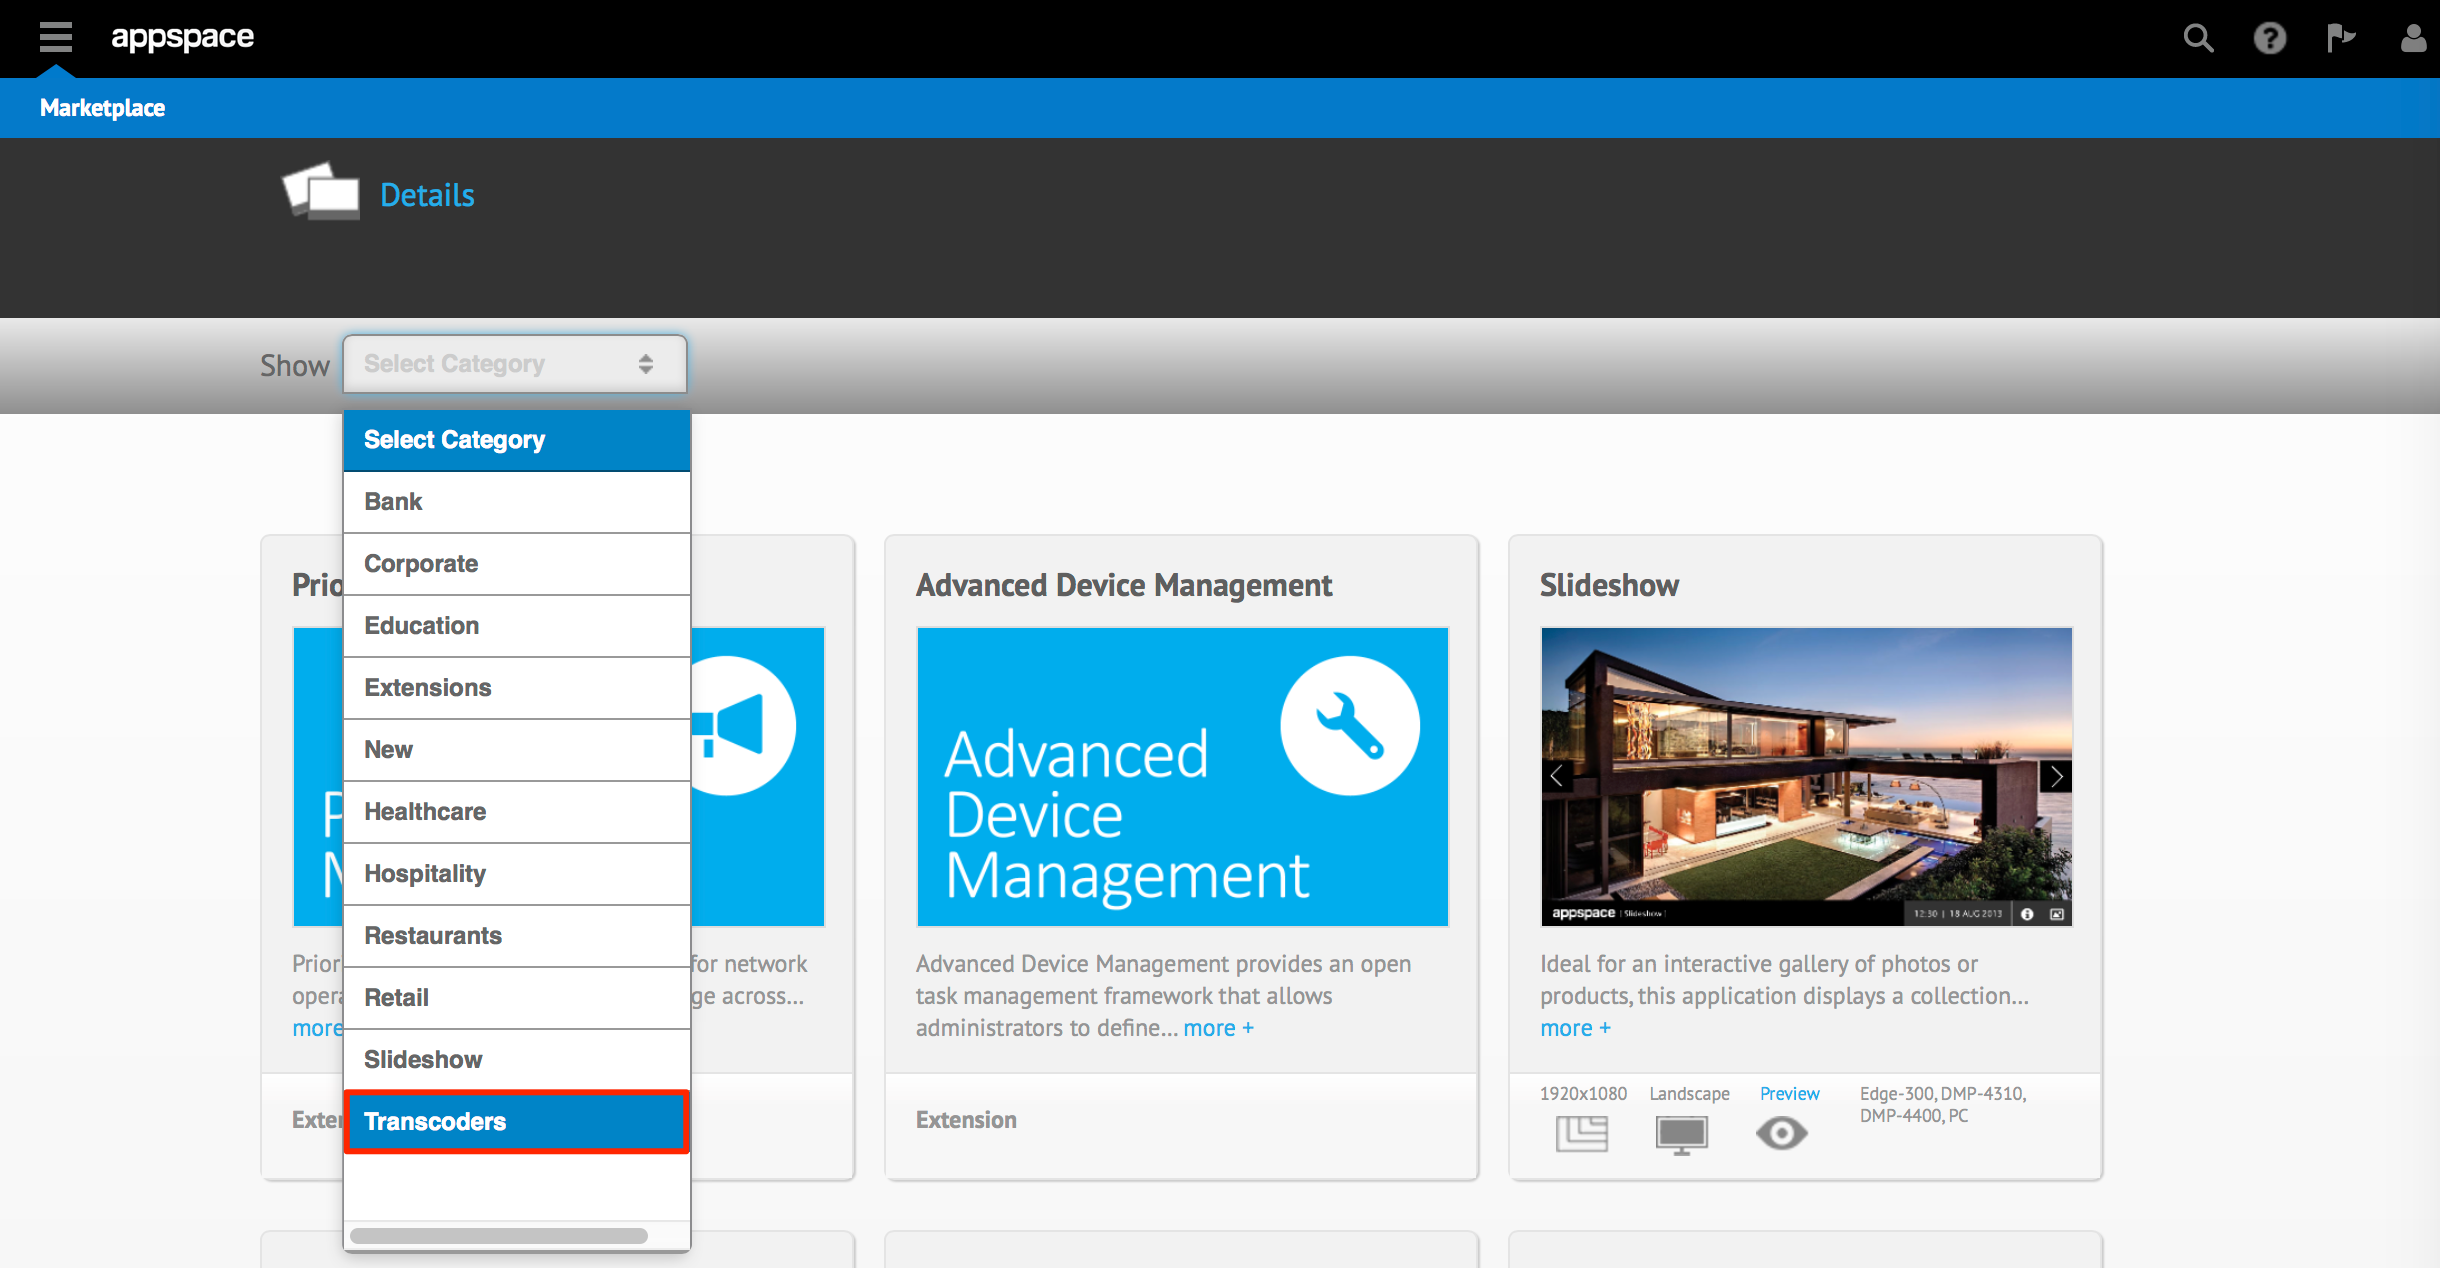
Once in the Marketplace, click the Show drop-down menu and select Transcoders.
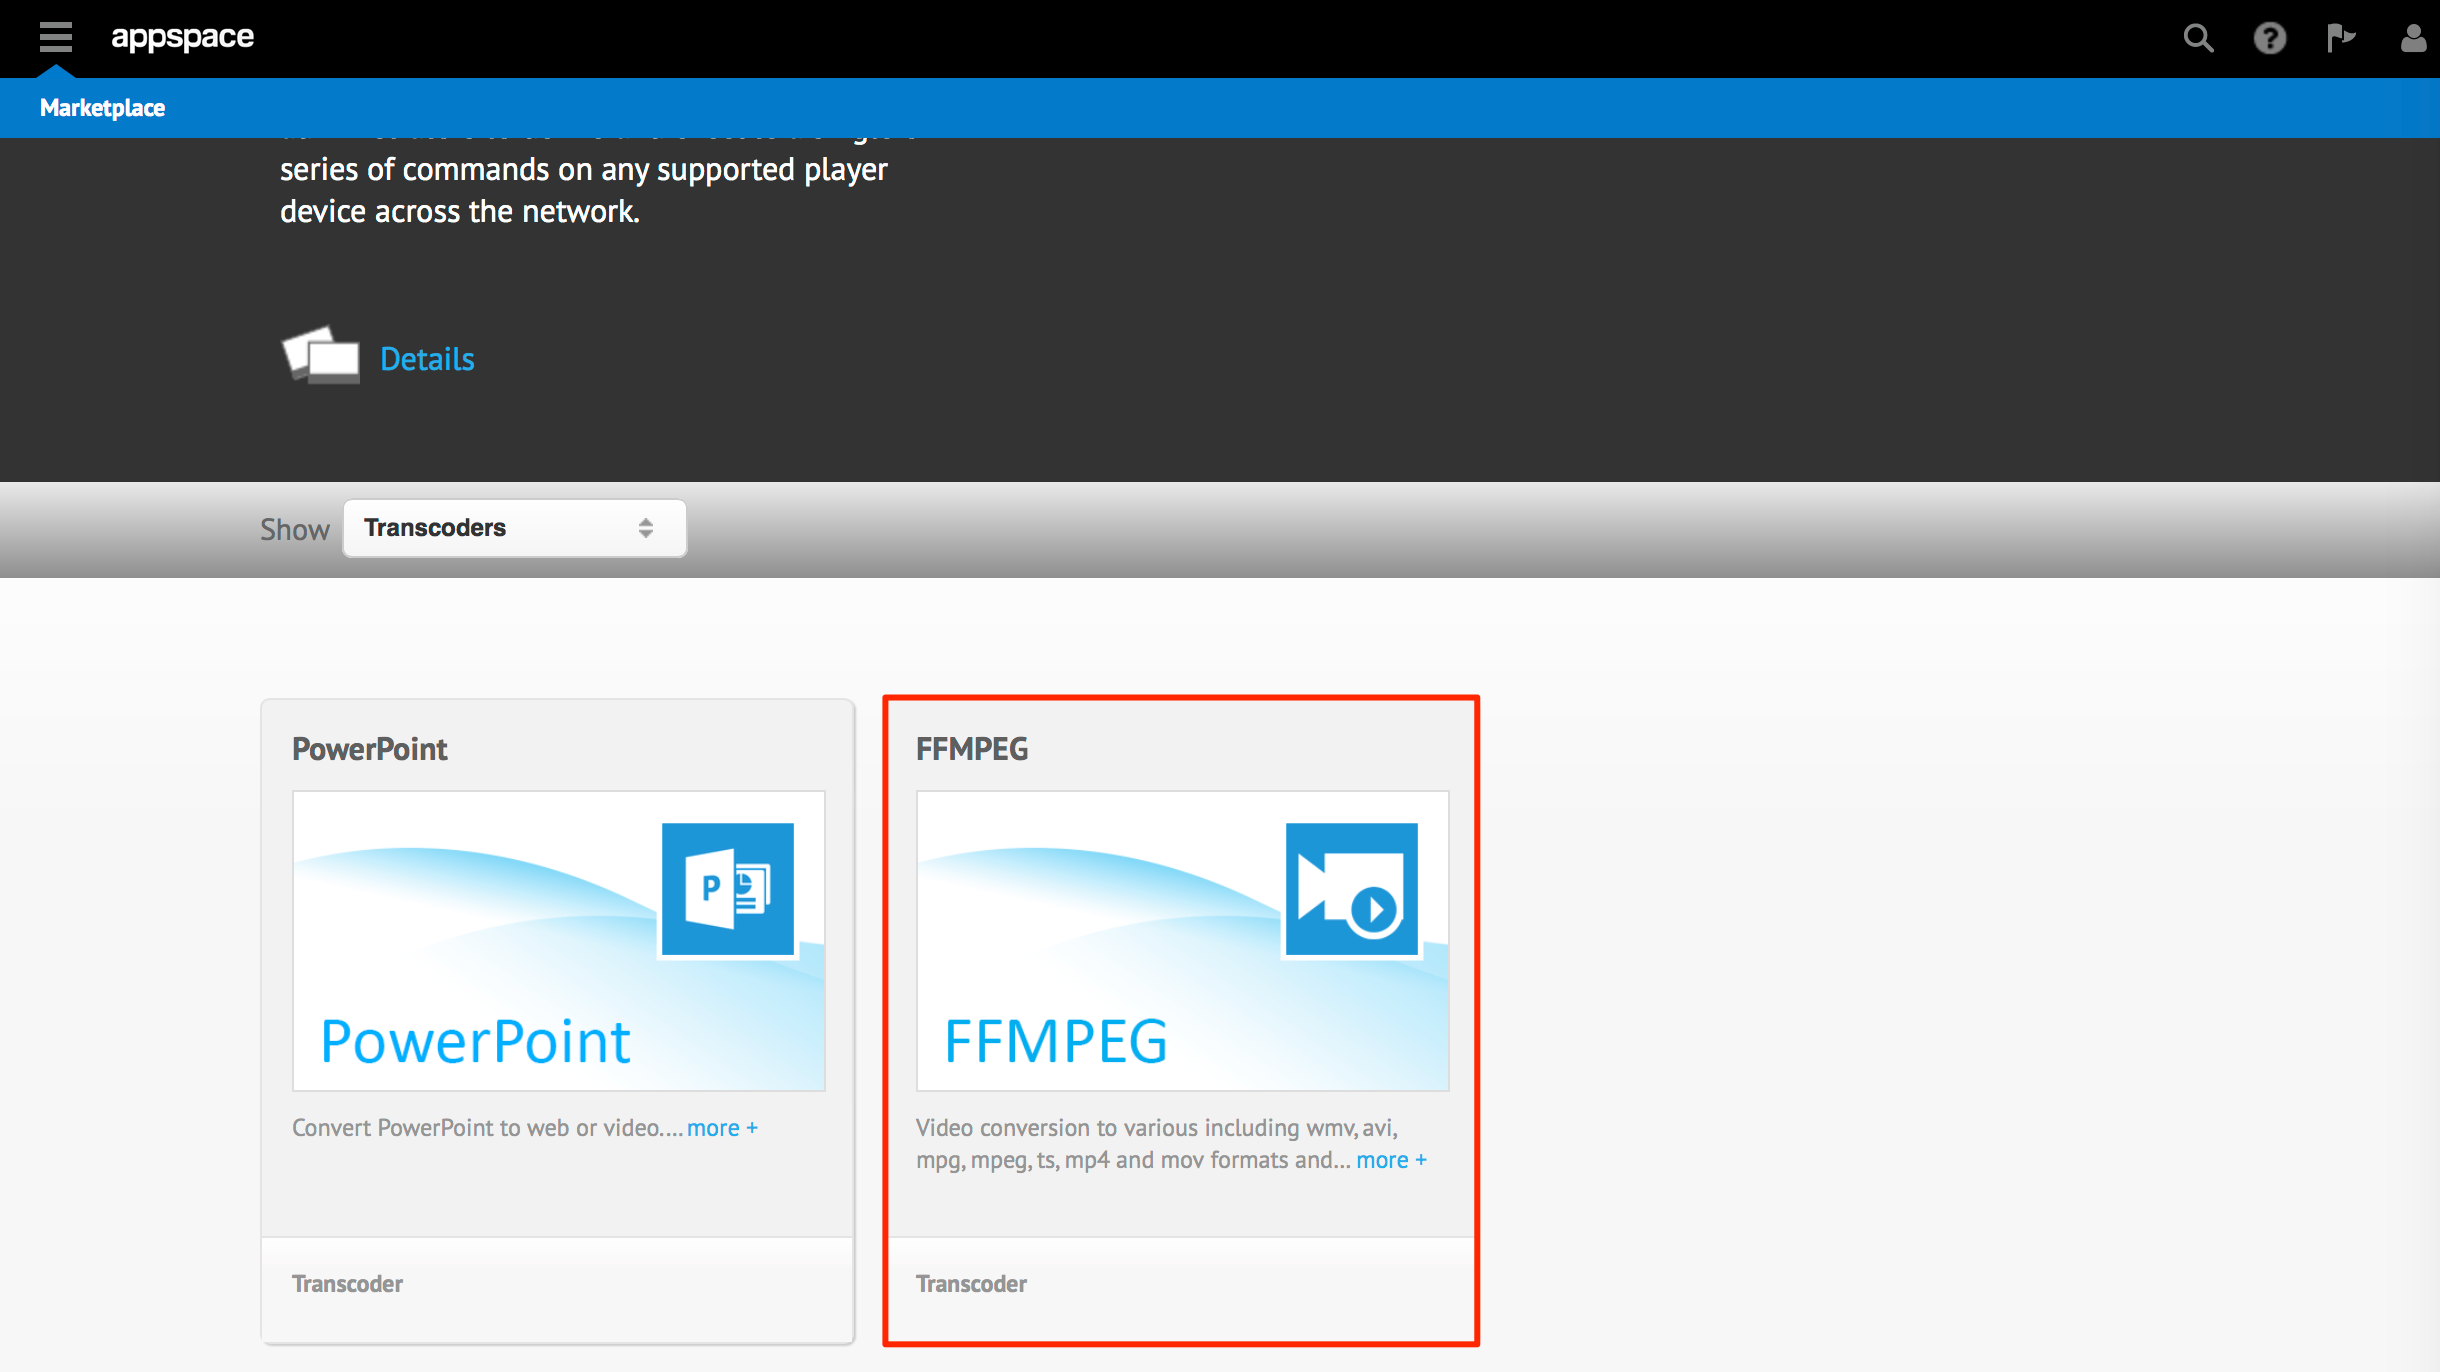
Select the desired transcoder package type.
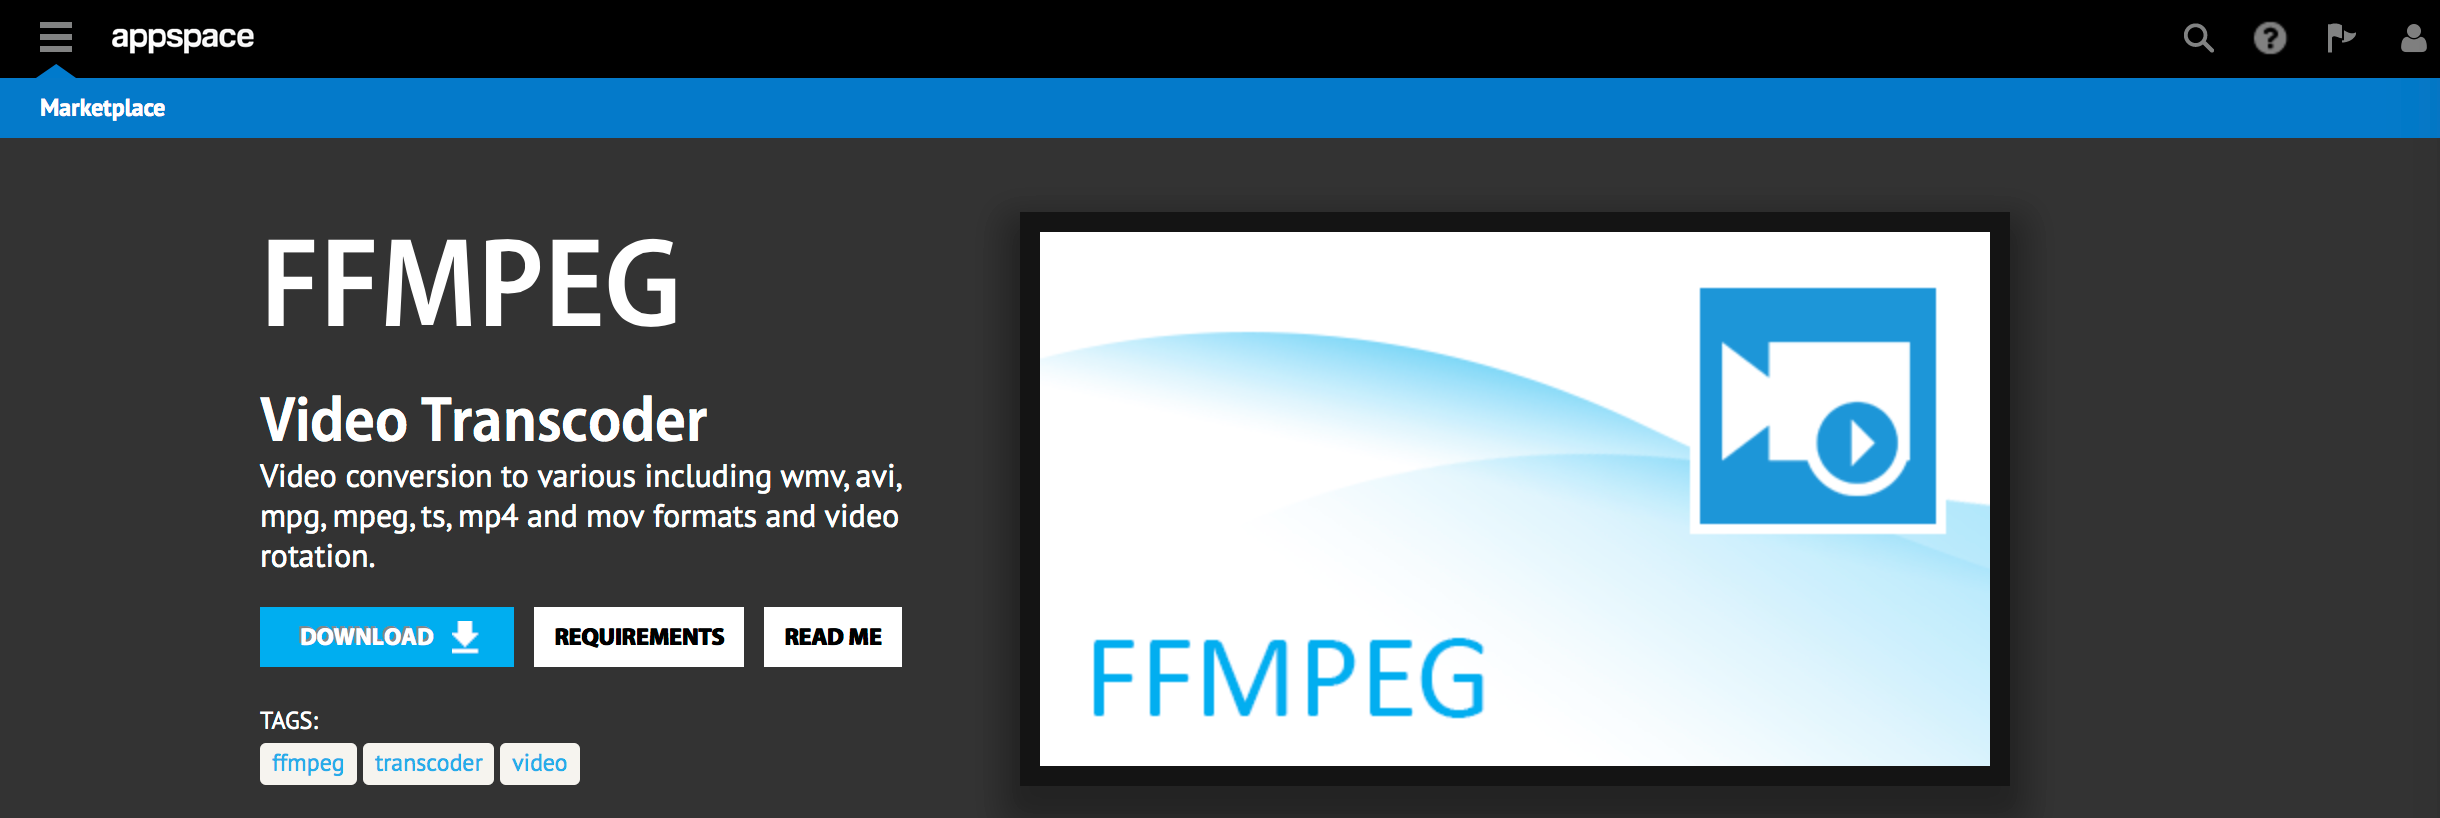
On the transcoder details page, click the DOWNLOAD button to download the transcoder package. Save the transcoder file to a folder on your local machine.
Warning
Make sure to read and meet the installation requirements for each transcoder. Your Appspace server must be properly configured and must meet the hardware requirements that are defined. You must also download and install any/all software and codec requirements listed for the transcoder to function correctly.
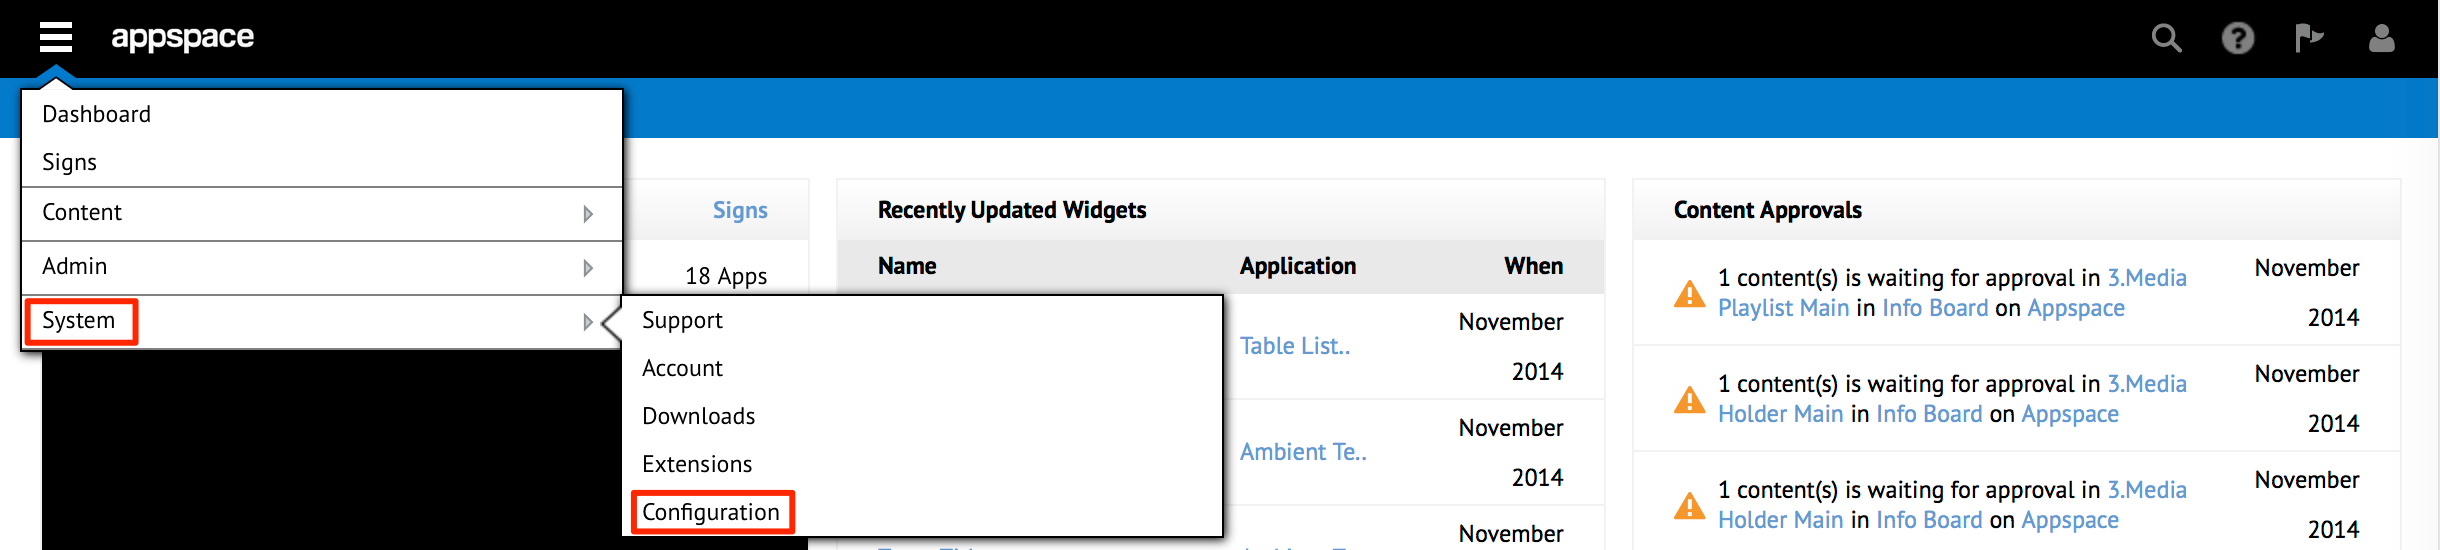
From the Appspace extensions drop-down menu, select System > Configuration.
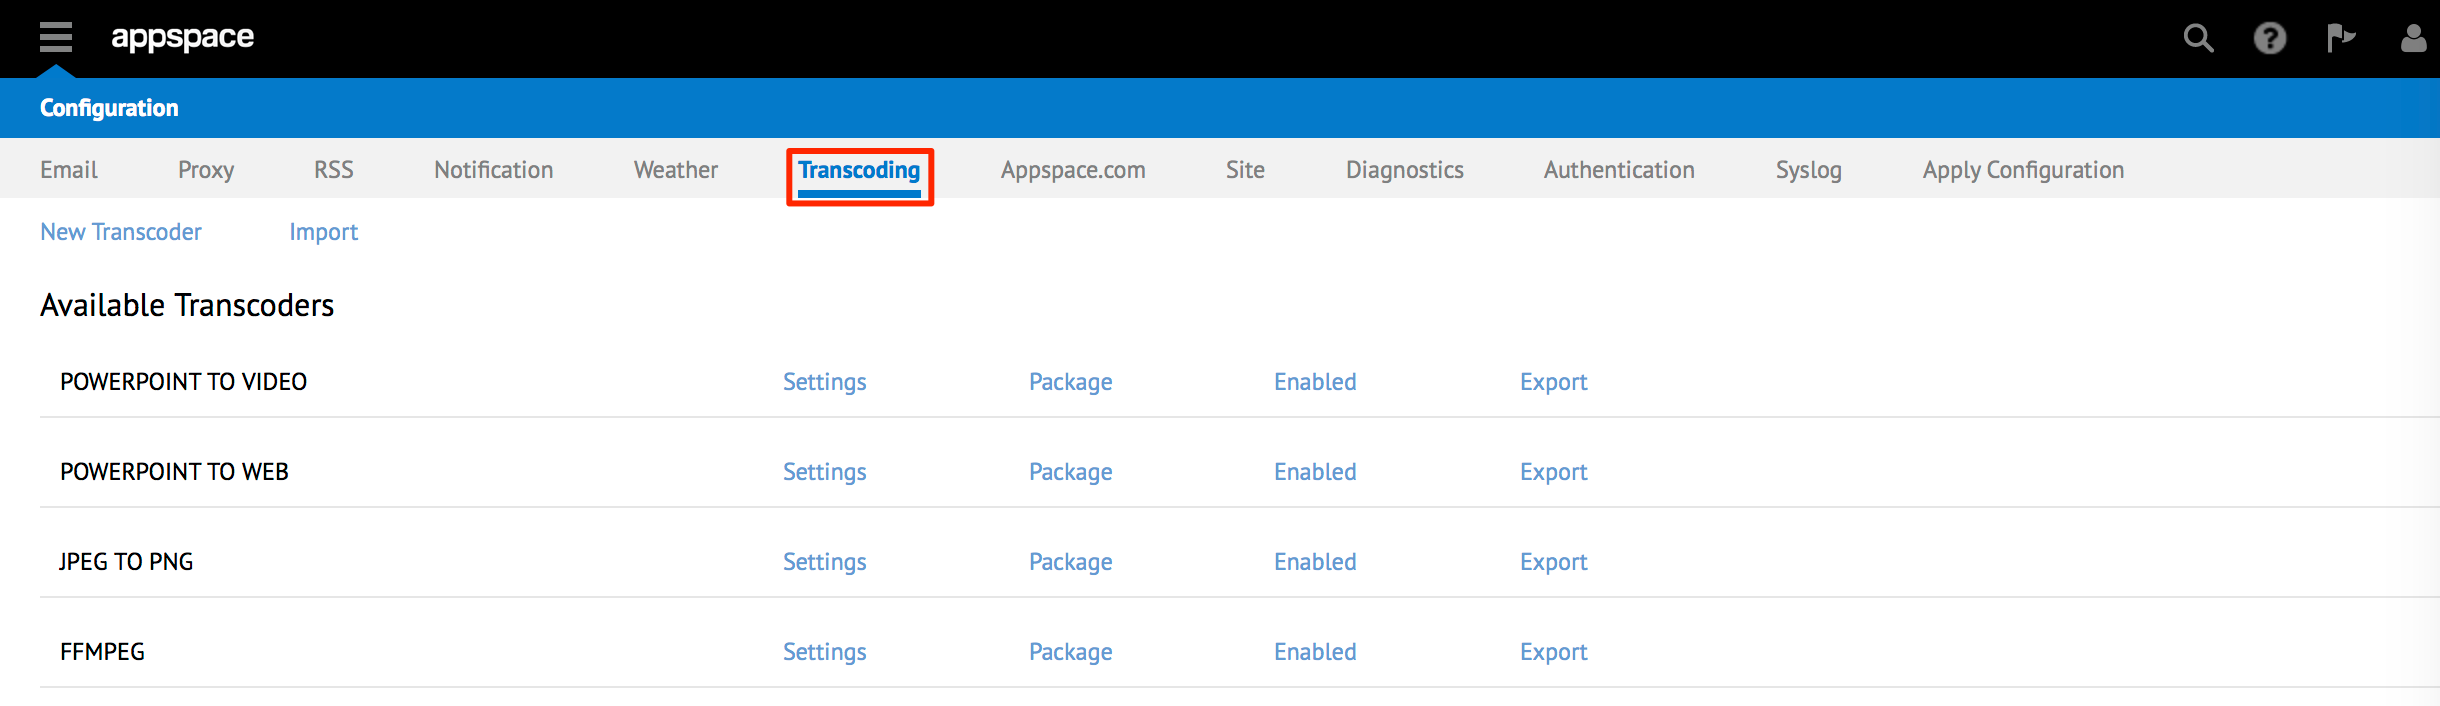
Click the Transcoding tab.
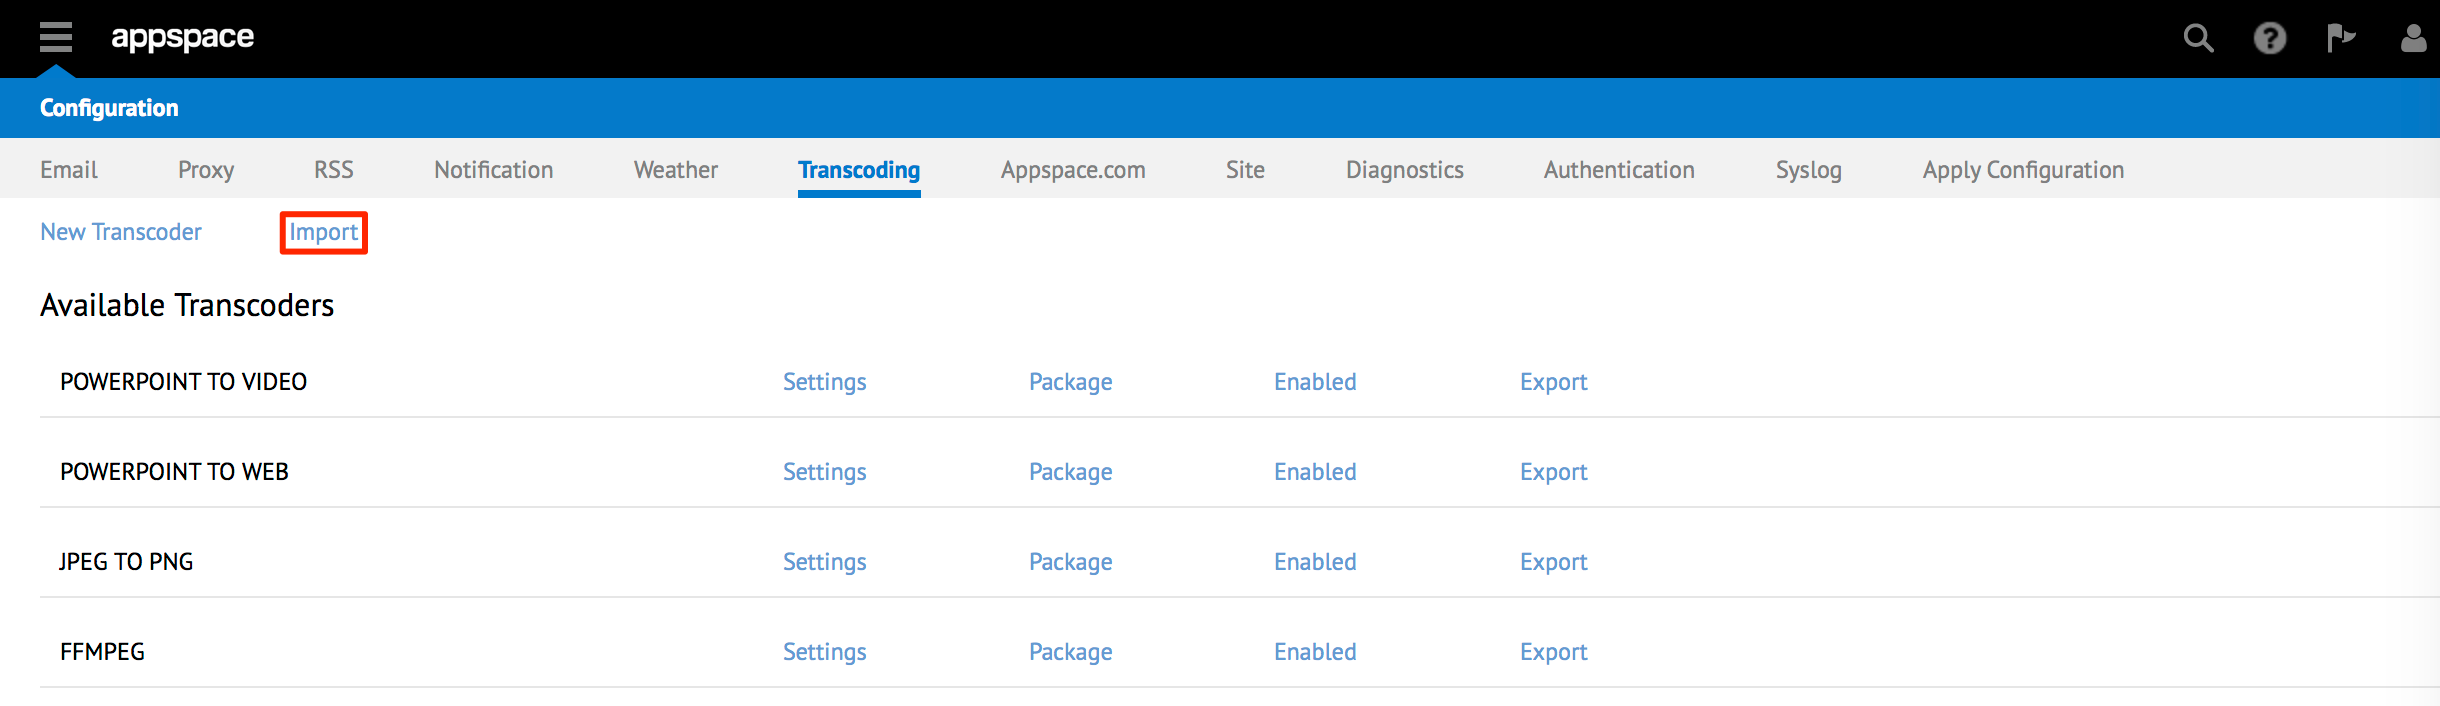
Click the Import sub-tab.
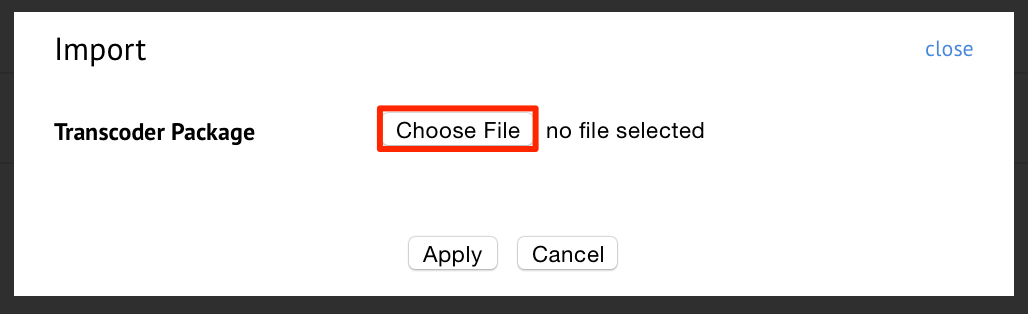
In the Import window, click the Choose File button and select the earlier downloaded transcoder package. Select the file and click Open to continue.
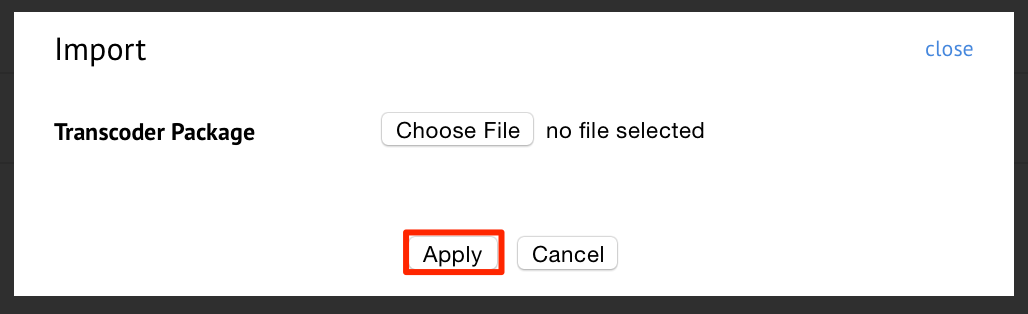
Click the Apply button to import the transcoder.
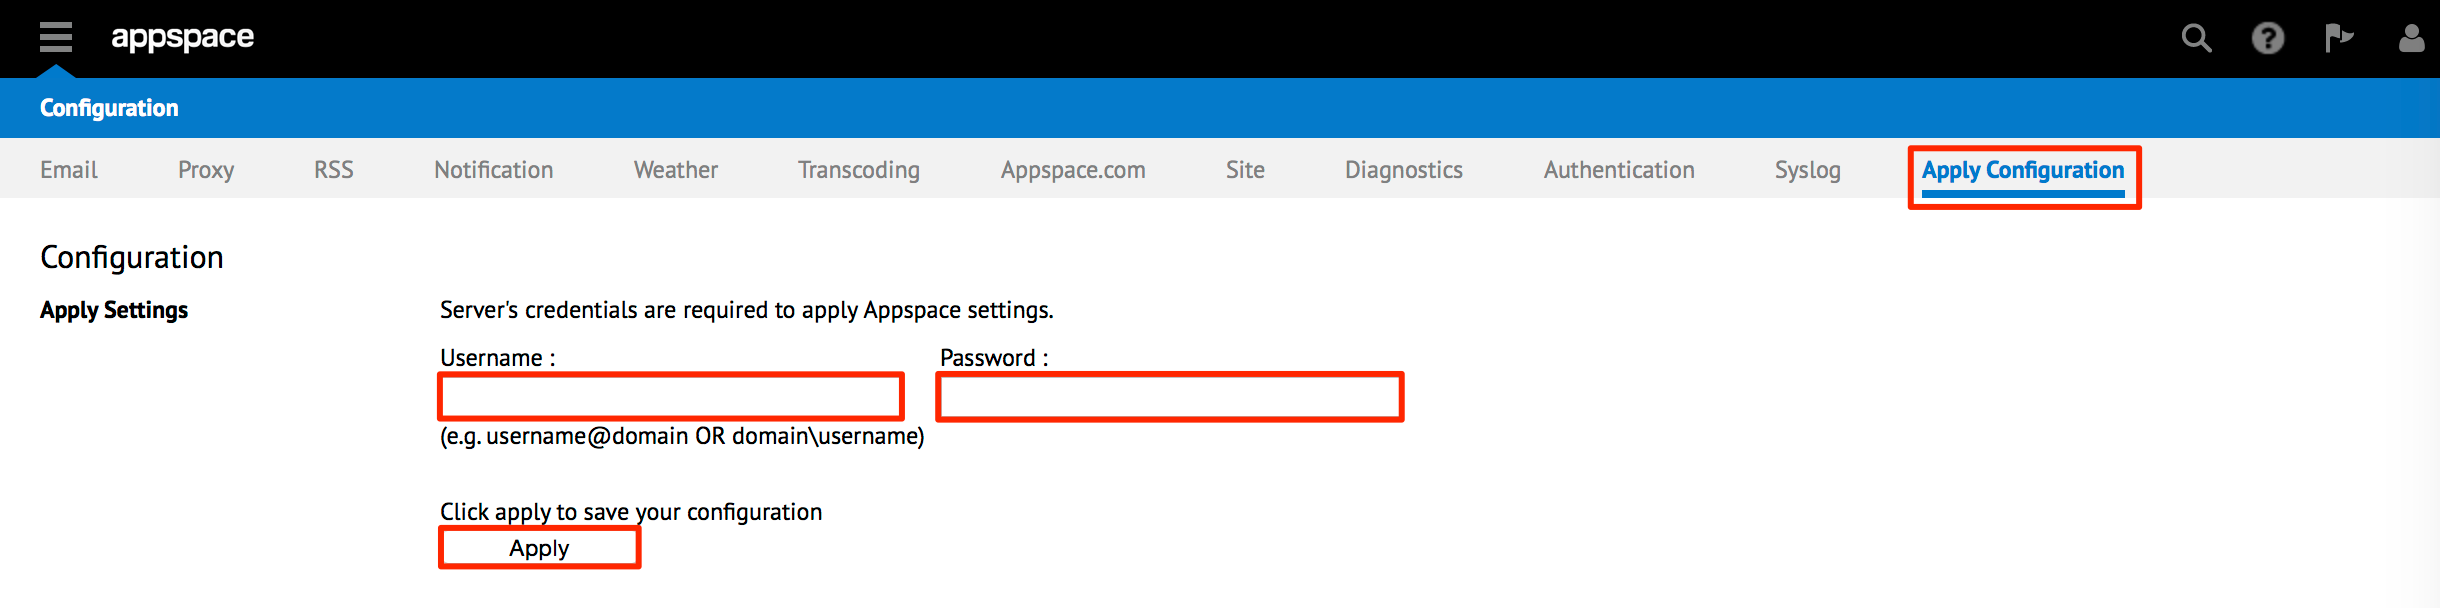
When the transcoder import has finished, click the Apply Configuration tab. Enter the credentials for the Windows Server Administrator account. Click the Apply button to restart the Web server service.
Adding Custom Developed Transcoder Plugins
Click the Appspace User icon on the top-right of the toolbar. Click System to continue.

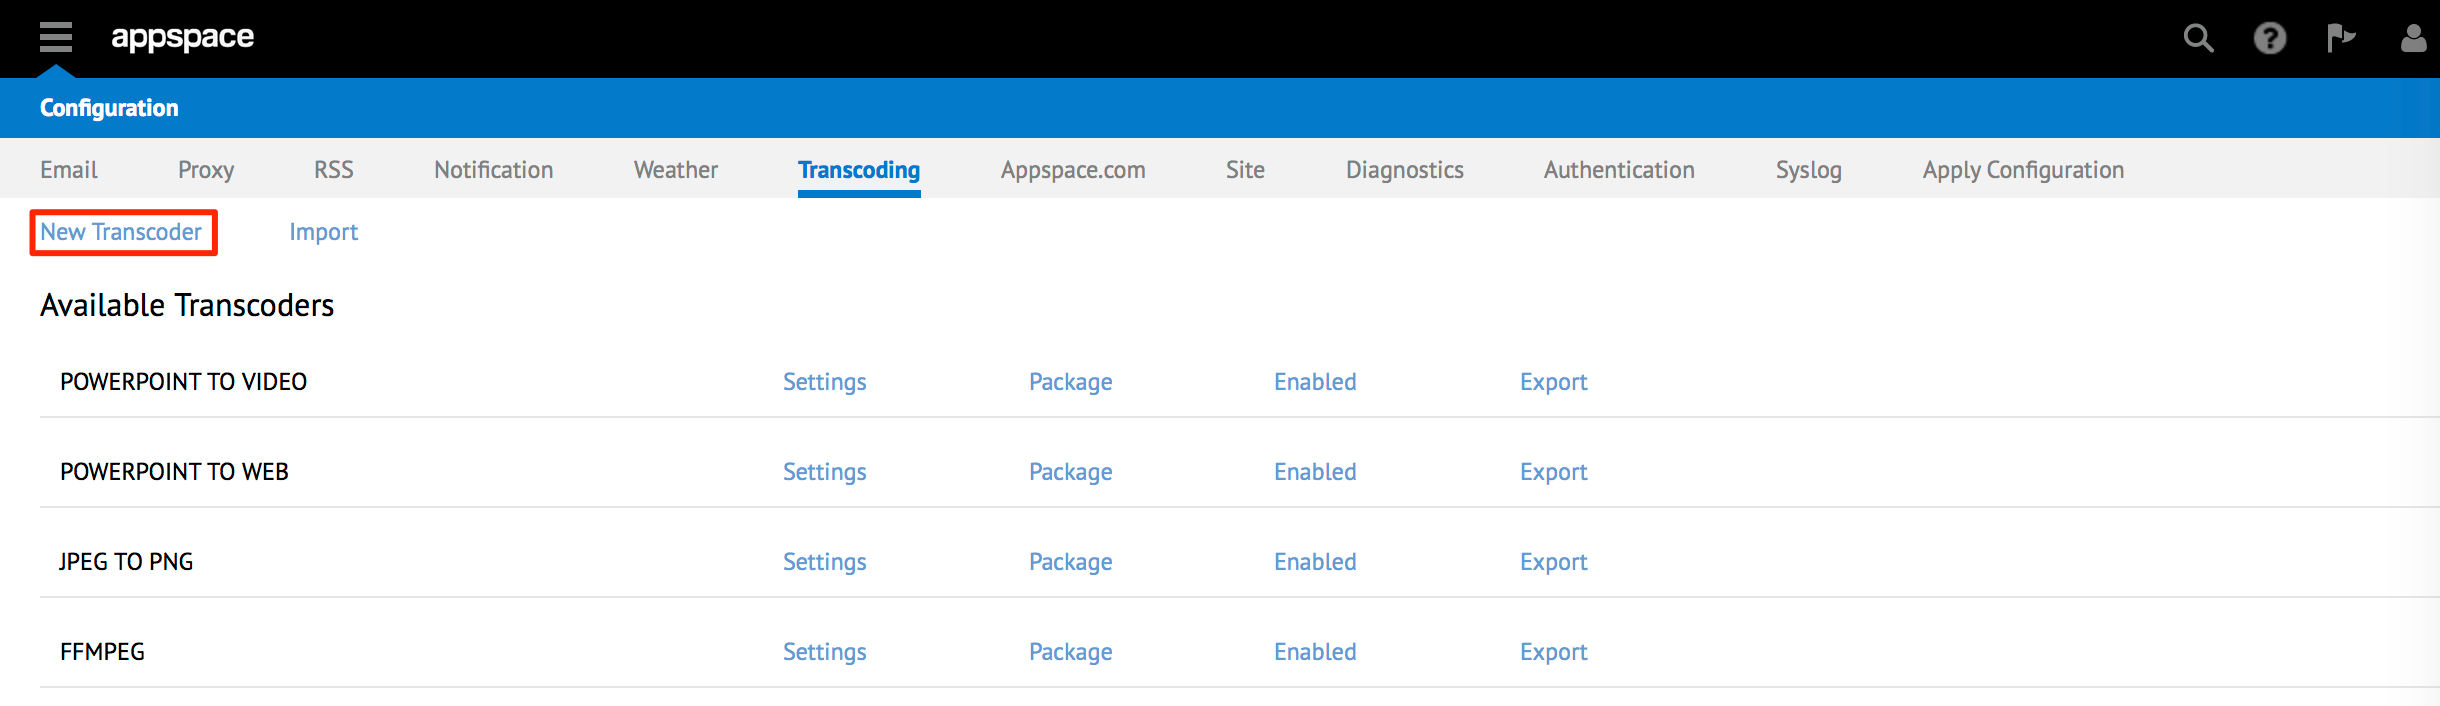
Click on the Transcoding tab. Click New Transcoder to begin adding a new transcoder.
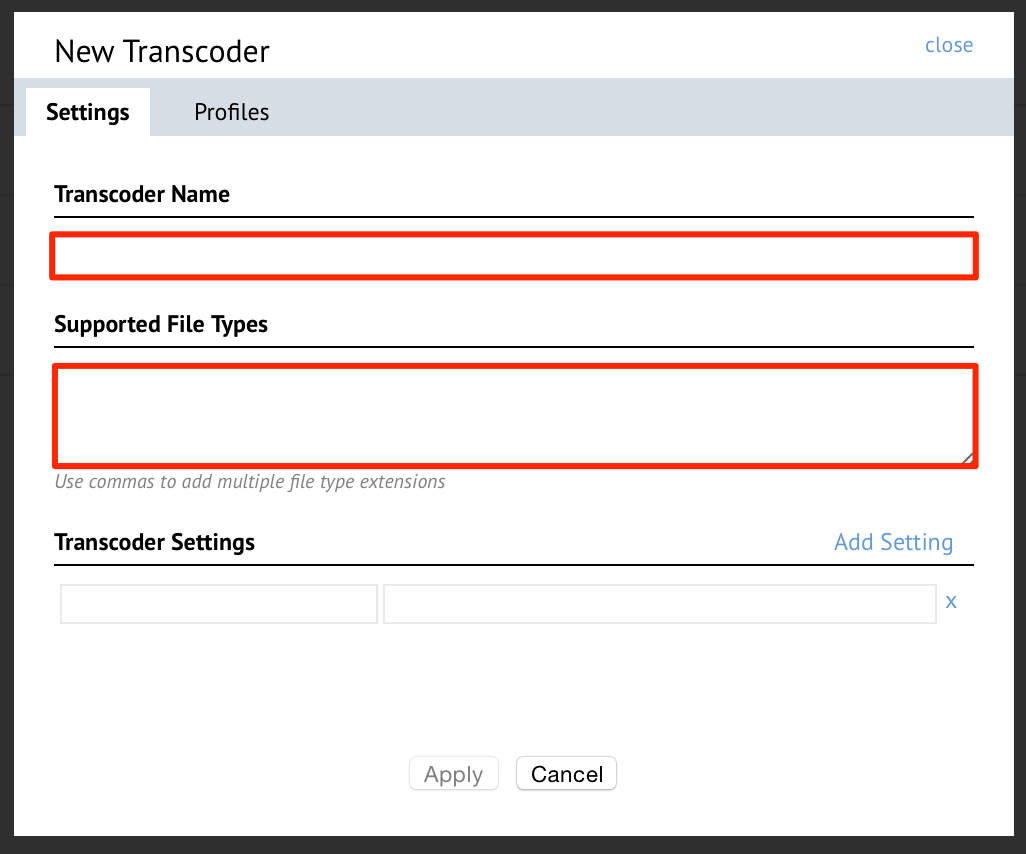
Under the Settings sub-tab of the New Transcoder section, fill in the Transcoder Name field. In the Supported File Types field, list (comma separated) the media file extension types that the transcoder will support. Appspace will use this information to determine the possible transcoders to use when a user encodes a media file in the content library.
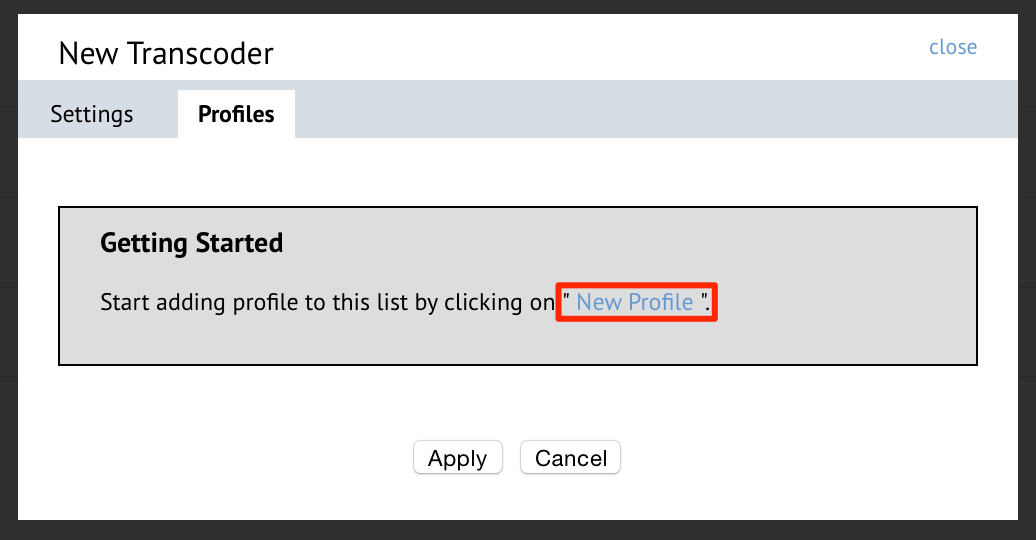
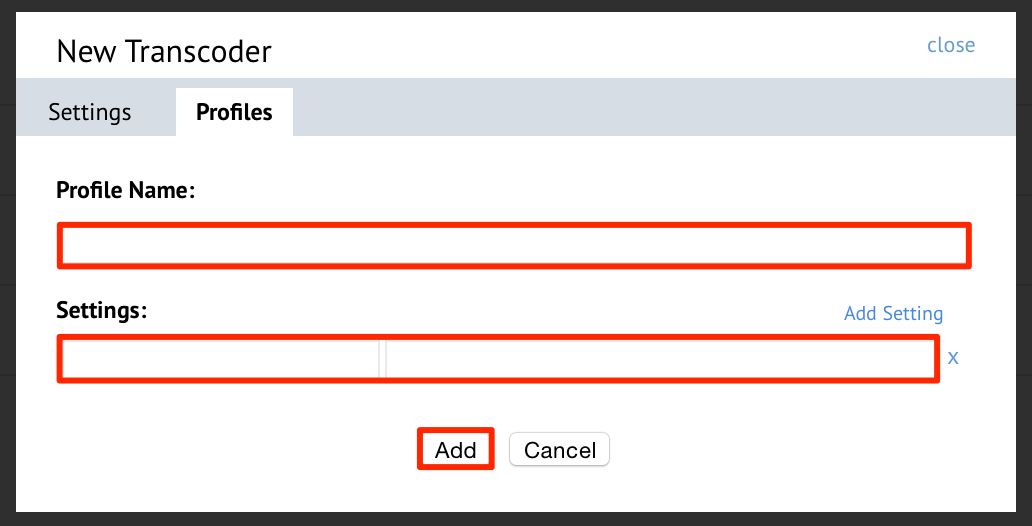
Click on the Profiles sub-tab. Each transcoder needs to have at minimum one profile created that defines the function the transcoder will perform. It is similar to a command line argument for the transcoder executable. Click the New Profile link to continue.
Enter a descriptive name in the Profile Name field that helps explain its function and file format outputs. Click on the Apply button to save the settings for this transcoder.
Note
- In the various Settings fields, you will need at minimum the
following values:
cli.outputext – the resulting file extension for the converted content for this profile
cli.arguments – the command line arguments to pass to the transcoder executable. It should contain the variables, %source% and %destination%
Use the Add Setting link to add more settings to this profile.
Select the Apply Configuration tab and enter the credentials for the Windows Server Administrator account. Click the Apply button to restart the web server and for the changes to take effect.
