Creating and Managing User Groups
This article provides the instructions to add, edit, and move user groups to different network locations on your Appspace server within the Users extension.
- Creating New User Groups
- Editing Existing Groups
- Deleting Existing Groups
- Moving User Groups Across Networks
Prerequisites
The ability to create and manage user groups require at minimum the Portal Administrator, Network Administrator, or User Management role.
Creating New User Groups
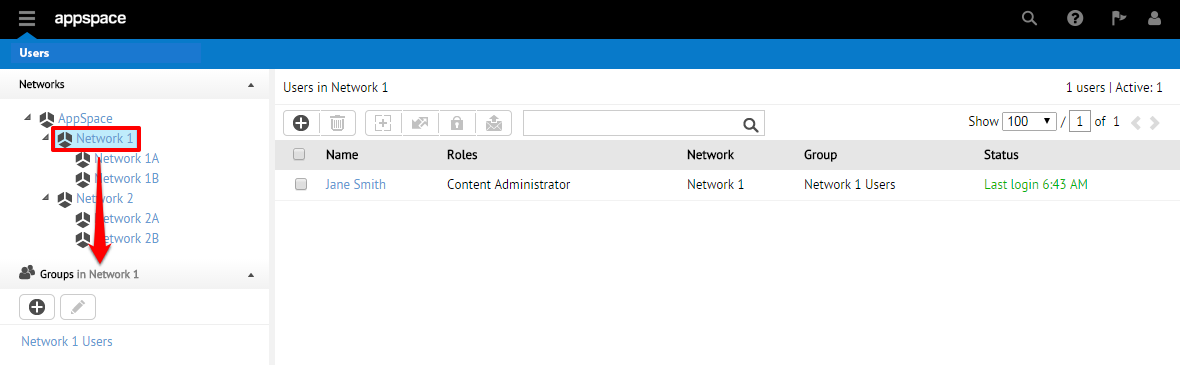
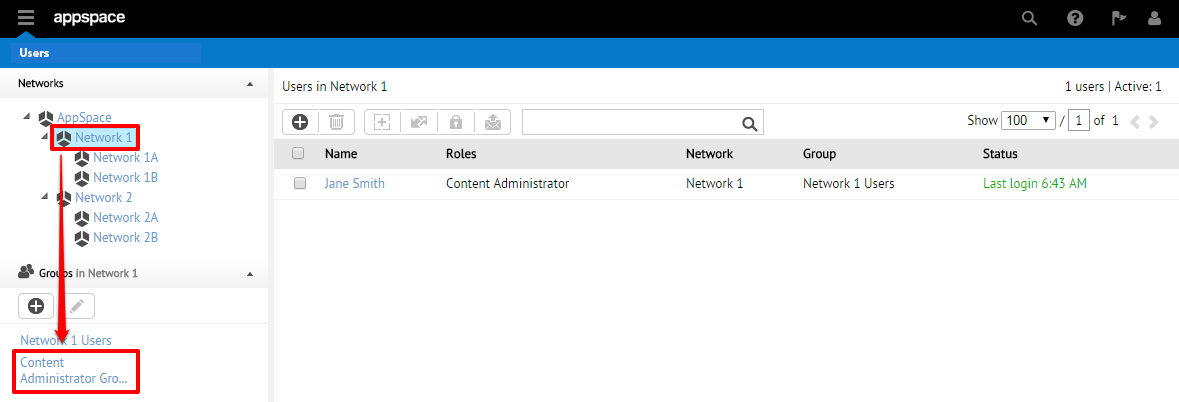
From within the Users extension, begin by identifying the desired parent network or subnetwork for which the user group is to be created under. Click to select the network or subnetwork from the Network section. You should see the Groups section reflect the selected network or subnetwork immediately.
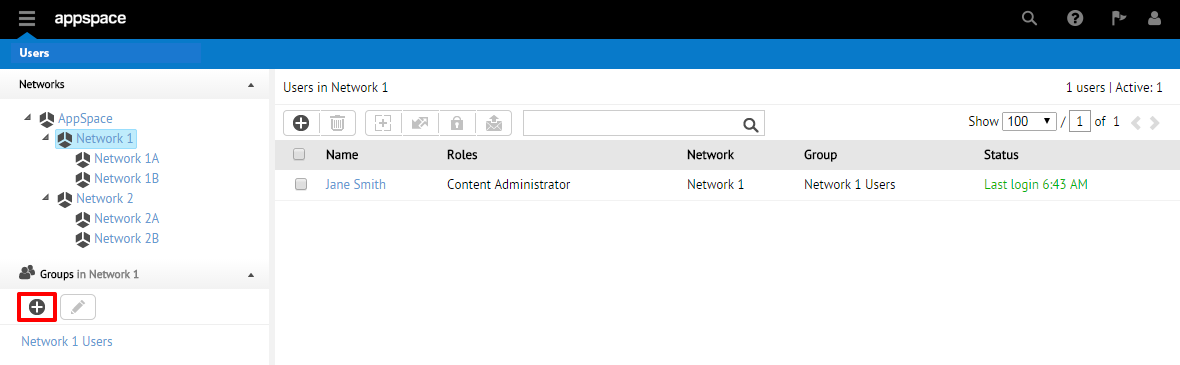
Click on the + (Add User Group) icon to begin adding a new user group to this network or subnetwork.
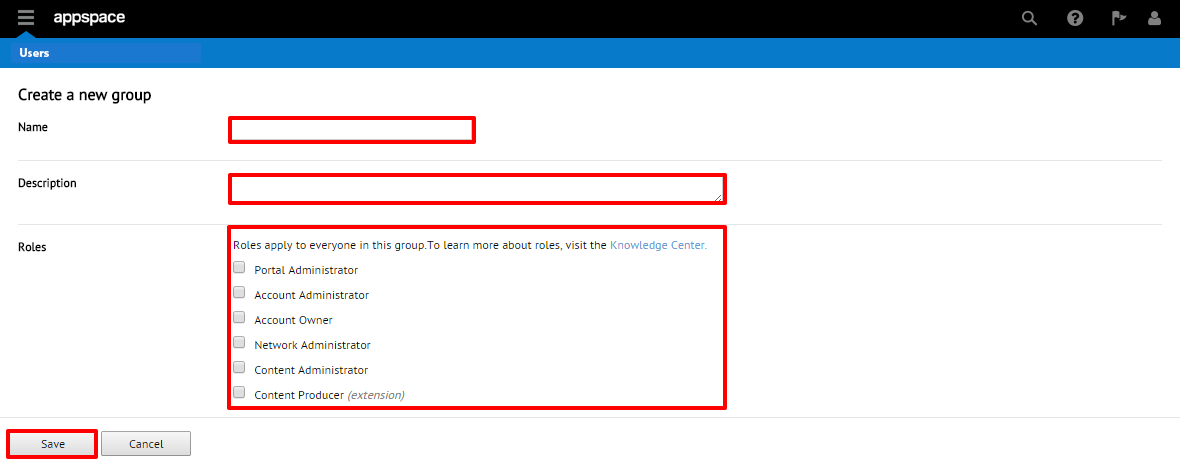
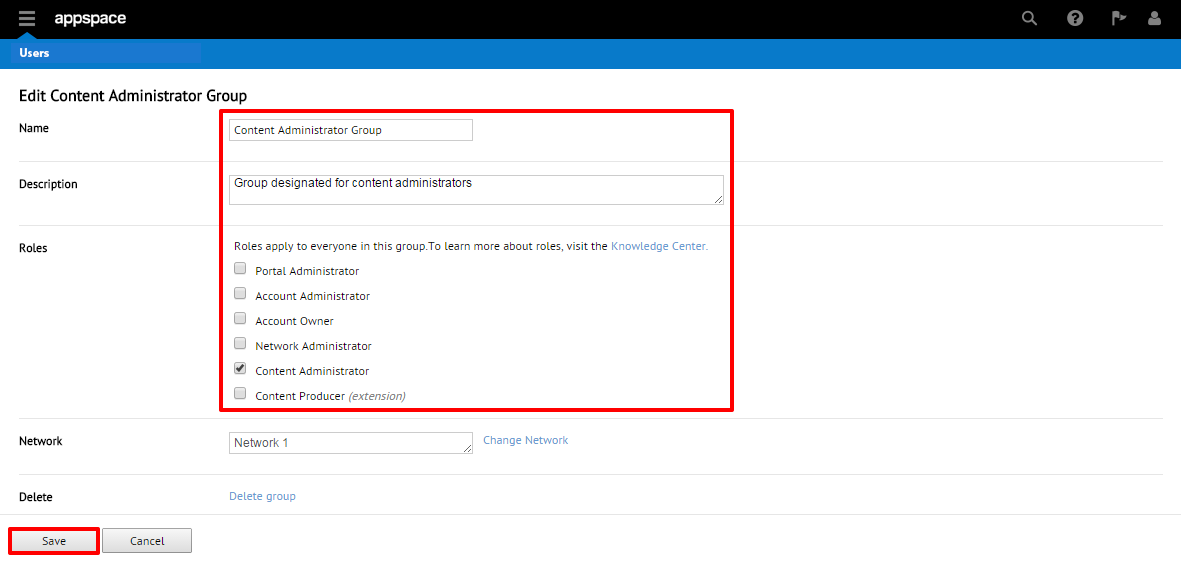
On the Create a new group page, complete the Name and Description fields as necessary. In the Role section, check the desired boxes to assign roles that will be inherited by all users that are invited/joined to the group. Click Save to finish creating the new group.
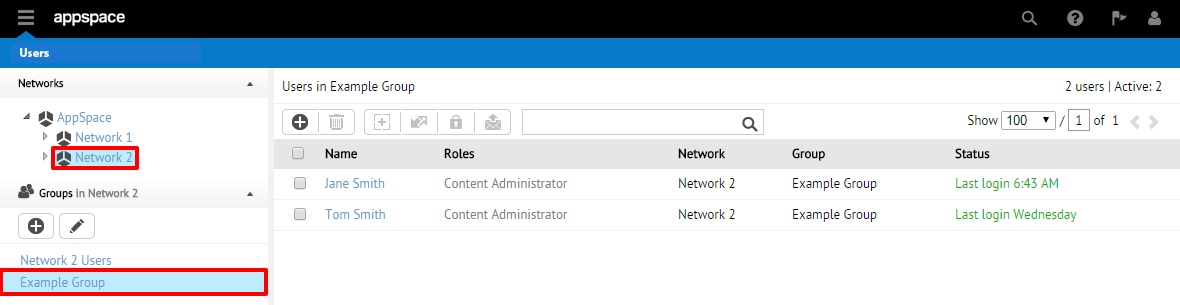
Back on the home page of the Users extension, your newly created group should now be created and visible when selecting the network for which it belongs to.
Editing Existing Groups
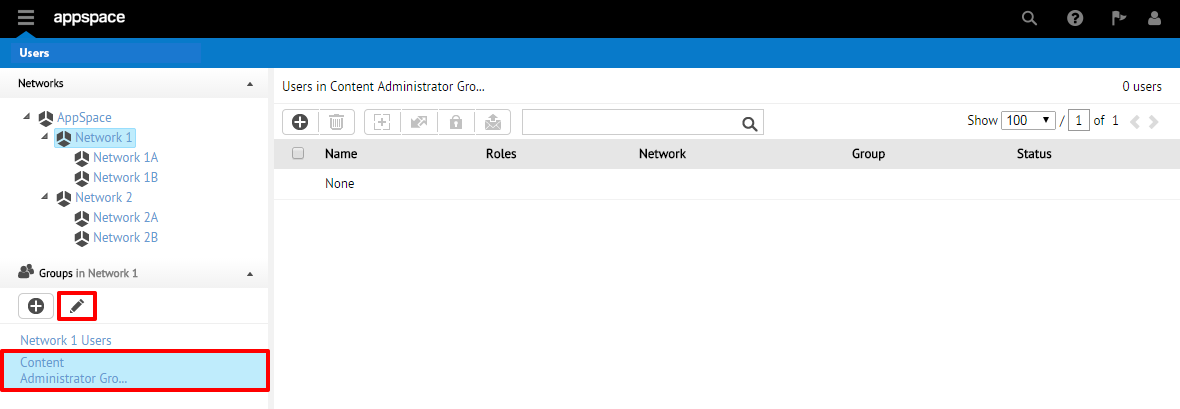
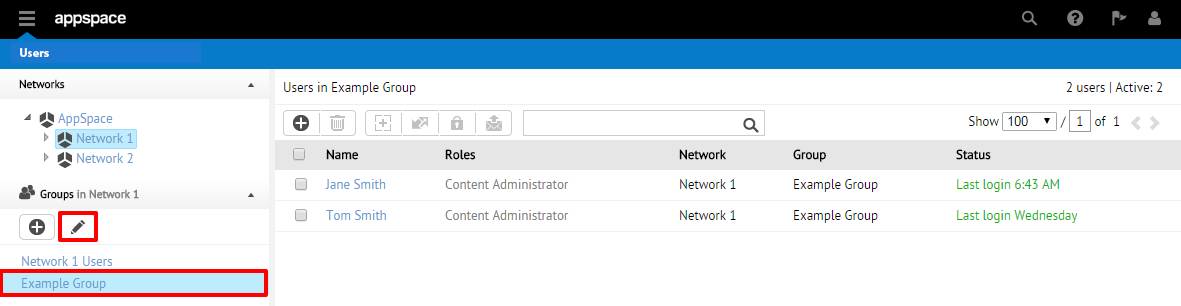
From the home page of the Users extension, begin by selecting the group for which you wish to edit (you will likely first have to select the appropriate network from the hierarchy tree). Click on the pencil (Edit group) icon to begin editing the group.

On the Edit Group page, make the necessary changes to the group’s details as desired including adding/removing roles by checking or unchecking boxes next to various roles. When finished, click on the Save button to confirm the changes.
Deleting Existing Groups
From the home page of the Users extension, begin by selecting the group for which you wish to delete (you will likely first have to select the appropriate network from the hierarchy tree). Click on the pencil (Edit group) icon to be taken to the Edit Group page.
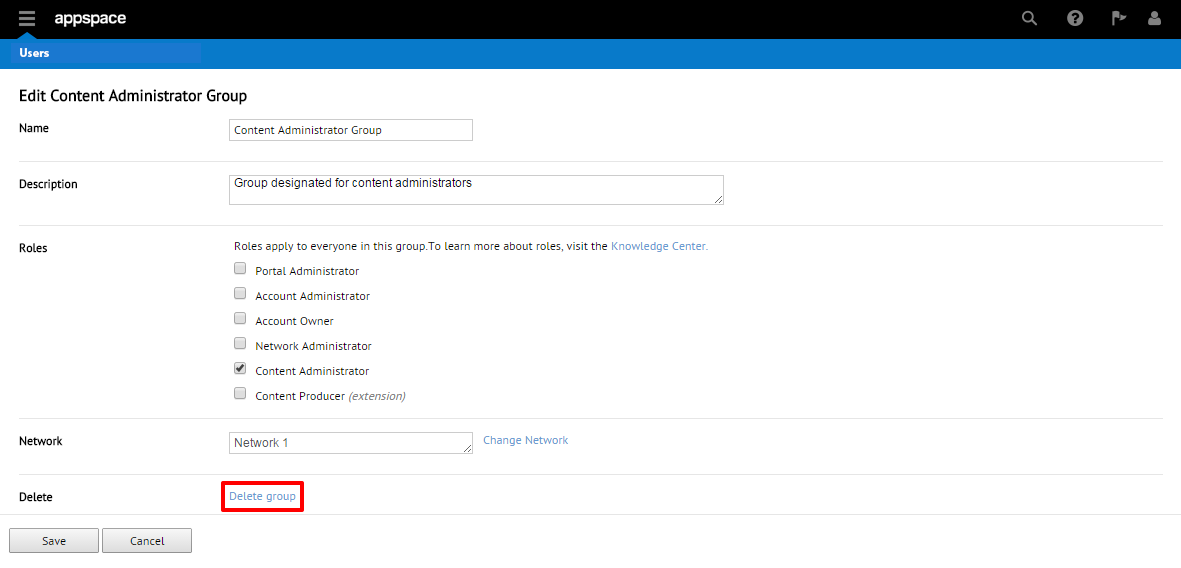
On the Edit Group page, click the Delete group link.
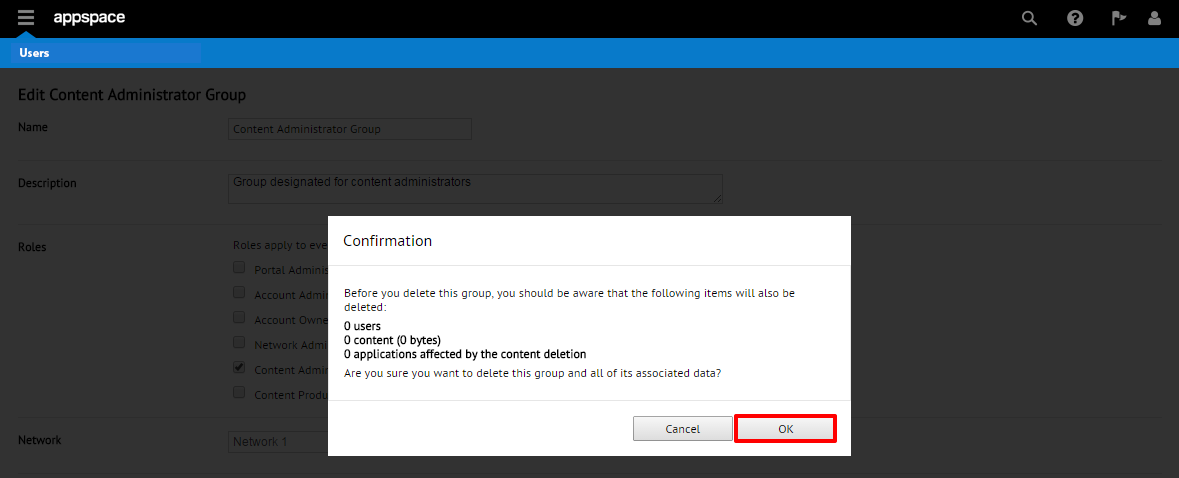
You should be presented with a Confirmation (warning) dialog with information regarding how the group deletion will affect the server. Once you’ve confirmed you’ve selected the proper group to be deleted, click the OK button to continue.
Warning
Be sure to carefully review the users, contents, and applications that will be affected by this deletion before permanently removing them from the system.
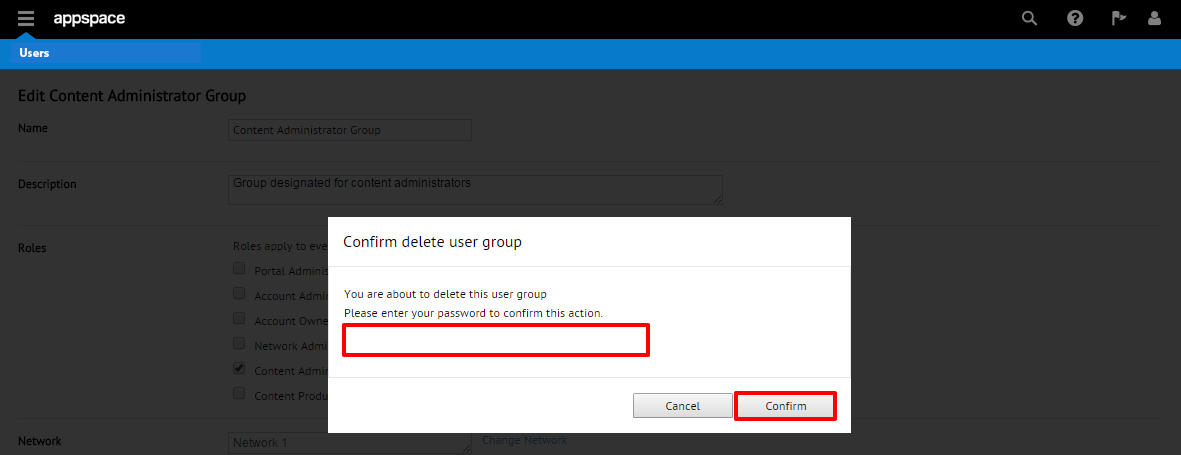
One final confirmation window will prompt you to enter your password to complete the group deletion process. Enter your account password and click Confirm. The group (and all of its users and content) will now be removed from Appspace.
Moving User Groups Across Networks
From the home page of the Users extension, begin by selecting the group for which you wish to move (you will likely first have to select the appropriate network from the hierarchy tree). Click on the pencil (Edit group) icon to be taken to the Edit Group page.
On the Edit Group page, click on “Change Network” link.

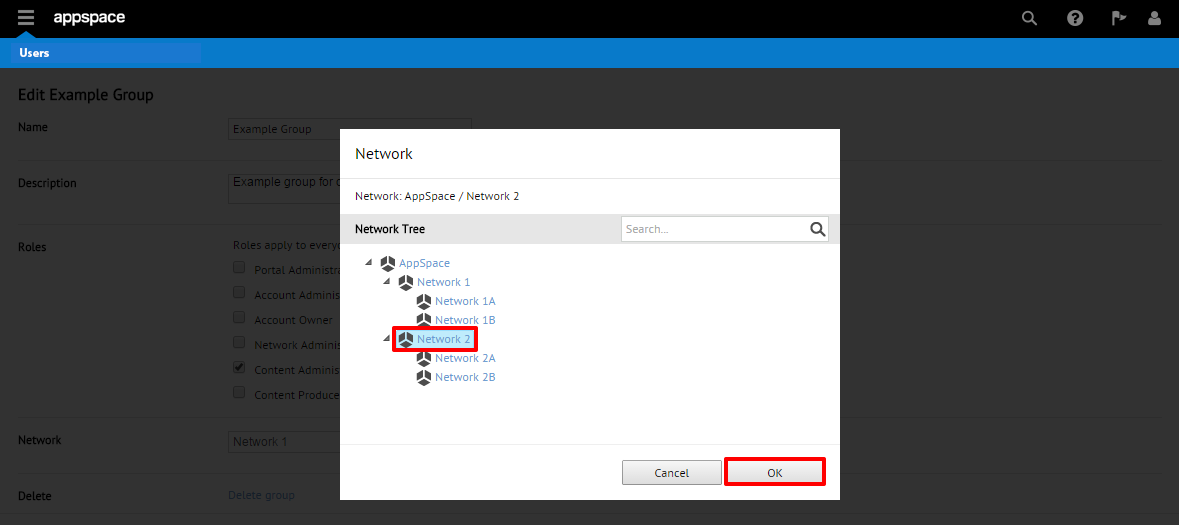
A new window should appear that contains the Network Tree. Select the new (target) destination network for which you would like to move the user group to. You may also utilize the search bar to more quickly find the network if you know the exact name. Once the new network has been selected, click OK.
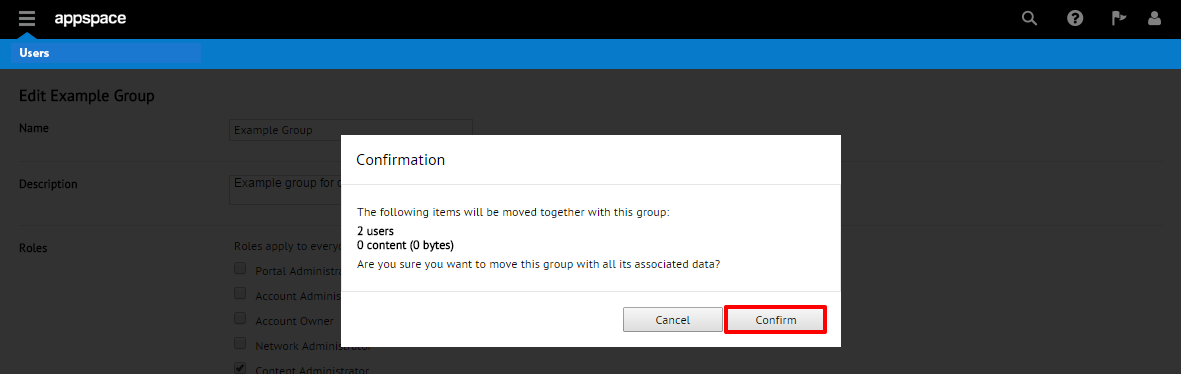
You should see another dialog pop-up asking you to confirm moving the group and the resulting impact (such as the number of users, amount of content, or applications that will be affected). Click Confirm to proceed.
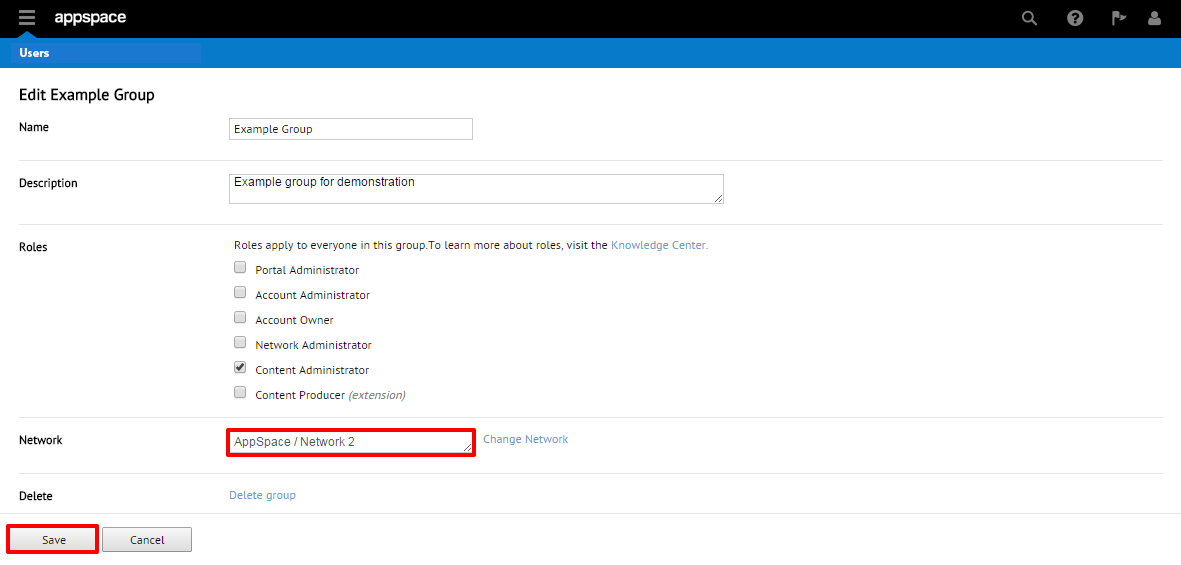
You should be returned to the Edit Group page and notice that the newly selected (target) network now appears on the Network field. Click Save to confirm and complete the user group move process.
Back on the main Users dashboard under the Group hierarchy tree, you should now see the user group moved/relocated (as well as all users within the group) in the new network.