PowerPoint Transcoder
Introduction
Important
Transcoders are only available for on-premise deployments.
This guide illustrates the steps to configure the Appspace server to use the PowerPoint transcoder for both Windows Server 2008 R2 SP1 and Windows Server 2012 R2 environments.
To jump to a specific section within this guide, click any link below:
Prerequisites
- Microsoft Office 2010 (64-bit) installed
- Windows Server Administrator credentials
Microsoft Office 2010 Installation
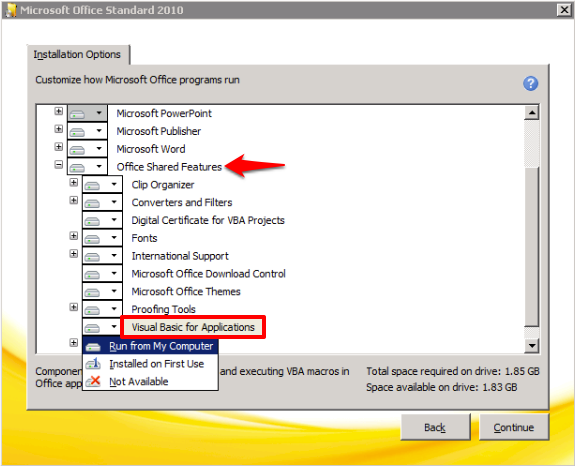
Office Shared Features > Visual Basic For Applications
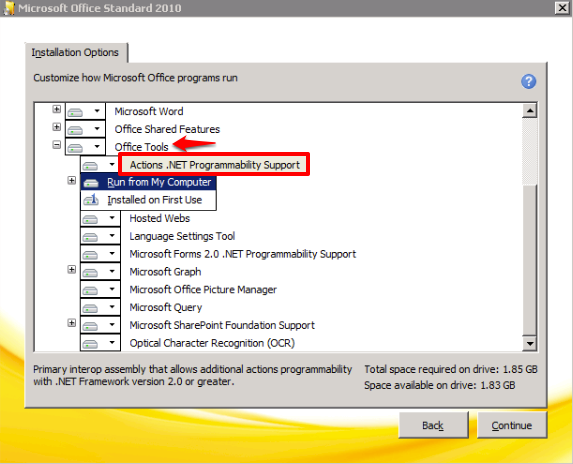
Office Tools > Actions.Net Programmability Support
Windows Server 2008 R2 SP1
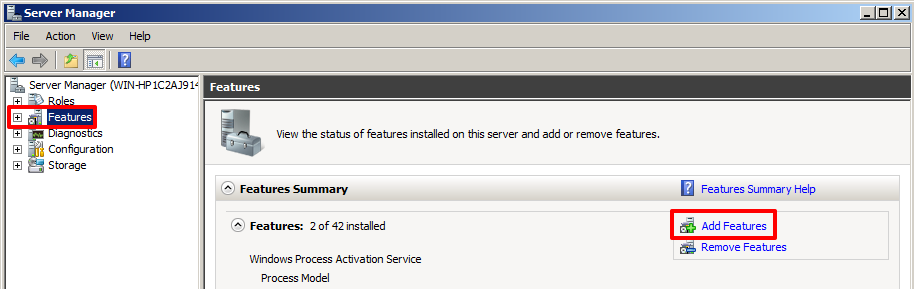
Click the Server Manager icon.

Click Features, and click Add Features.
Select Desktop Experience by ticking the empty box.
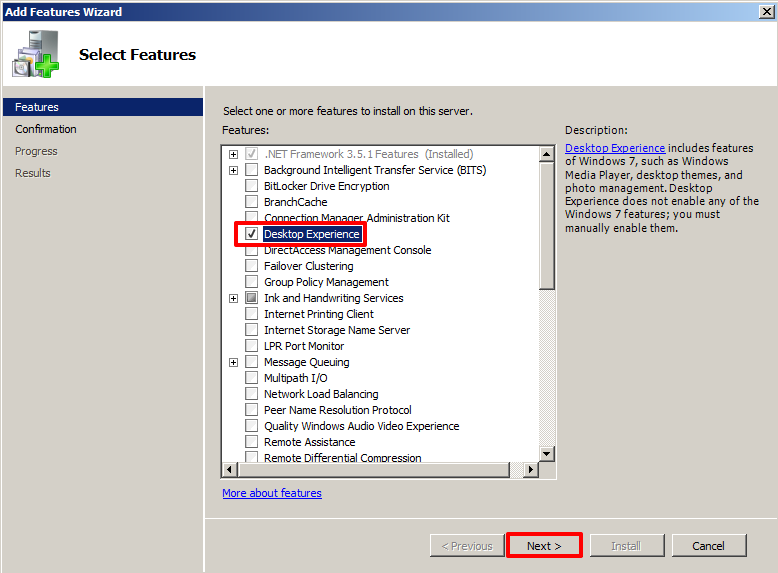
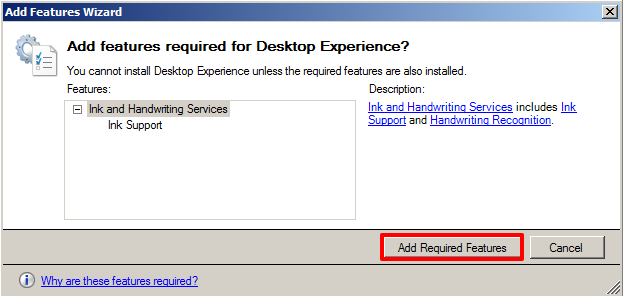
Click Add Required Features, and click Next.
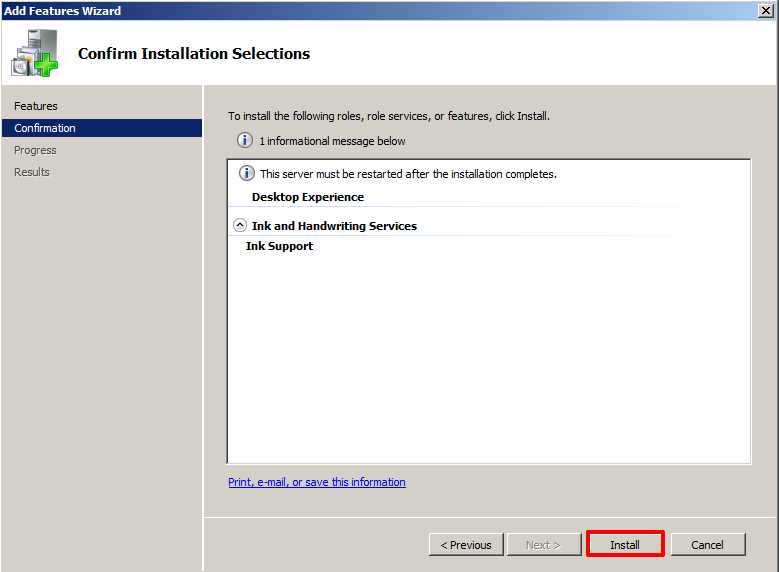
Click Install.
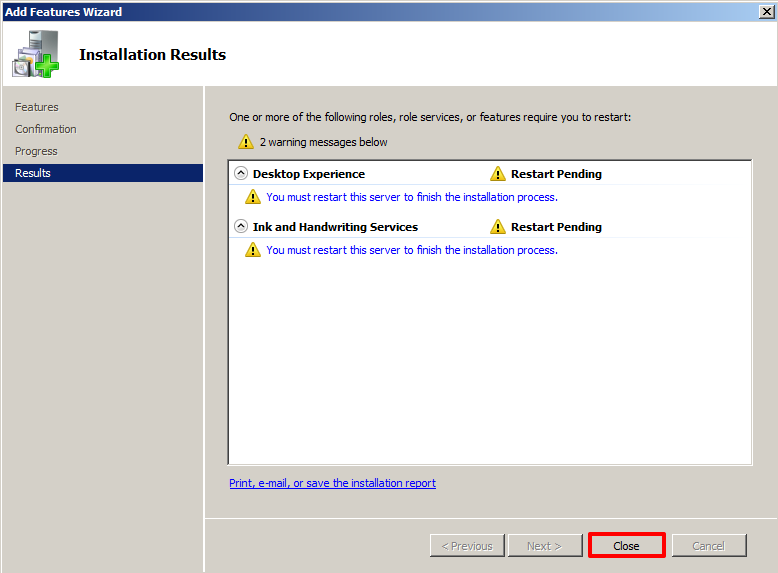
Click Close. Note that the server will be rebooted. Click Yes to reboot the server.
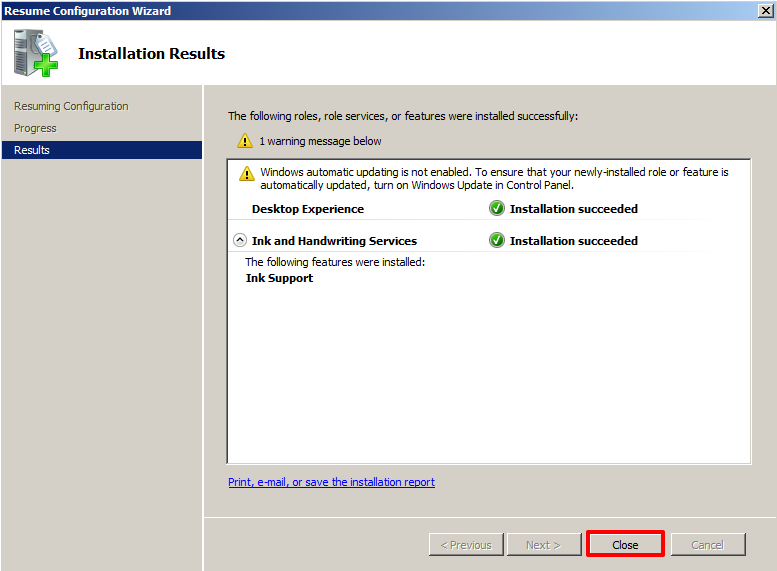
The installation process will resume after the server restarts. Click Close to complete the installation.
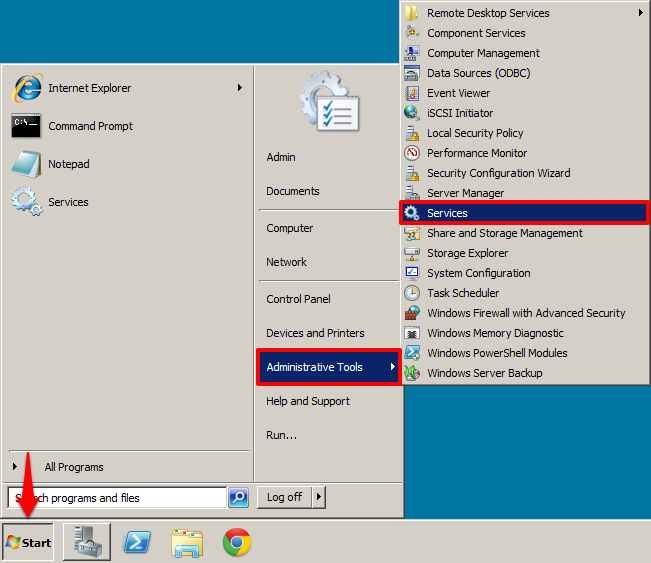
Click the start button and open Services.
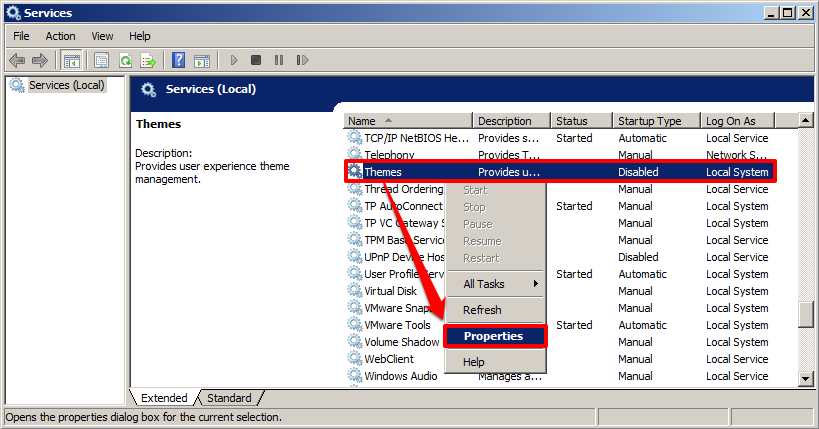
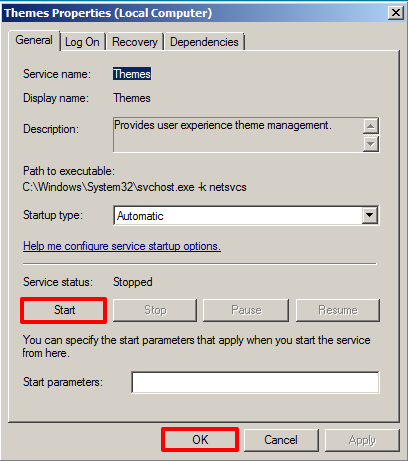
Search for Themes. Right-click and click Properties.
Set the startup type to Automatic and click Apply.
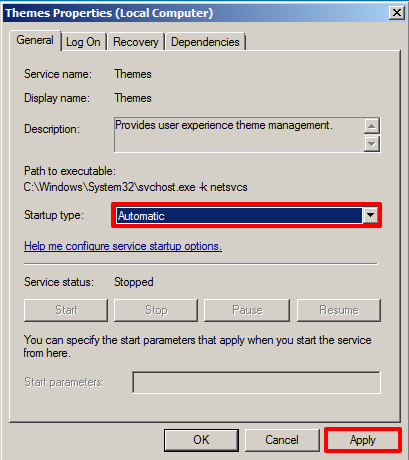
Start the service and click OK.
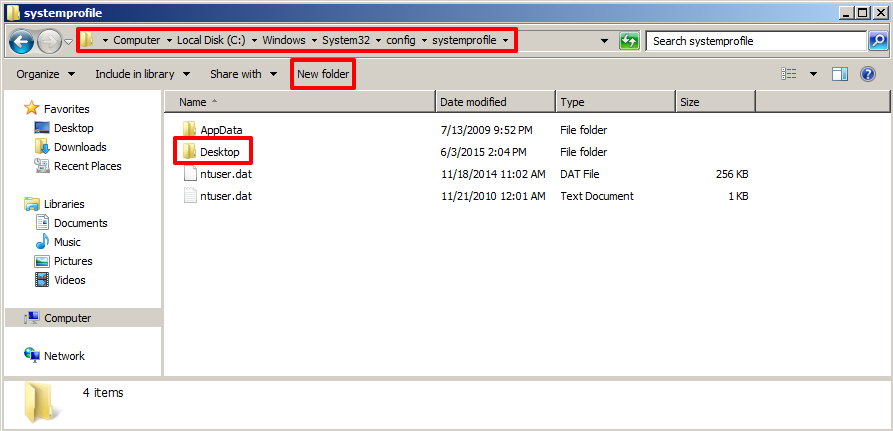
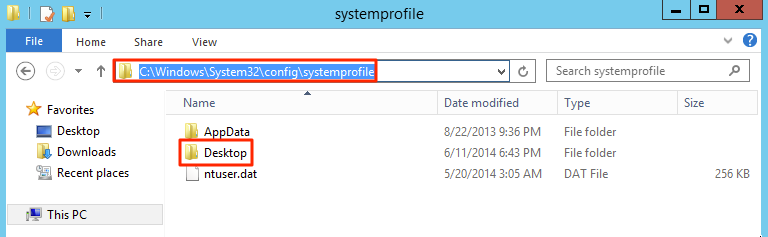
Navigate to C:WindowsSystem32configsystemprofile and create a folder Desktop.
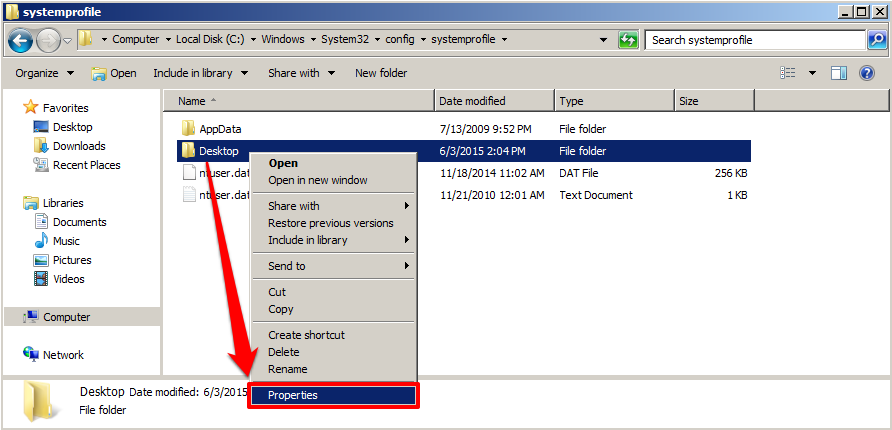
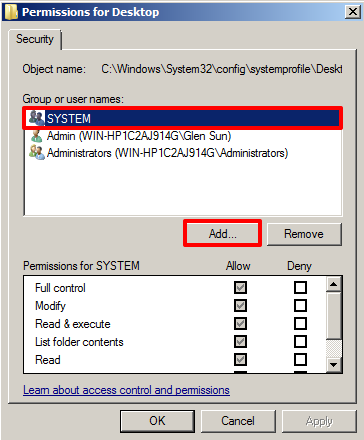
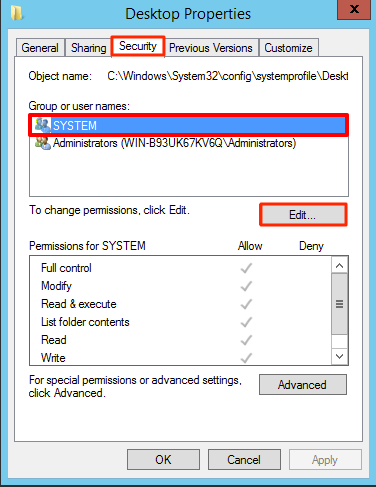
Right-click the Desktop folder and open its properties.
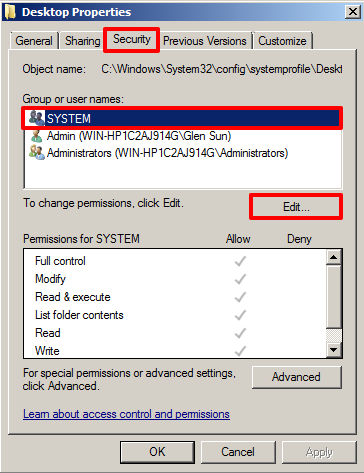
Under the Security tab, click the Edit button.
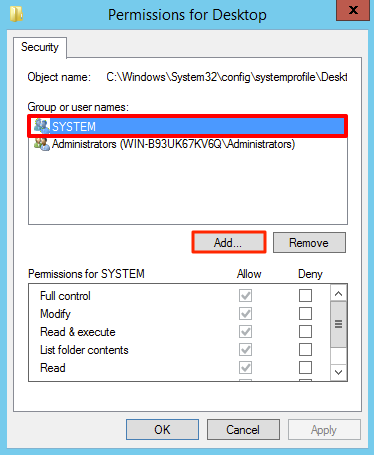
Click Add.
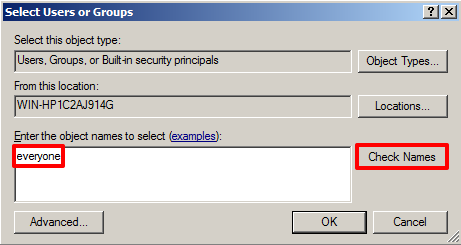
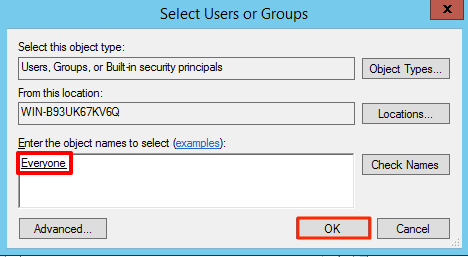
Type in everyone and click Check Names.
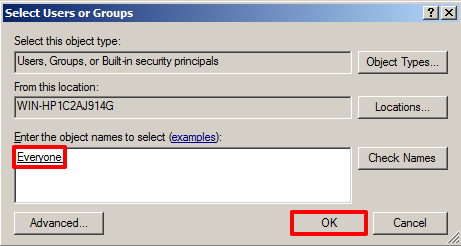
Click OK.
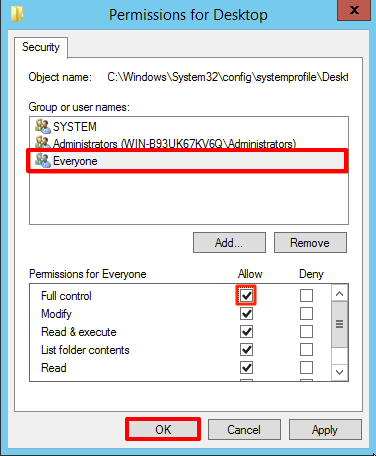
Select the group Everyone and assign Full Control permissions to that group by ticking the Allow box. Click OK.
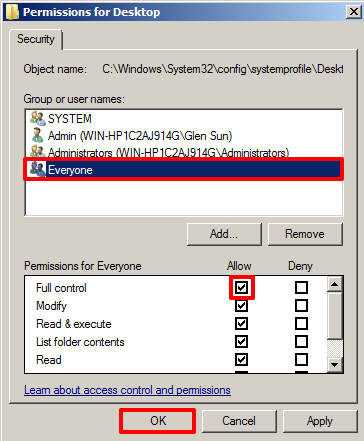
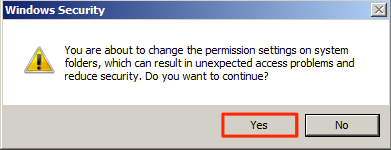
Click Yes to confirm the permission changes.
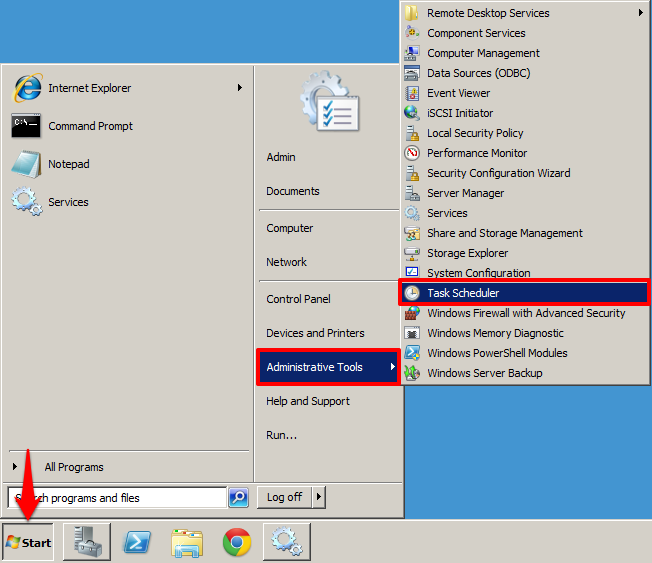
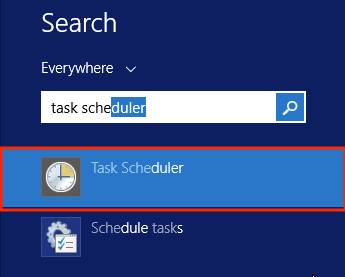
From the start button, open Task Scheduler.
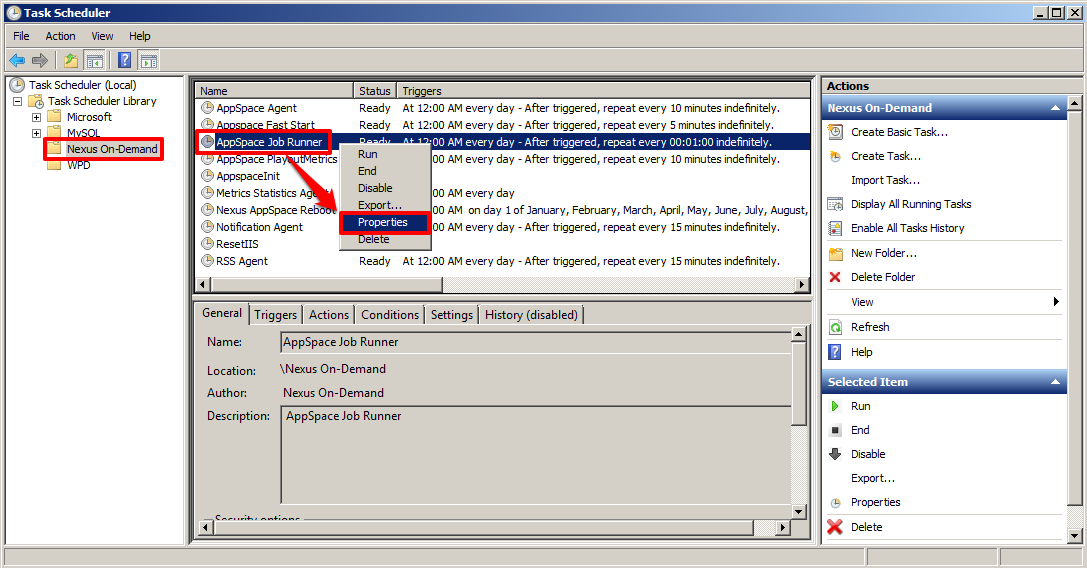
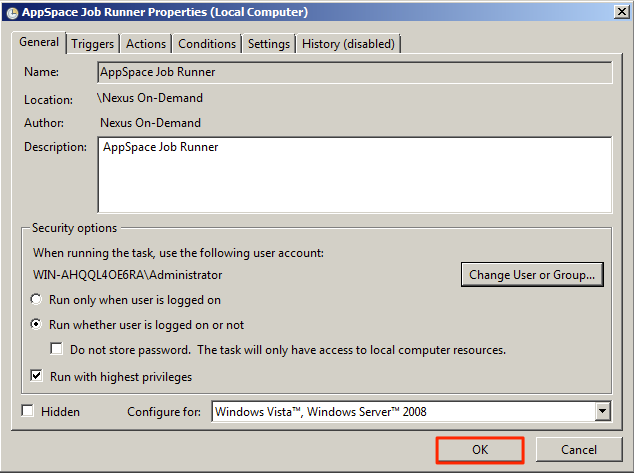
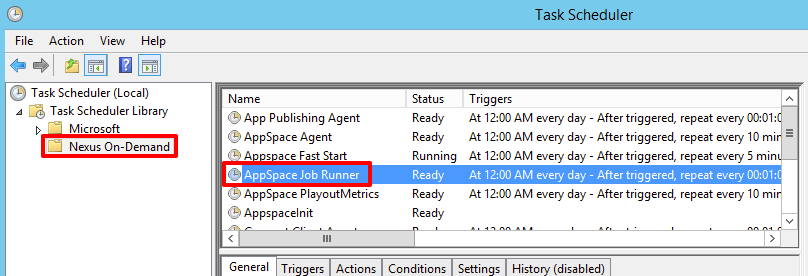
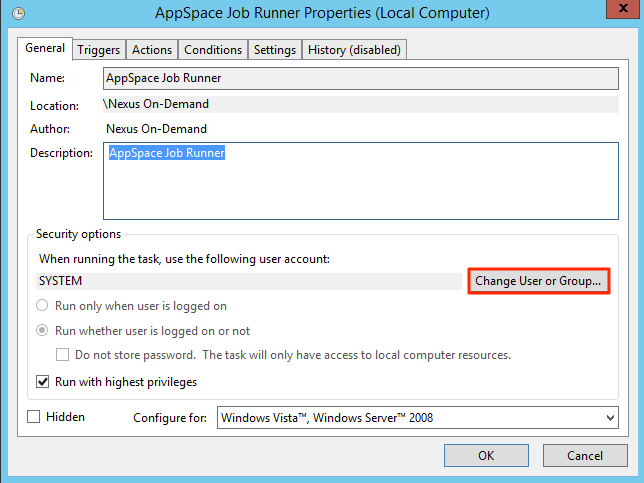
Expand the Task Scheduler Library and open Nexus On-Demand. Double-click Appspace Job Runner, and click Properties.
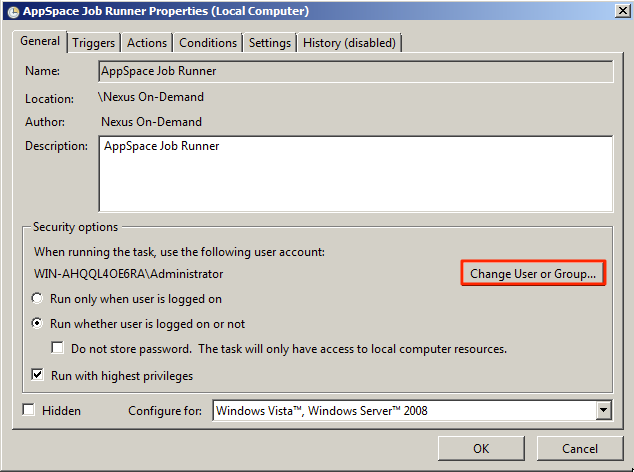
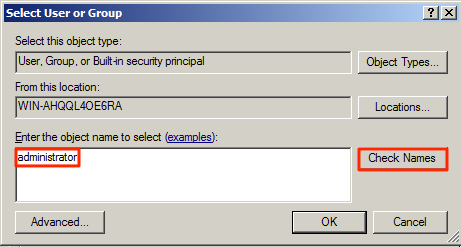
Click Change User or Group.
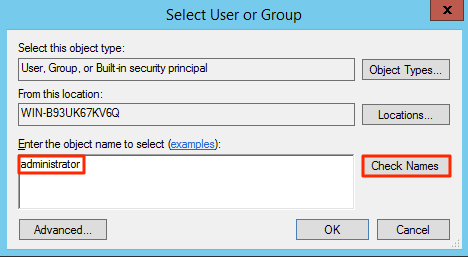
Type in administrator and click Check Names.
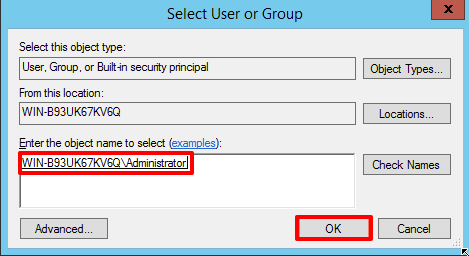
Click OK.
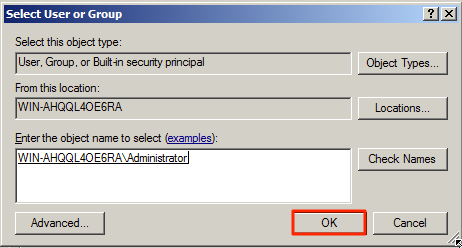
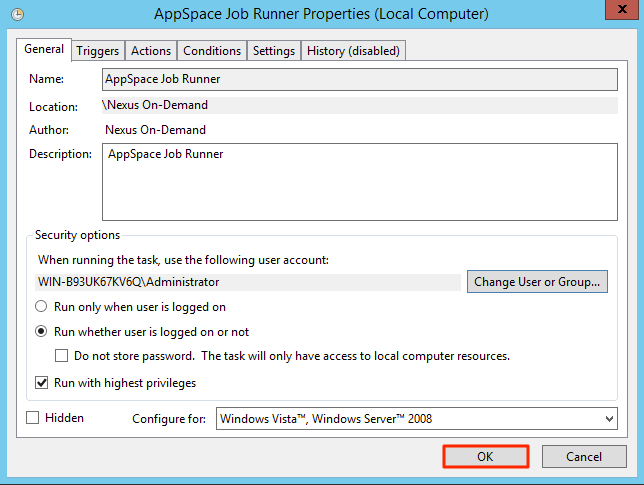
Click OK.
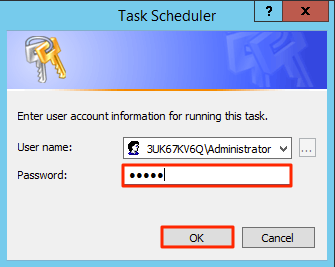
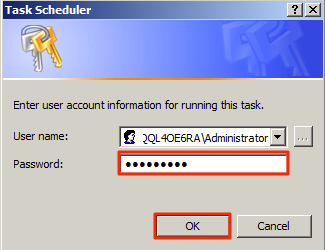
Key in the Window’s administrator password and click OK.
Windows Server 2012 R2
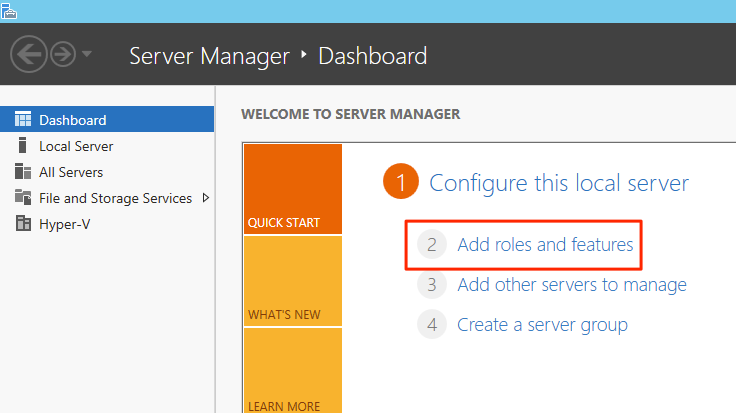
Click the Server Manager icon.

Click Add roles and features.
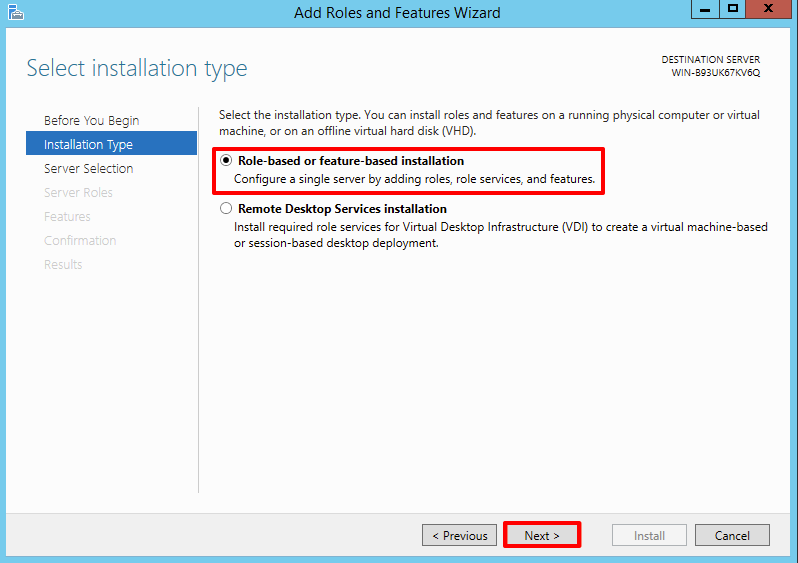
Click Next.
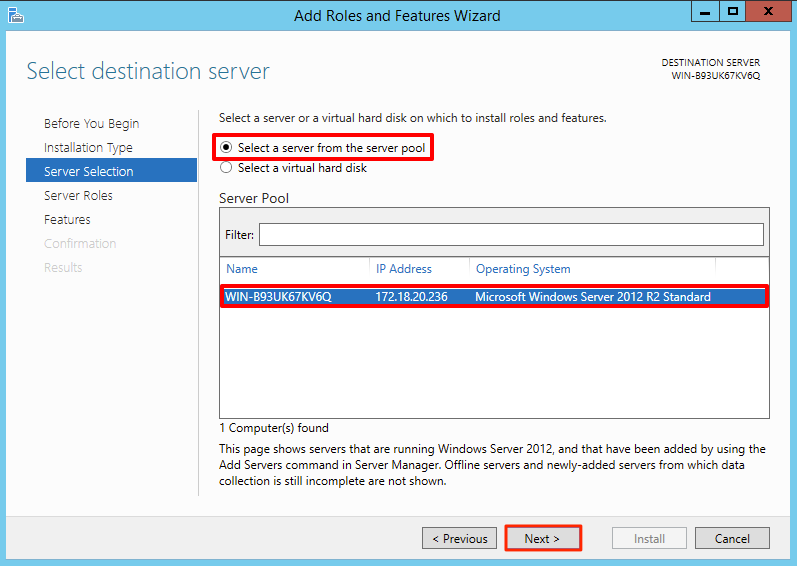
Click Next.
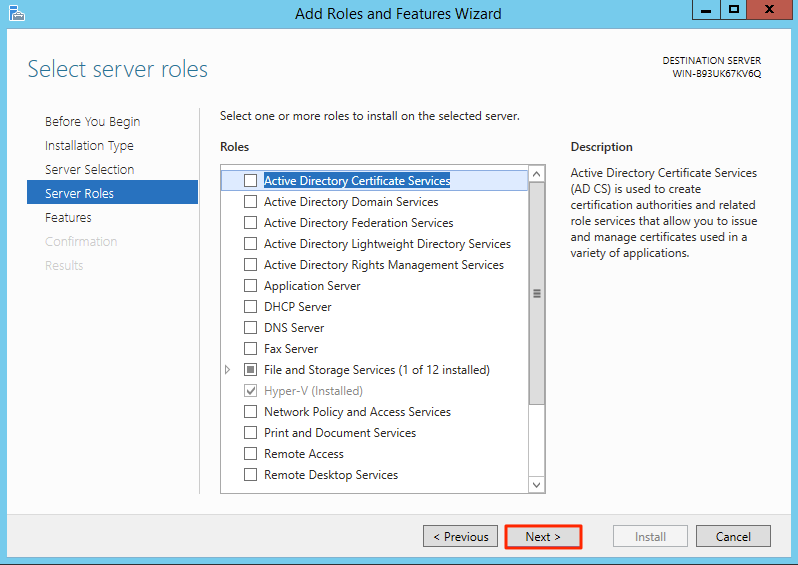
Click Next.
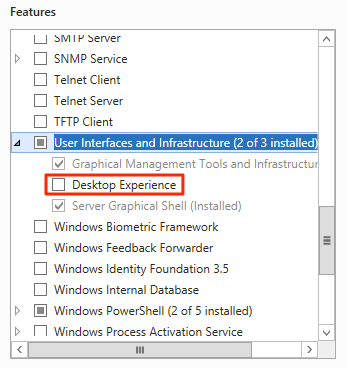
Scroll down to User Interfaces and Infrastructure and expand that feature. Select Desktop Experience.
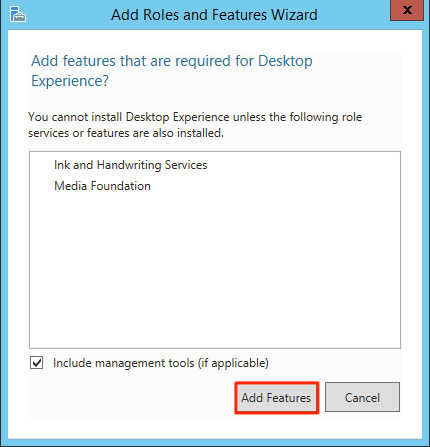
Click Add Features, and click Next.
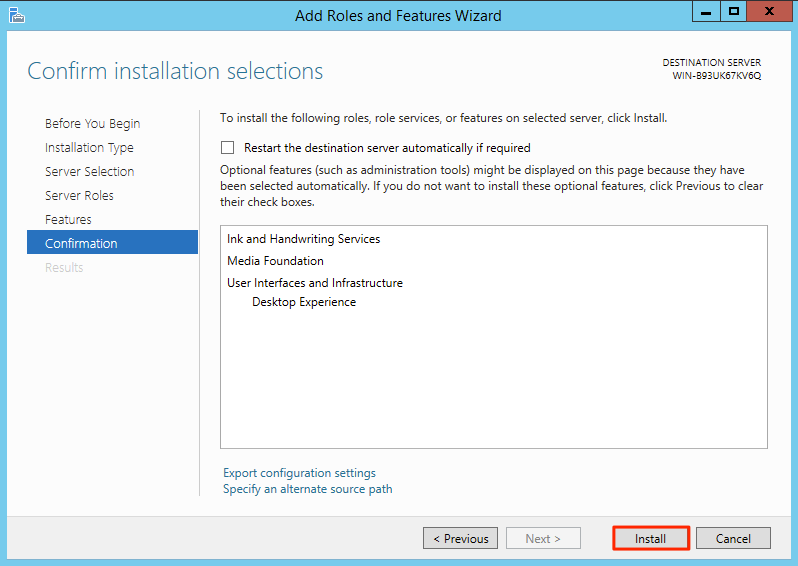
Click Install.
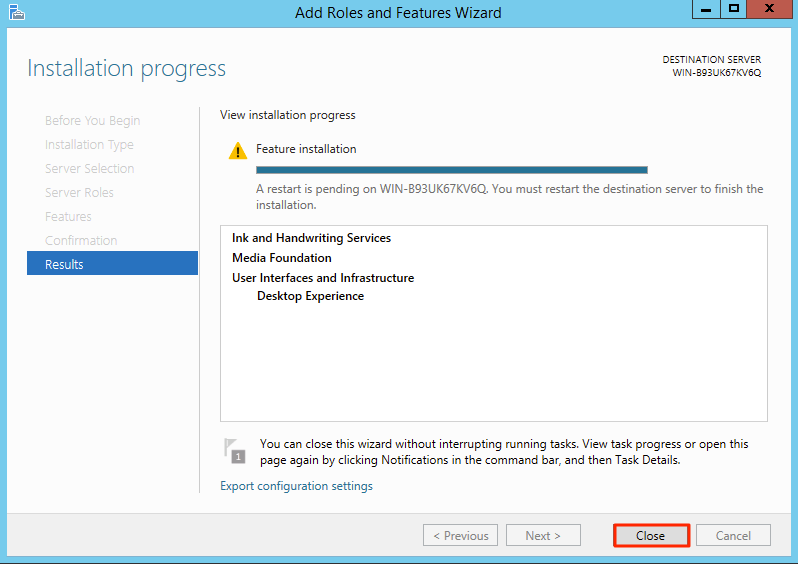
Click Close and manually restart the server.
Navigate to C:/Windows/System32/config/systemprofile and create a folder Desktop. Right-click the Desktop folder and open its properties.
Under the Security tab, click the Edit button.
Click Add.
Type in everyone and click Check Names.
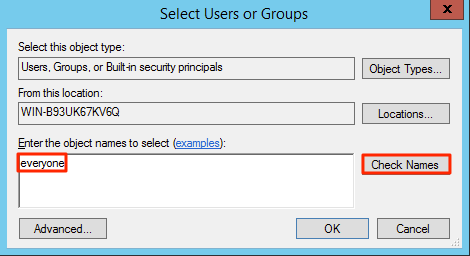
Click OK.
Select the group Everyone and assign Full Control permissions to that group by ticking the Allow box. Click OK.
Click Yes to confirm the permission changes.
From the start button, open Task Scheduler.
Expand the Task Scheduler Library and open Nexus On-Demand. Double-click Appspace Job Runner.
Click Change User or Group.
Type in administrator and click Check Names.
Click OK.
Click OK.
Key in the Window’s administrator password and click OK.