Configuring Windows Server 2012 for SmartHub ASE
Introduction
The steps in this guide will help you prepare the various resources and configurations needed for your SmartHub ASE deployment. The goal is to configure the Windows Server 2012 settings as summarized in the table below:
| Roles | Features | Local Security Policy |
|---|---|---|
| Web Server (IIS), IIS Role Services | Remote Server Administration Tools, Role Administration Tools, Web Server (IIS) Tools | Account Policies, Password Policy, Password must meet complexity requirements = Disabled, Maximum password age = 0 |
| ASP.Net | Windows Process Activation Service, Process Model.Net Environment, Configuration APIs | |
| .Net extensibility, ASP, CGI, ISAPI Extensions, ISAPI Filters | .Net Framework 3.5.1 Features, .Net Framework 3.5.1, WCF Activation, HTTP Activation, Non-HTTP Activation |
Adding the Web Server (IIS) Role
Click the Server Manager icon in the taskbar if not already launched by default. Alternatively, you can click the Server Manager tile in the Windows Start screen
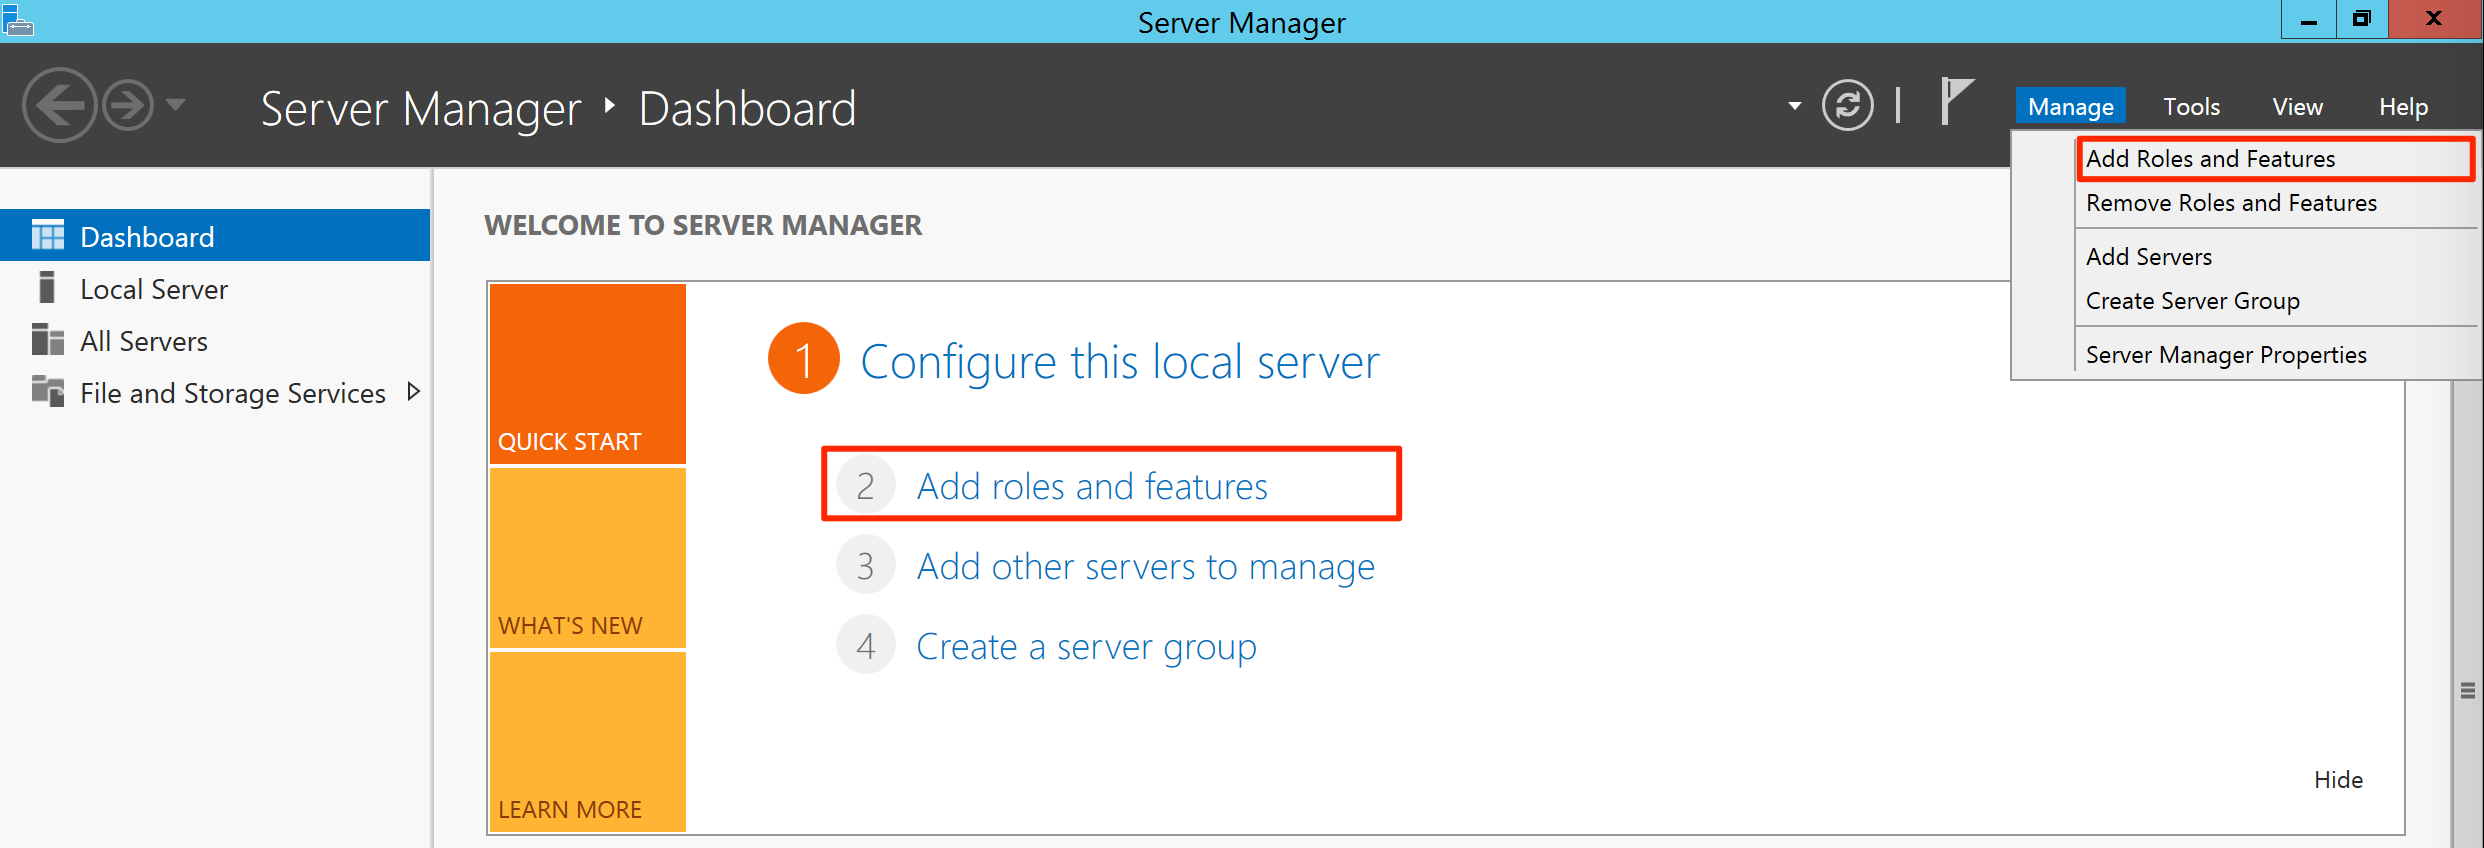
Launch the Add Roles and Features wizard, by clicking Manage on the menu and clicking Add Roles and Features. Alternatively, you can click the ‘Add roles and features’ link in the Dashboard QUICK START section.
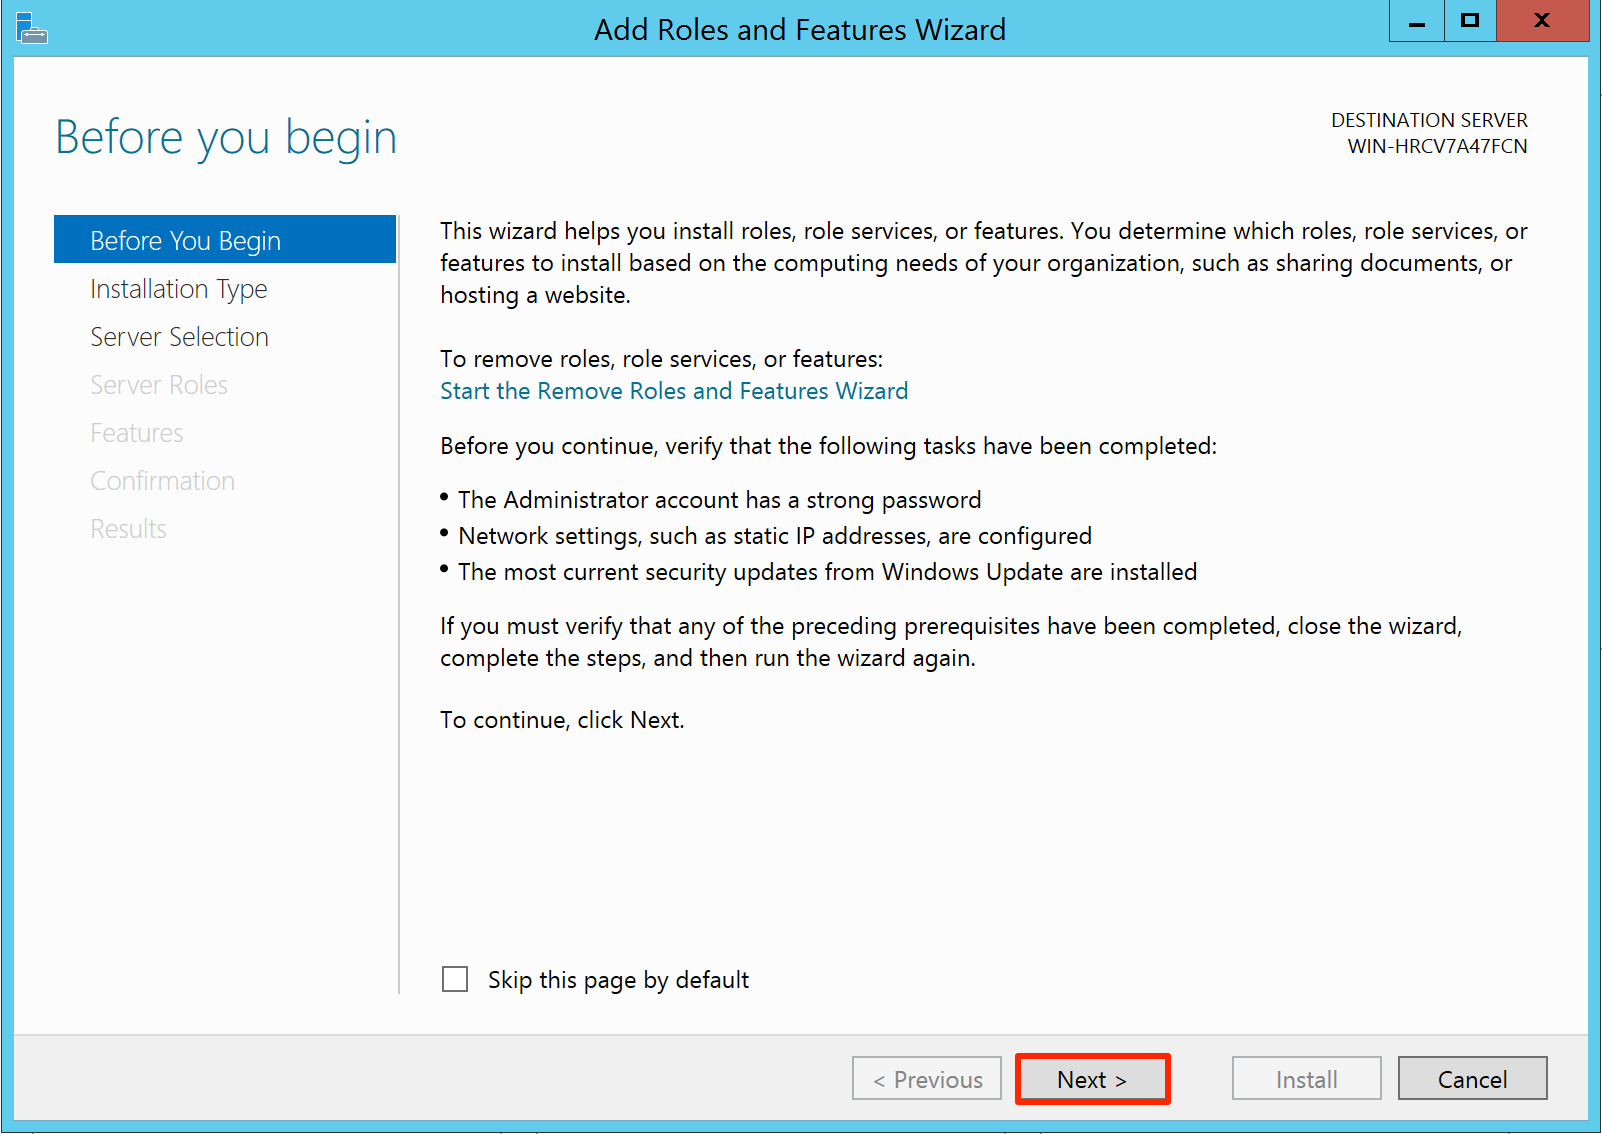
In the Before You Begin page, click Next.
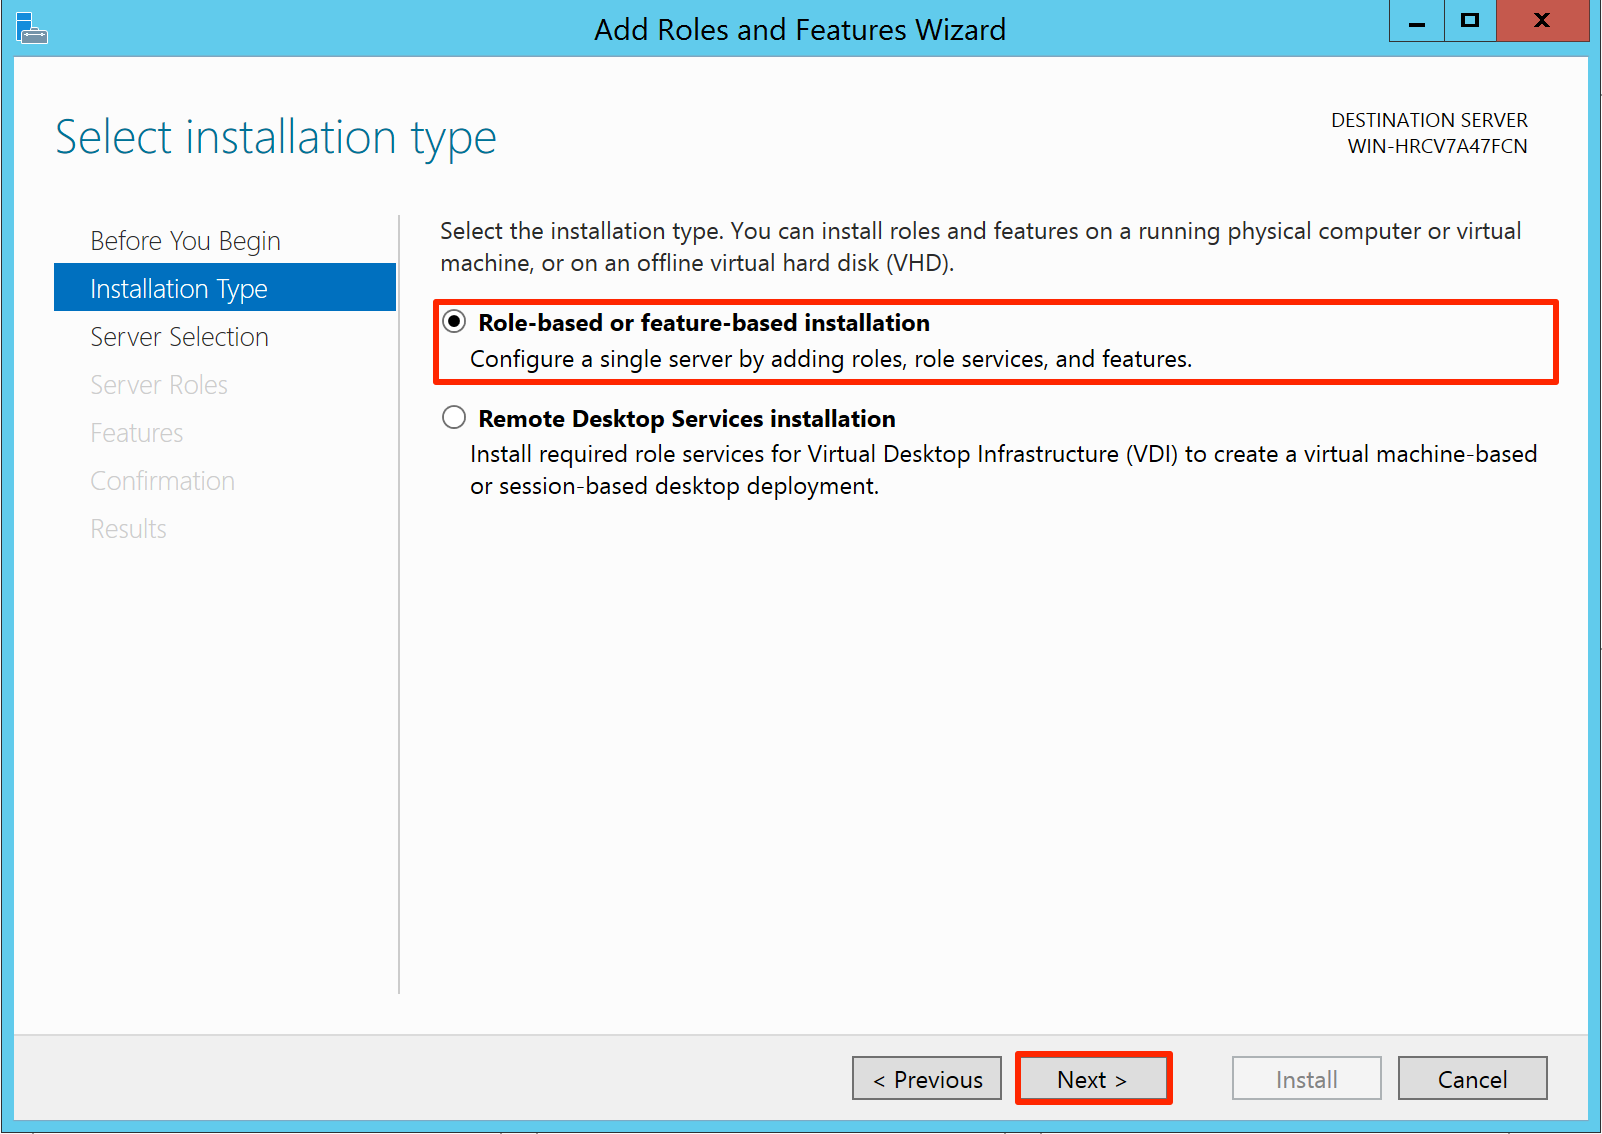
In the Installation Type page, select the ‘Role-based or feature-based installation’ option, and click Next.
In the Server Selection page, select the ‘Select a server from the server pool’ option, and select the appropriate server from the Server Pool list. Click next.

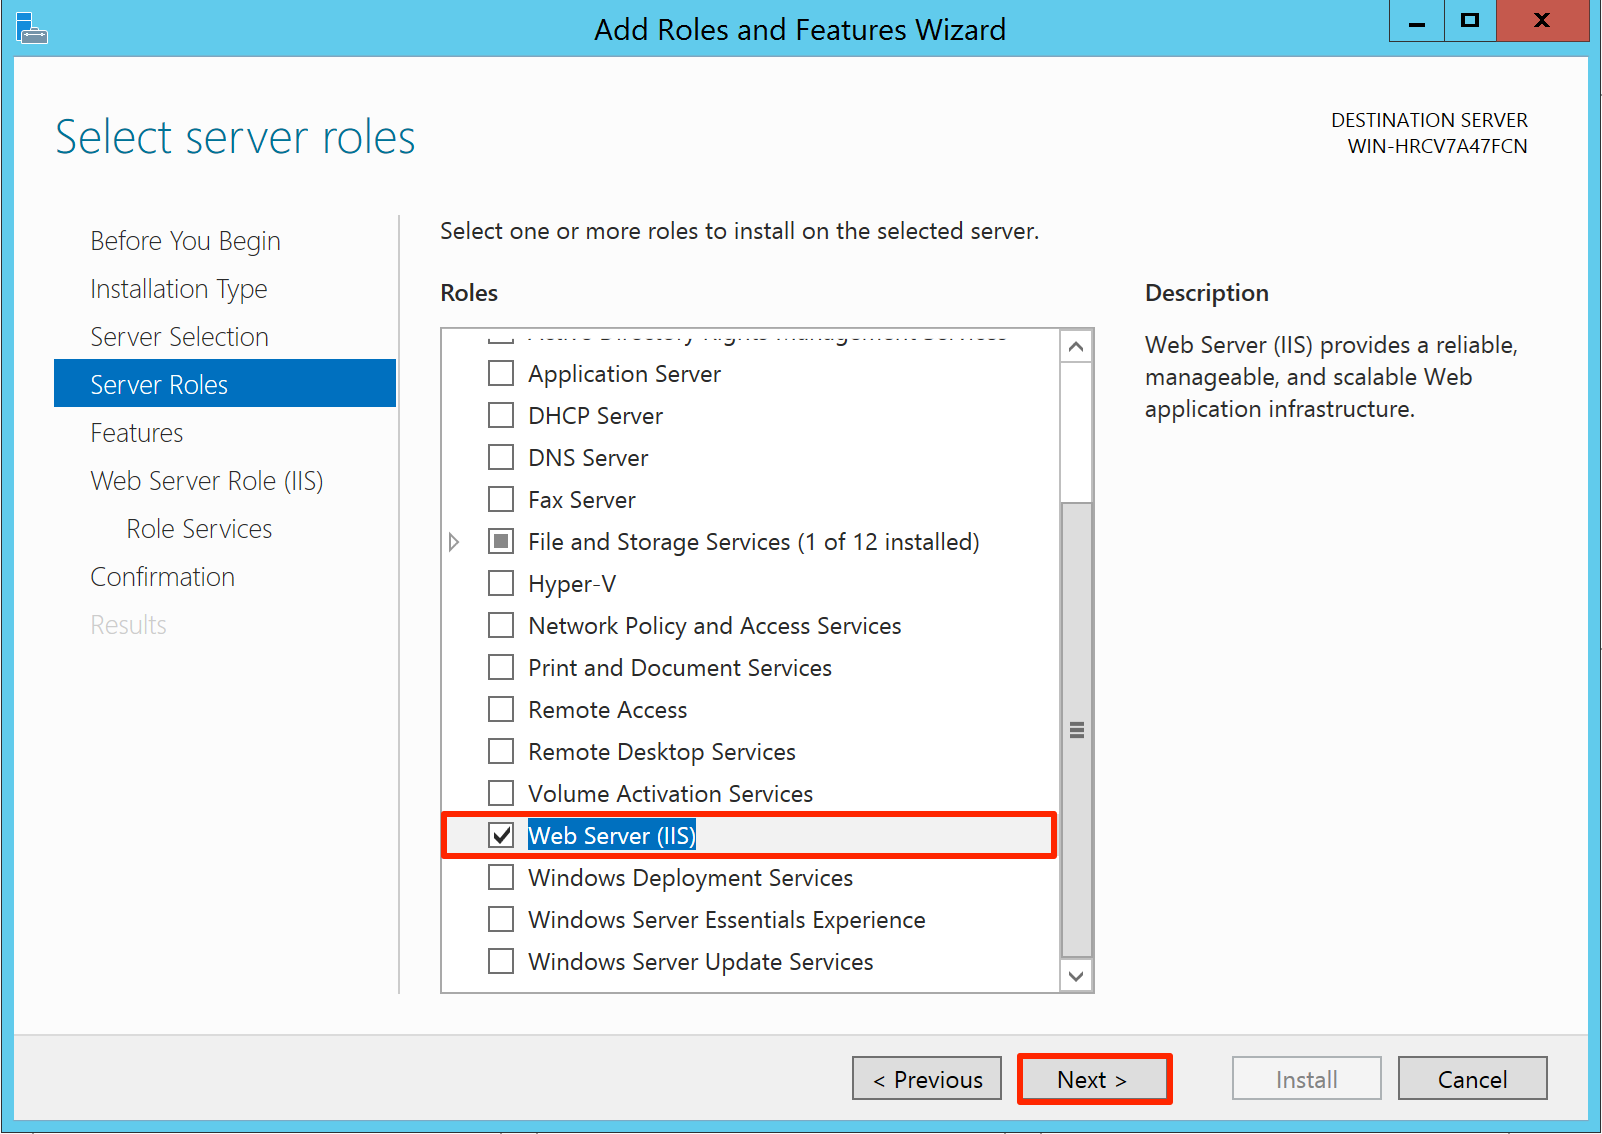
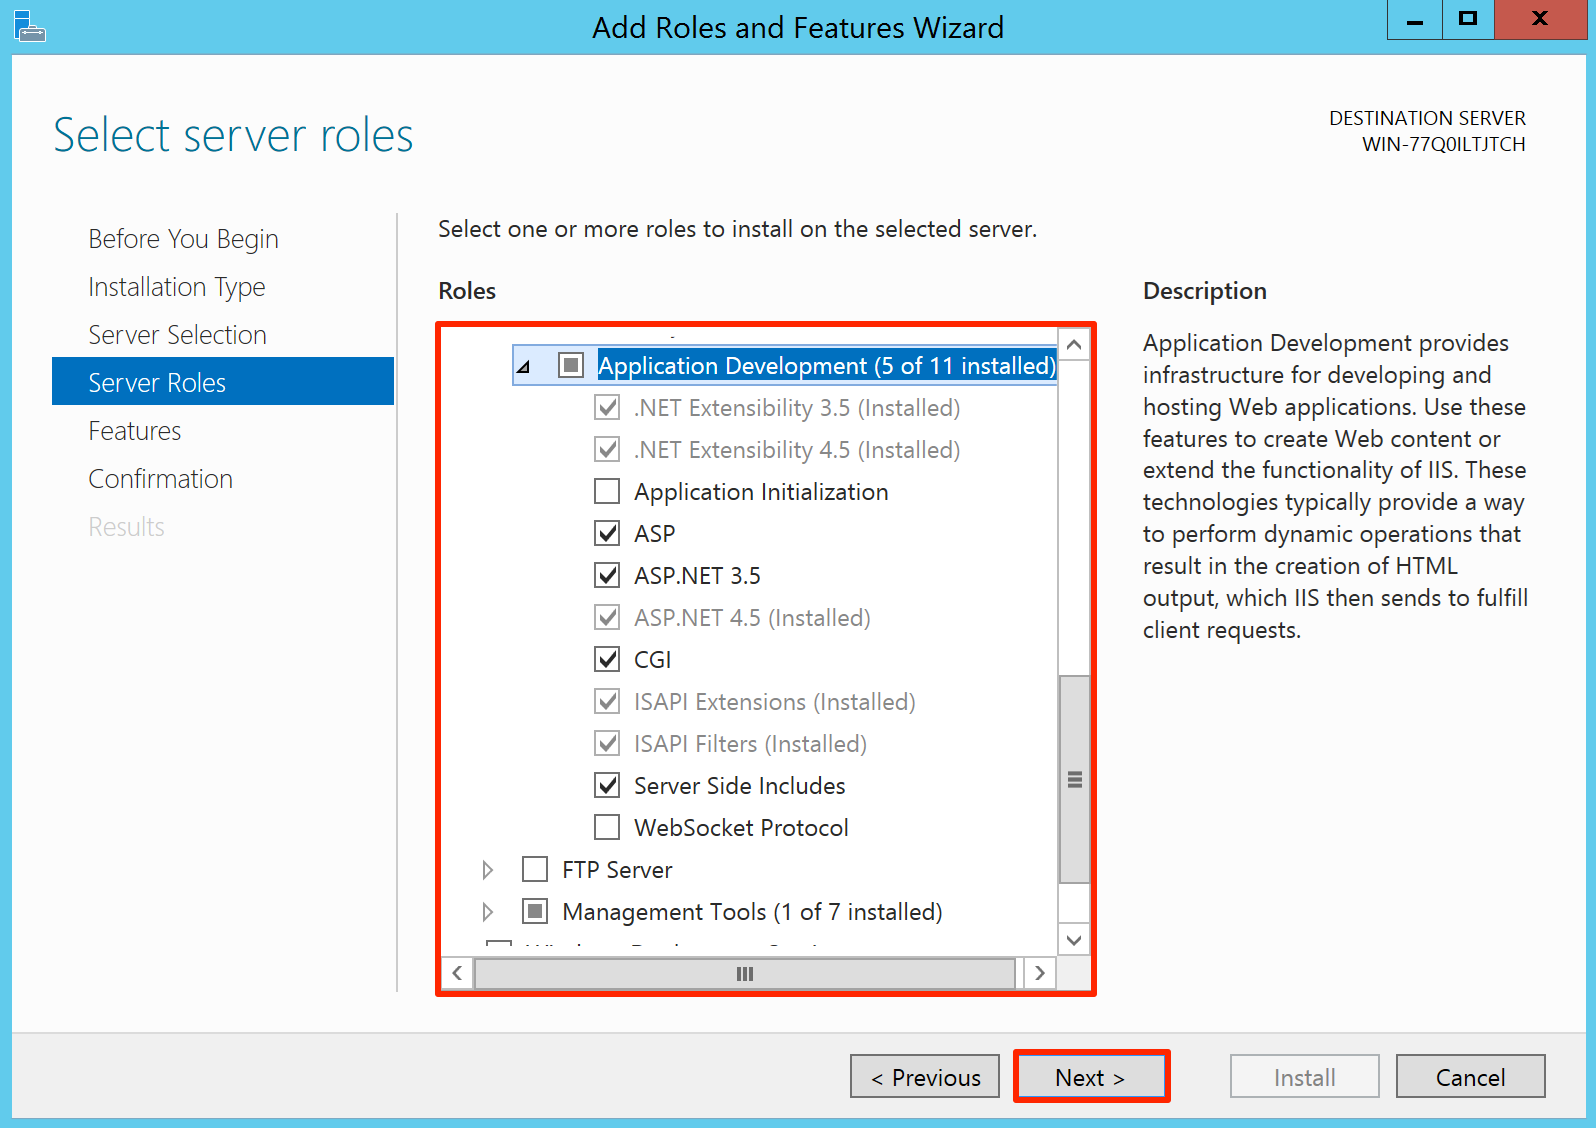
In the Server Roles page, check the Web Server (IIS) checkbox, and click Add Features when prompted. Click Next.
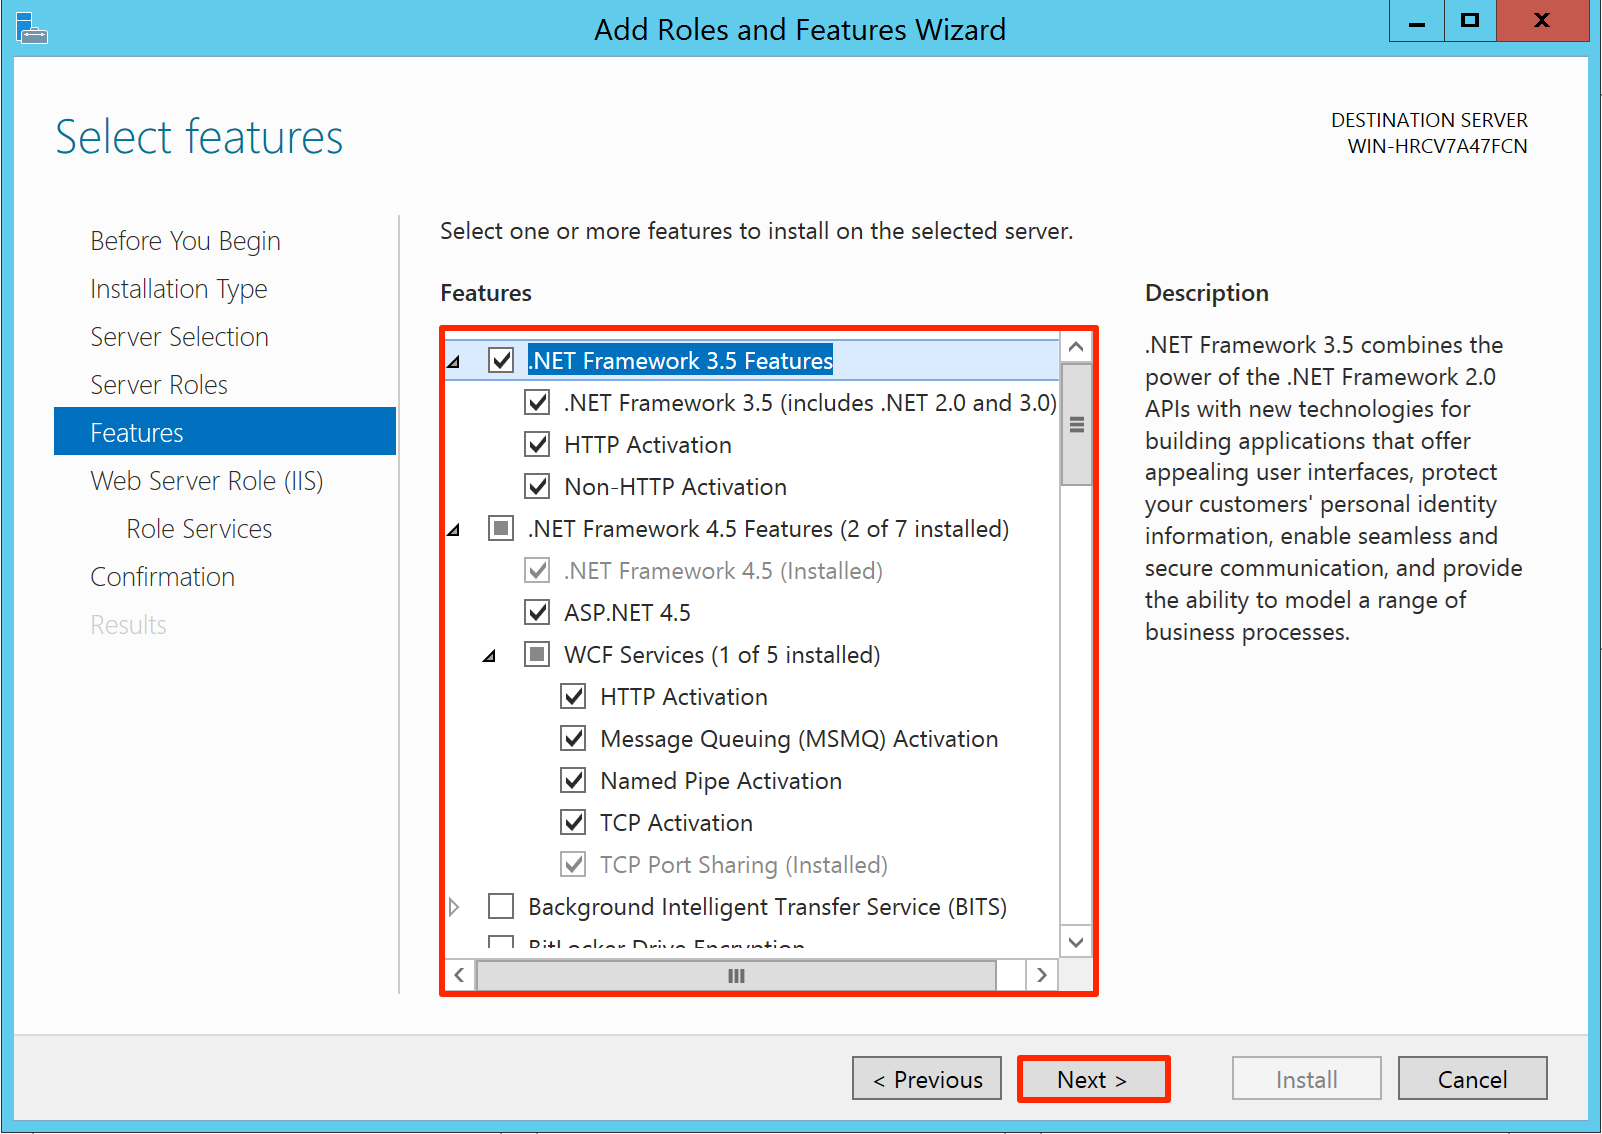
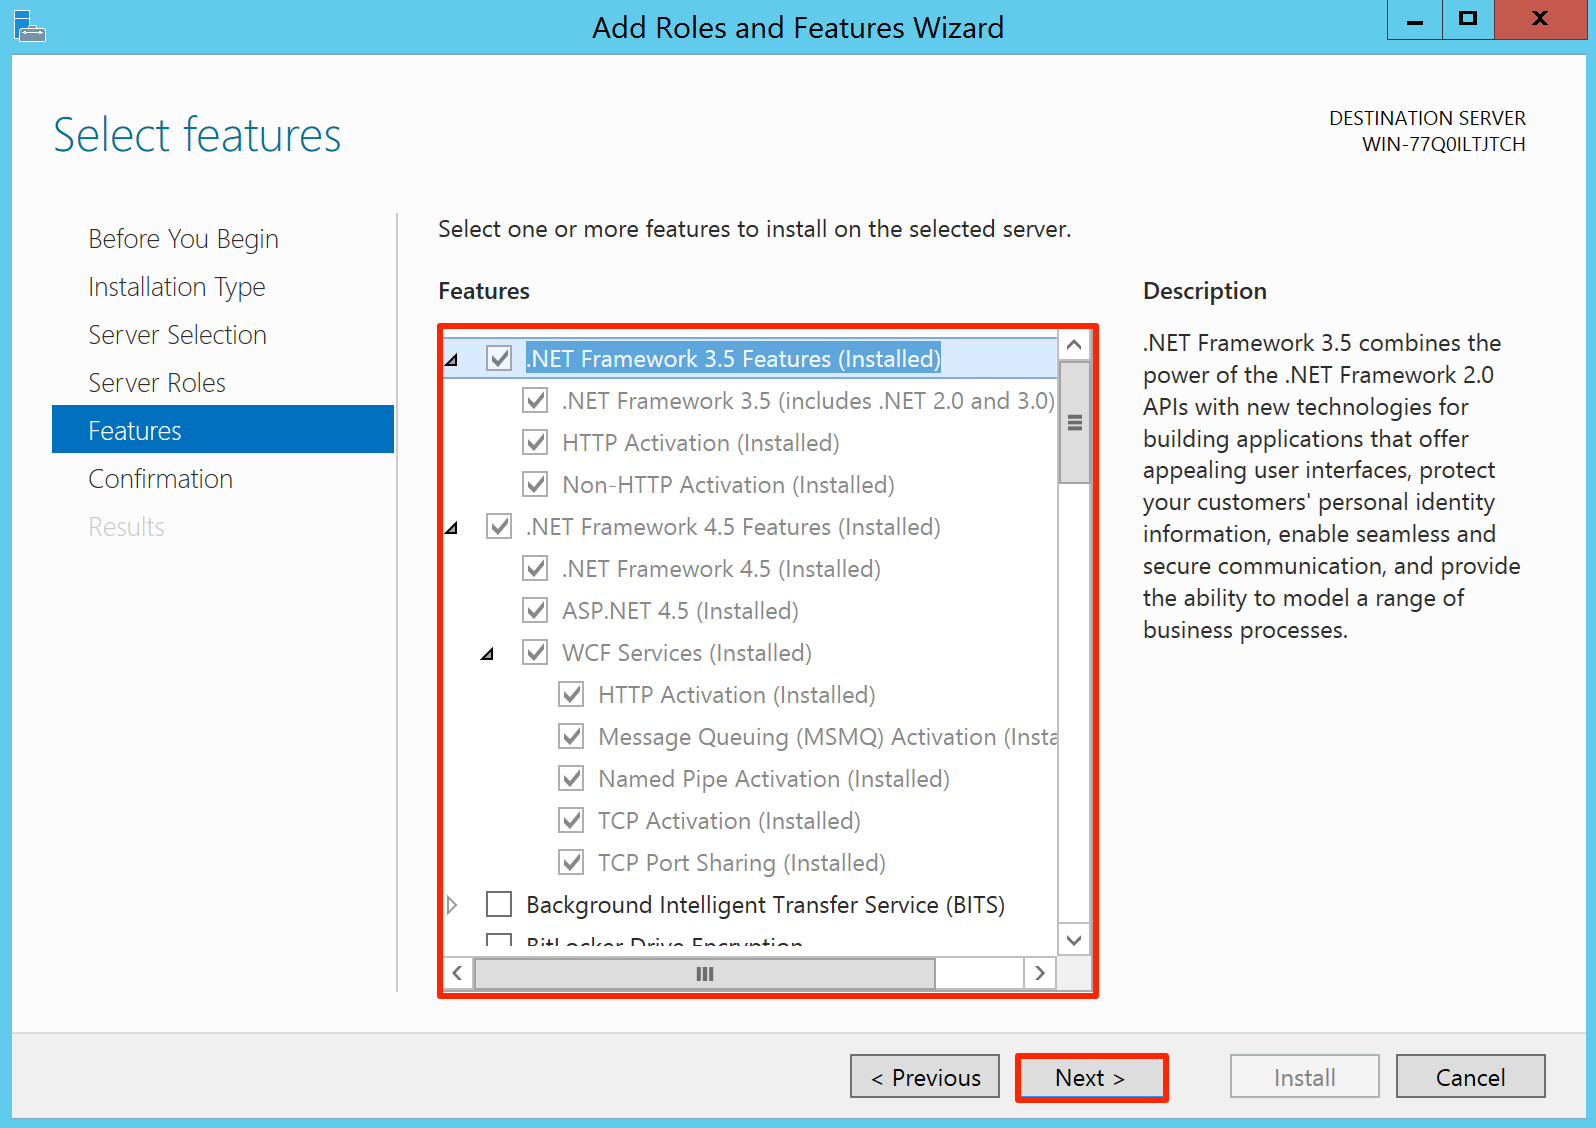
In the Features page, check all options under the ‘.Net Framework 3.5 Features’ and ‘.Net Framework 4.5 Features’ options. Click Add Features when prompted. Click Next.
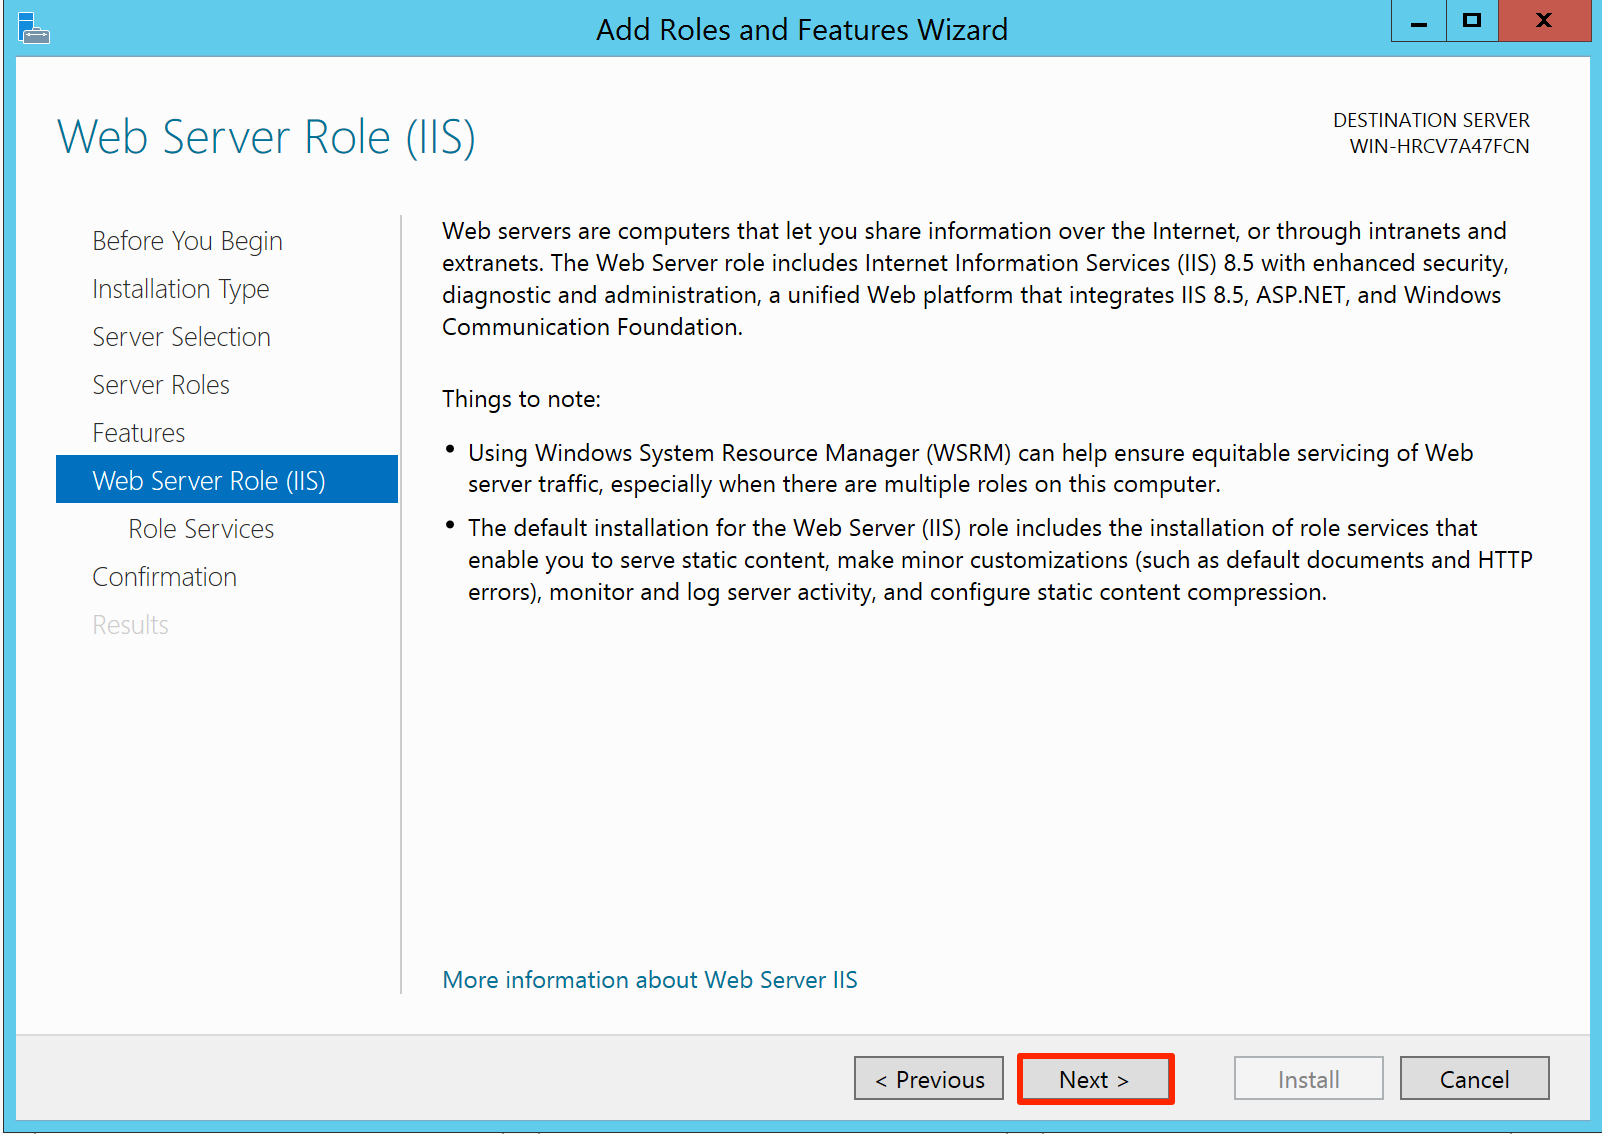
In the Web Server Role (IIS) page, click Next.
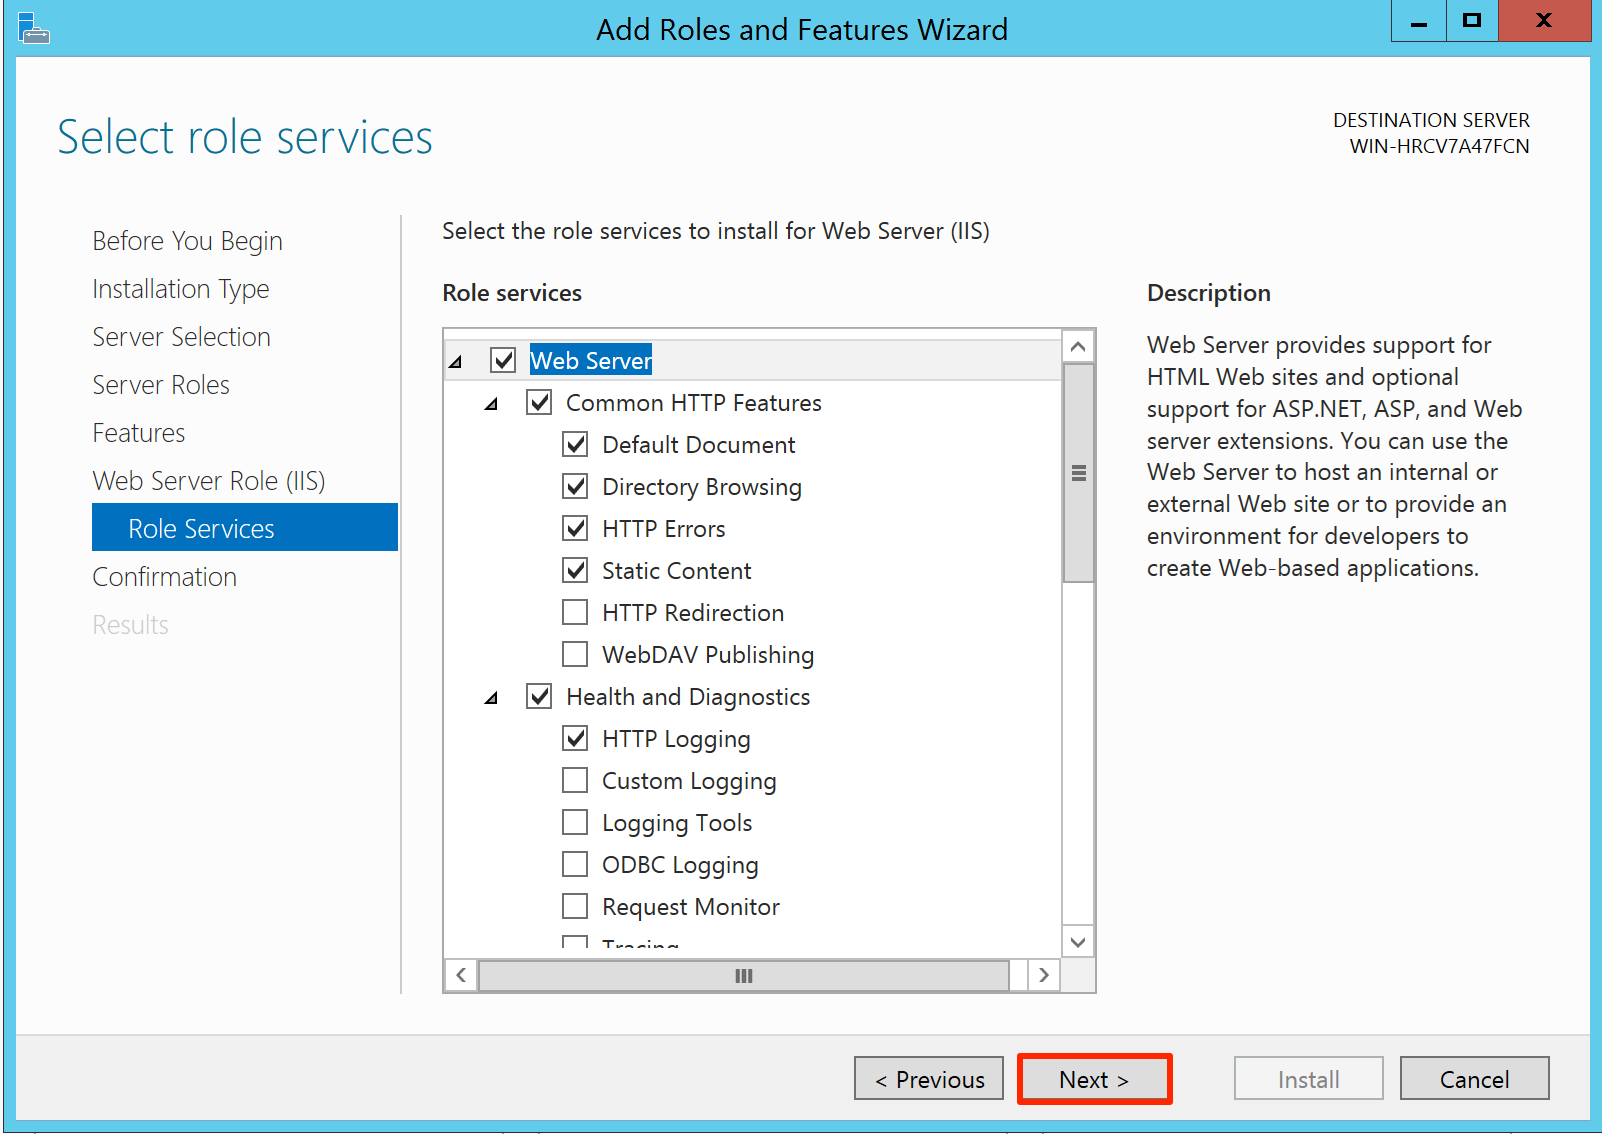
In the Role Services page, click Next.
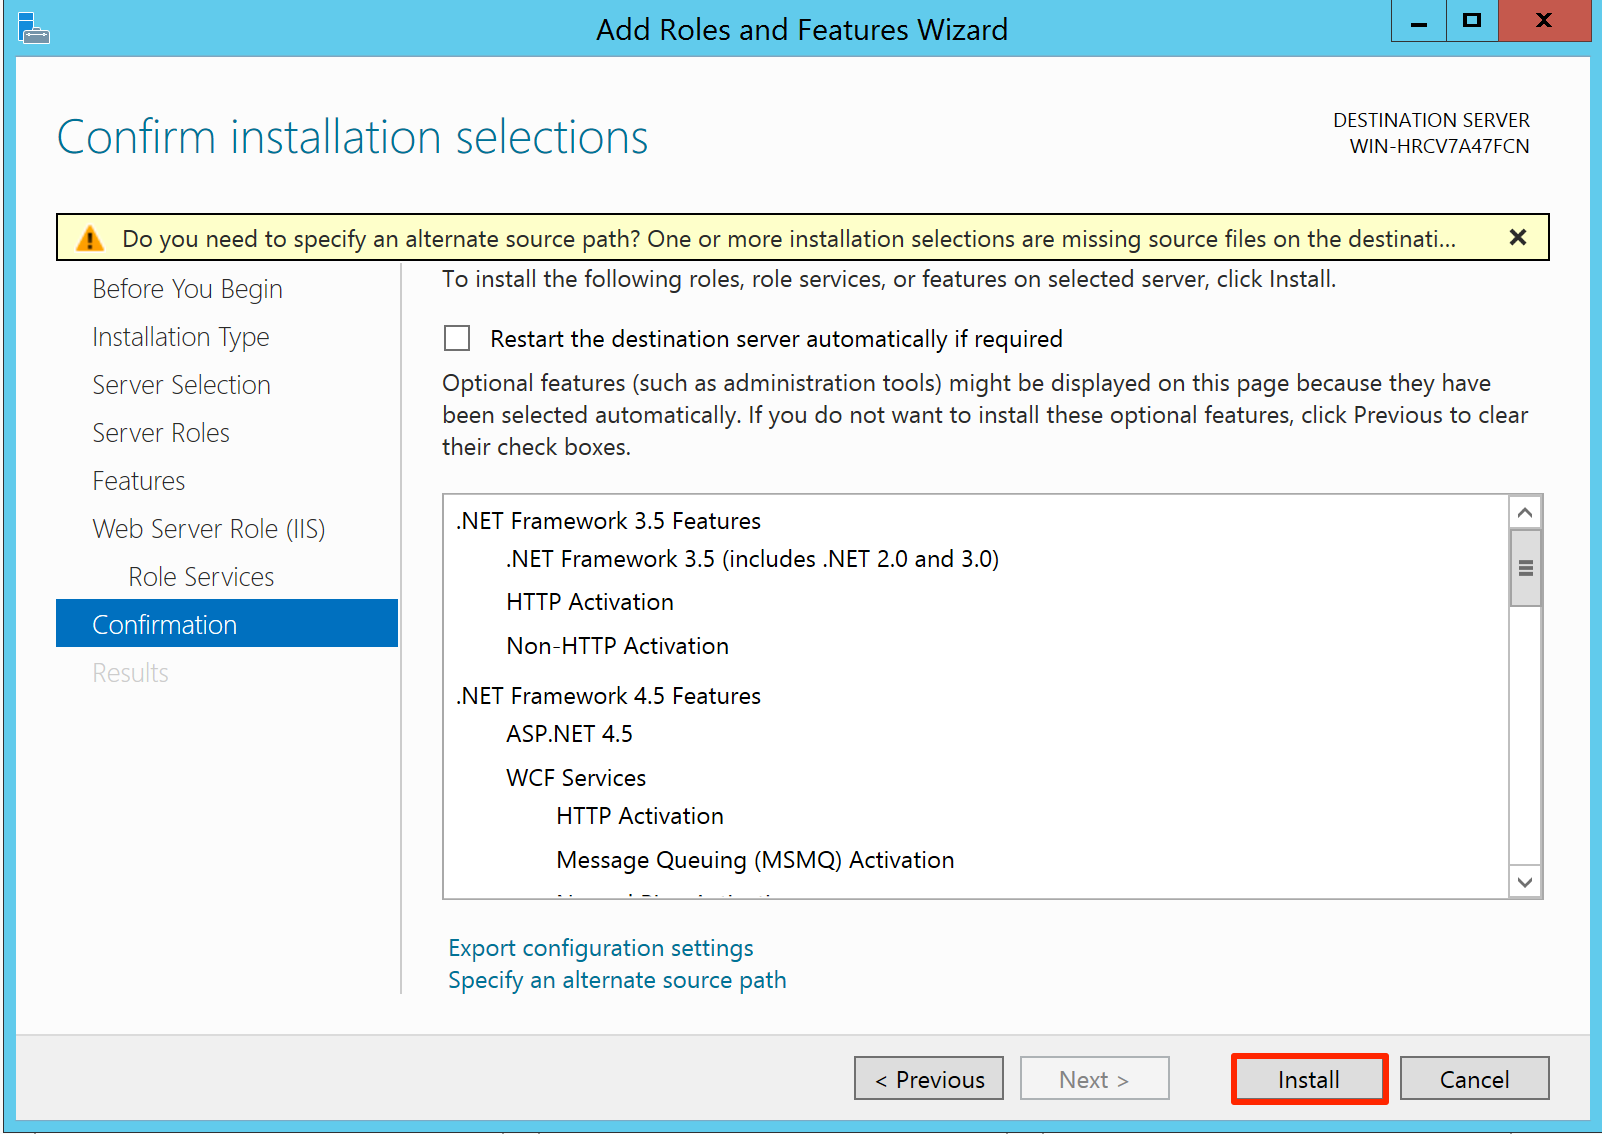
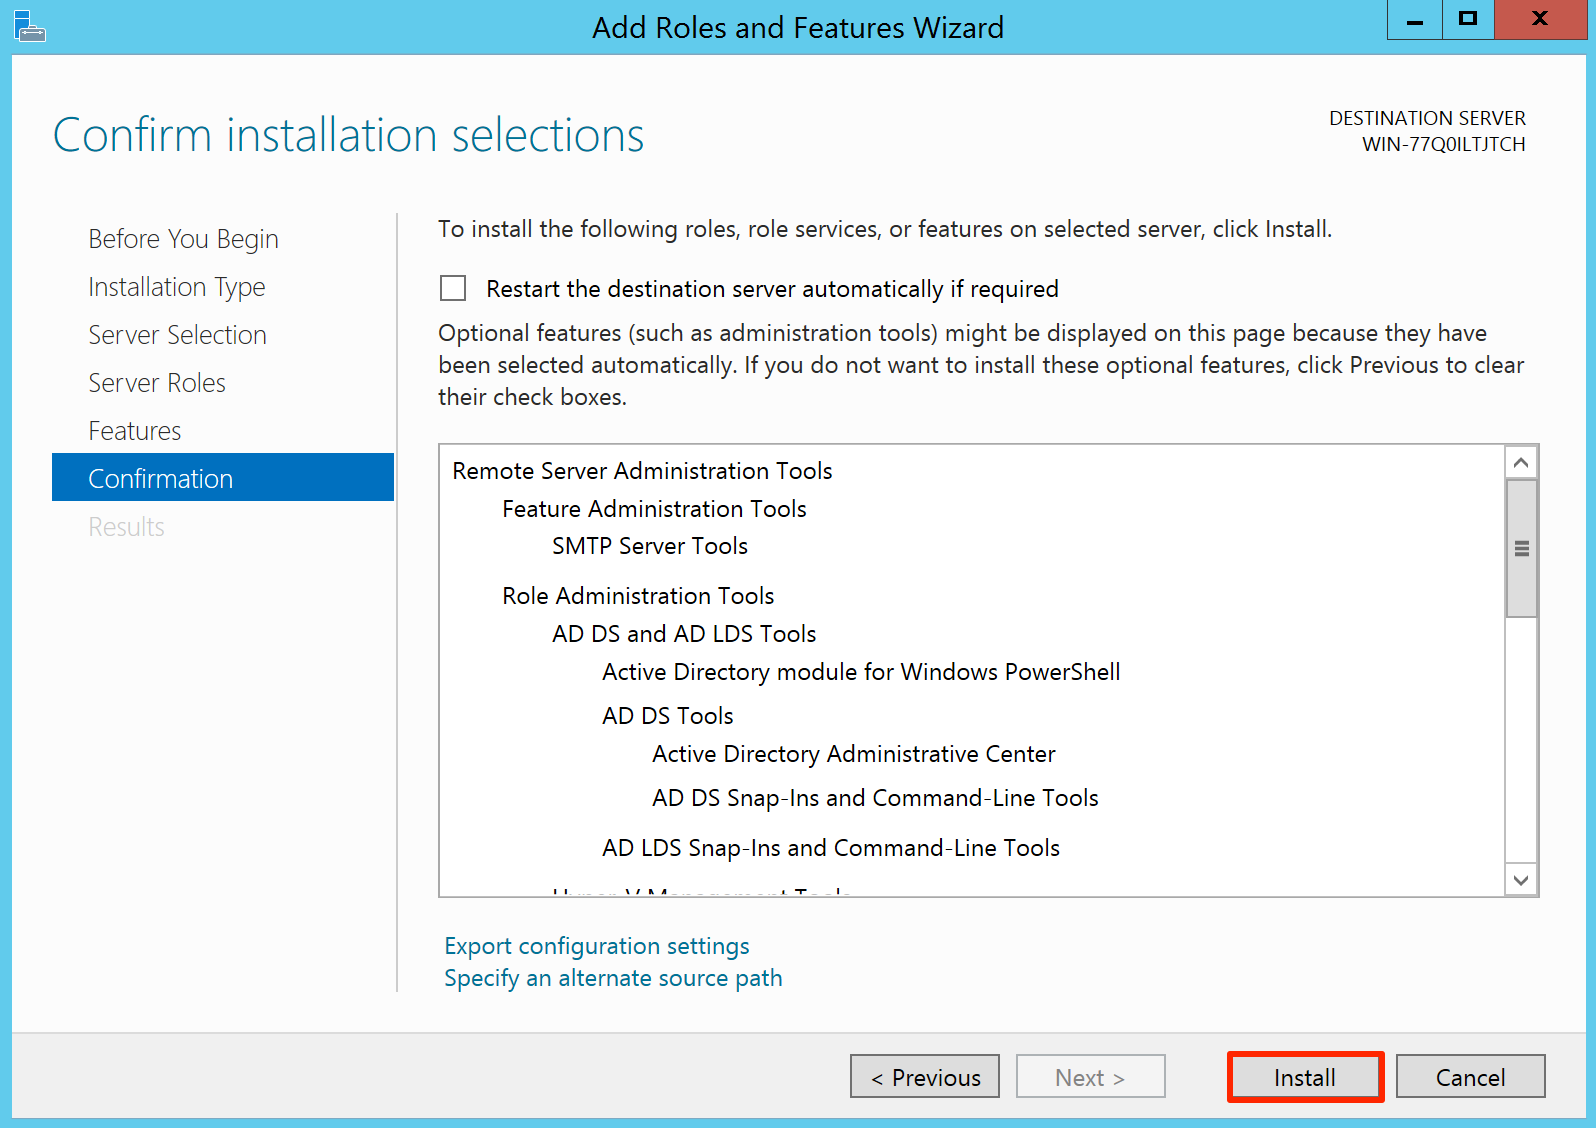
In the Confirmation page, click Install.
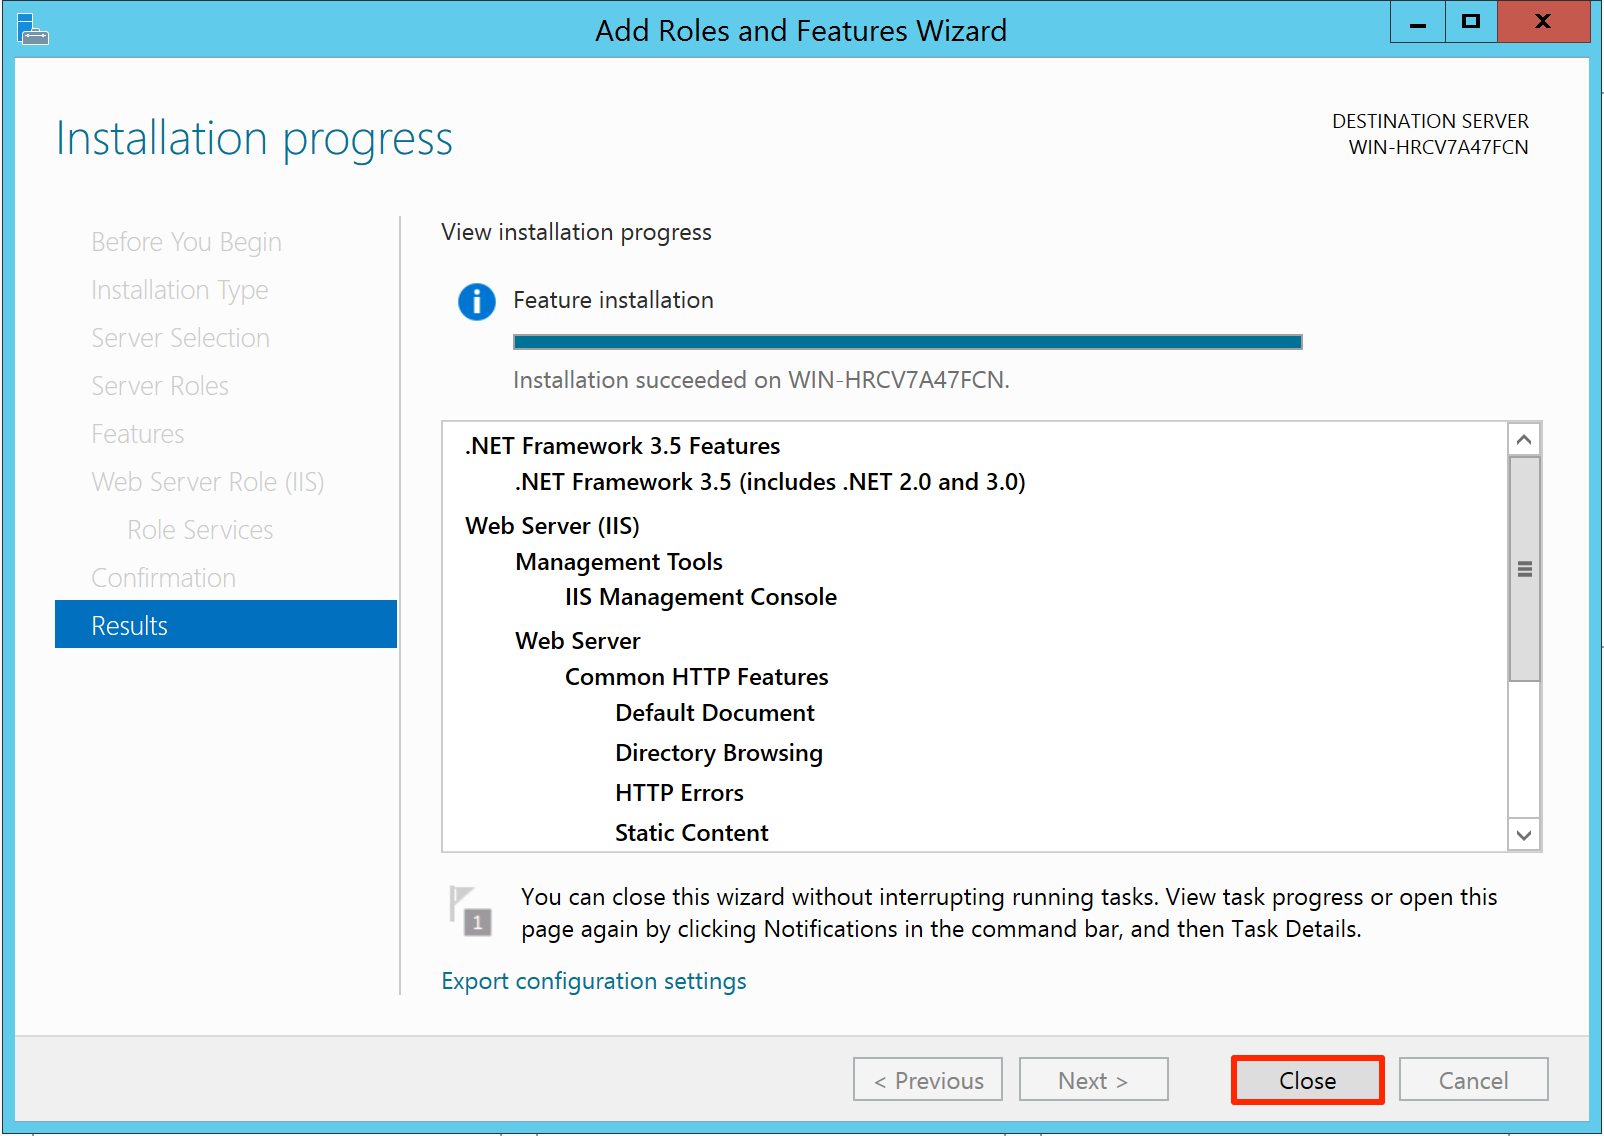
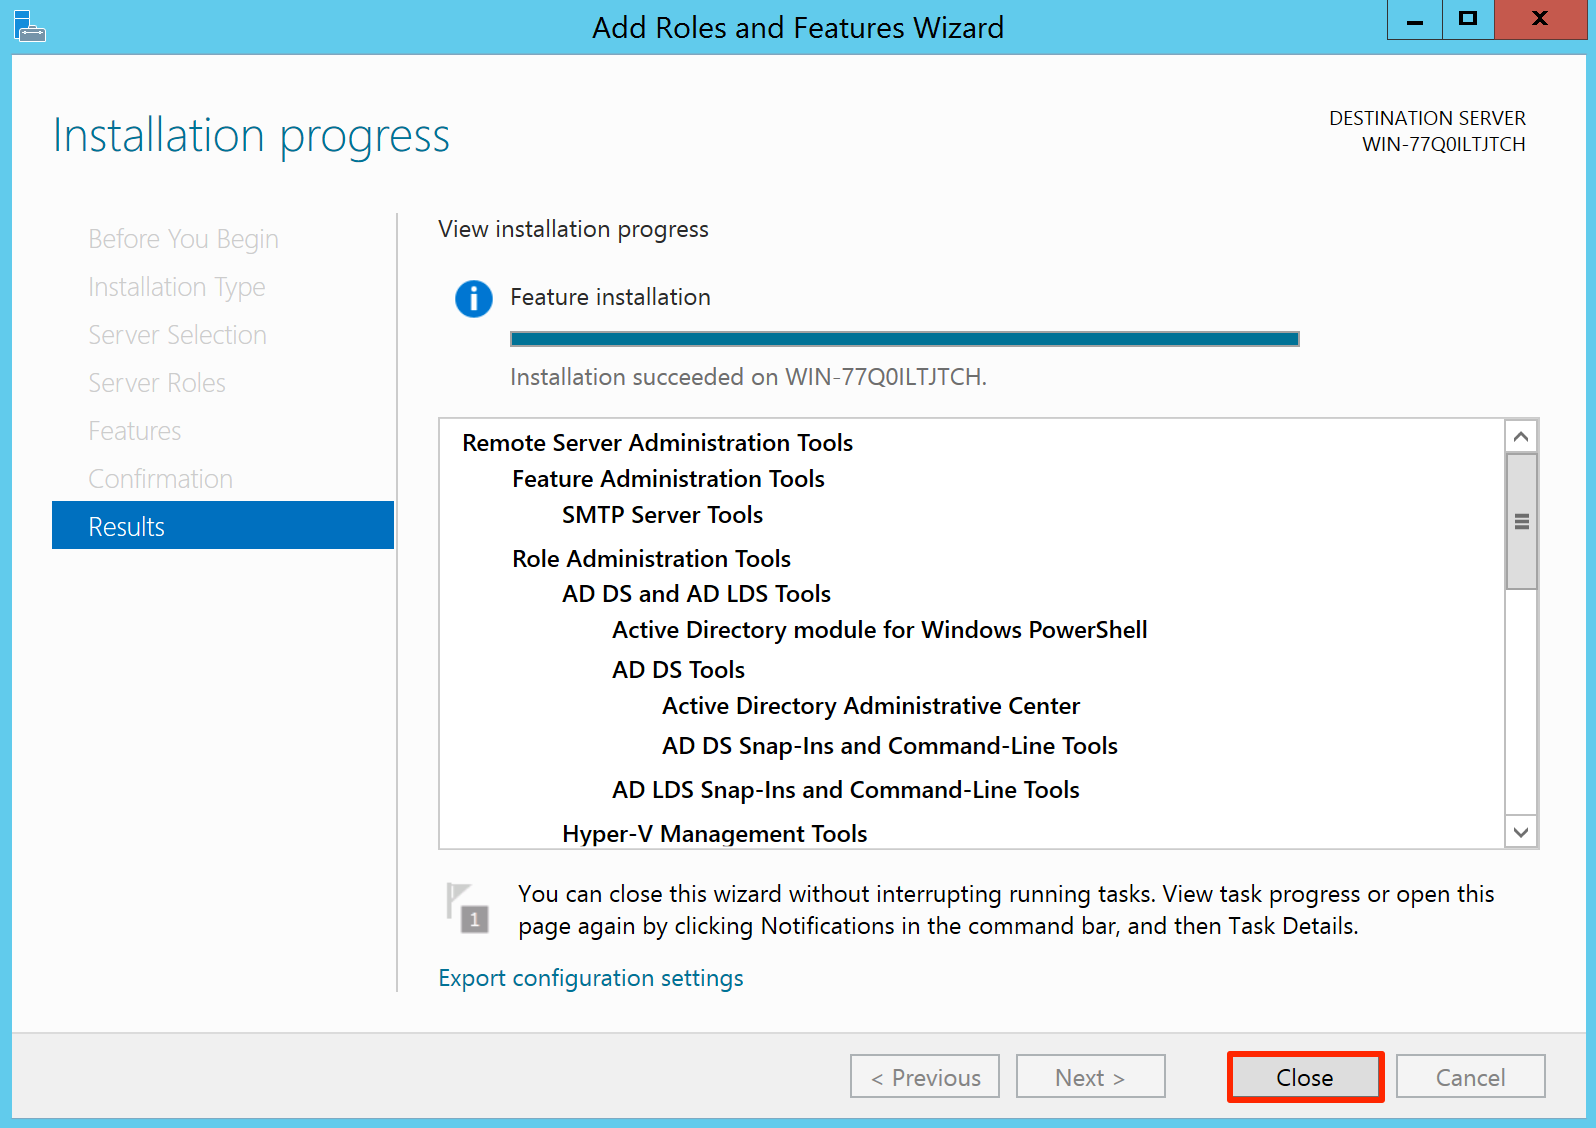
In the Results page, wait for the installation to complete, and click Close.
Note
The installation process may take a several minutes.
Once the Server Manager (IIS) has been installed, launch the Add Roles and Features wizard again. Click Next till the Server Roles page
In the Server Roles page, ensure the following services are installed:
- .Net Extensibility 3.5
- .Net Extensibility 4.5
- ASP.Net
- ASP.NET 3.5
- ASP.NET 4.5
- CGI
- ISAPI Extensions
- ISAPI Filters
- Server Side Includes
Check the services checkbox that are not installed. Click Next once done.
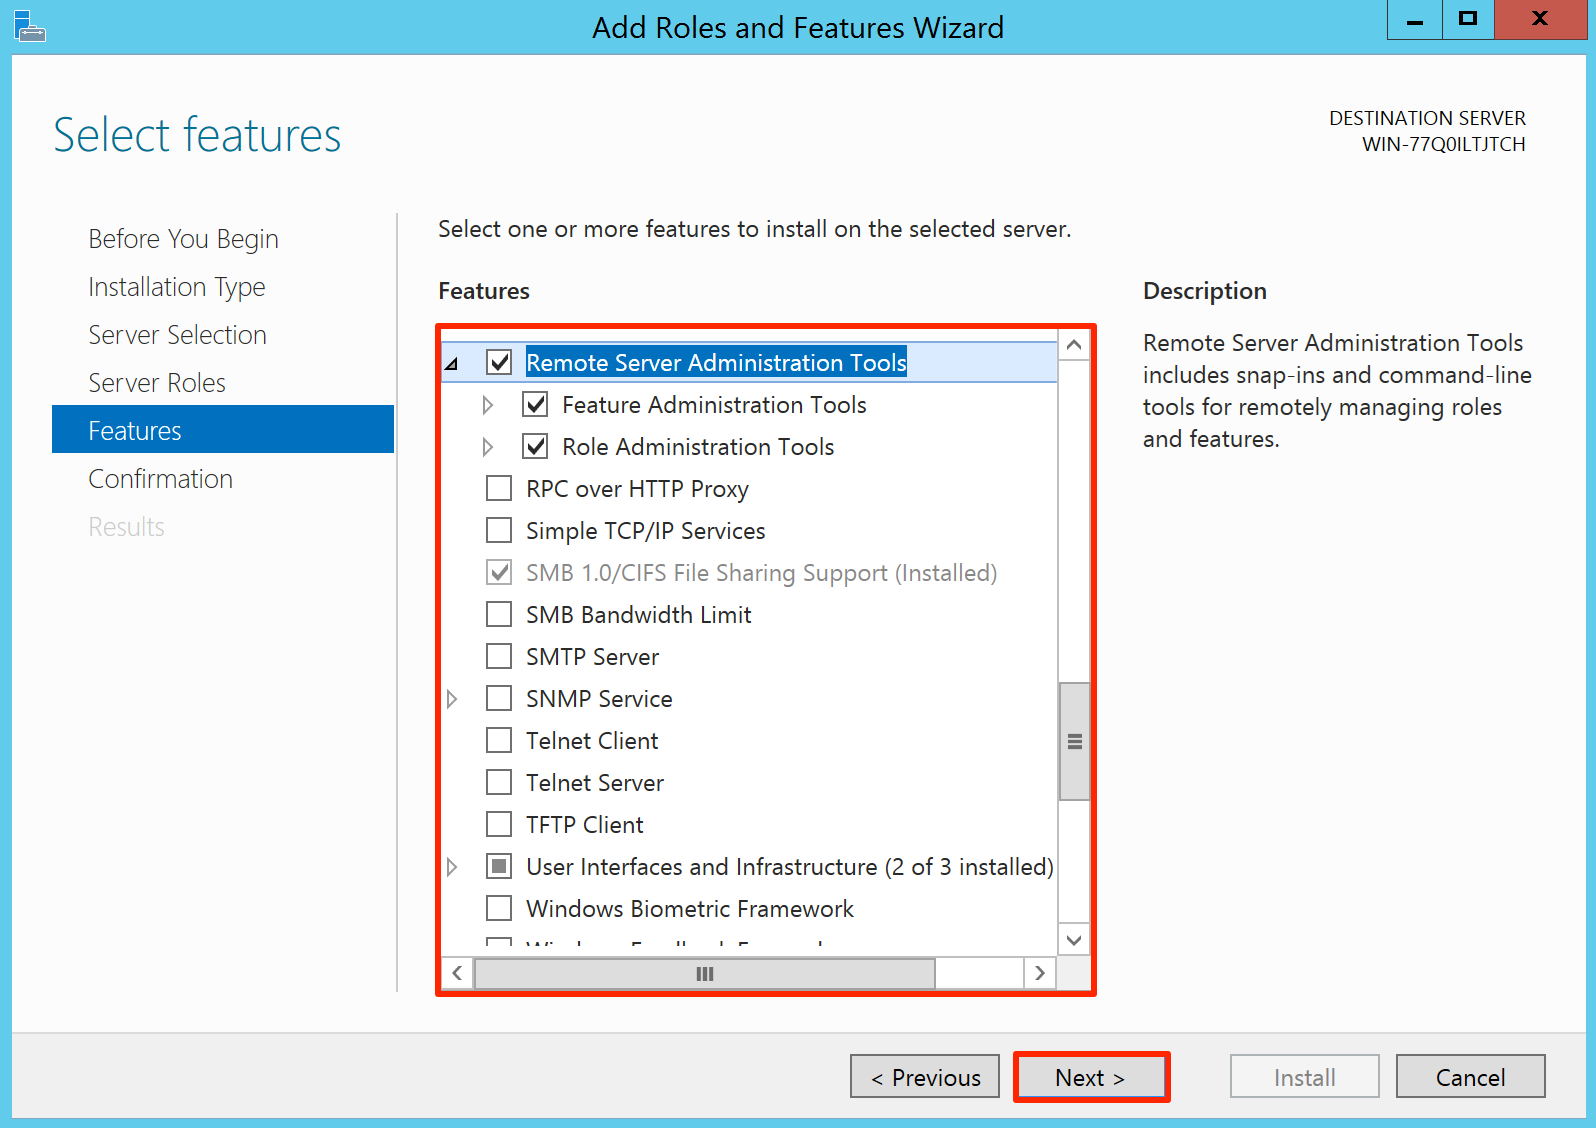
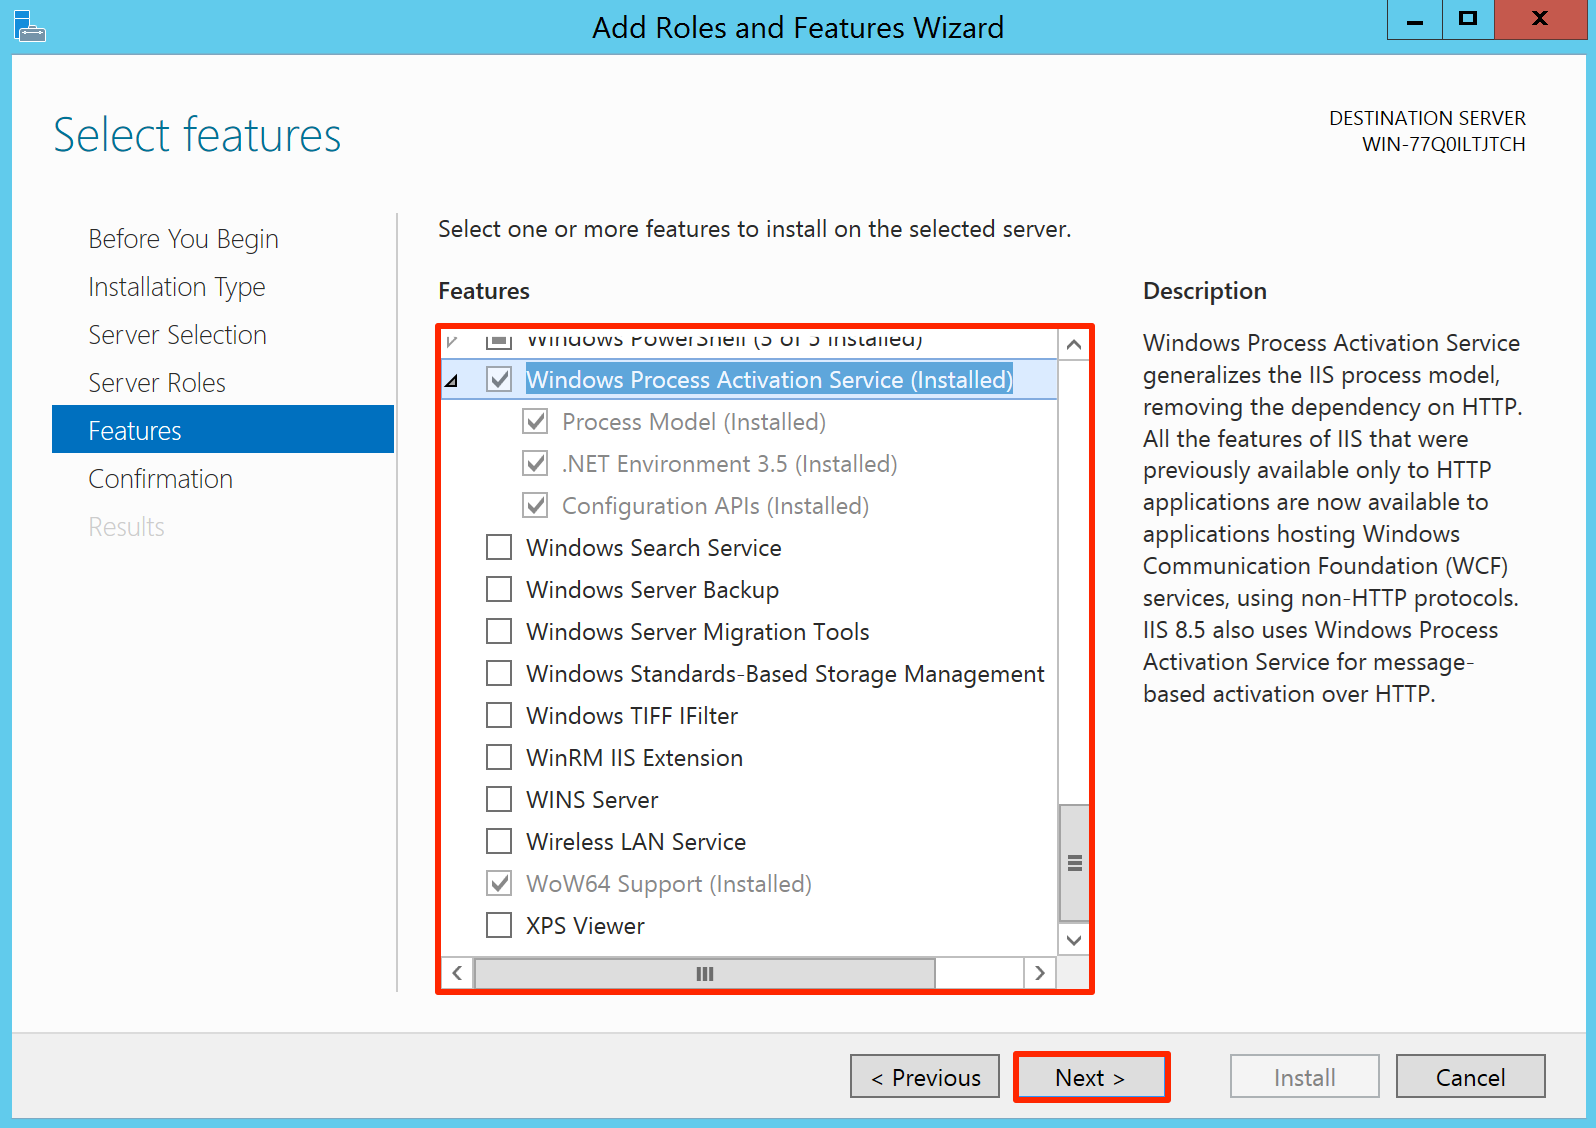
In the Features page, ensure the following features are installed:
- .Net Framework 3.5 Features
- .Net Framework 4.5 Features
- WCF Services
- Non-HTTP Activation
- Remote Server Administration Tools
- Role Administration Tools
- Windows Process Activation Service
- Process Model
- .Net Enviroment 3.5
- Configuration APIs
Check the features checkbox that are not installed. Click Next once done.
In the Confirmation page, click Install.
In the Results page, wait for the installation to complete, and click Close.
Note
The installation process may take a several minutes.
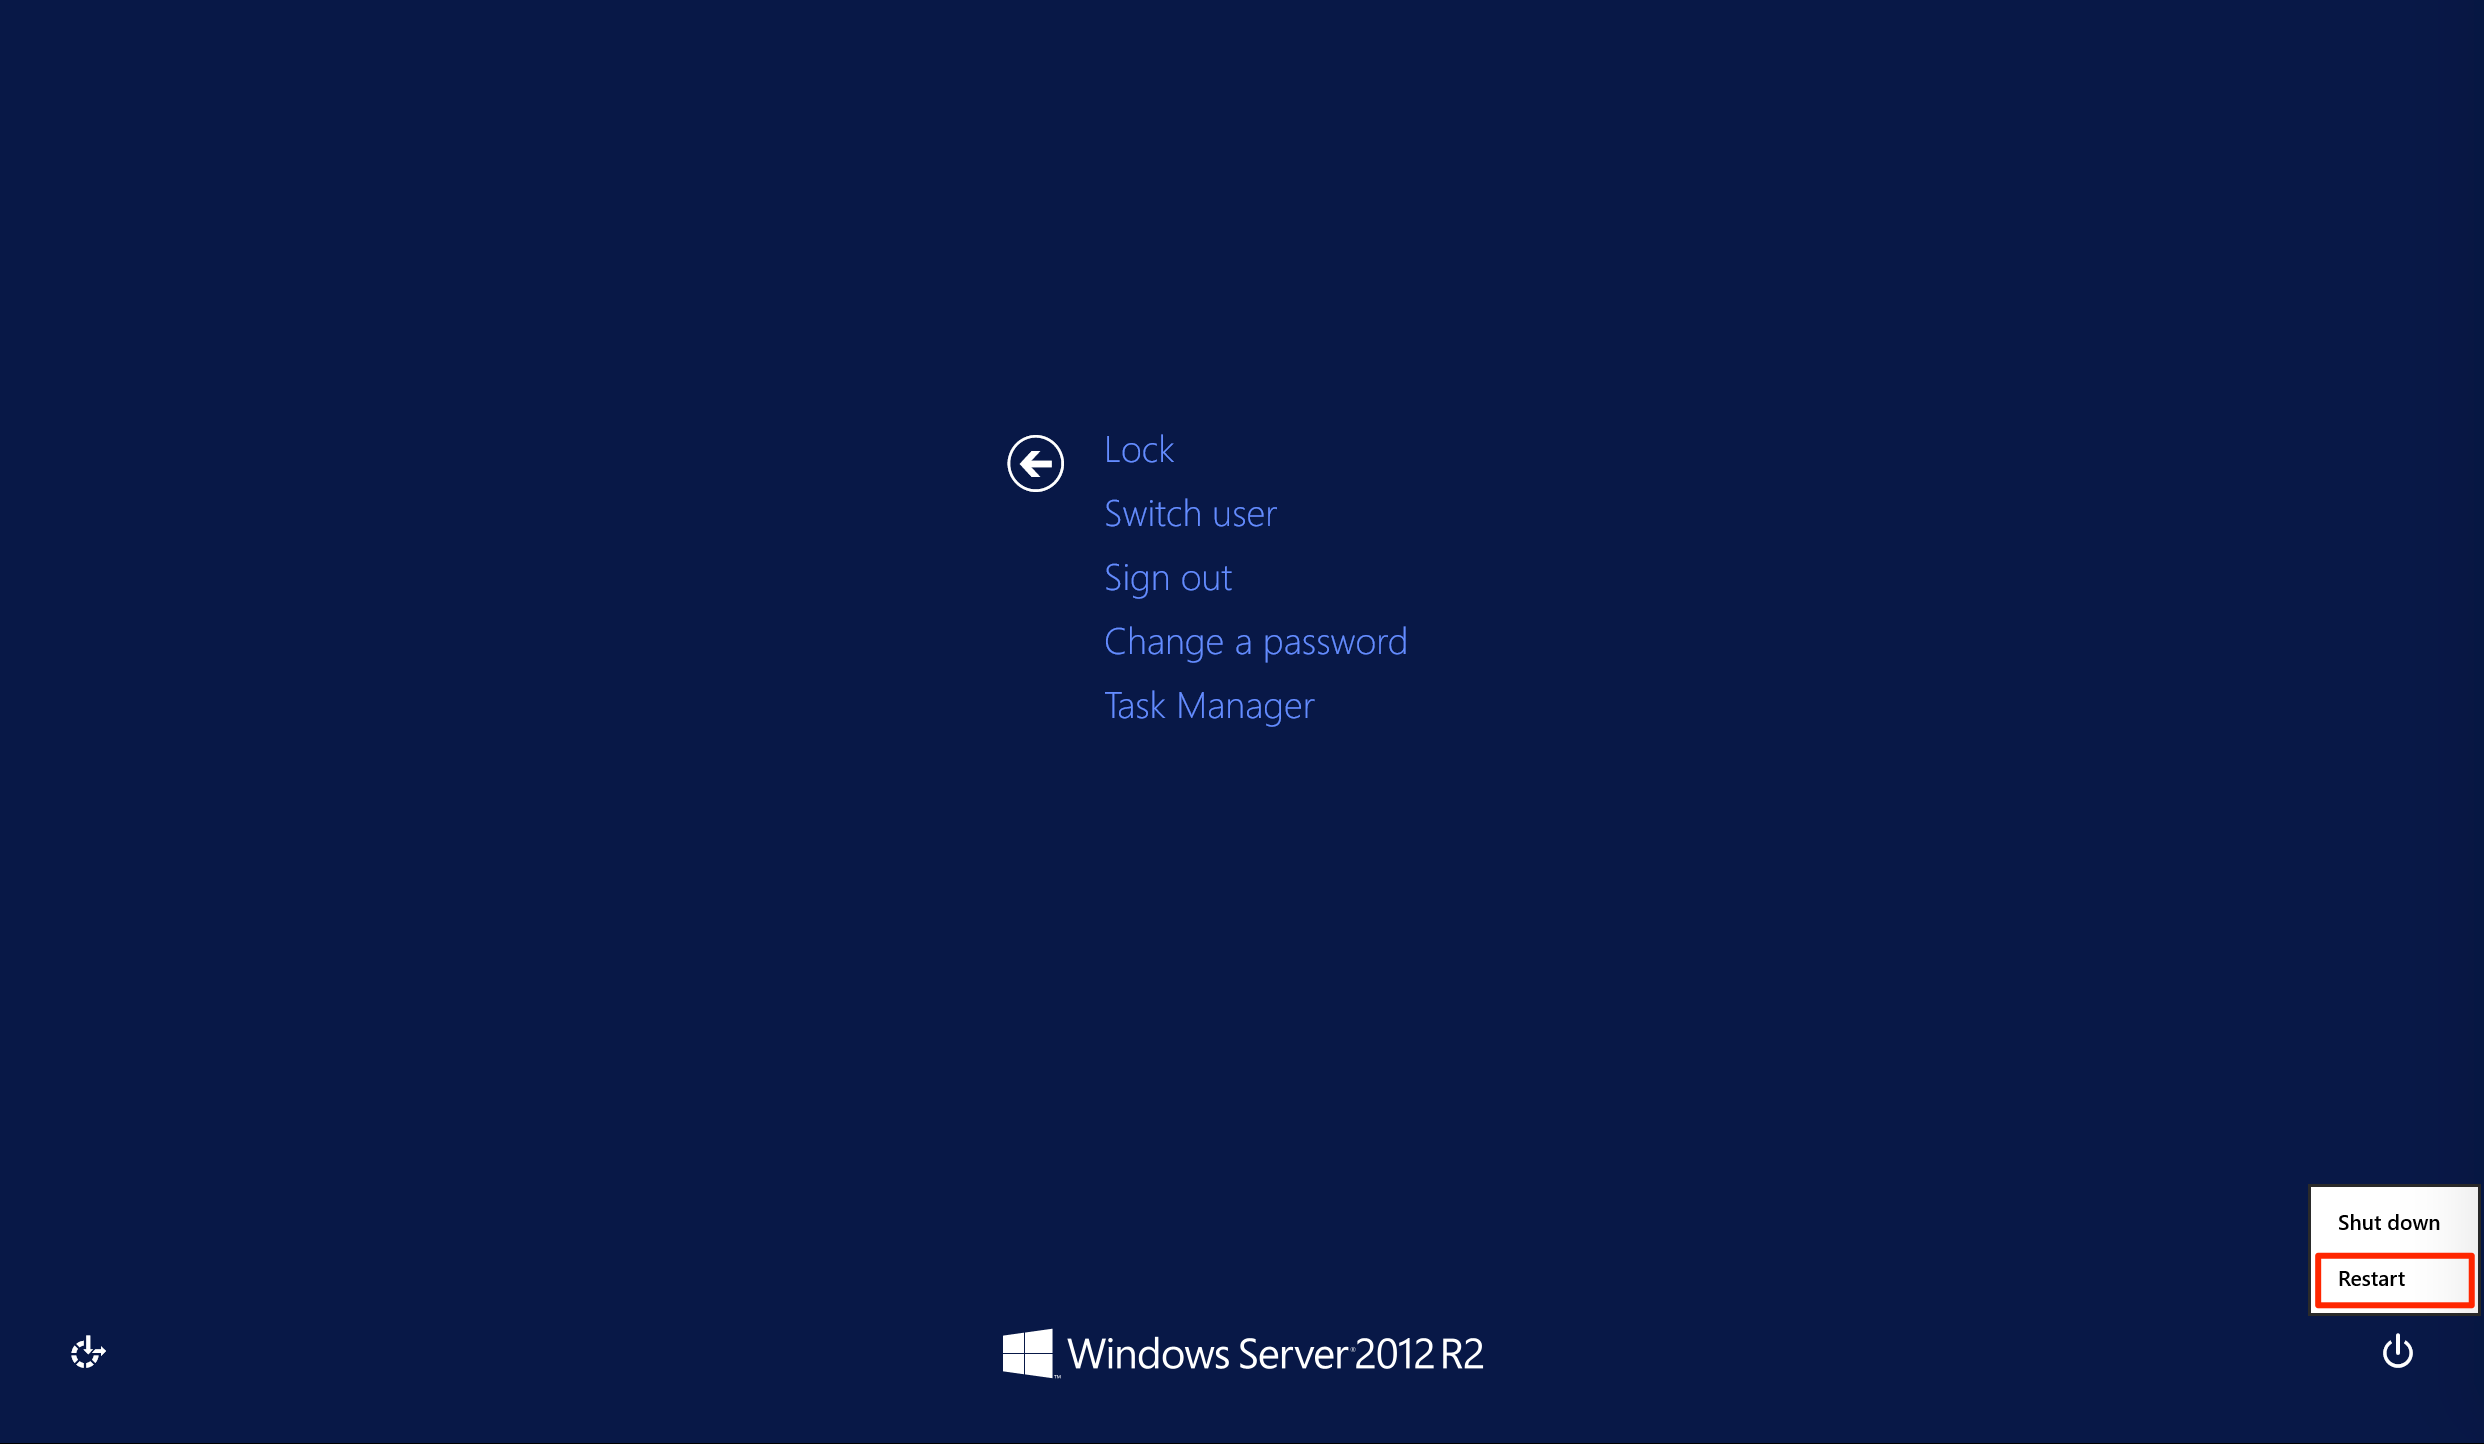
Restart the server by pressing CTRL + ALT + DEL, and click the power icon.
Configuring Windows Security Policies
Click the Server Manager icon in the taskbar if not already launched by default. Alternatively, you can click the Server Manager tile in the Windows Start screen
Open the Local Security Policy window, by clicking Tools on the menu, and clicking Local Security Policy.

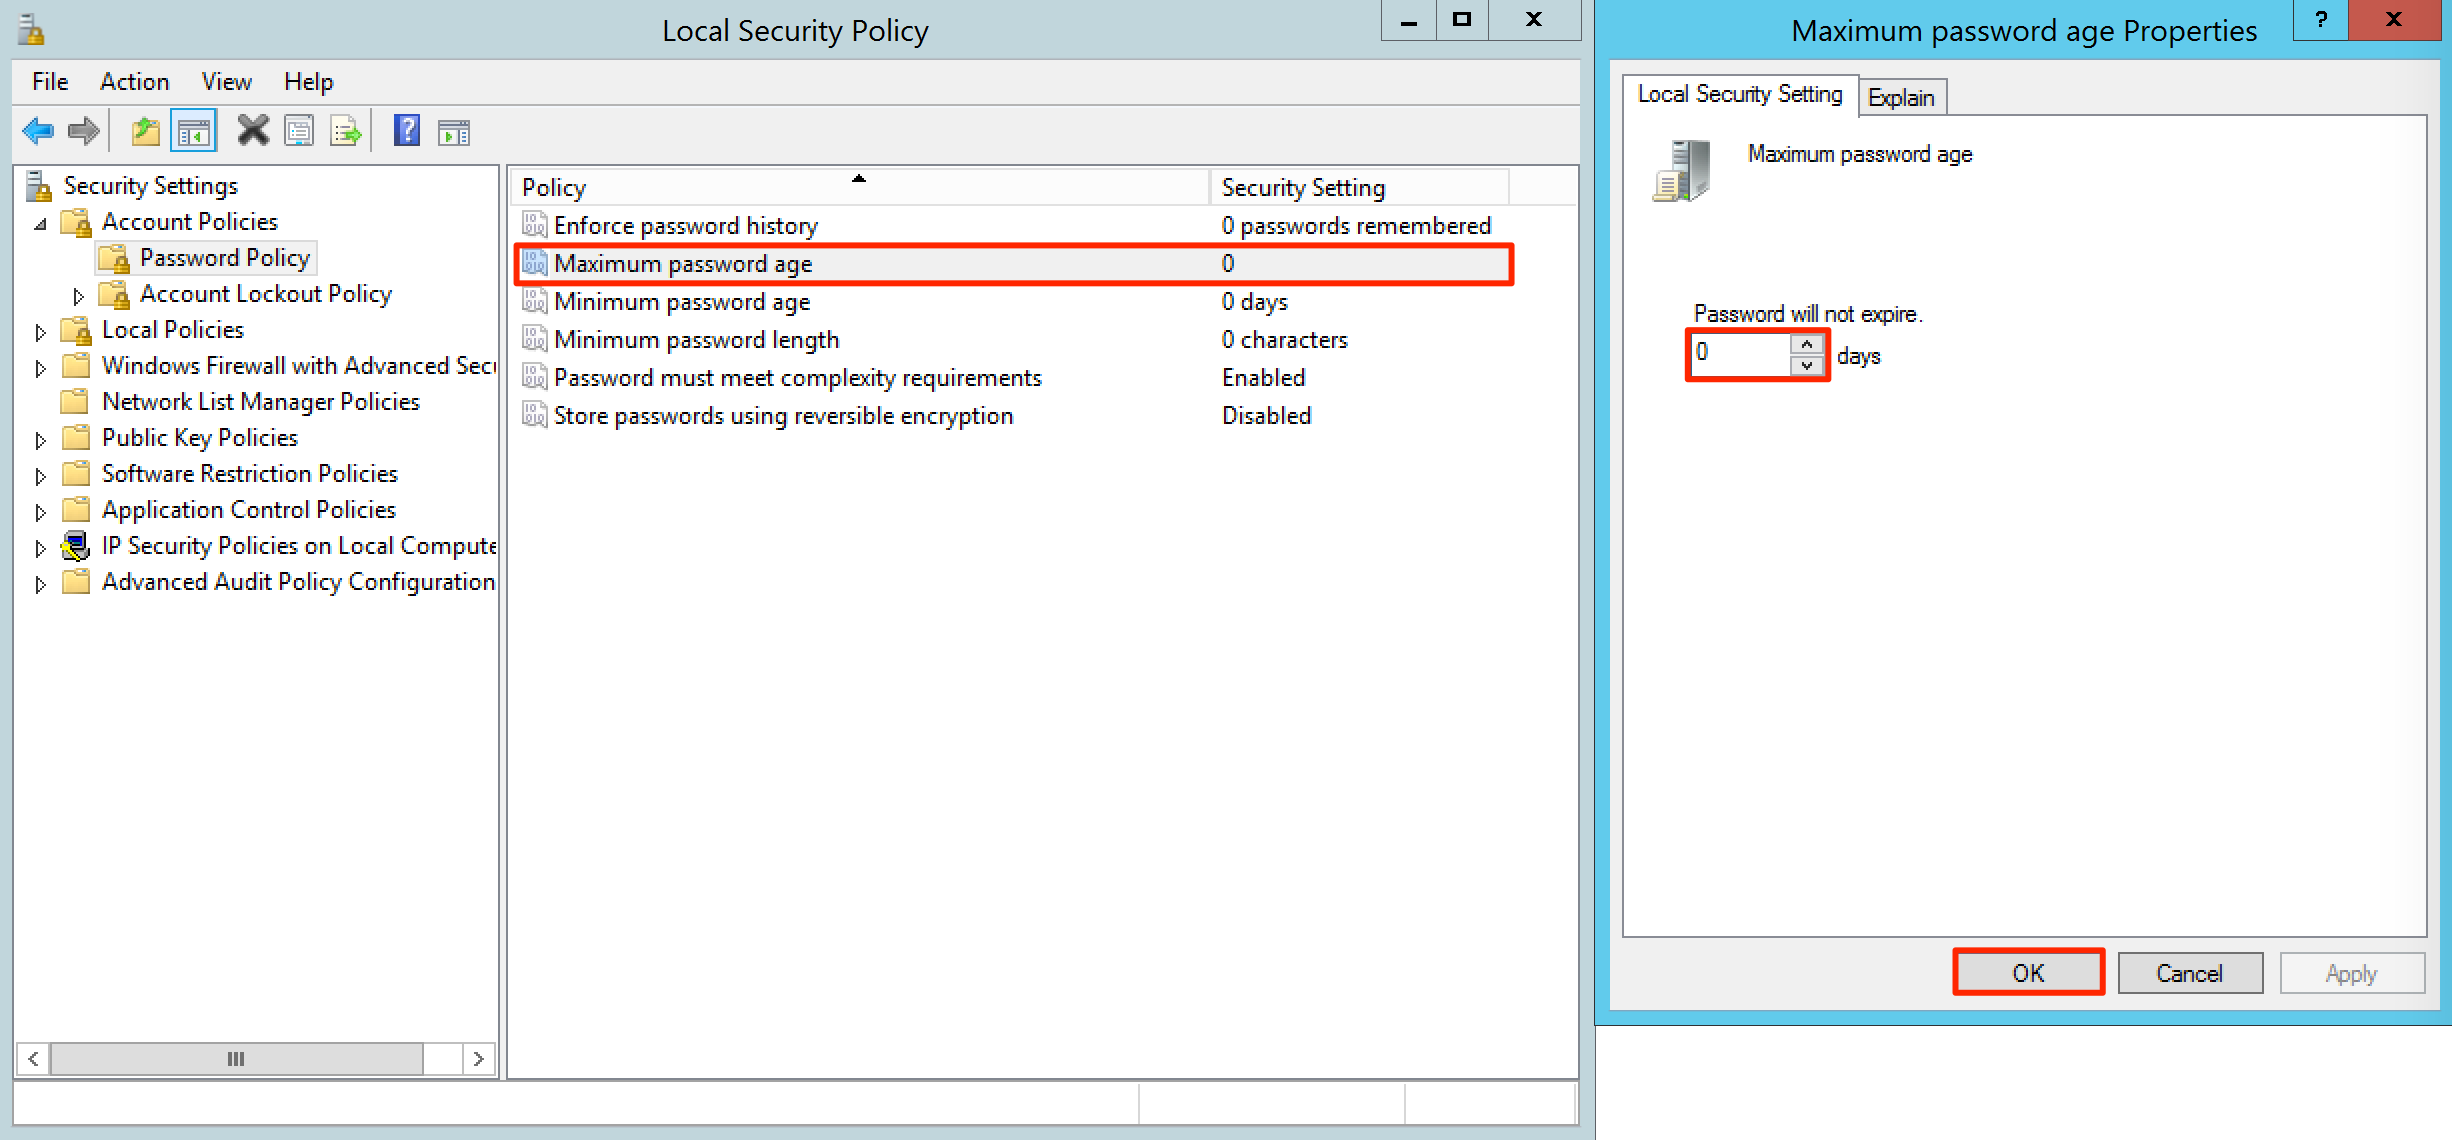
In the Security Settings tree, navigate to Account Policies > Password Policy.

Ensure the ‘Maximum password age’ security setting is ‘0’. If not, double-click the ‘Maximum password age’ policy, and set the ‘Password will not expire’ to ‘0’ days. Click OK when done.