Getting Started with Library
The purpose of this guide is to quickly bring you up to speed with the Library extension. To do so, we will cover three key sections:
Section 1: Managing Folders
Prior to adding content assets to the Library, you’ll want to create a folder structure to help you quickly organize your content.
Creating your Folder
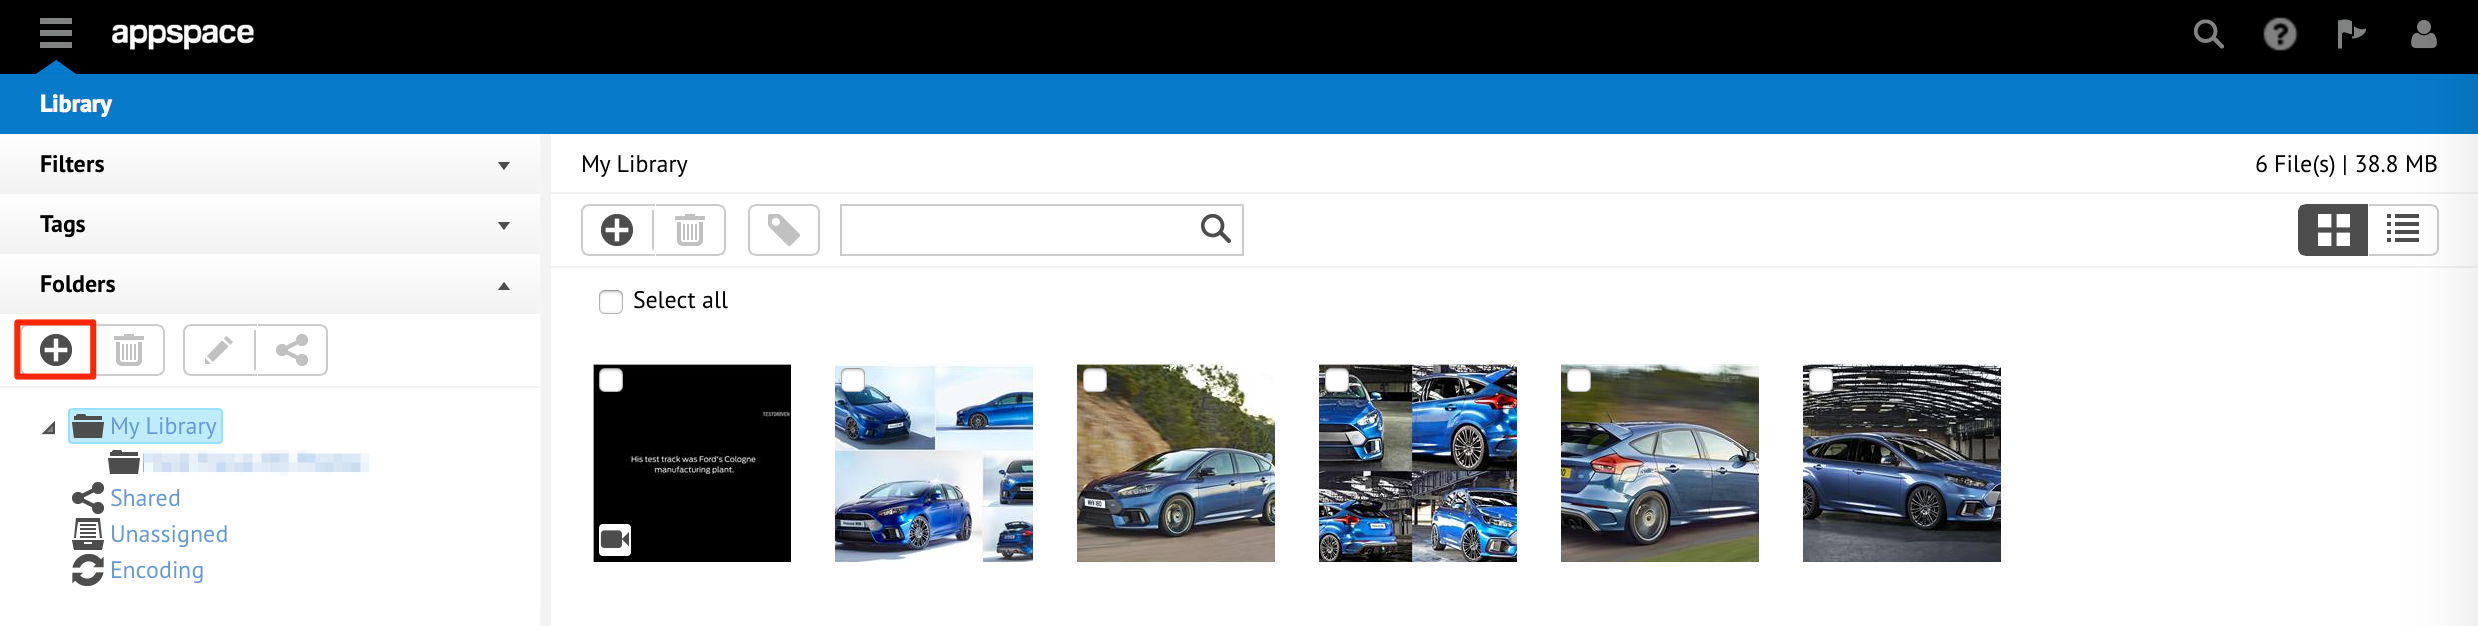
Click the ‘Add folder’ button to create a new folder in My Library.
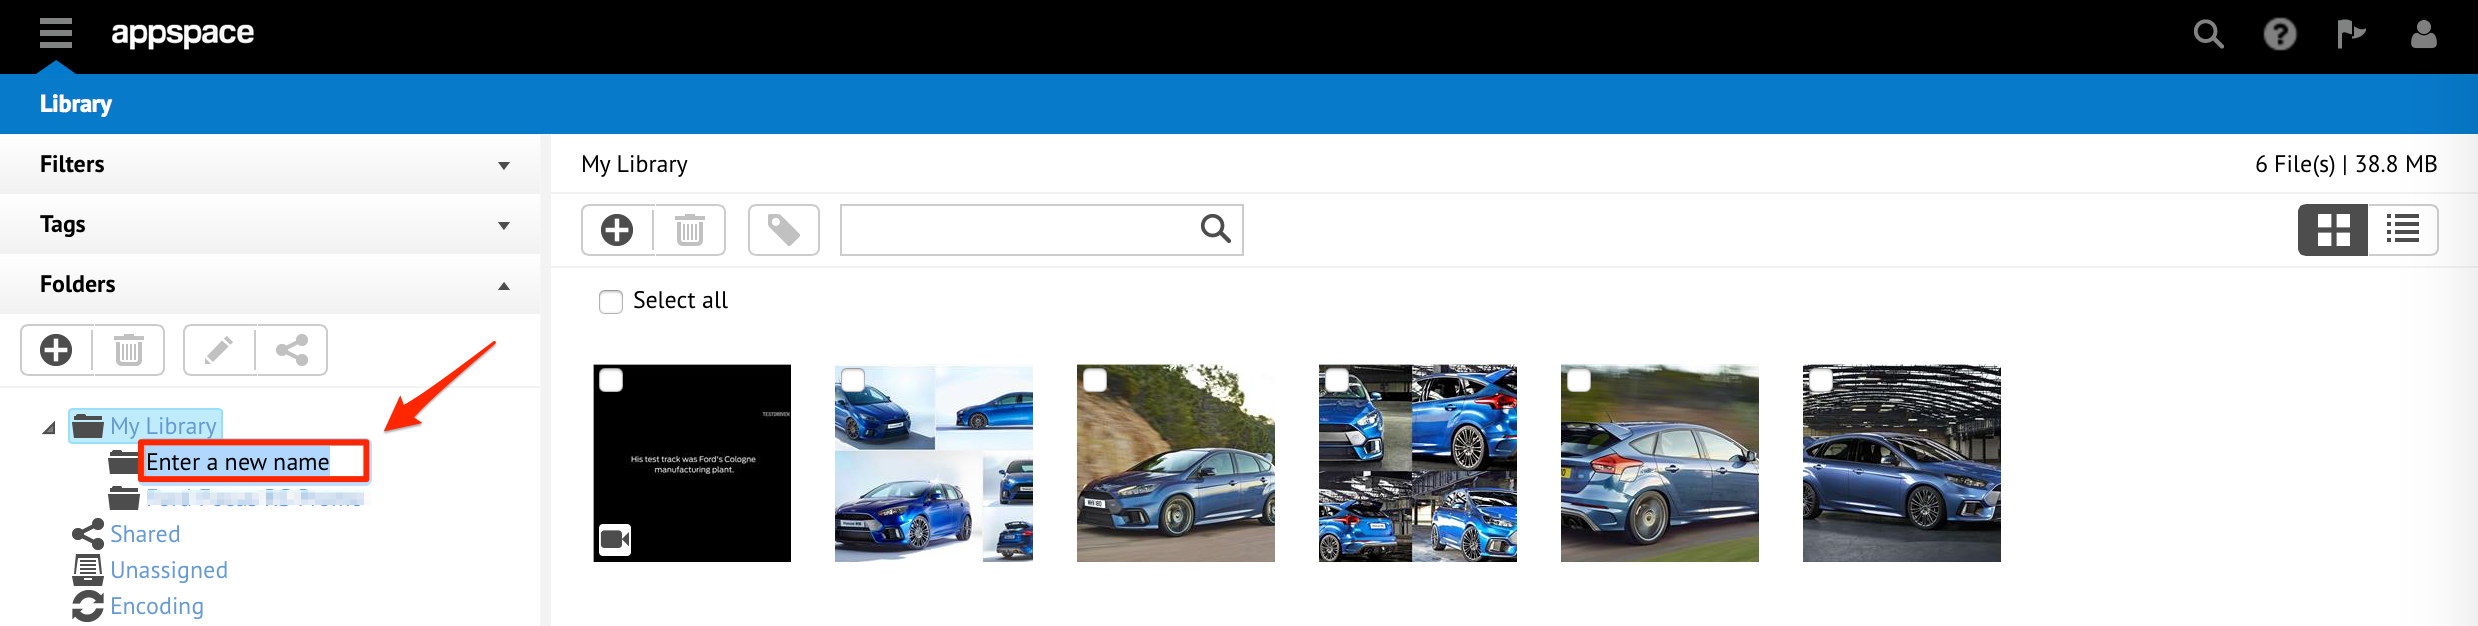
A text field will appear prompting you to type in your folder name. You can proceed to create sub-folders under your newly created folder if needed.
Optional: Arranging your Folders
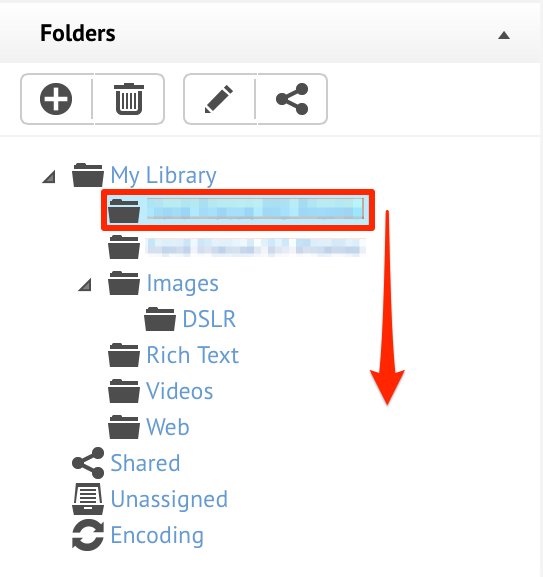
You can proceed to drag-and-drop your folders to move them up or down the Library tree to create a clean and organized folder structure.
Section 2: Managing Content
This section covers the uploading, tagging and adding of content metadata.
Uploading Content to a Folder
Now that you’ve got your folder structure, you’ll want to upload content to those folders.
Select the folder you wish to add content to. Click the ‘Upload’ button, and select the content type you wish to add.
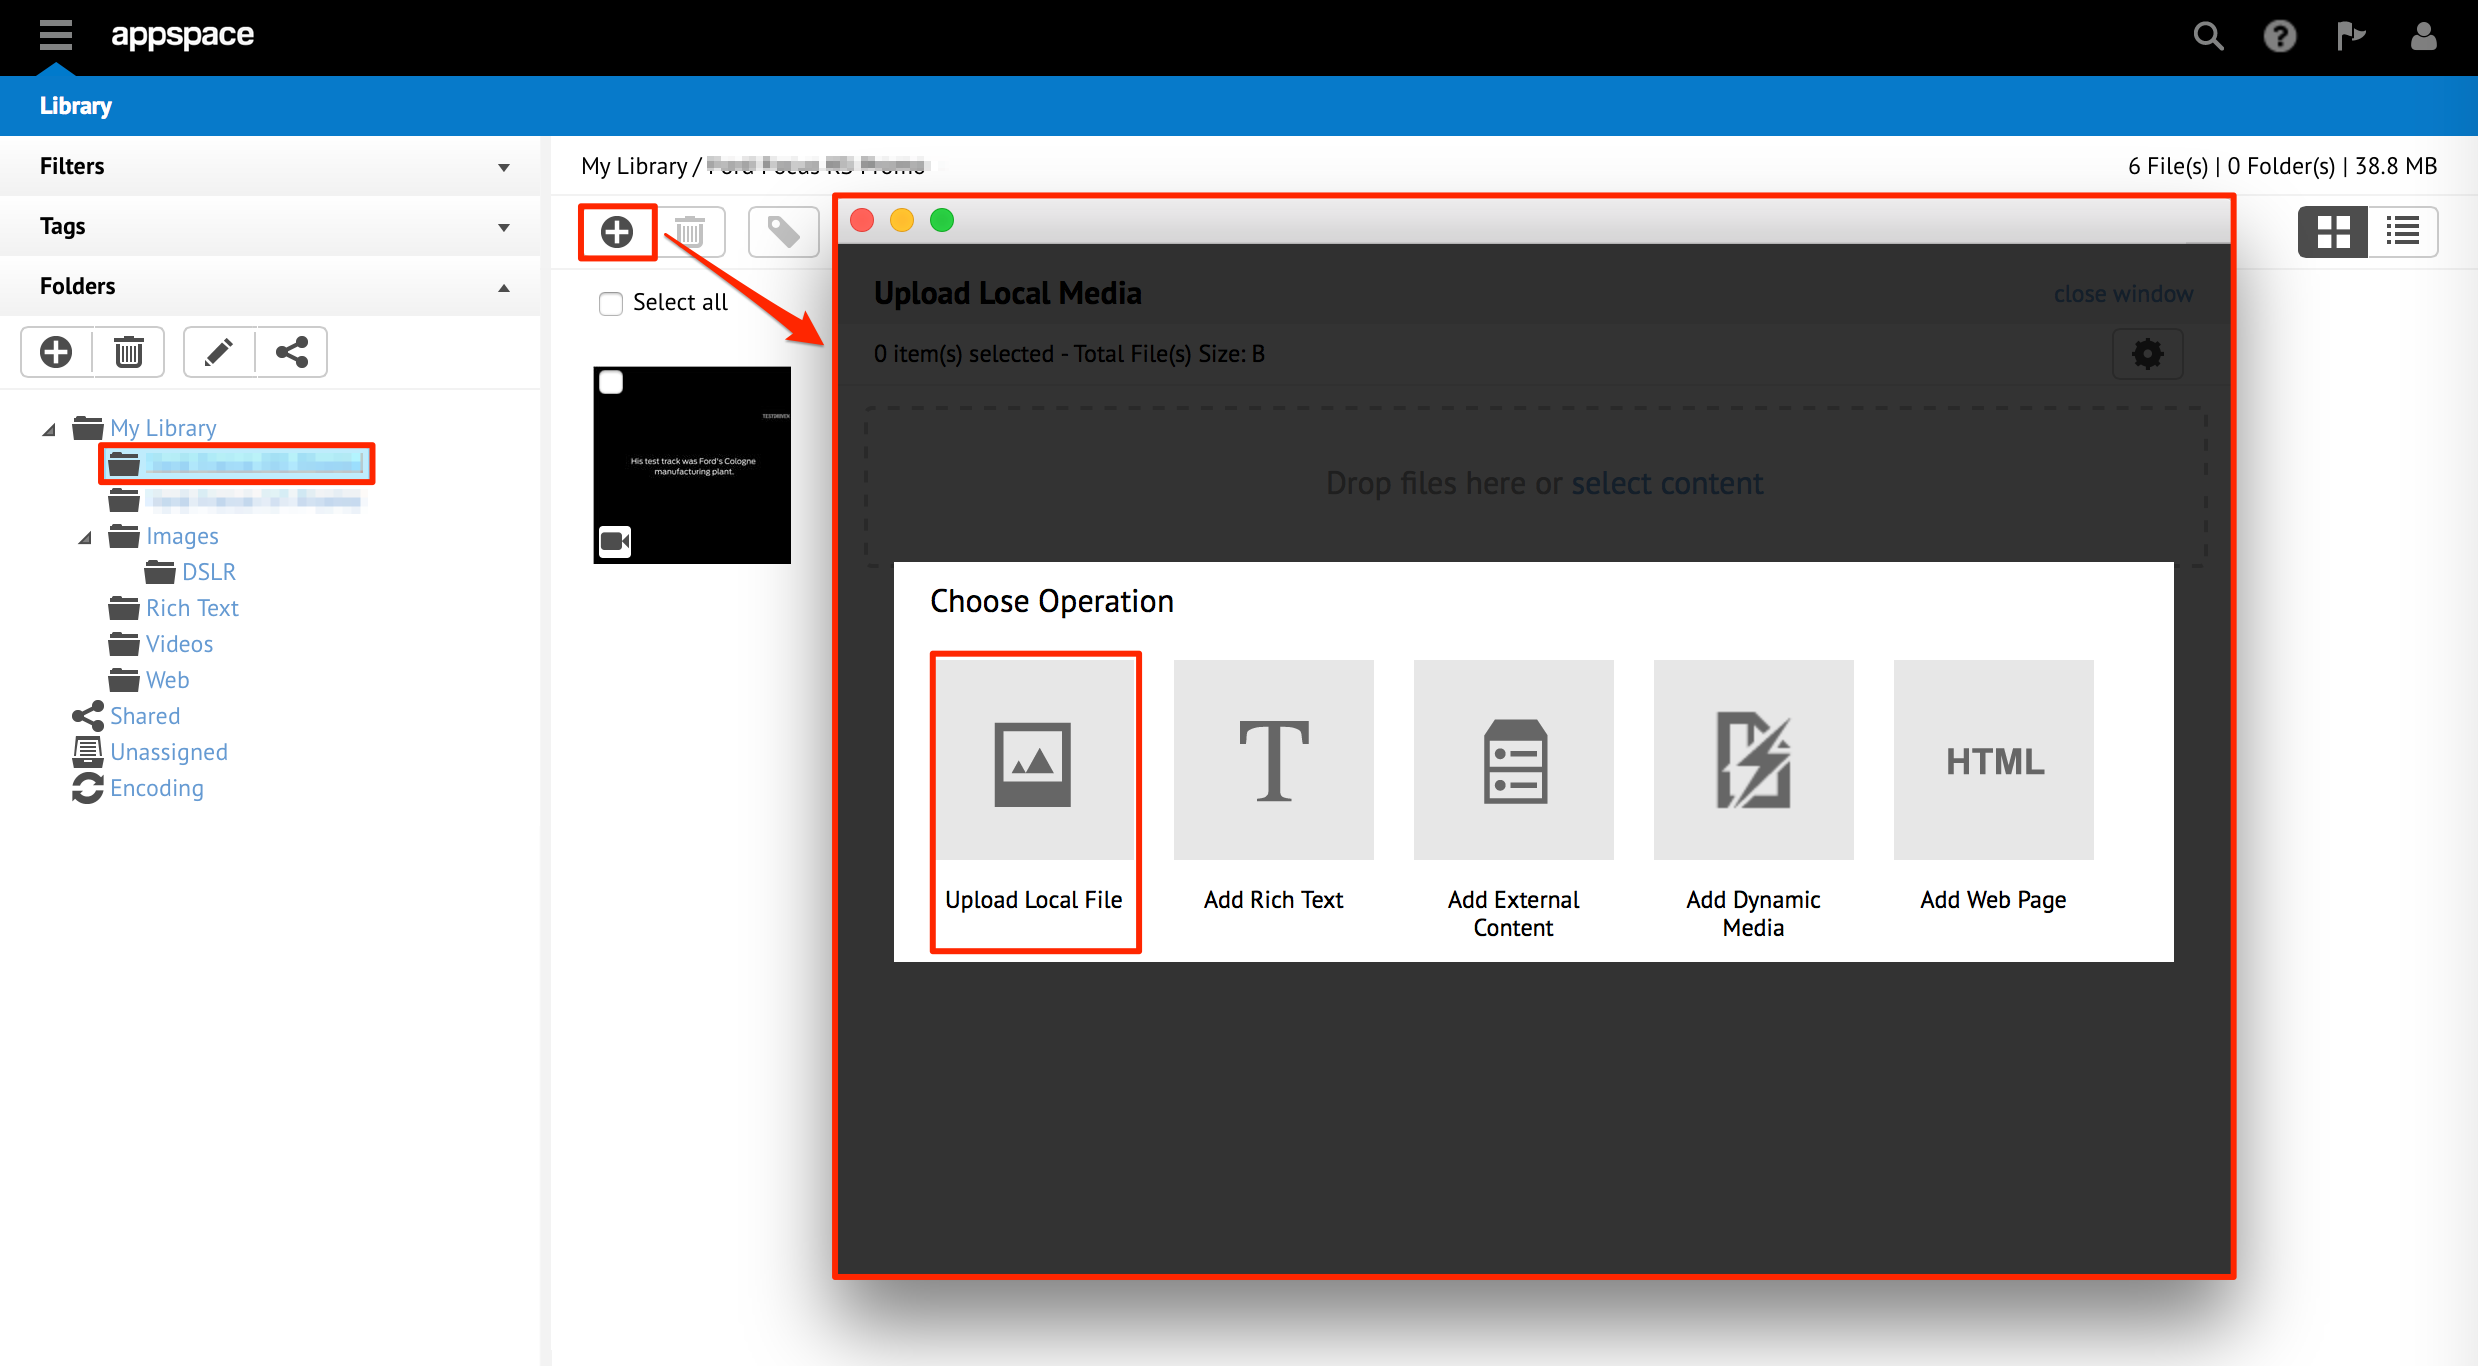
Click ‘select content’ and select the content to be uploaded, or drag-and-drop files directly into the drop files section.
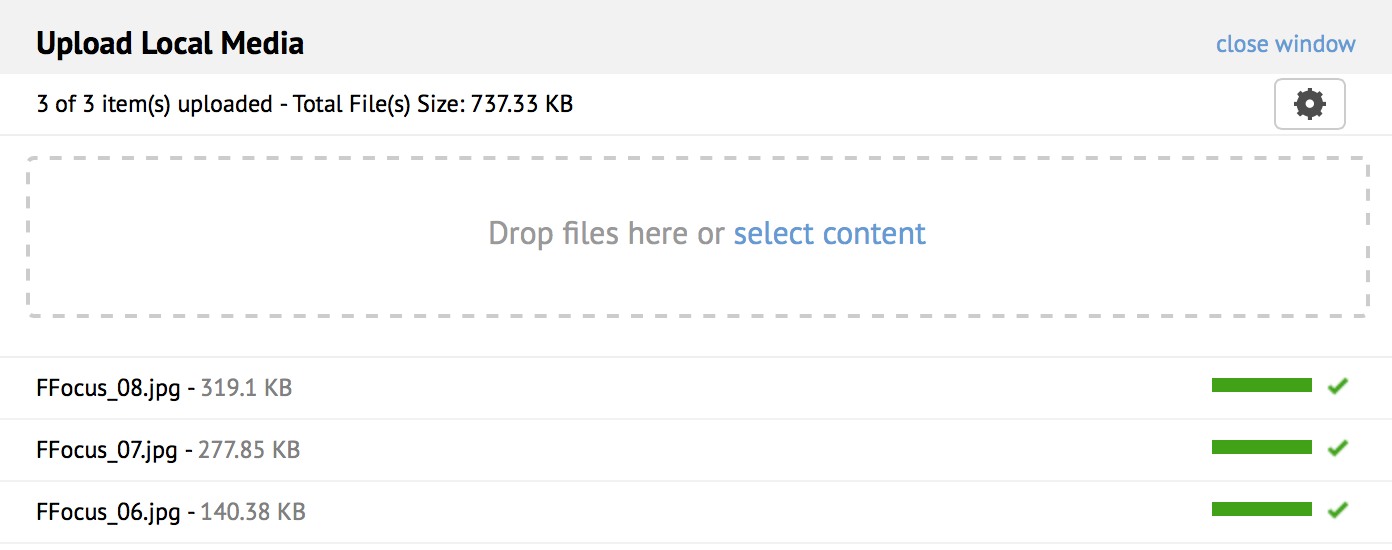
Note
You can simply drag an item into the drop zone to start uploading a file, and continue to drop files while other content items are being uploaded.
Tagging your Content
Tagging your recently uploaded content will help in searching for it later.
Select the content you wish to tag.
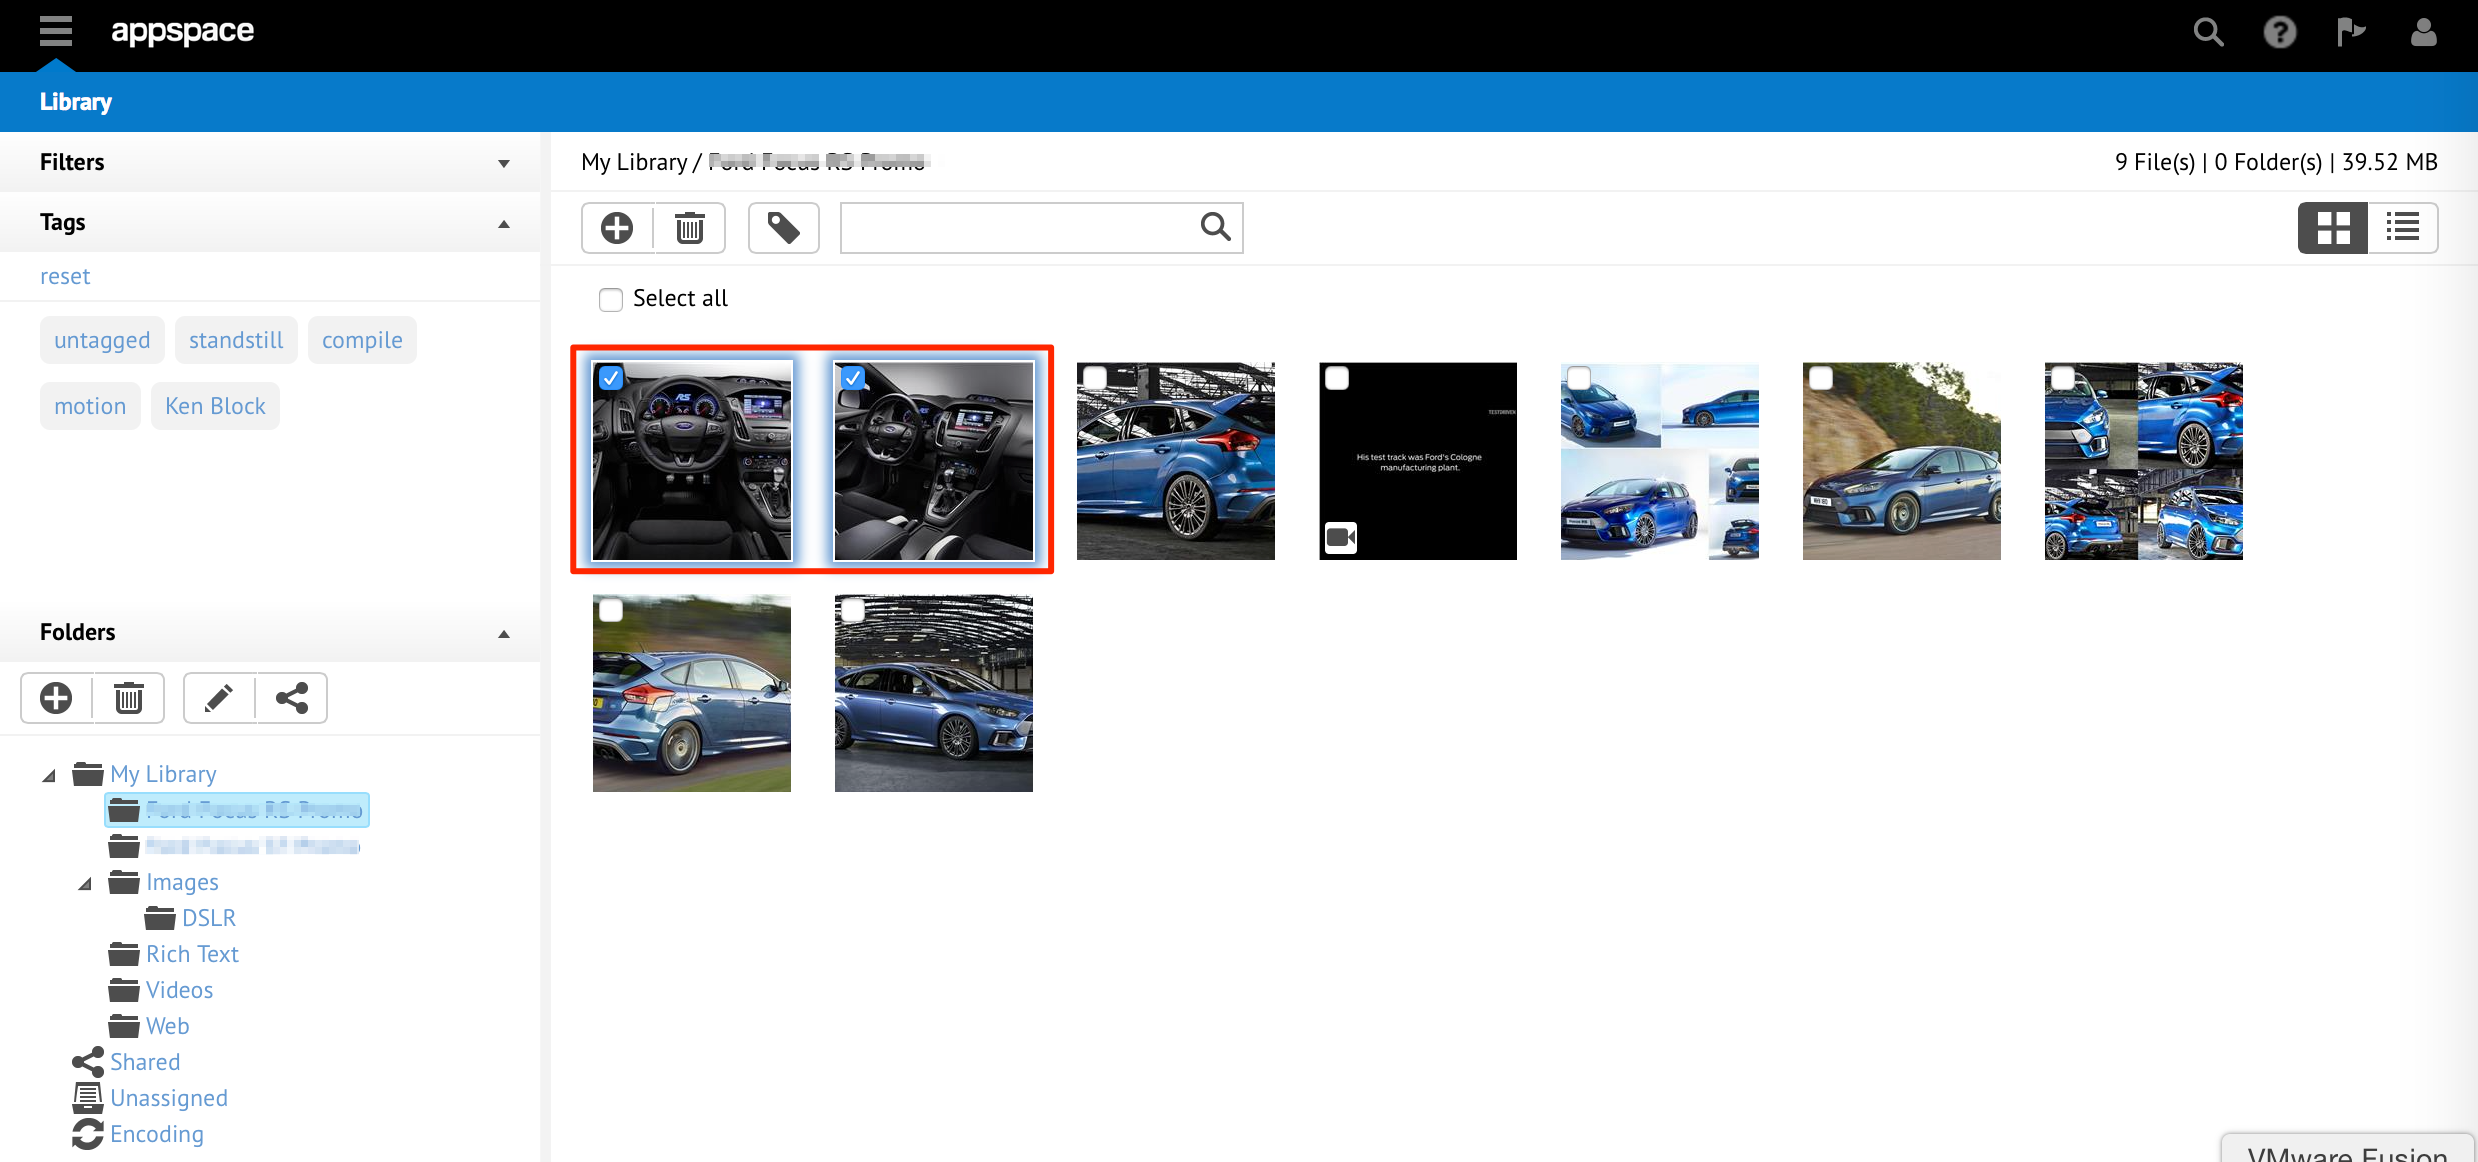
Click the ‘Tag selected media’ button, and type in the tag name, or select from a list of existing tags. Click Apply to tag the selected content.

Adding Content Attributes (Metadata)
You can add additional metadata to add descriptions and titles to the content asset which in turn can be used through application scripting.
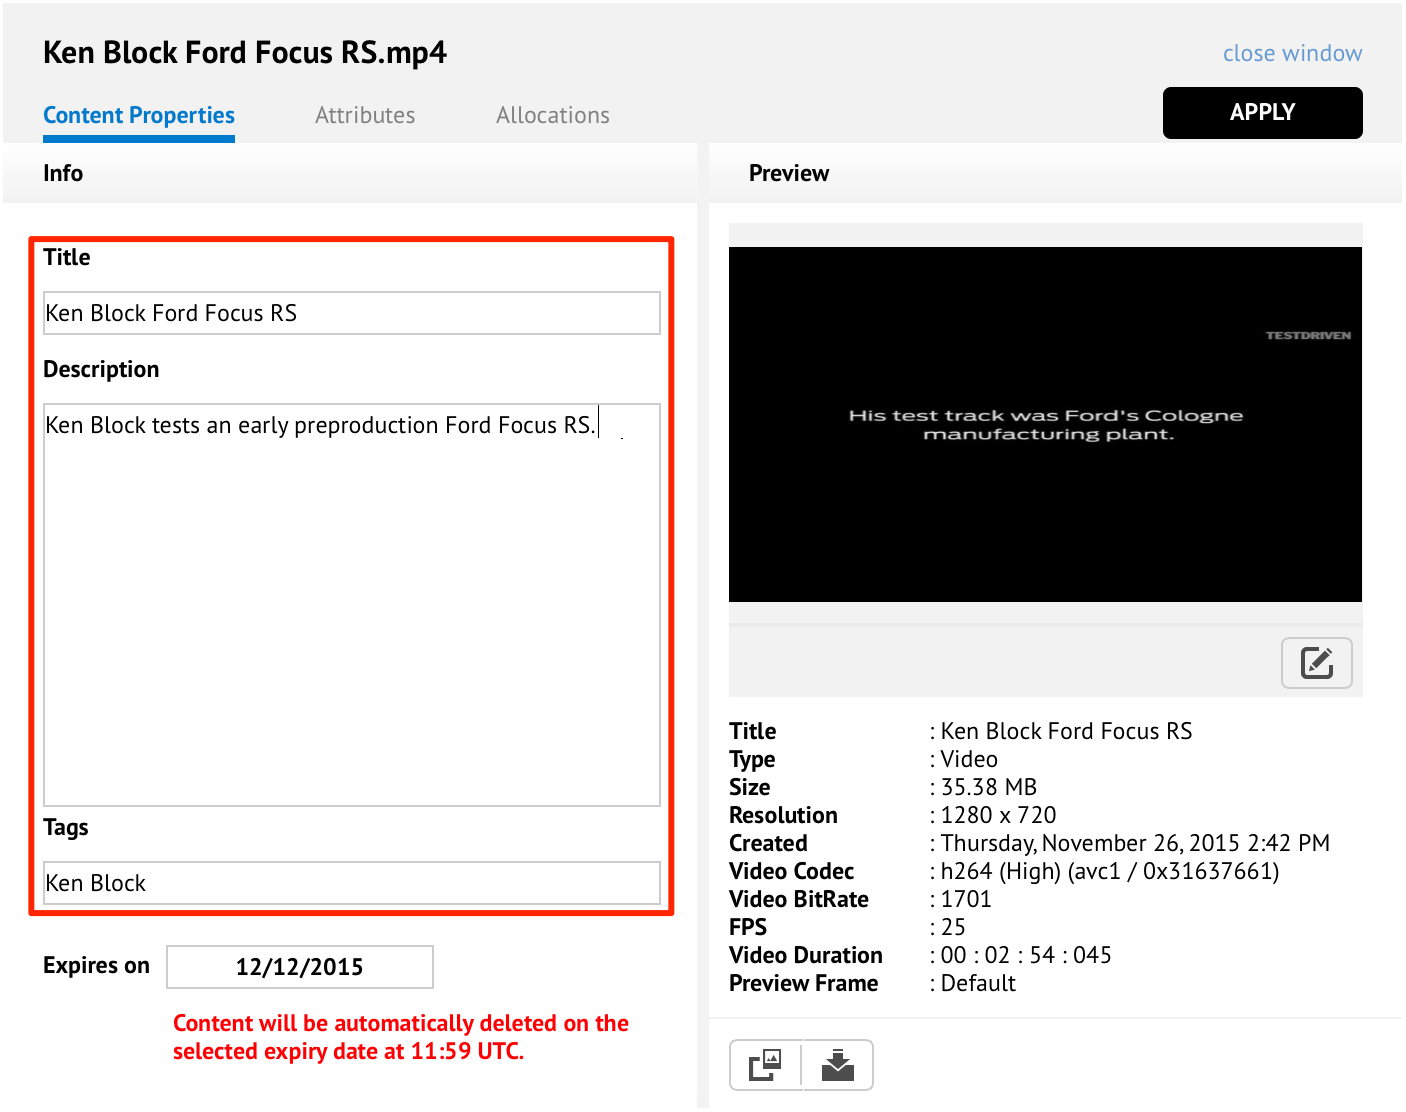
Select and double-click the content you wish to add metadata to.
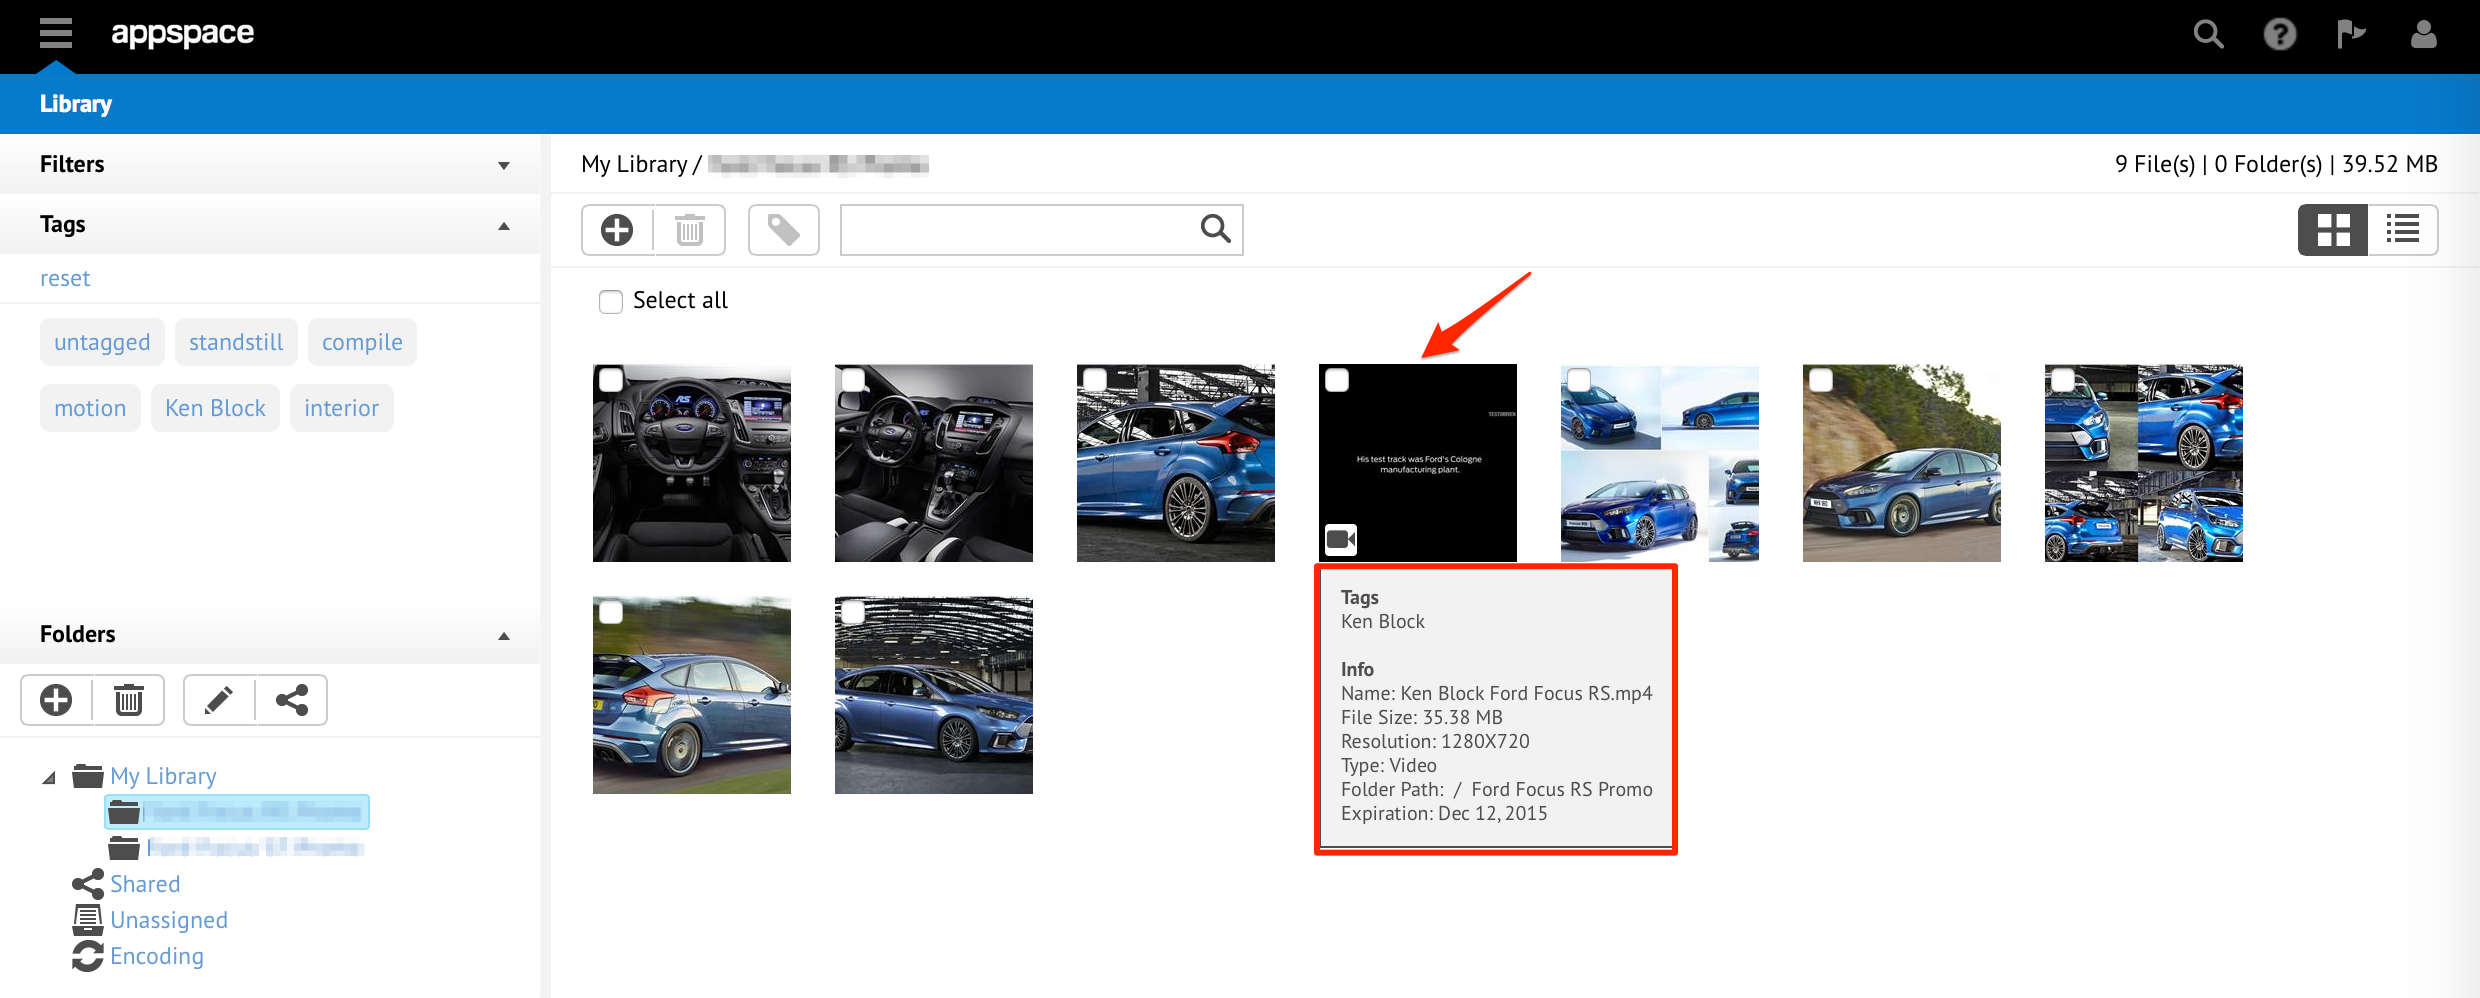
Under the Content Properties sub-tab, add in the content item’s title, description, and tag(s) for organisation and searching purposes.
Note
You are able to use the content item’s title and description through action scripting. E.g. On media load, set plain text to content items title.
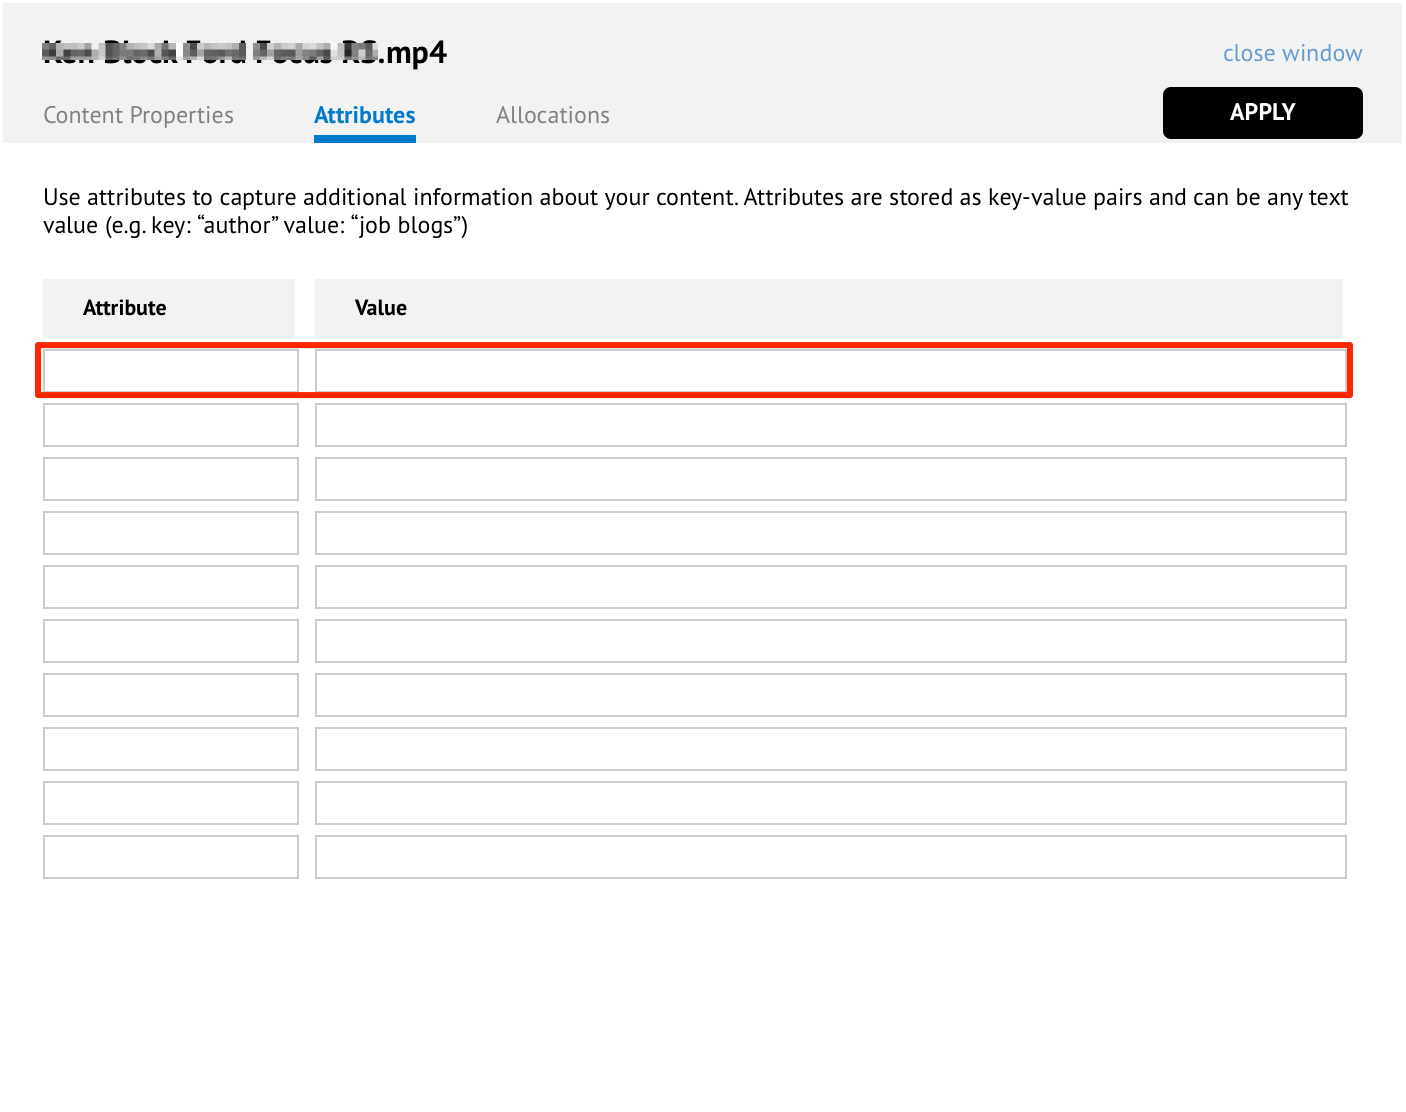
Additional content attributes can be added to the content item by going to the Attributes sub-tab. Click APPLY when once done.
Note
These attributes cannot be accessed through action scripting. They are used primarily to provide additional identification to the content item.
Section 3: Sharing Folders
You can grant other Appspace users or user groups access to your folders by sharing them. You are able to share your content at multiple levels:
- Globally - all users in all accounts will have read and write access to the shared folder.
- All user groups (read-only) - all user groups in the account will have read access to the shared folder.
- All user groups (read & write) - all user groups in the account will have read and write access to the shared folder.
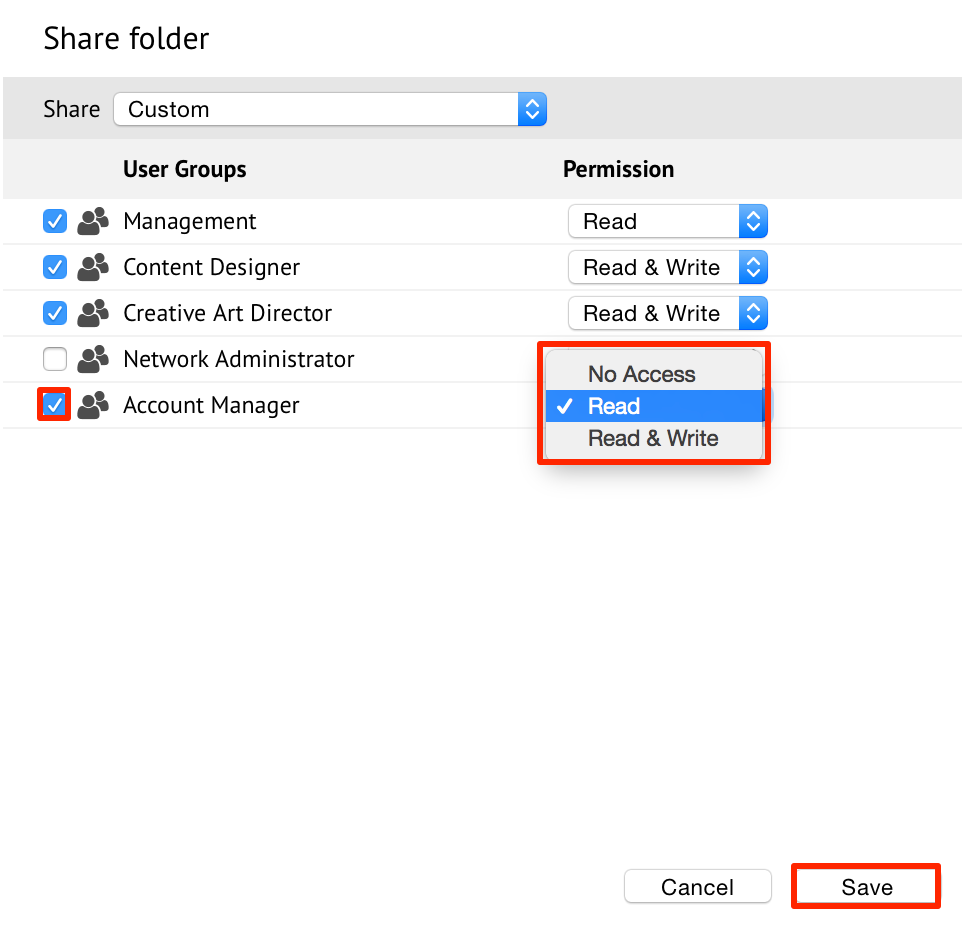
- Custom - you can define which access level (No Access, Read, Read & Write) to specific user groups in the account.
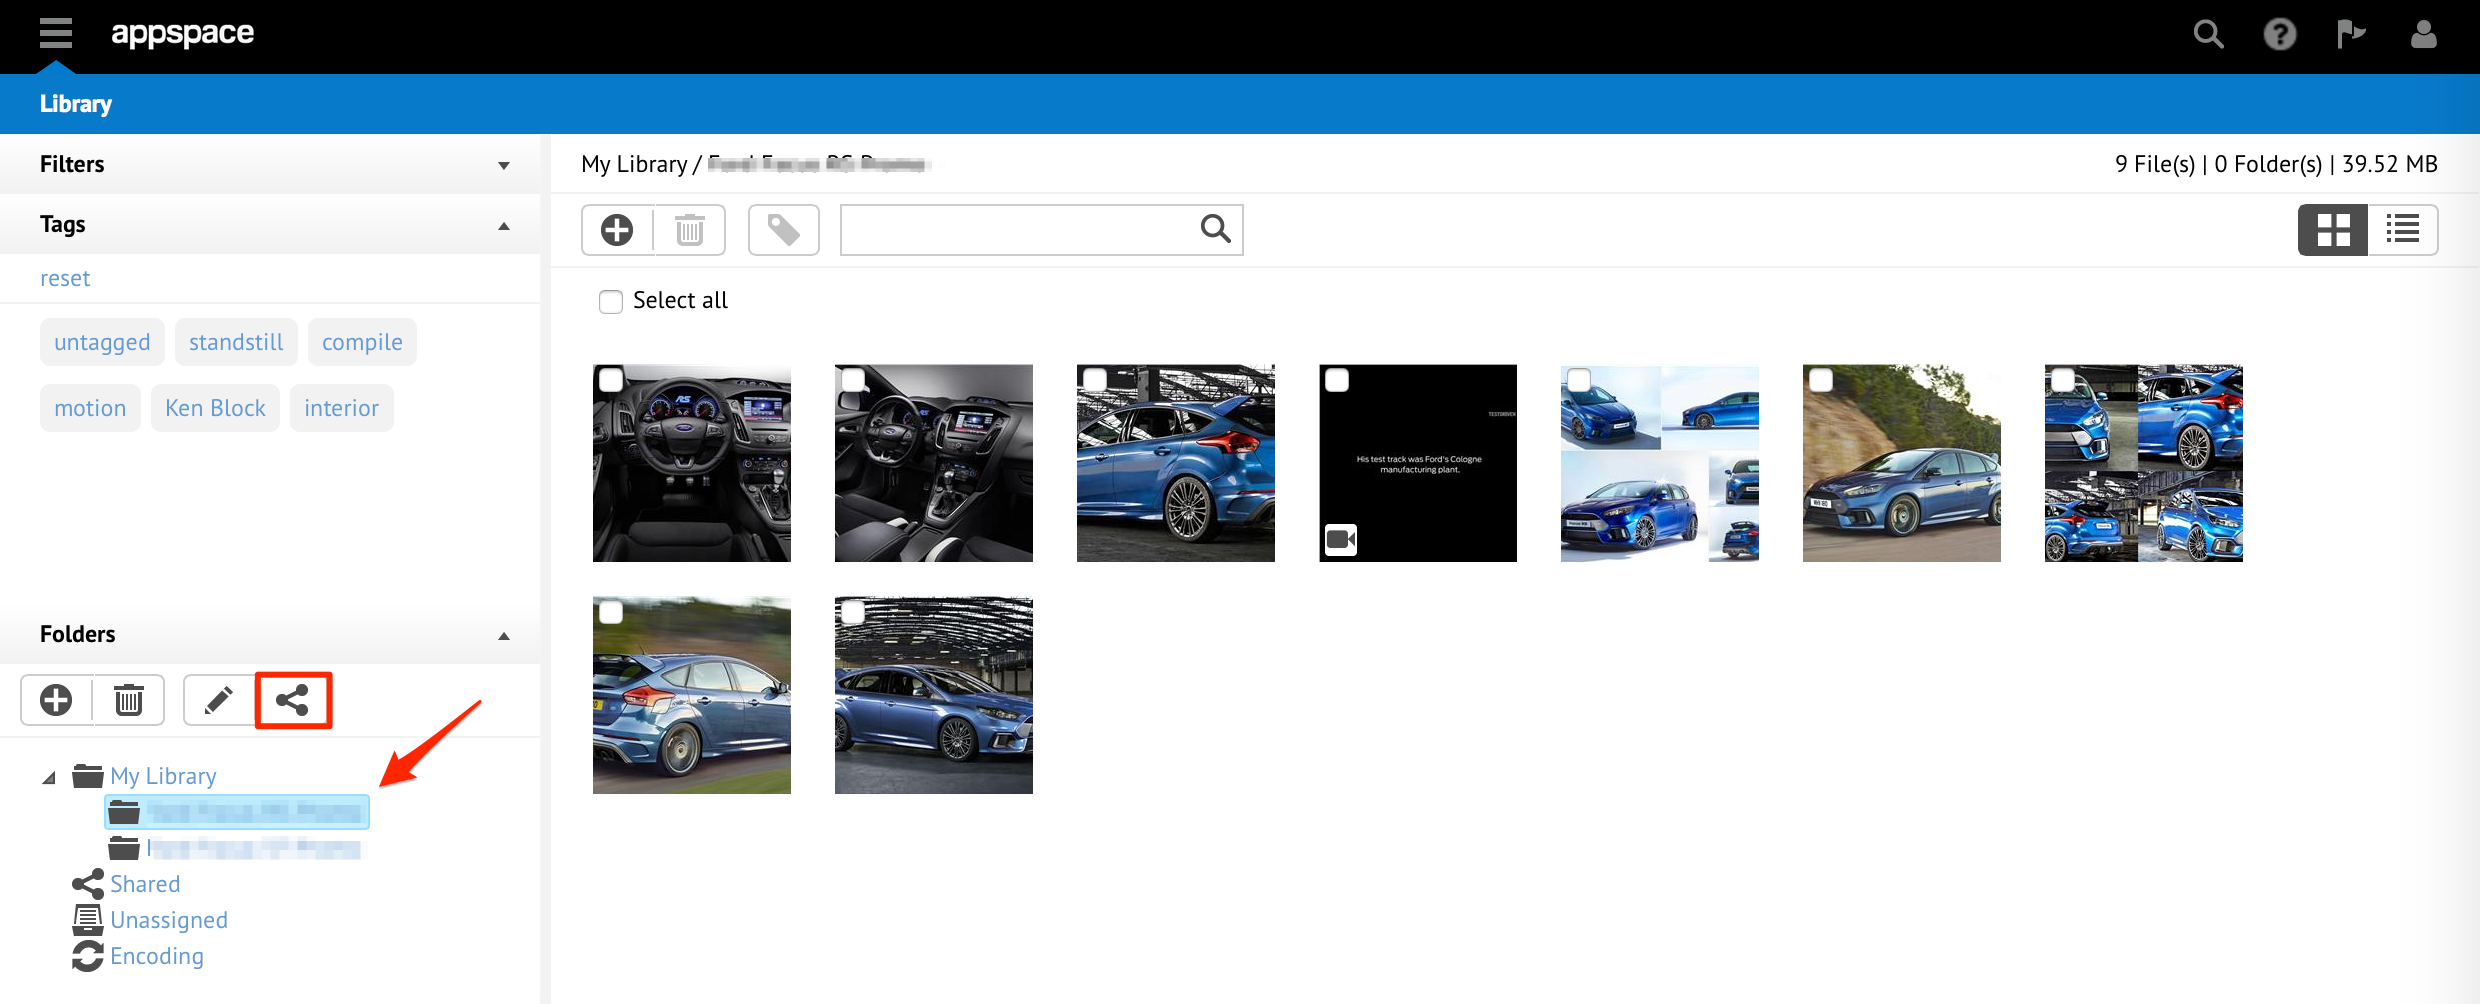
Select the folder you wish to share, and click the ‘Share folder’ button.
In the ‘Share folder’ window, select your sharing options. If you select Custom, the window displays all user groups in the account. You can then proceed to set sharing permissions for each user. Click Save.
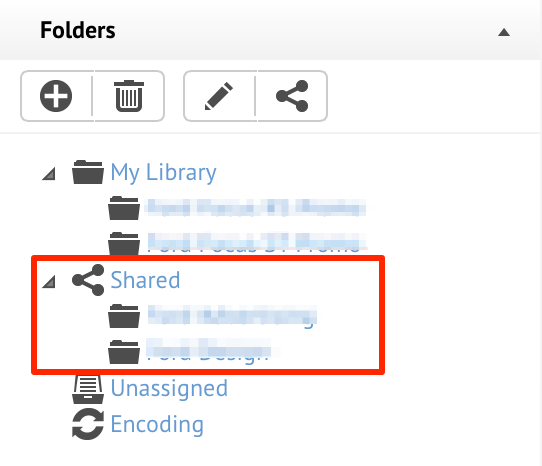
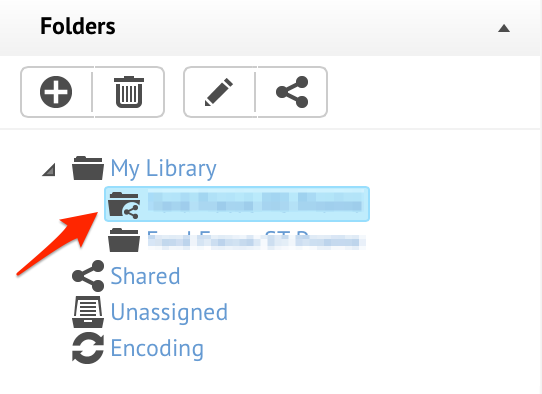
A ‘share icon’ in the folder tree now represents the shared folder providing users a quick indication of shared folders.
In order for a user (within the user group selected in the previous step) to view the folders that have been shared with them, look for the shared folder within the folder tree hierarchy.