Adding a card
This article provides the instructions to adding a card in the Library.
Note
Prior to adding a card, please read the Introduction to cards article.
Add a Card
In Library, select the desired folder, and click the Upload button.

In the Add a Card section, select a card template.

Fill in the Title of the card. This is a mandatory field.

Select the desired Theme. The options available differ based on card themes created.

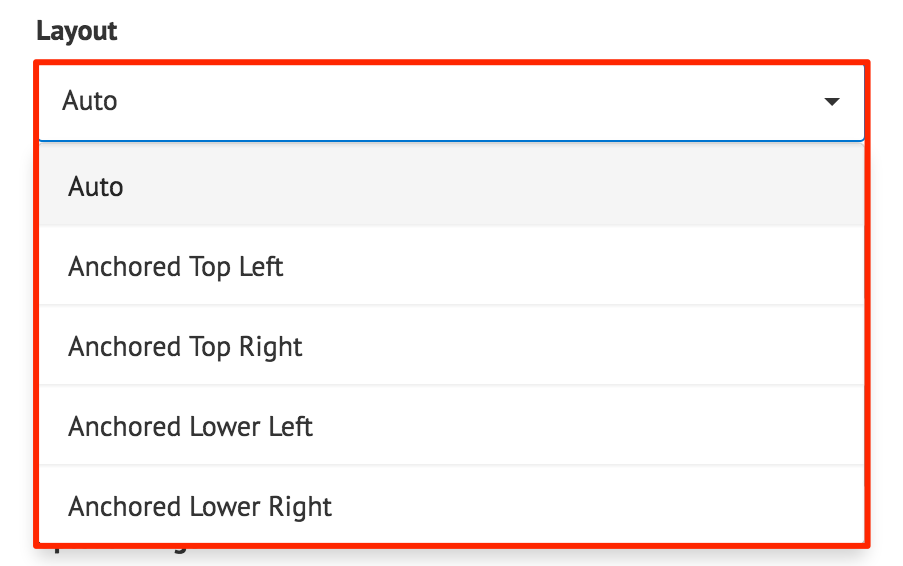
Select the desired Layout. The options available differ based on card template.
Enter your text into the available fields. This will appear in the preview to the right.
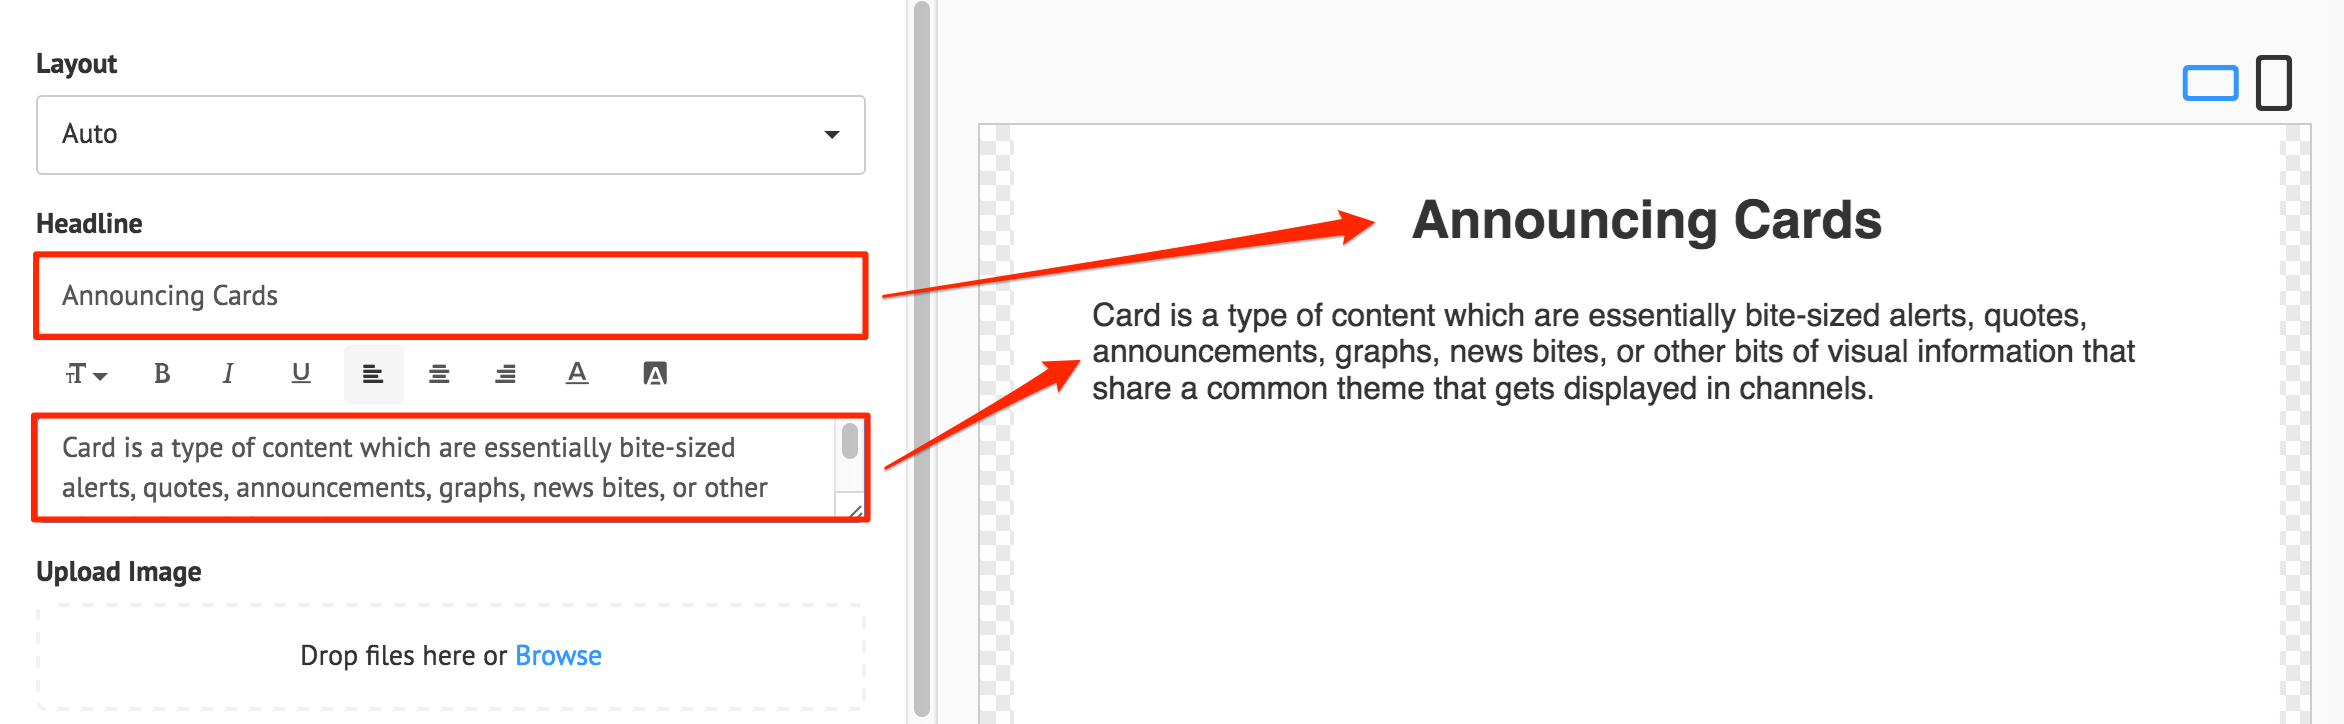
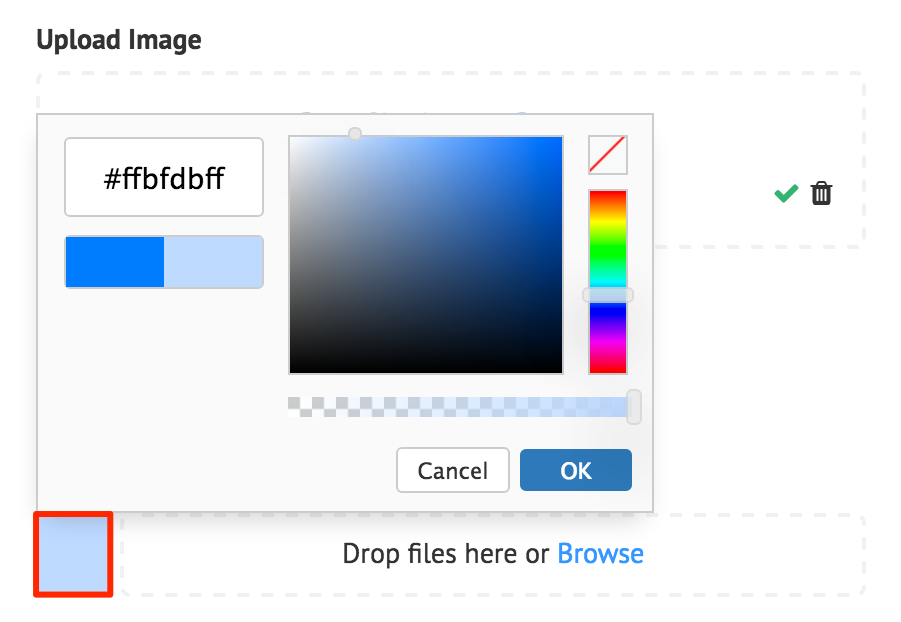
You may also upload an image, or select a color for your card background.
Depending on which card template you are using, you will find additional fields that you can customize. These are listed below:
Announcement Card
Upload an image.
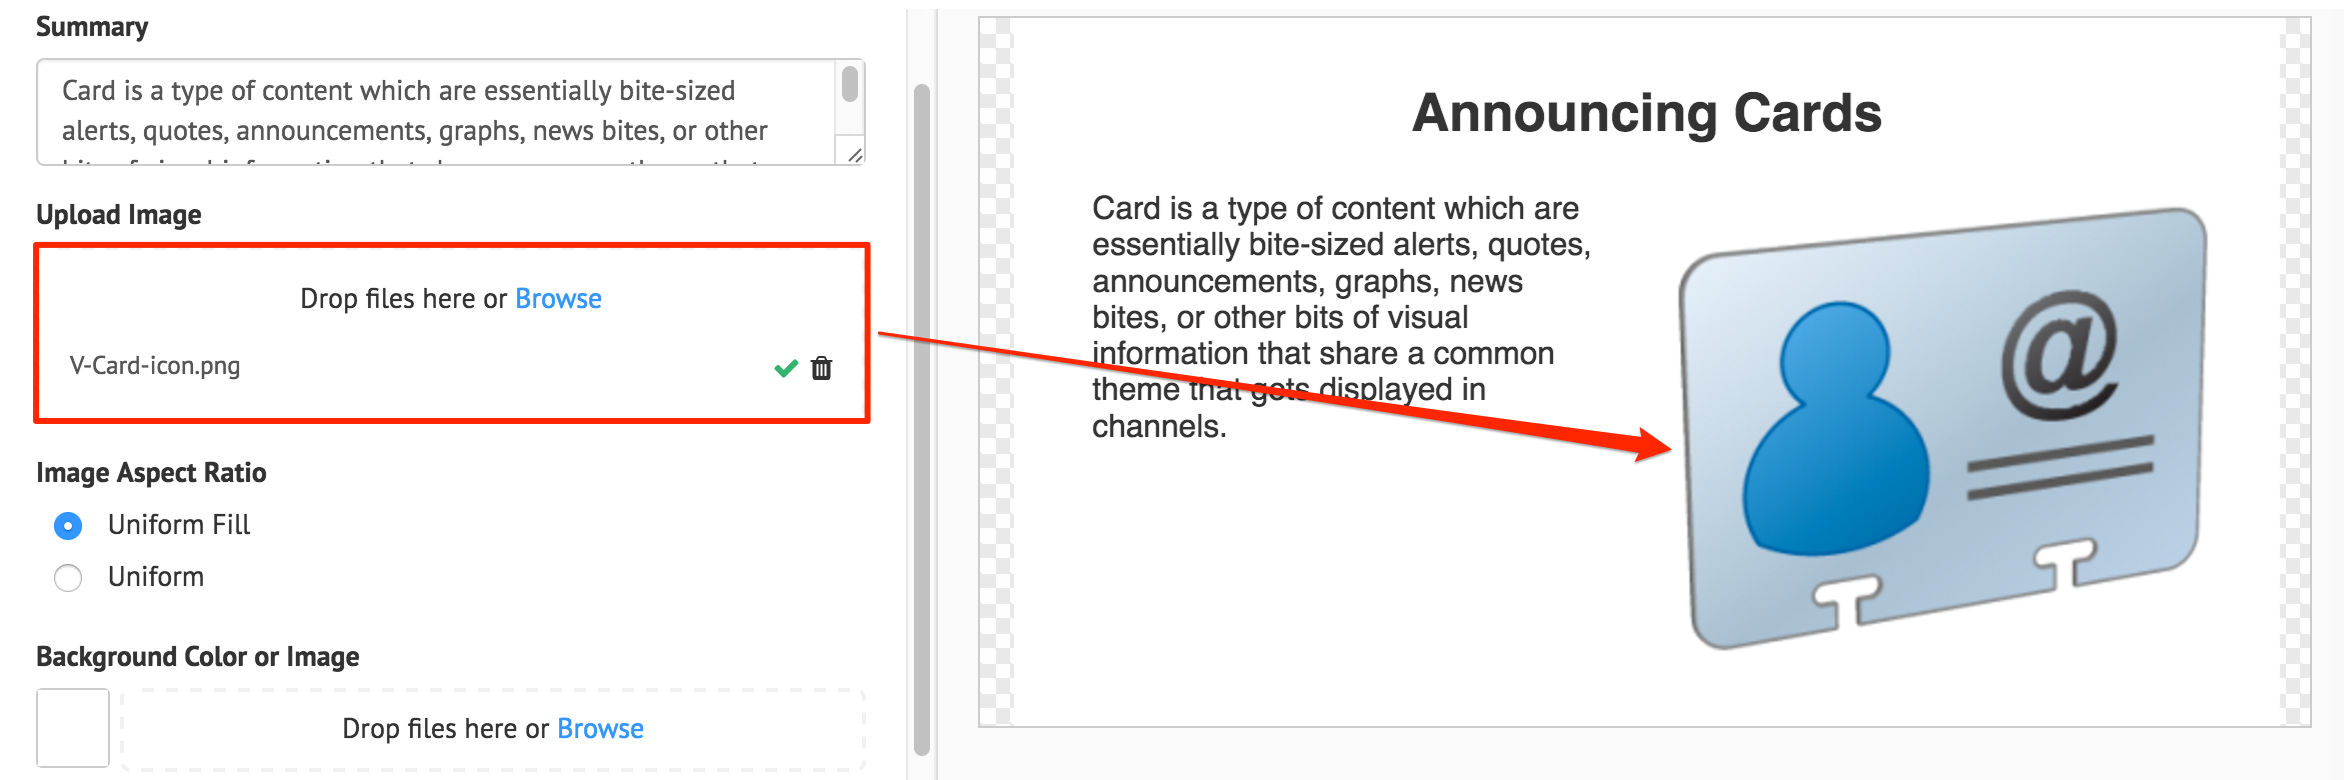
Select your Image Aspect Ratio. This is only applicable if Auto was selected in the Layout.
Optionally, you can add a custom font by uploading the font file, and selecting it in the text toolbar.
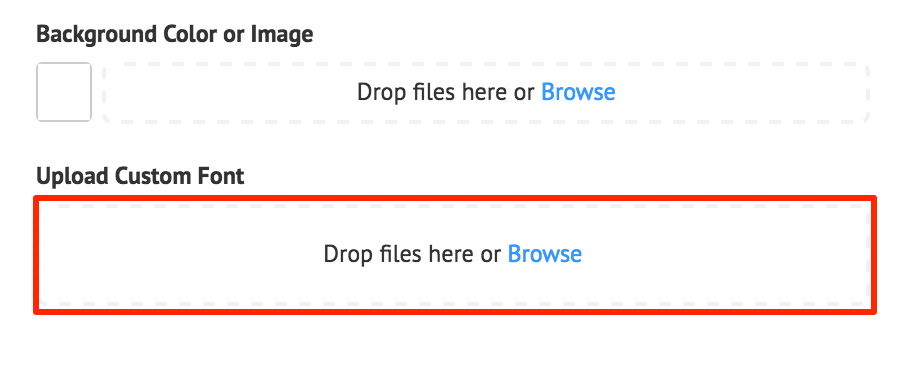
Note
If a custom font is available, it will be selected by default.
Data Table Card
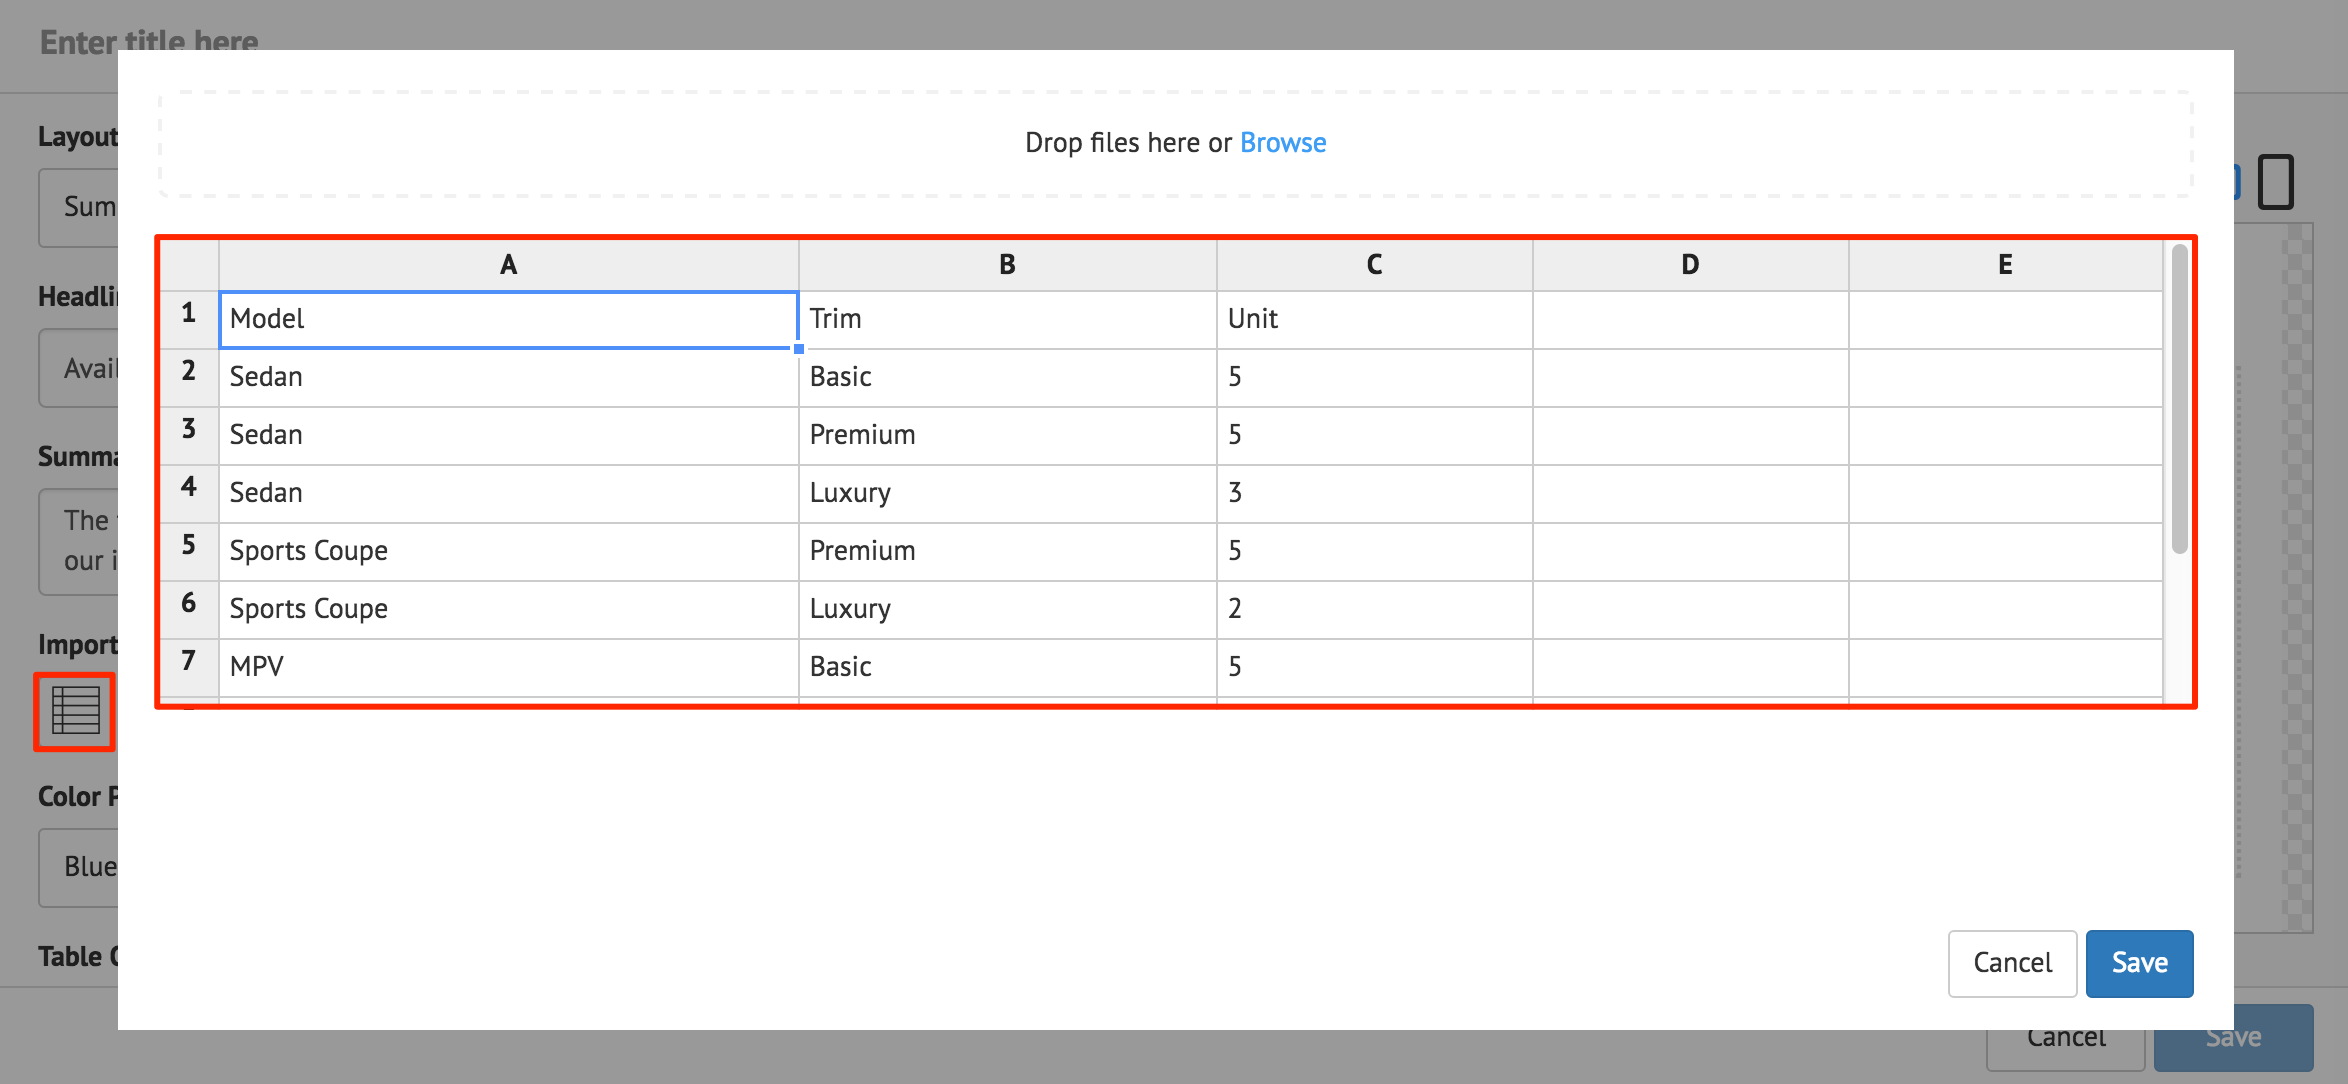
Click the Import Data button, and populate the cards table using one of the following methods:
- Manually enter the data.
- Copy and paste data from an external table.
- Import data from an Excel spreadsheet (.xlsx).
Click Save when done.
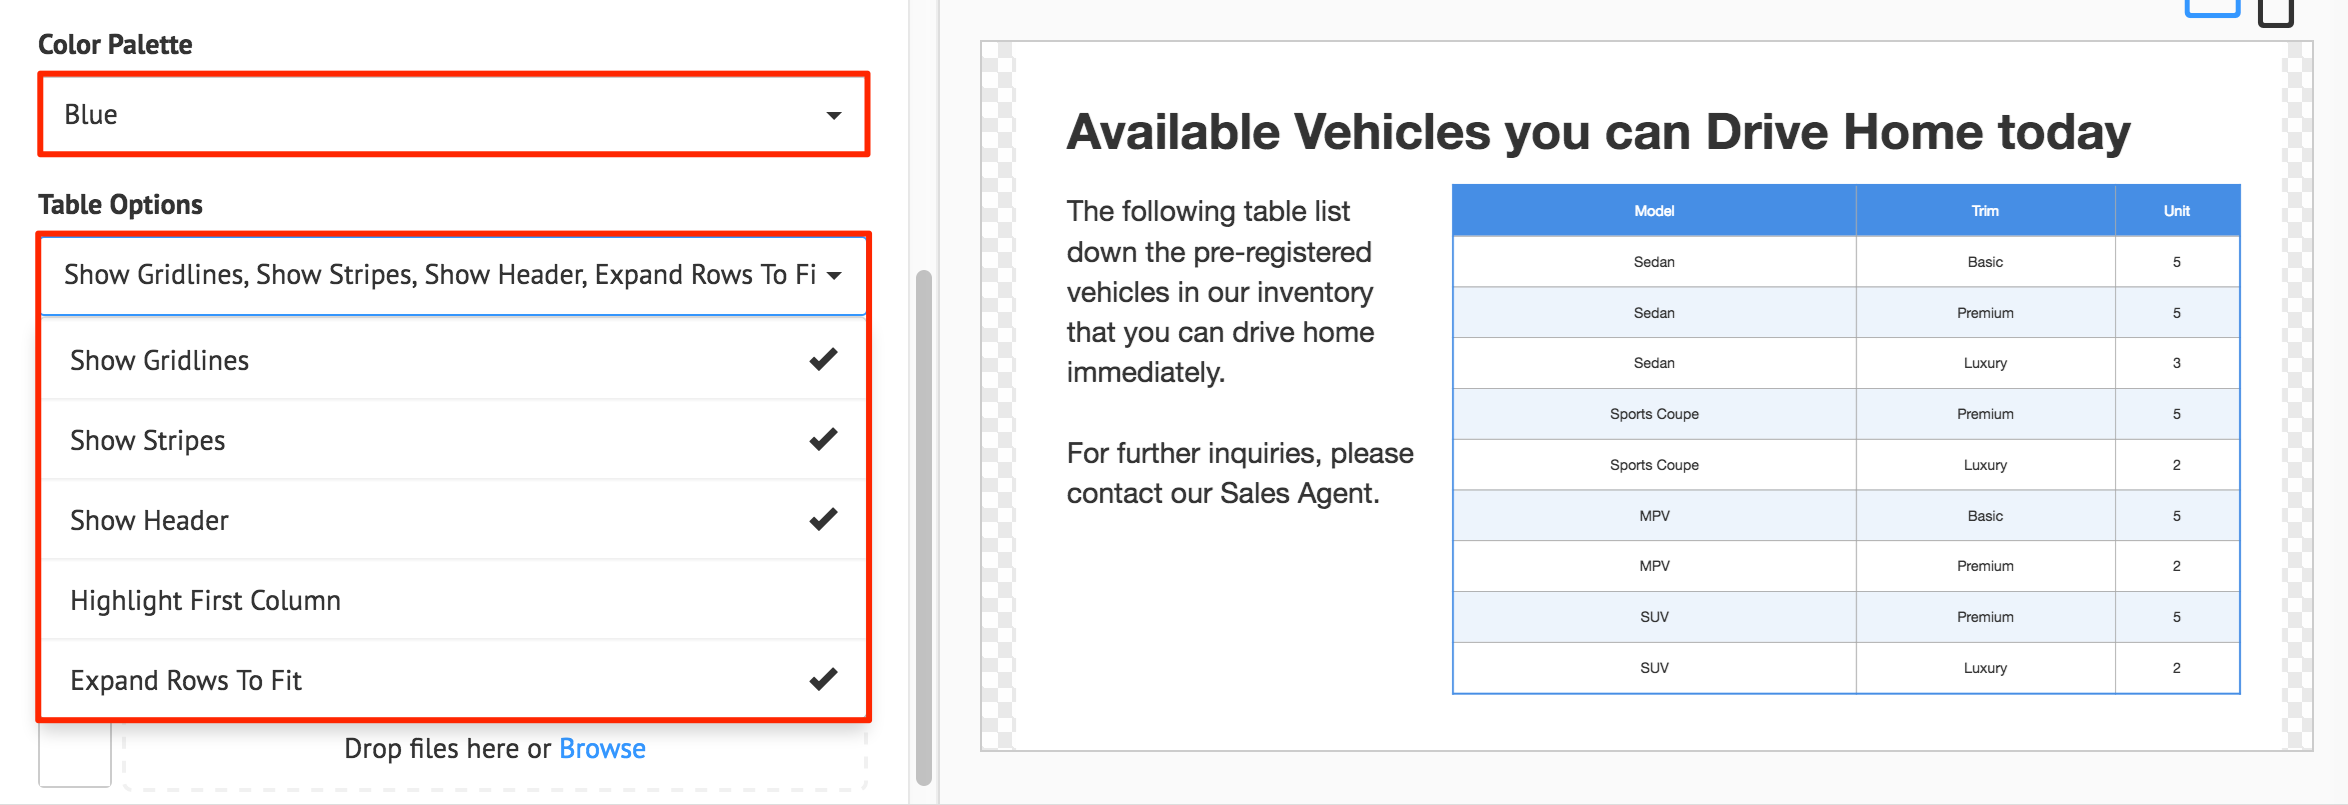
Select the desired Color Palette and the desired Table Options.
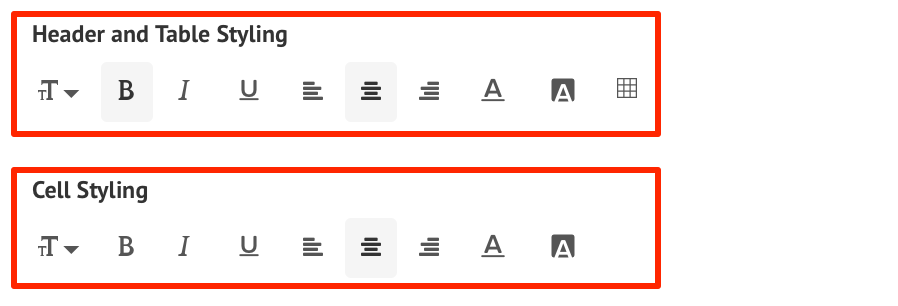
Additional table customizations can be done via the ‘Header and Table Styling’, and ‘Cell Styling’ text editors.
Donut Chart Card
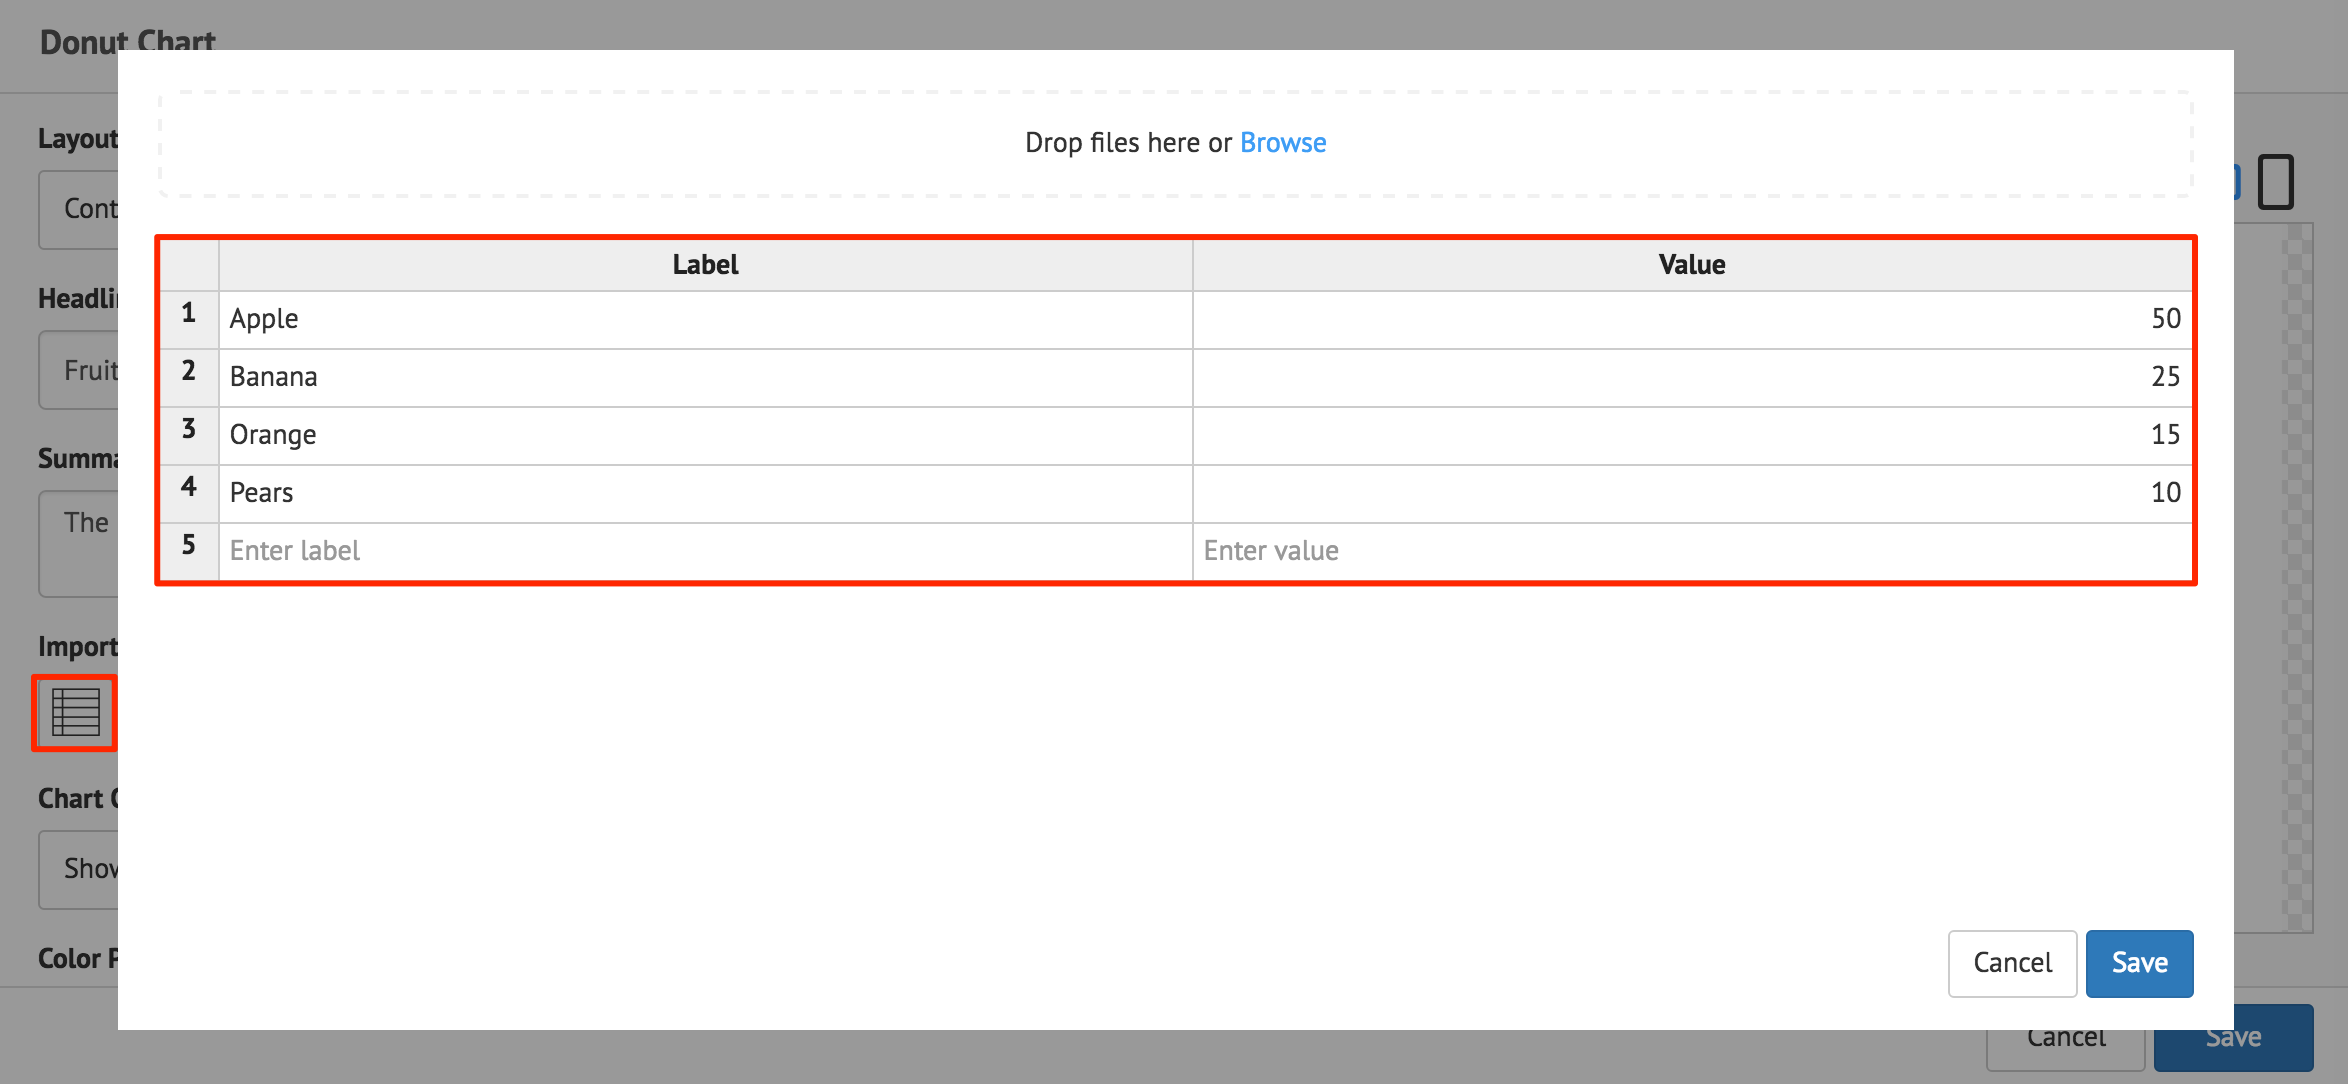
Click the Import Data button, and populate the cards table using one of the following methods:
- Manually enter the data.
- Copy and paste data from an external table.
- Import data from an Excel spreadsheet (.xlsx).
The Label column accepts text strings, and the Value column only accepts numeric values. Click Save when done.
Note
The chart only displays the largest eight slices, anything more is combined into one slice and labelled ‘Others’.
Important
When importing data from an Excel spreadsheet, the header columns must be titled as, “label” and “value”.
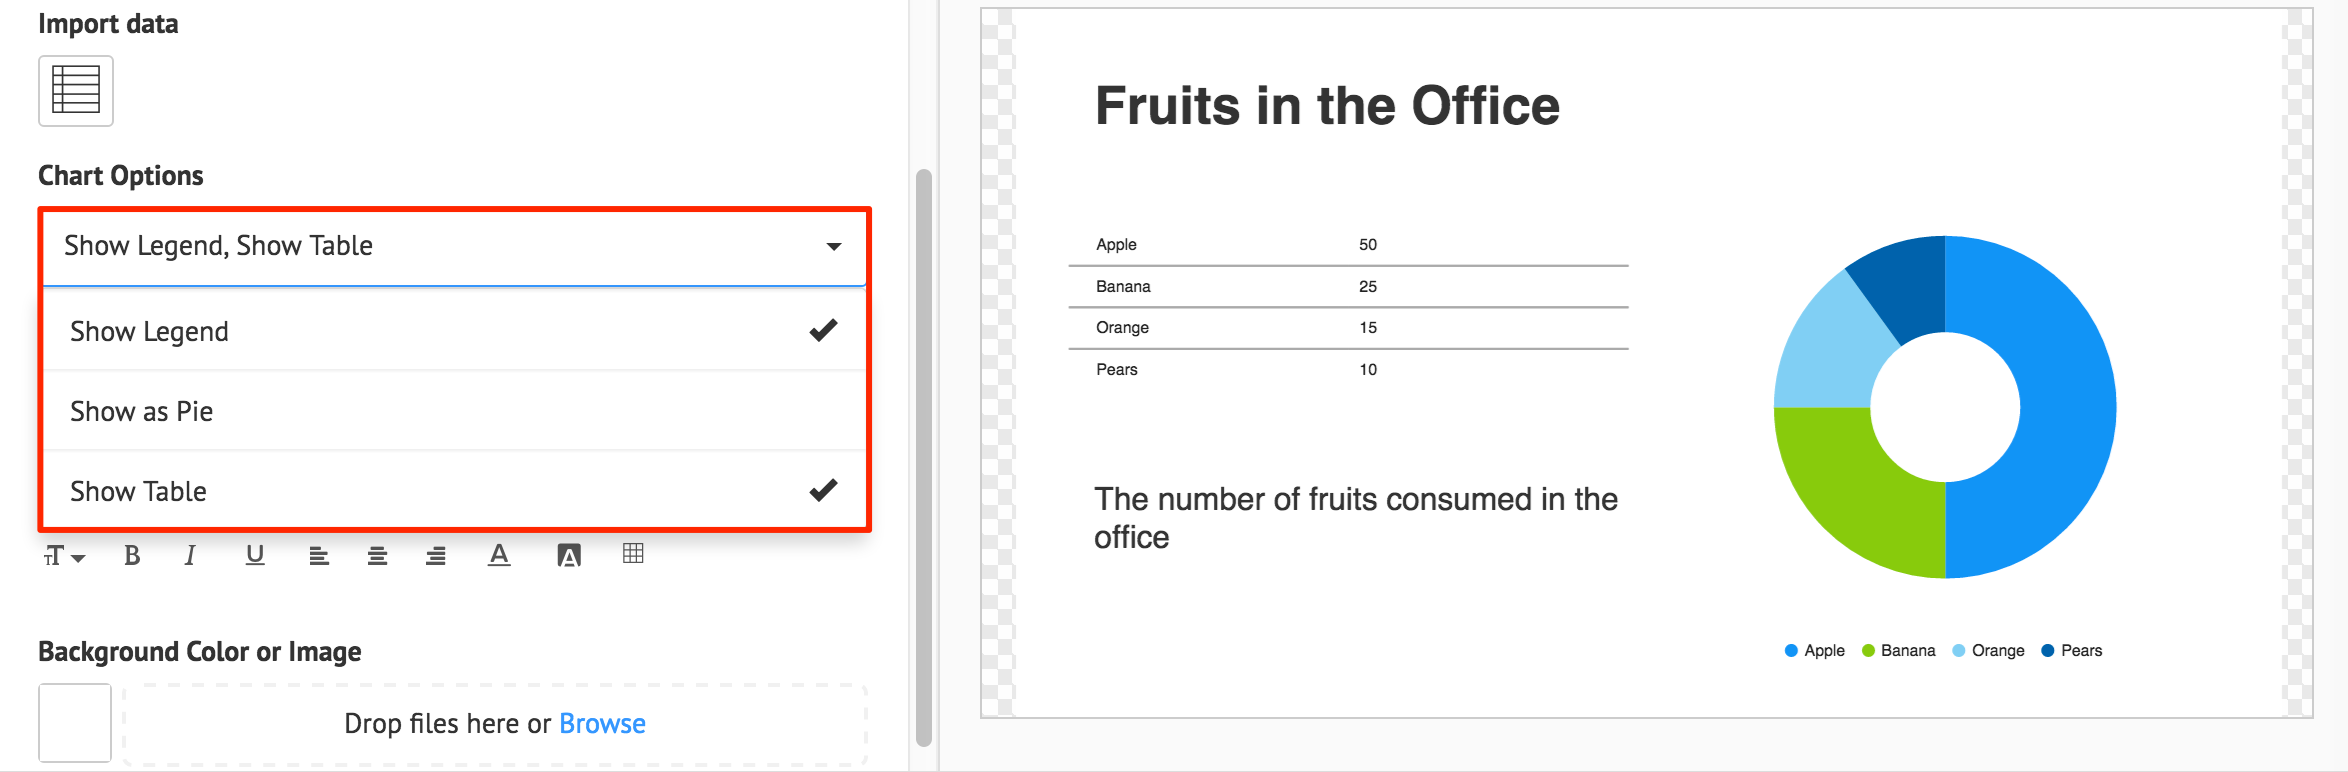
Select the desired Chart Options.
Optionally, enter in the Donut Caption.
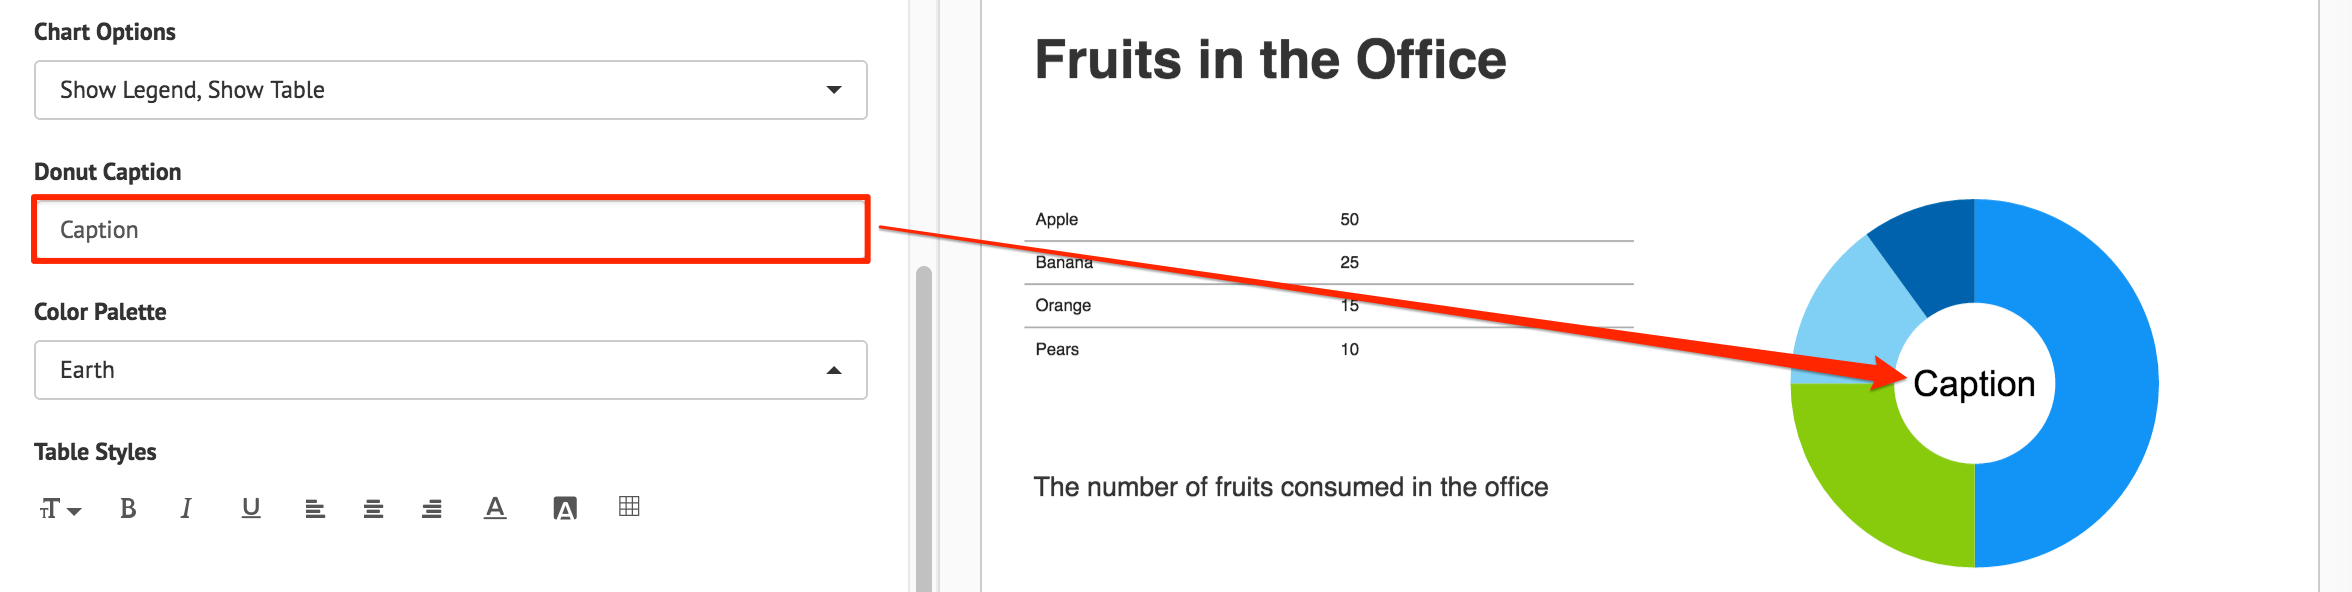
Select the desired Color Palette for the donut chart.

Additional table customizations can be done via the Table Styles text editor. This is only applicable if “Show Table” is selected in the Chart Options.
Facebook Card
Fill in the desired Facebook Page name (as displayed on the Facebook page), and click Validate. If the Facebook page displayed in the preview pane is incorrect, or an error appears, input the Facebook Page ID instead. You may visit http://findmyfbid.com/ to find the Facebook Page ID.
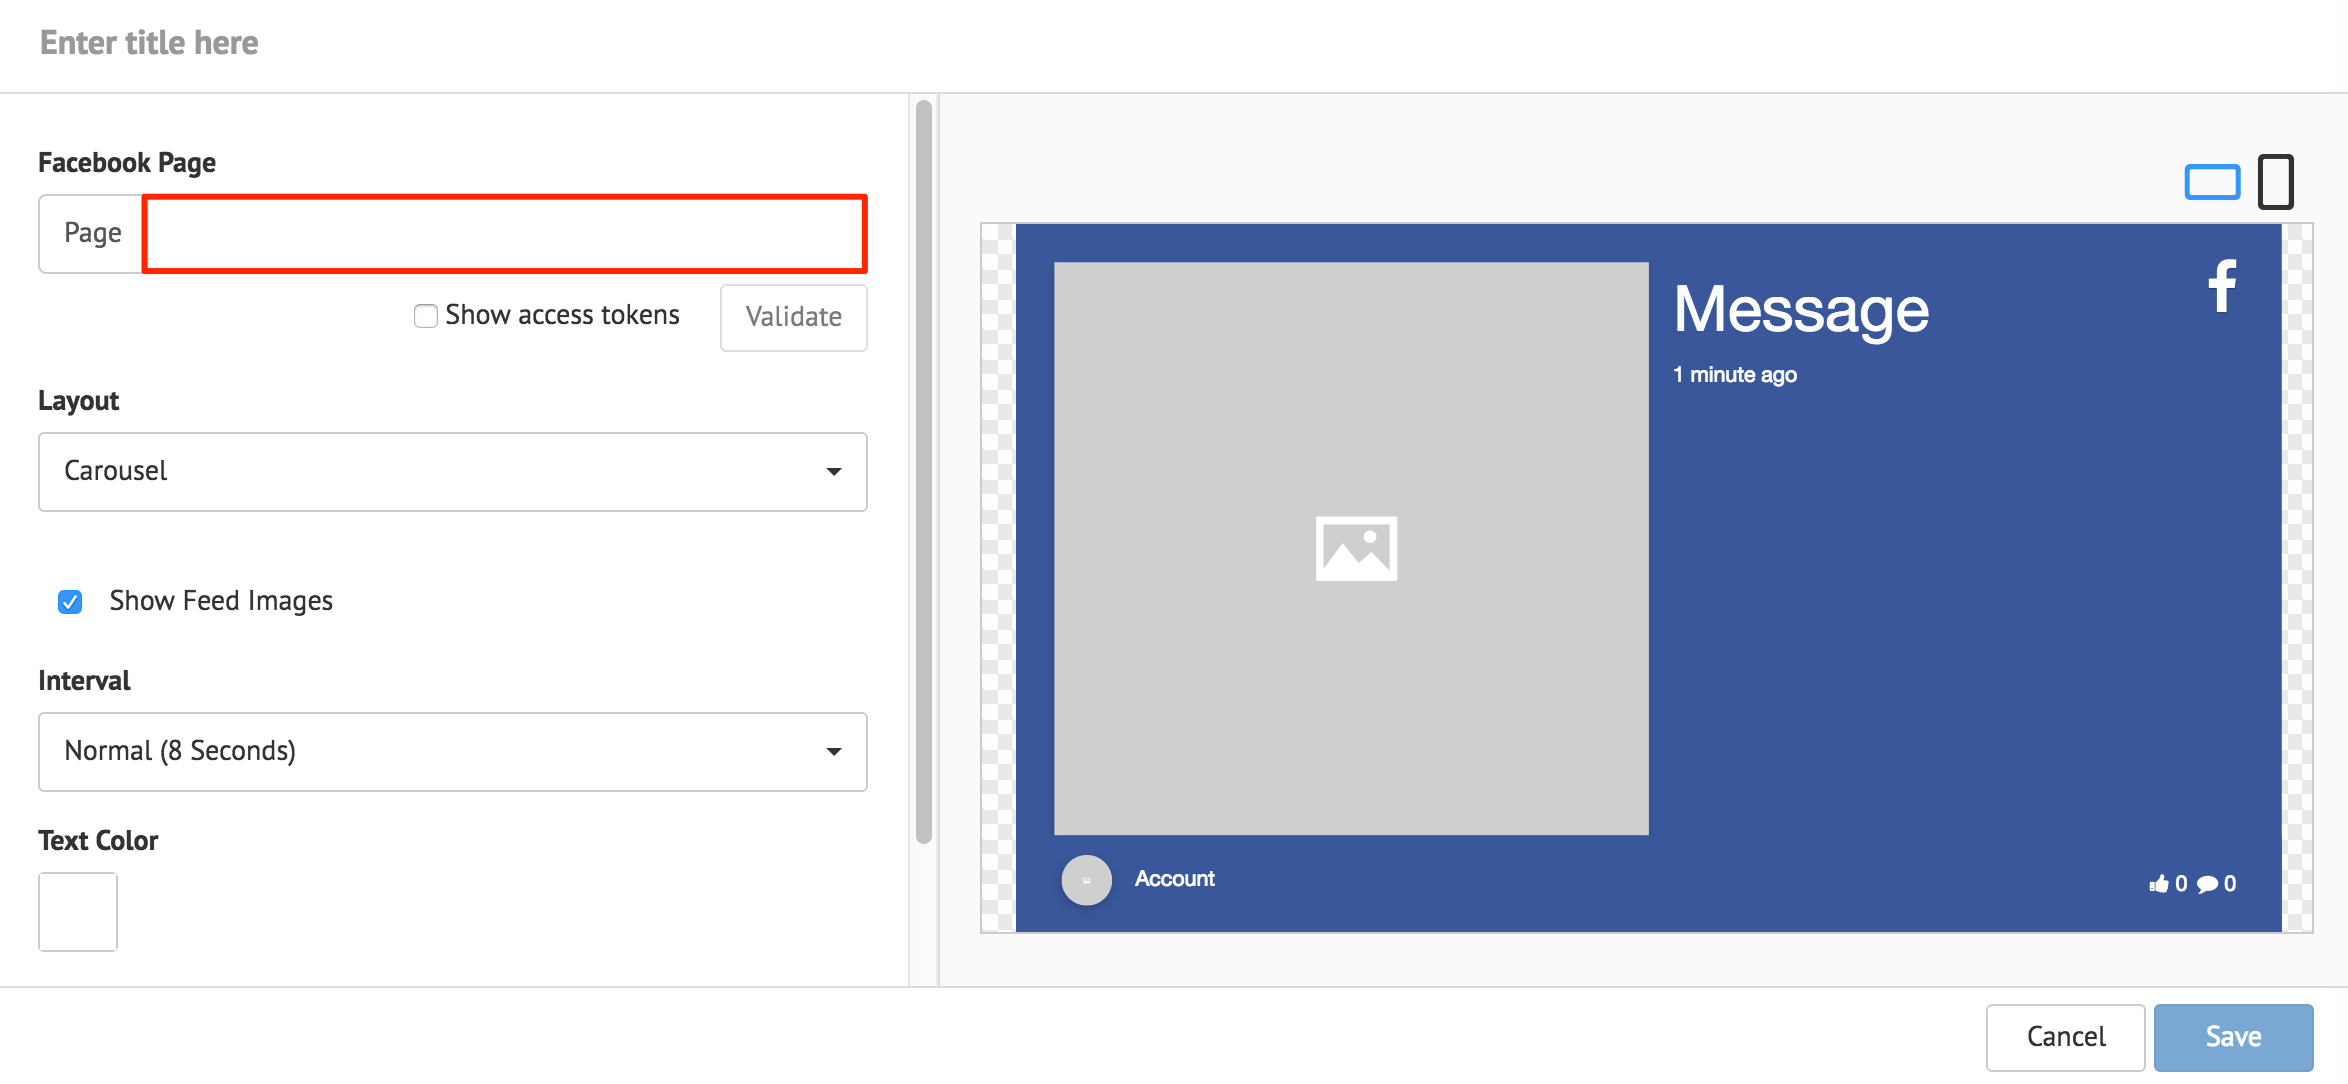
The ‘Show access tokens’ option displays developer options.
Note
Facebook feeds appear with images by default. Images with less than 200px do not appear, and is replaced with the Facebook Page profile picture.
Select the Interval duration for each Facebook post.
Select the Text Color. Default color is White.
Line Chart Card
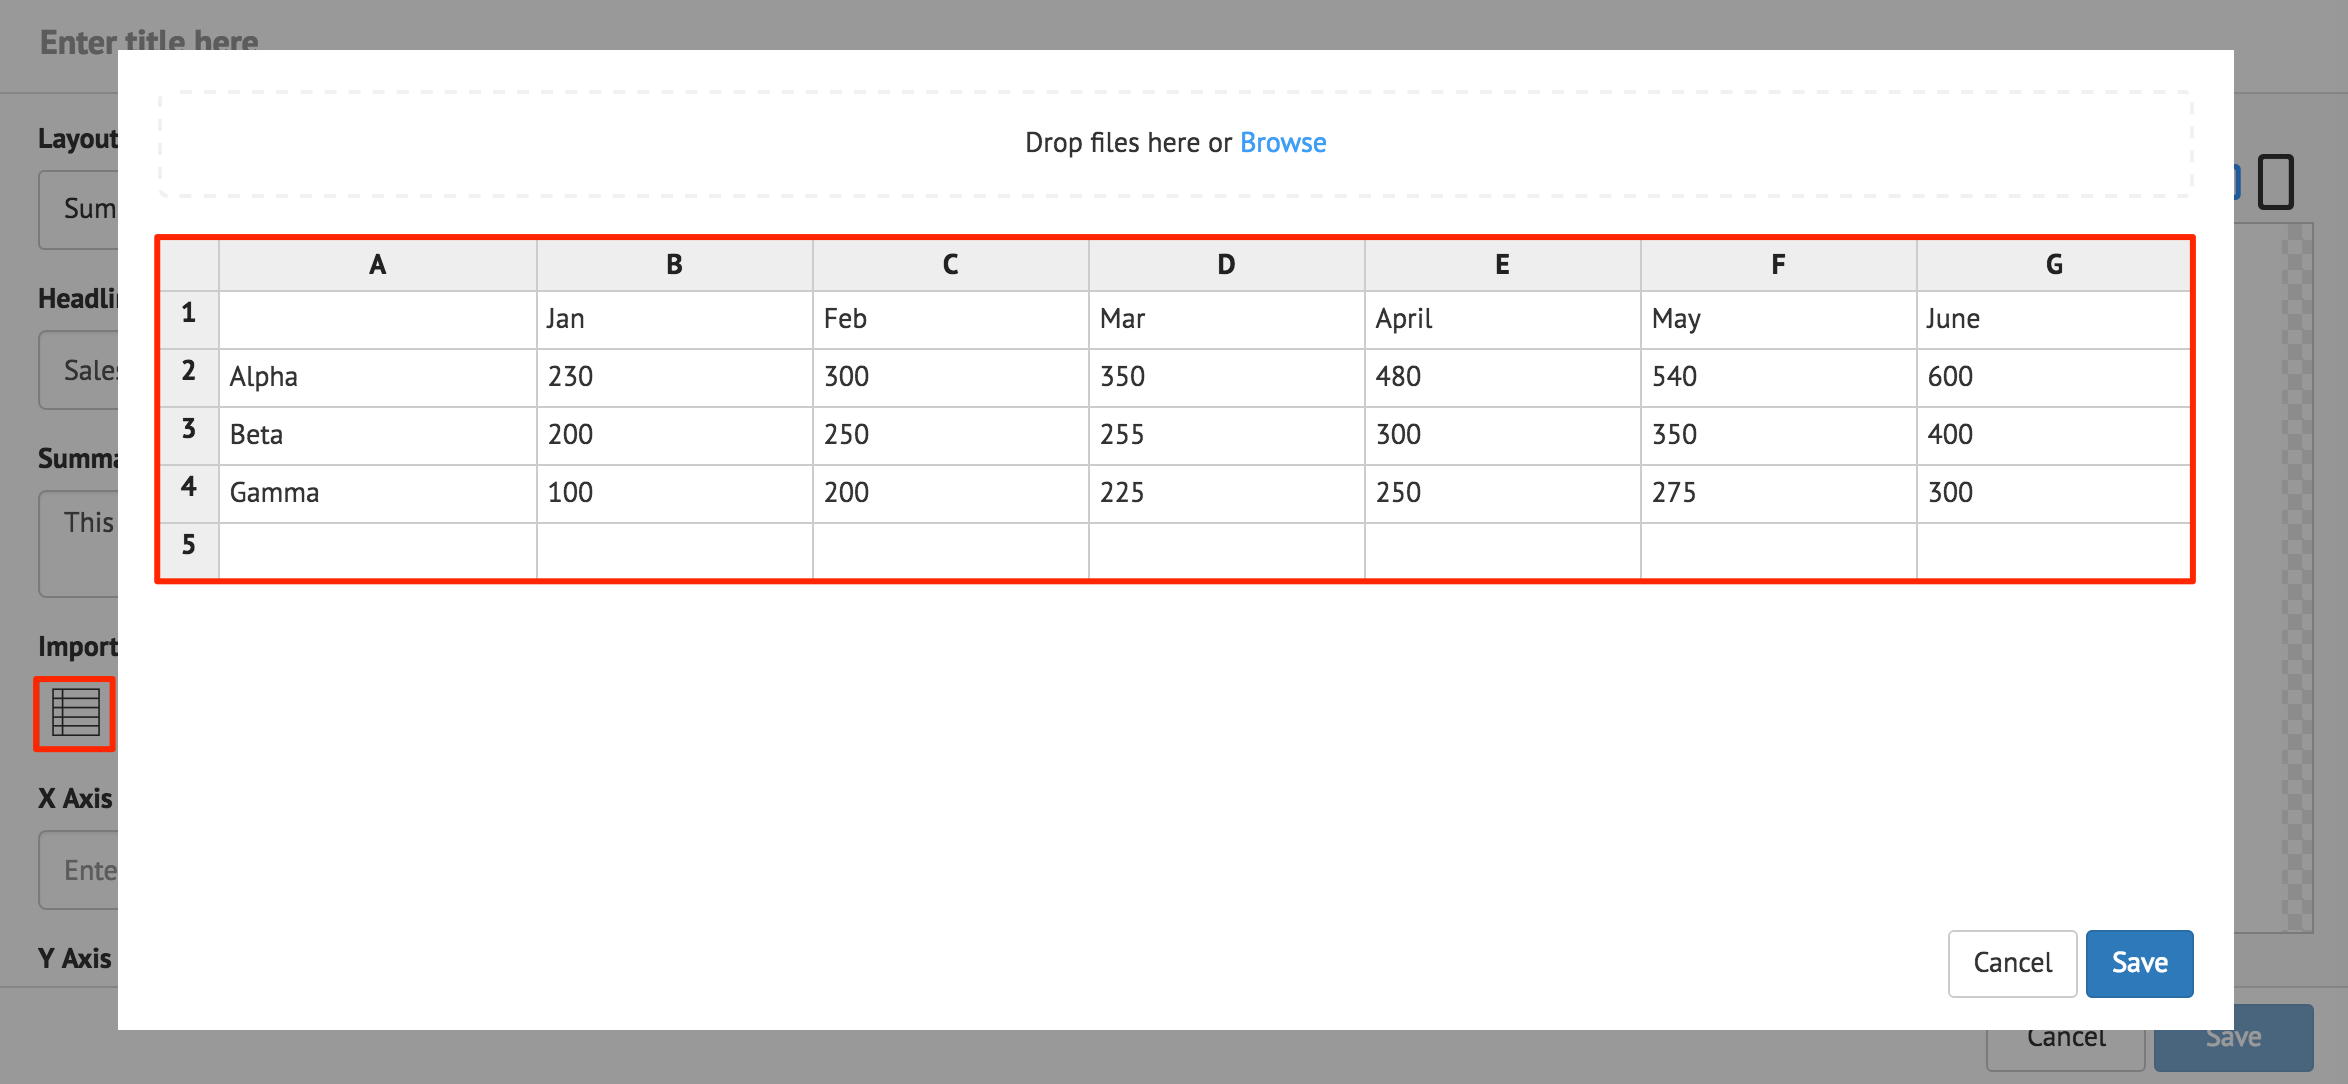
Click the Import Data button, and populate the cards table using one of the following methods:
- Manually enter the data.
- Copy and paste data from an external table.
- Import data from an Excel spreadsheet (.xlsx).
Data populated in rows represent the X Axis, and data populated in columns represent the Y Axis. Click Save when done.
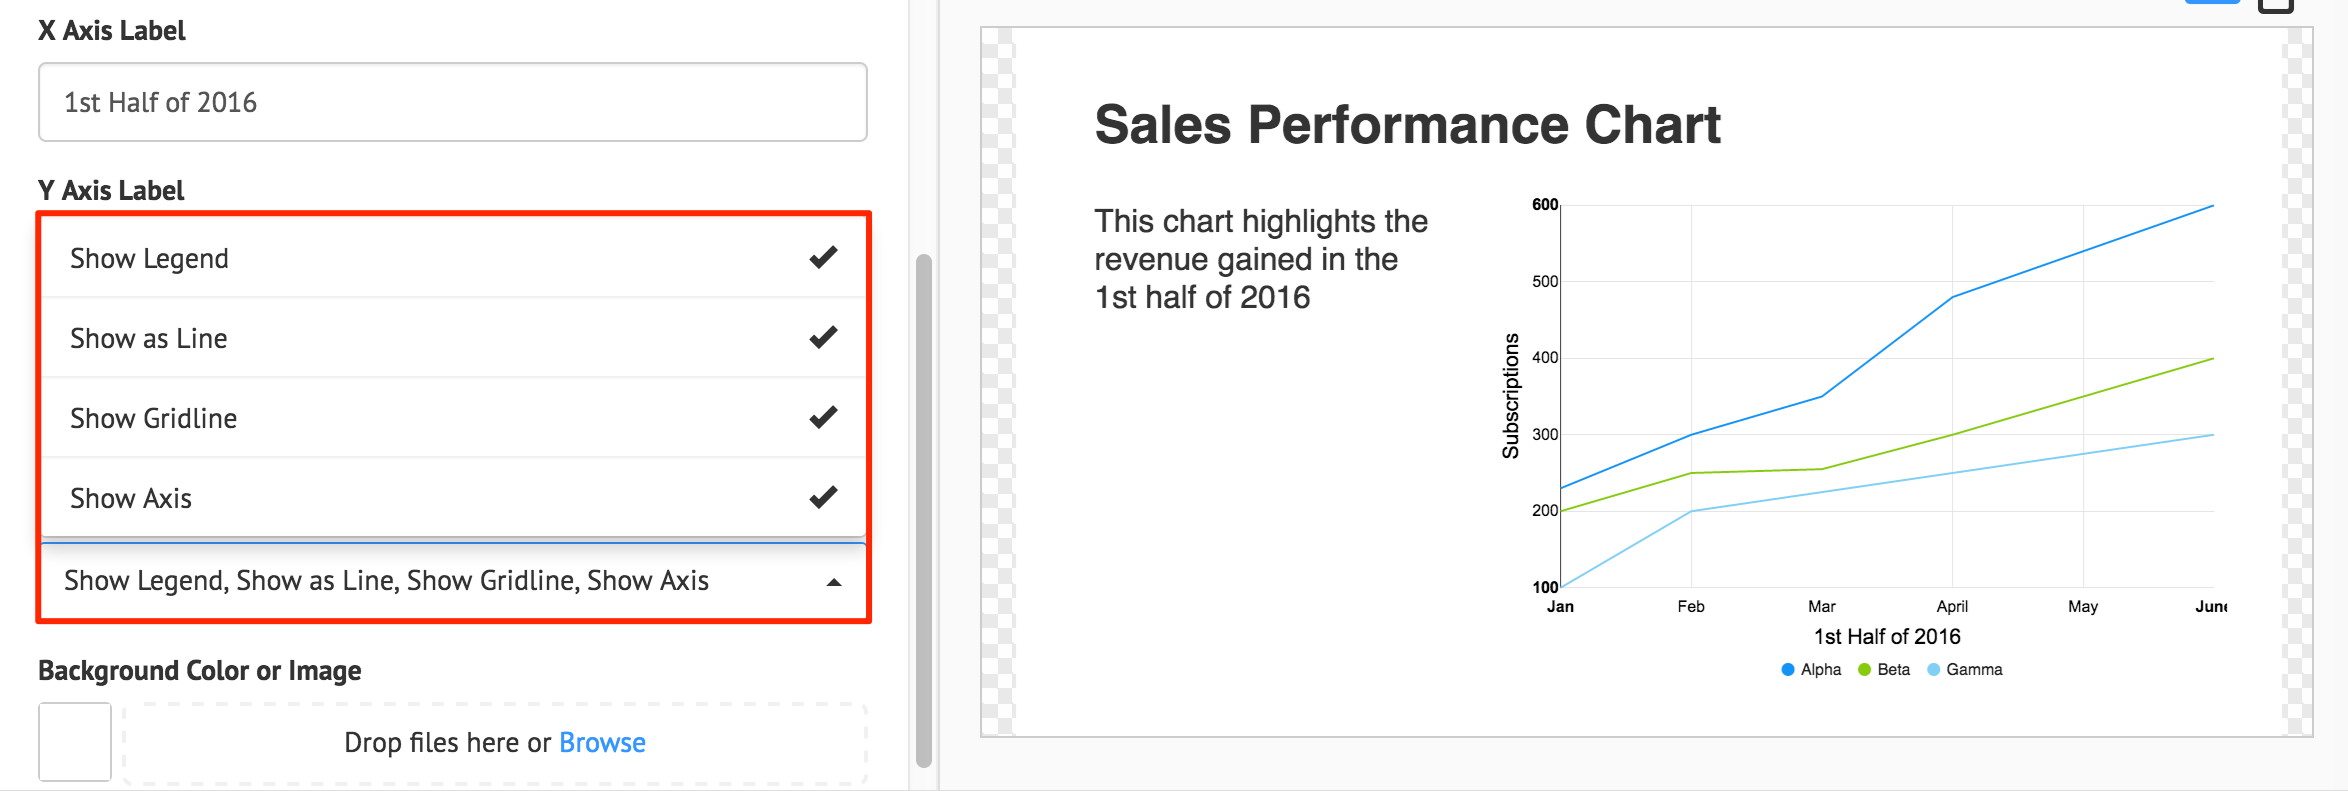
Select the desired Color Palette, Chart Options, and input the X and Y axis labels.
RSS Card
Enter the RSS feed URL, and click Validate. If authentication is required, check the Requires authentication checkbox, and fill in the required credentials.
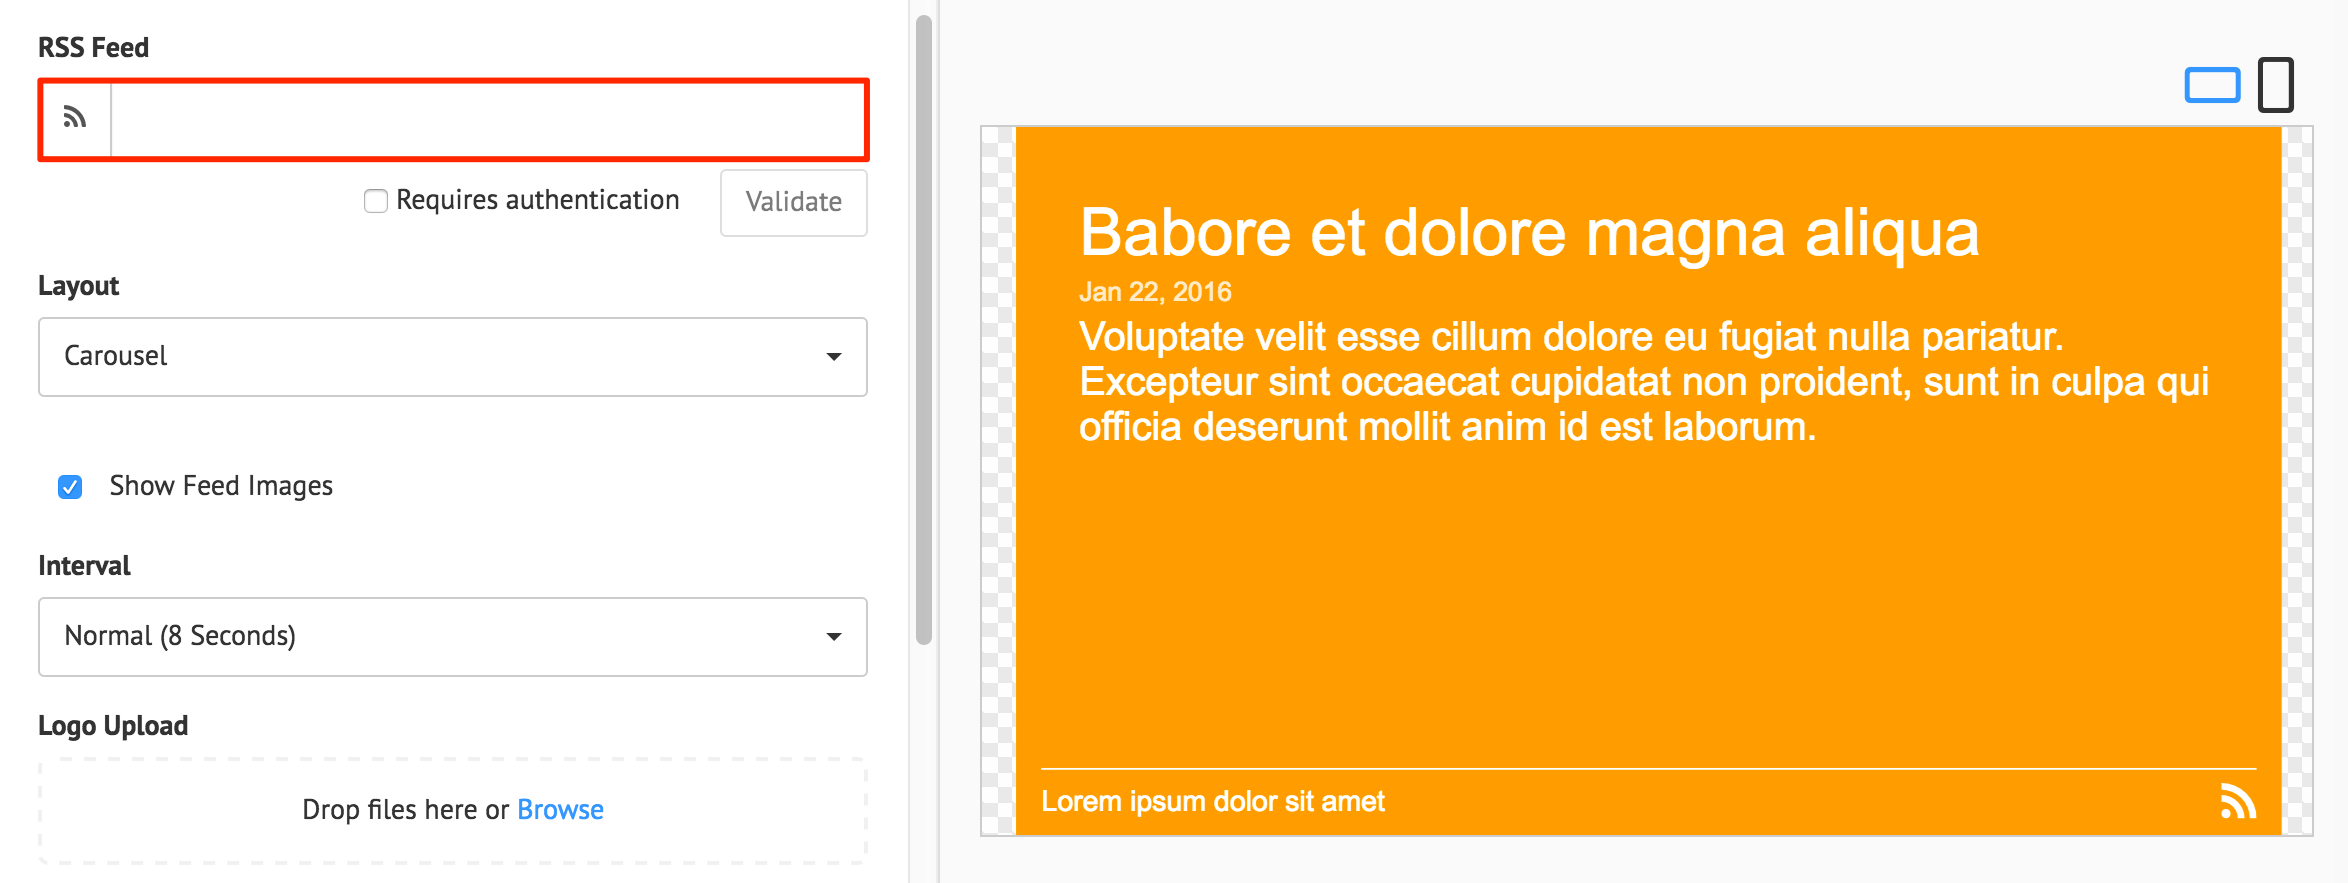
RSS feeds appear with images by default. Uncheck the Show Feed Images checkbox to disable
Select the Interval duration for each RSS post.
You can upload a RSS feed logo, if it is not automatically configured in the RSS XML feed.
Additional table customizations can be done via the Table Styles text editor. This is only applicable if “Show Table” is selected in the Chart Options.