Content tags are used to organize, filter, and group content. Tags can be applied to all types of content such as images, videos, and even cards – from the library or when adding content directly to a channel.
Tagging content not only improves organization and content search capabilities but also allows playlist channels to automatically populate content based on the same tag, even when the content are in different folders.
This article provides instructions to add tags to content either from the Library or in a channel.
Prerequisite
- Only users with Account Owner, Publisher, Editor, or Content Producer (Author) permissions can add or edit content in Library.
Add Tags to Content in Library
Use one of the following instructions to tag content in the content Library.
Tag Content in Library Dashboard
Follow the instructions below to tag individual content:
- Log in to the Appspace console, and click Library from the ☰ Appspace menu.
- Browse the library and its folders, or simply search for content by name, type, location, or tags.
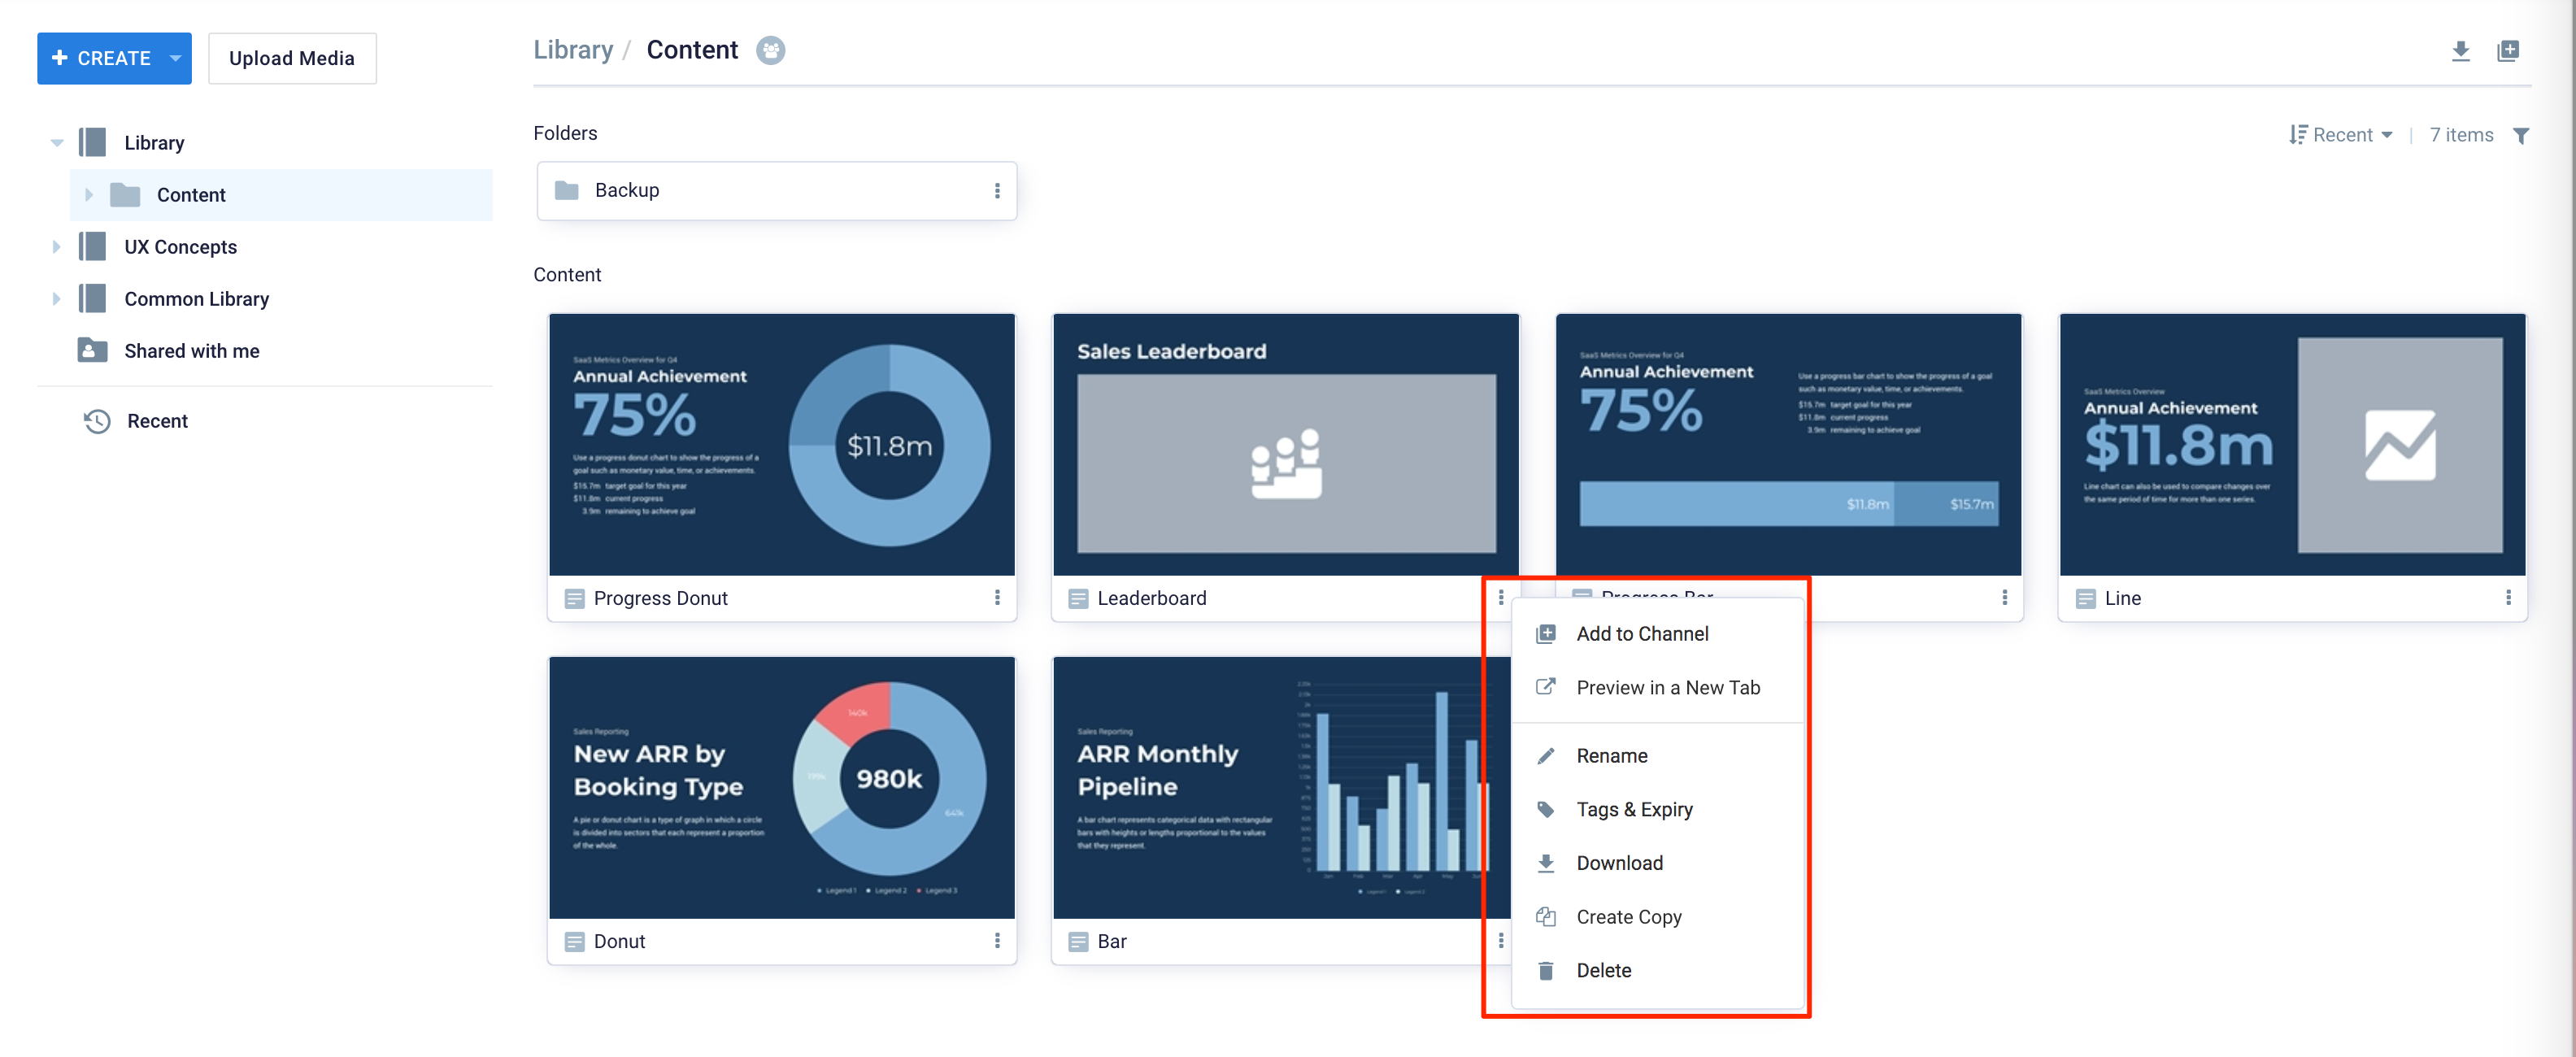
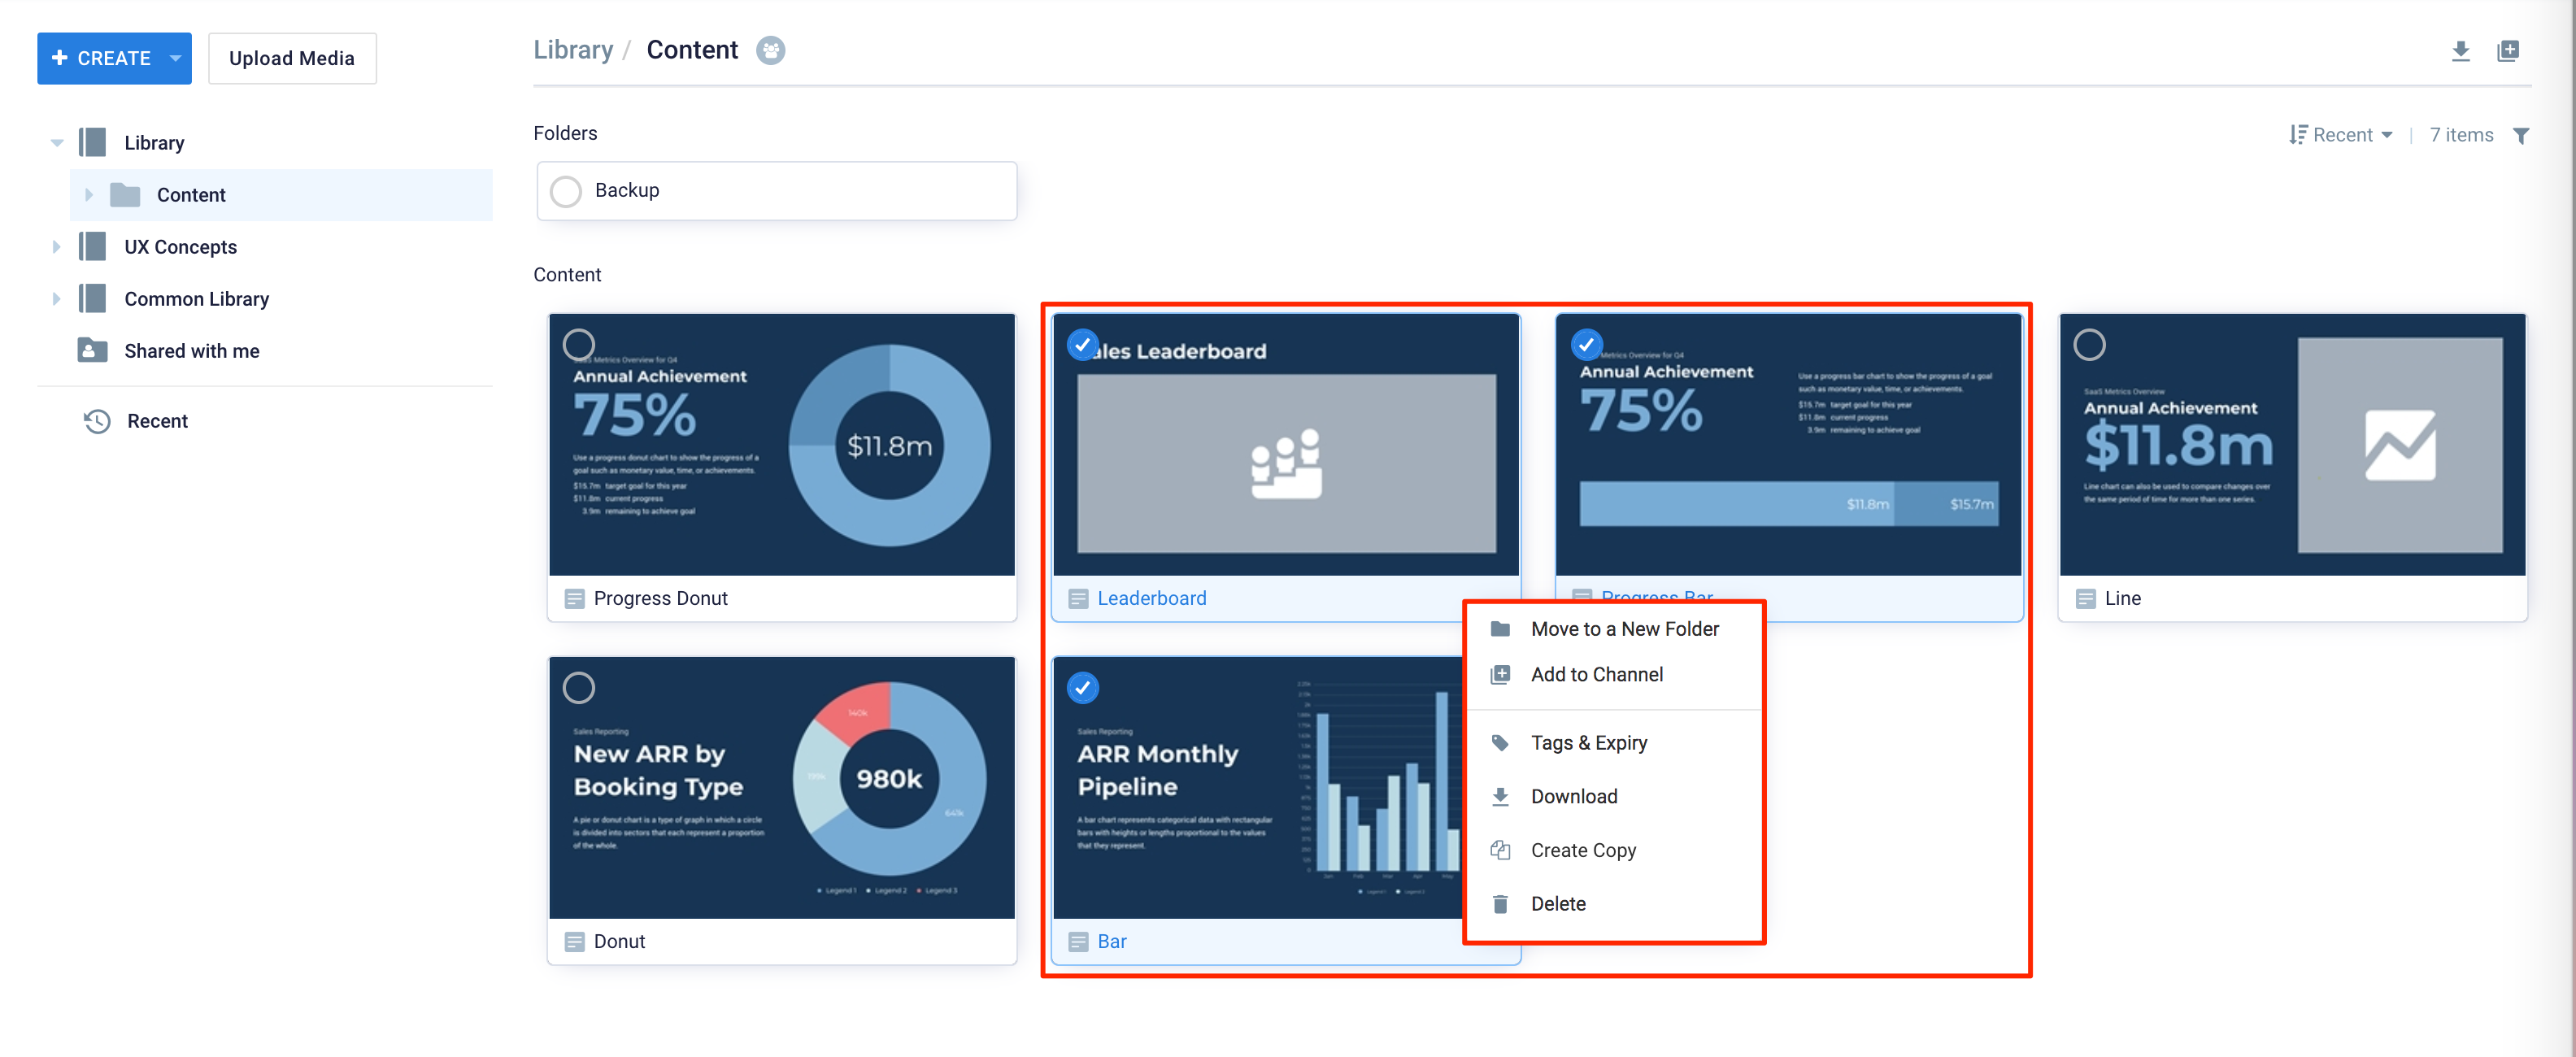
- Select the desired content:
- If a single content is selected, click the ellipsis, and select Tags & Expiry.
- If a multiple content is selected, right-click and select Tags & Expiry.
- If a single content is selected, click the ellipsis, and select Tags & Expiry.
- Enter the relevants tags in the Tags field, or select tags from a suggested list of existing tags.

- Click SAVE once done.
Tag Content in Content Editor
Follow the instructions below to tag individual content:
- Log in to the Appspace console, and click Library from the ☰ Appspace menu.
- Browse the library and its folders, or simply search for content by name, type, location, or tags.
- Double-click the selected content, and click the Settings tab.
- Enter the relevants tags in the Tags field, or select tags from a suggested list of existing tags.
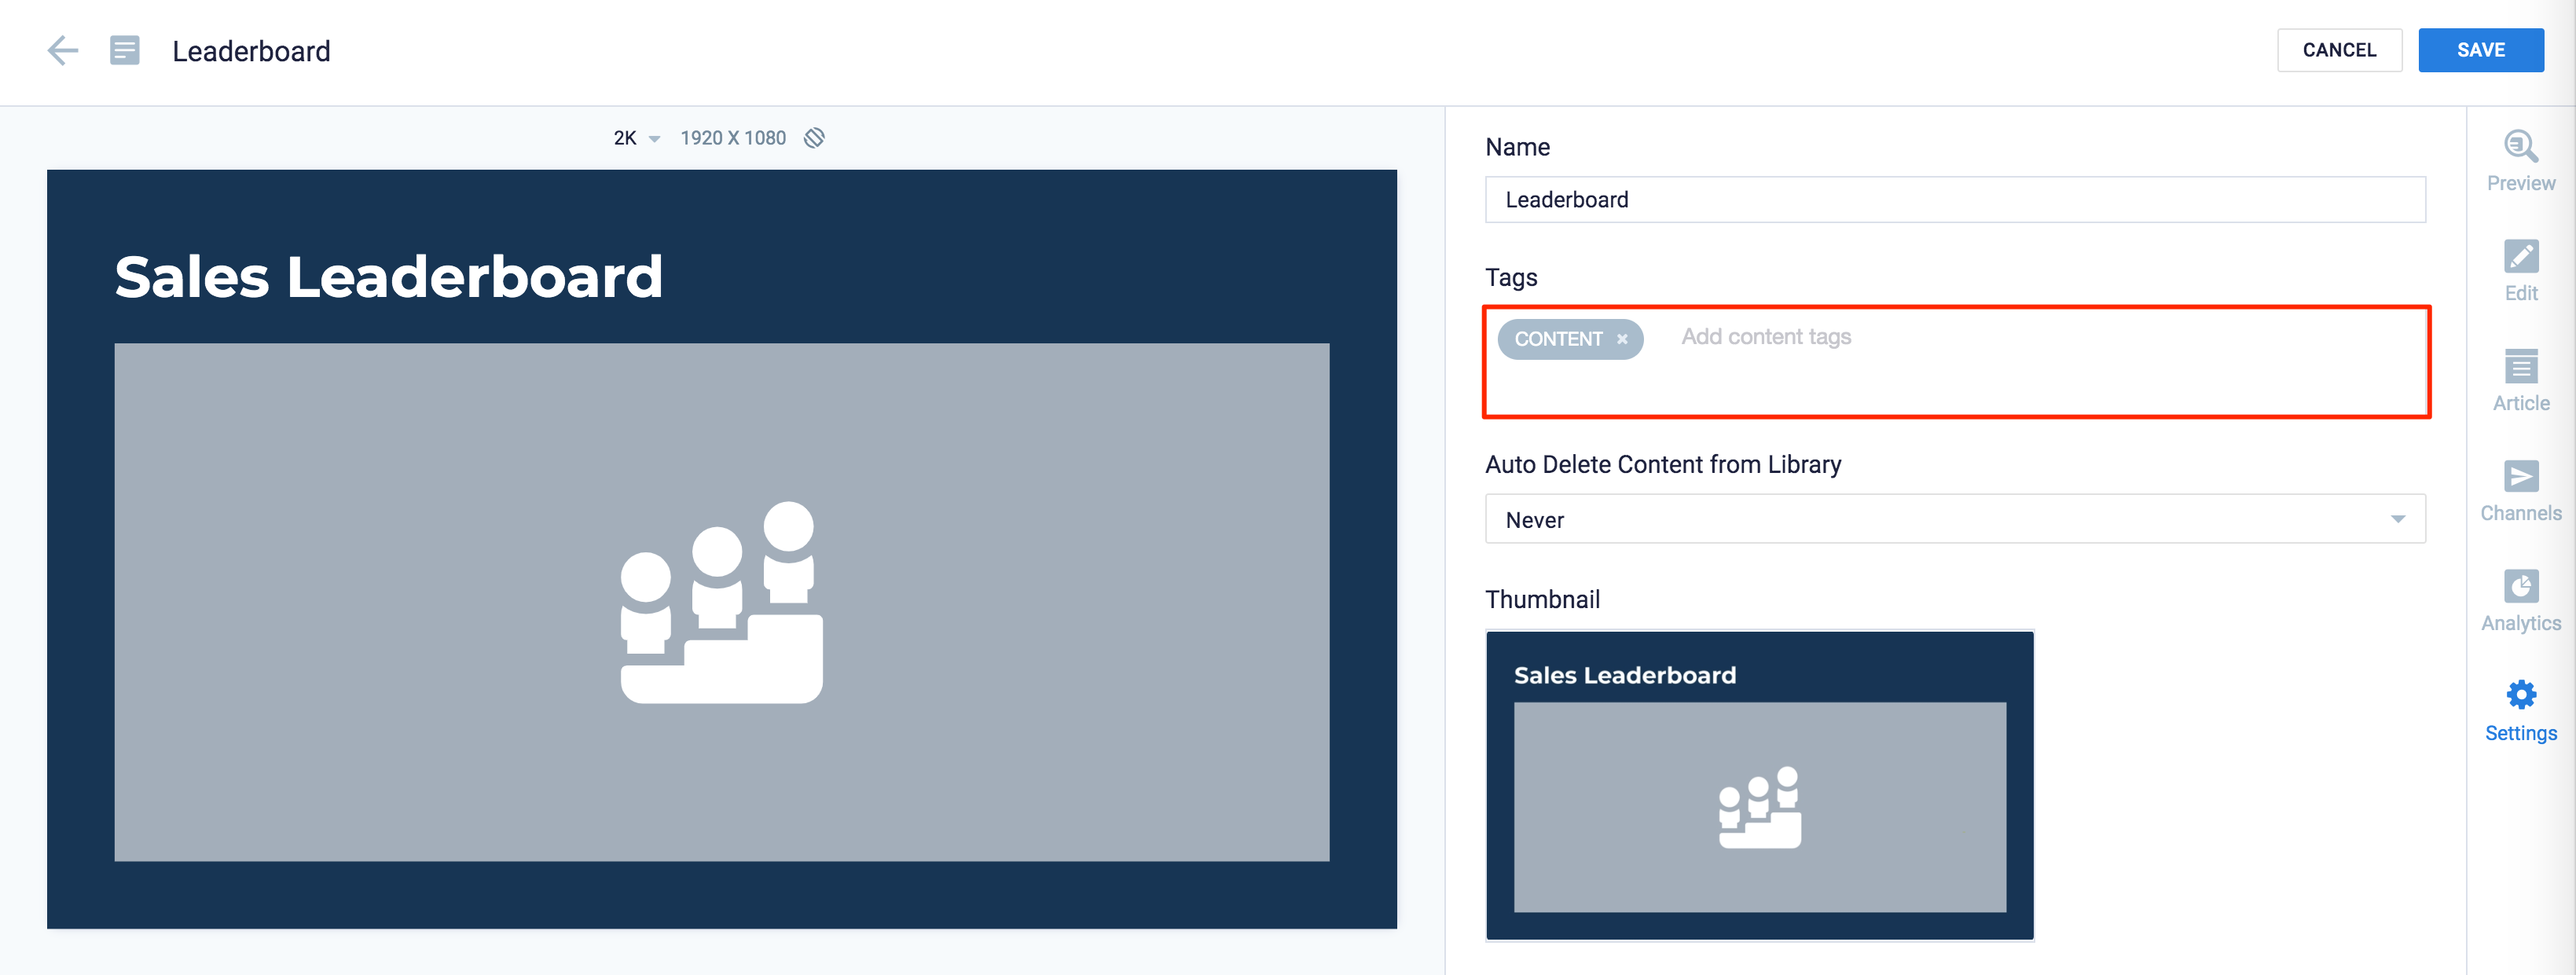
- Click SAVE once done.
Add Tags to Content in Playlist Channel
Tag Content in a Playlist Channel
Follow the instructions below to tag individual content in the playlist channel:
- Log in to the Appspace console, and click Channels from the ☰ Appspace menu.
- Select the playlist channel.
- Click the selected content, and click the Settings tab.
- Enter the relevants tags in the Tags field, or select tags from a suggested list of existing tags.
- Click SAVE once done.
Add Multiple Content with Same Tags Automatically
The instructions below show you how to automatically add content with the same tags from one or multiple folders, to a playlist channel.
- Log in to the Appspace console and select Channels from the ☰ Appspace menu.
- Select or create a playlist channel.
- Click ADD, and click the Browse Library tab.
- Select a content folder or multiple content folders by using the mouse pointer to drag and select.

- Click ADD to confirm the selected folder(s) and all its contents are added to the playlist channel.
- Click the Edit icon of the added folder, and select Configure folder settings.
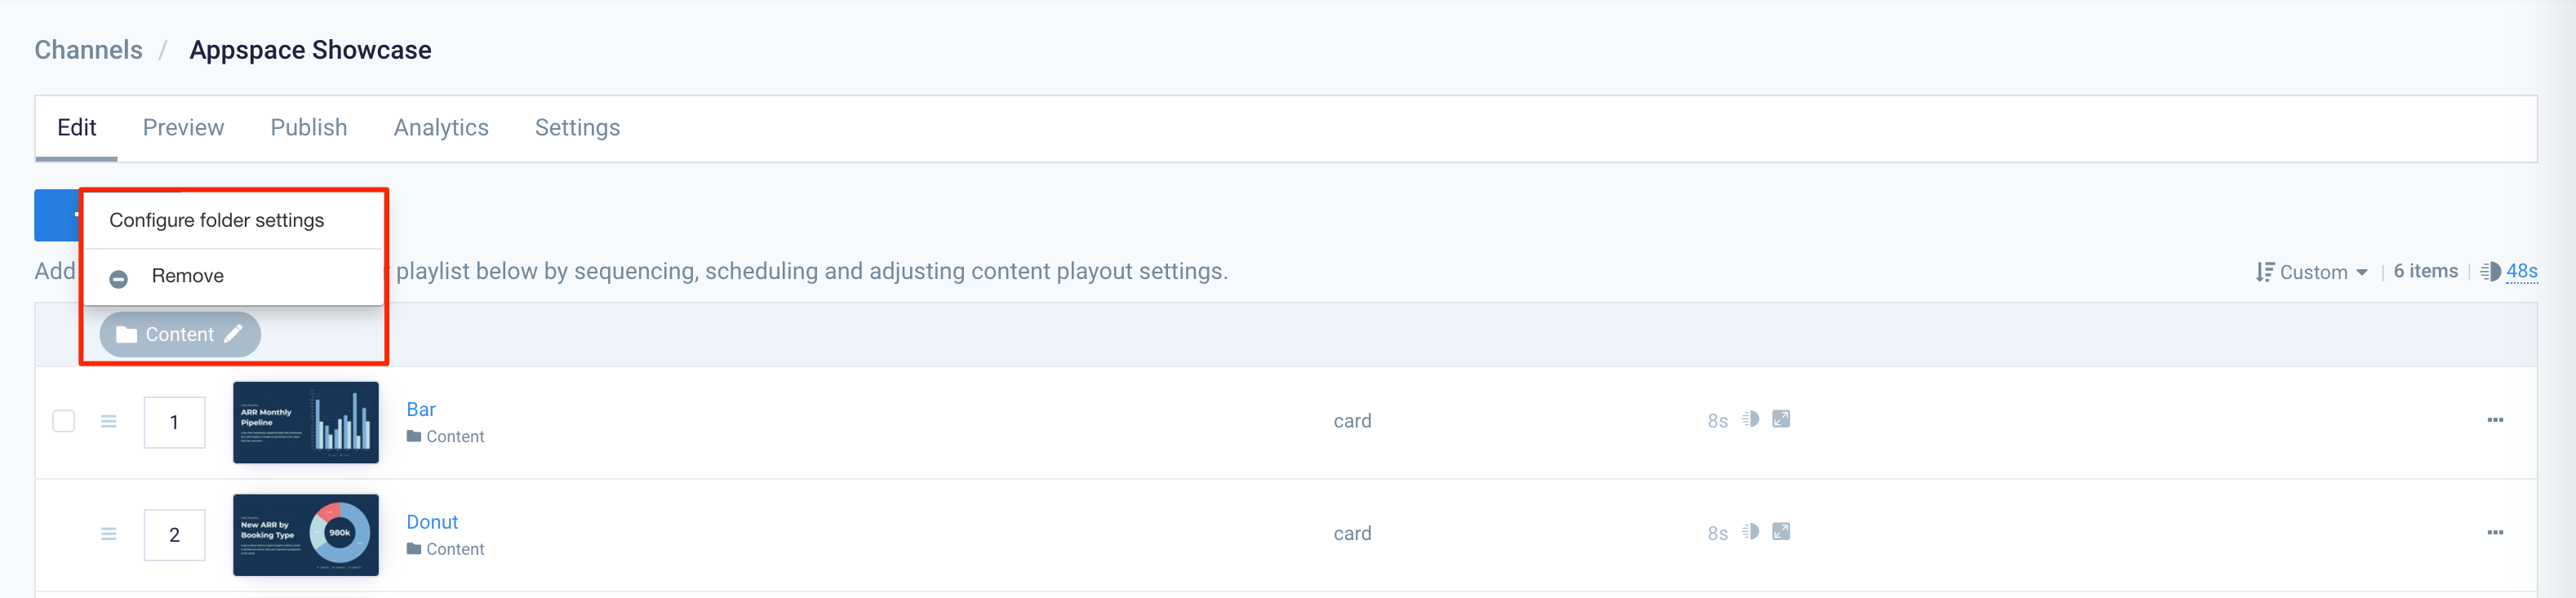
- Enter the content tags in the Filter by keyword or tag field, or select tags from a suggested list of existing tags.
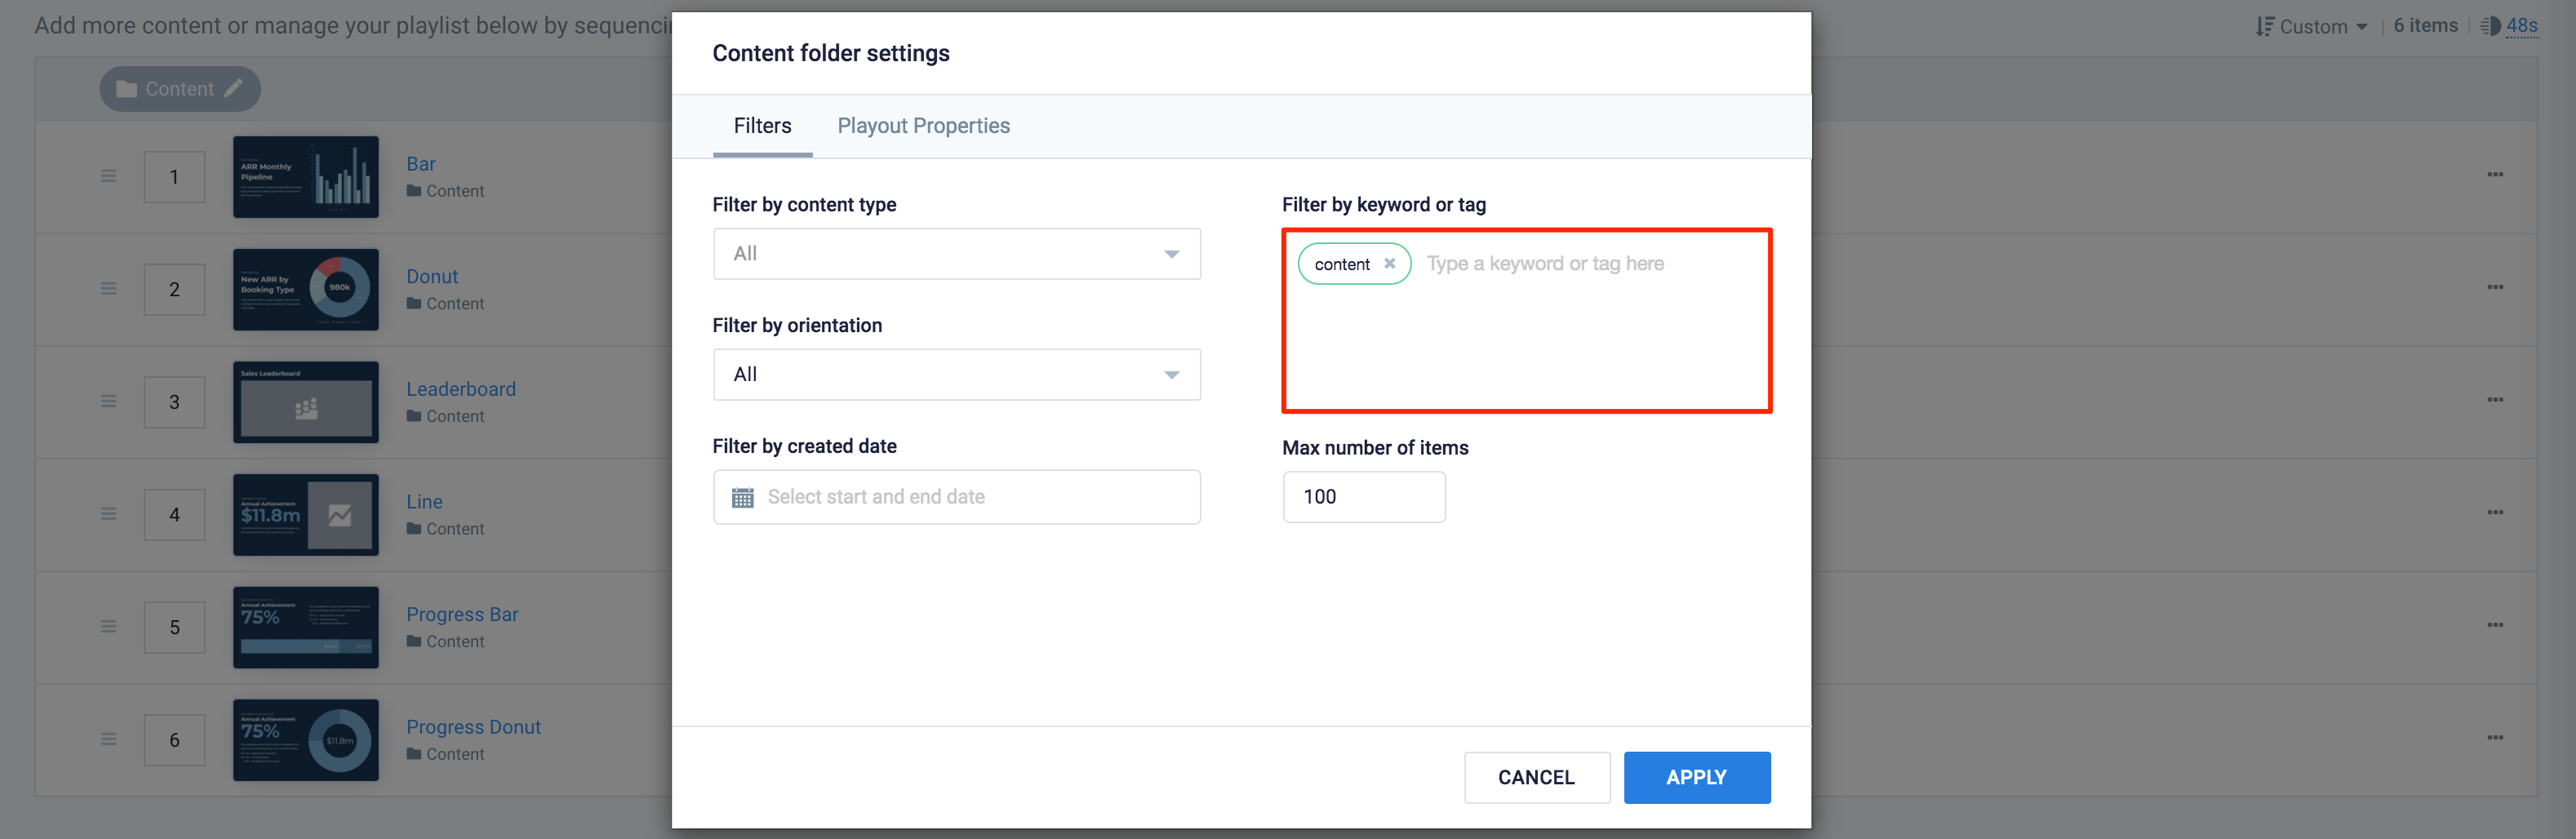
- Click APPLY, so only contents with the selected tags will be added automatically to the playlist channel.
- Repeat steps 7 to 9 for other folders, if necessary.