Managing Themes
Introduction
This article primarily focuses on the steps to add and manage the themes that are utilized within the Play extension. The following steps and process take place within the Settings tab of the Play extension.
Adding Themes
Step 1
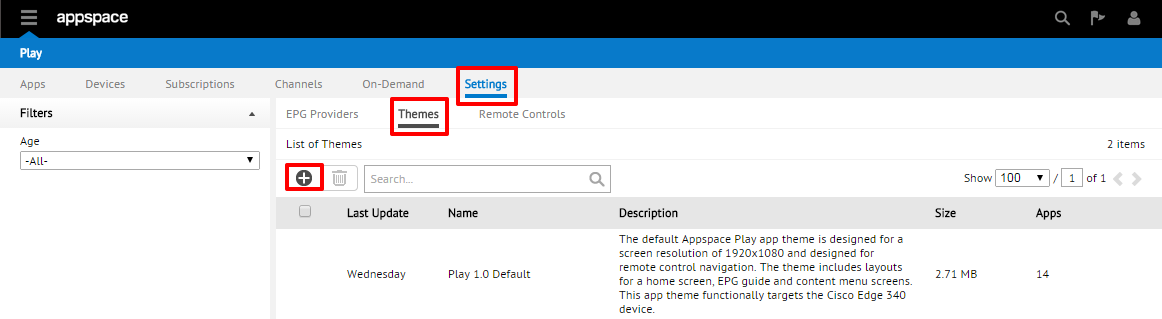
Within the Play Extension, begin by selecting the Settings tab and then select the Themes sub-tab. On the list of themes, click on the + button.
Step 2
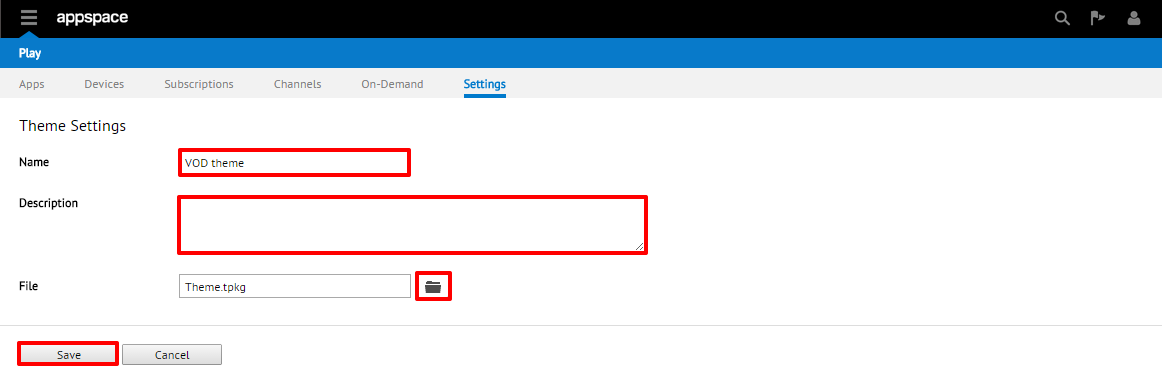
On the Theme Settings page, fill in the theme details (Name and Description) and click on the folder button to browse to the desired file. Click on the Save button to confirm and add this theme into the Play extension.

Note
Theme files are in .tpkg format.
Editing Themes
Step 1
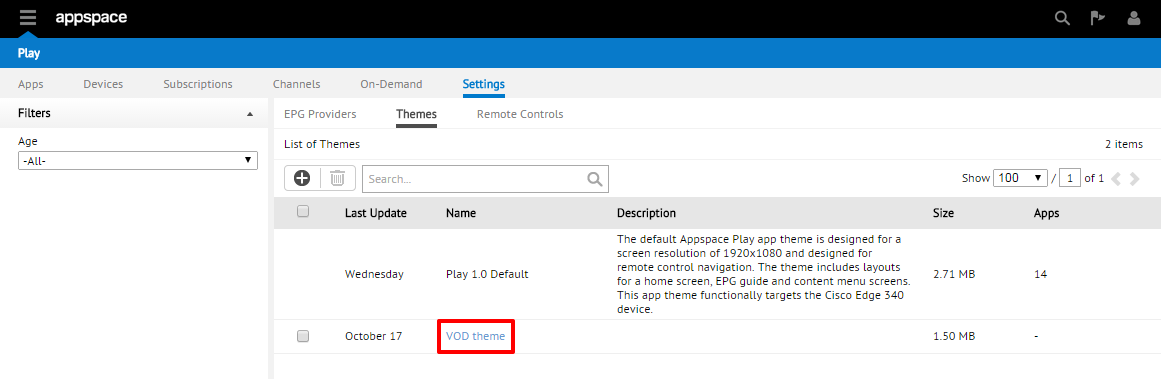
On the Themes sub-tab, select the name link of the theme to be edited.
Step 2
Make the desired changes to the relevant section(s) of the Theme Settings page accordingly. Click on the Save button when finished to confirm your changes.
Previewing Themes
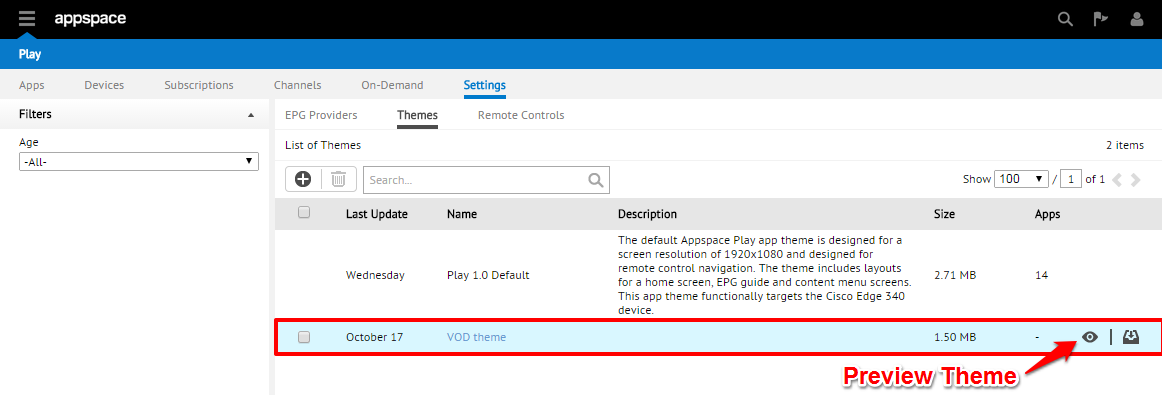
Step 1
On the Themes sub-tab, select the theme that you would like to preview by clicking along the row – the entire row should appear highlighted. Click on the eye (Preview Theme) button to preview the theme and this will open another tab on your browser to preview the theme.
Exporting Themes
Step 1
On the Theme sub-tab, select the theme to be exported by clicking along the row – the entire row should appear highlighted. Click on the Export Theme button to export the theme to your local machine as a TPKG file.

Deleting Themes
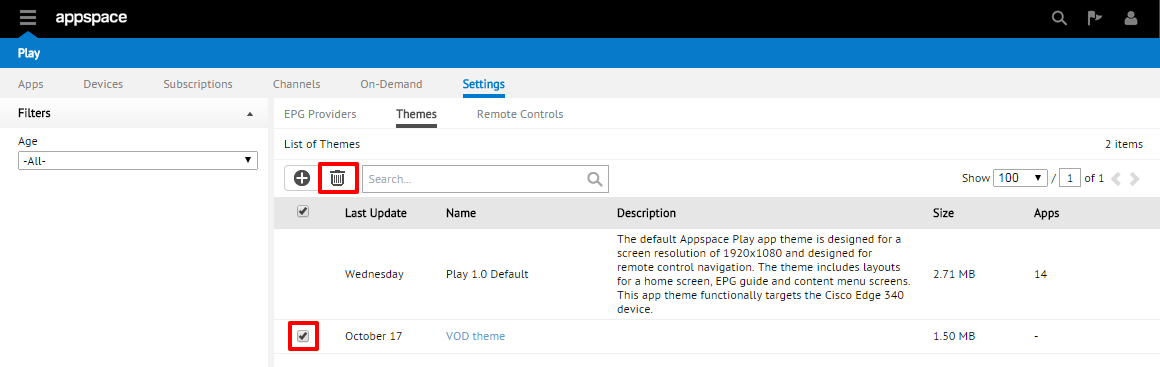
Step 1
On the Themes sub-tab, find and check the box next to the name of the theme to be removed. Click on the trash bin button to delete.
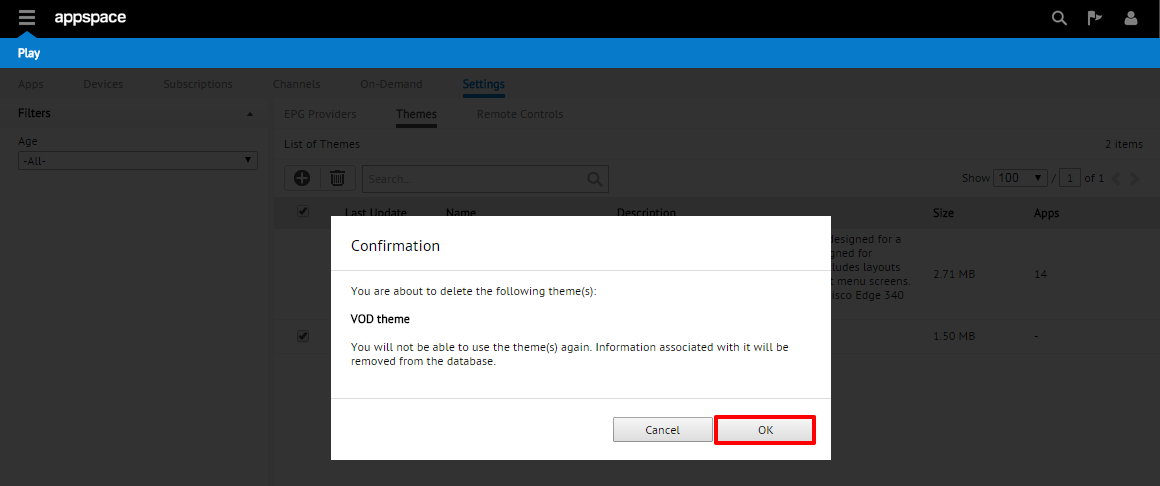
Step 2
On the Confirmation screen, click OK to confirm your action. The theme will no longer be displayed in the Theme page.