Managing Subscriptions
Introduction
The Subscriptions tab provides users the capability to organise both Channels and/or on-Demand content into subscription plans. These subscriptions can then be easily assigned to a designated Play application for rapid deployment to a specified device/player.
This guide will elaborate on the steps to add, remove, and edit subscription content within the Play extension.
Creating New Subscriptions
Step 1
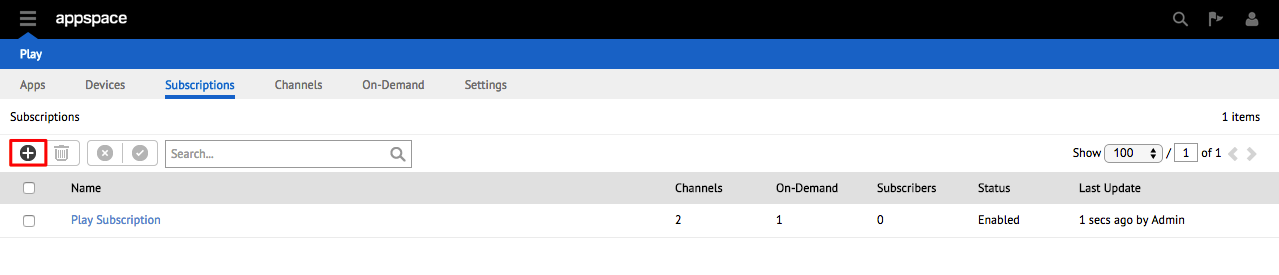
From the Play extension, select the Subscriptions tab. Click the + button to create a new subscription.
Step 2
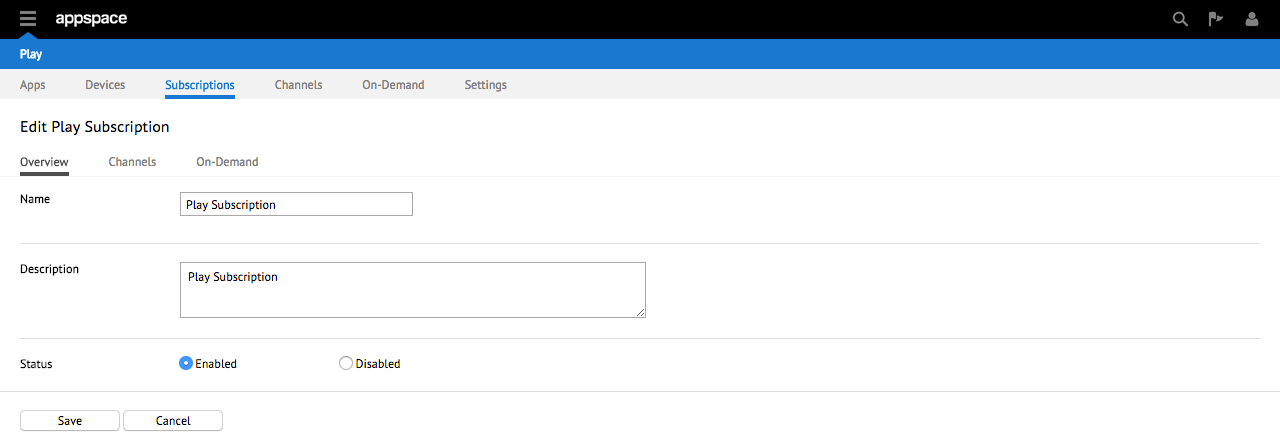
Enter the relevant details in the Overview sub-tab. Click on the Save button when finished to confirm the subscription details.

Note
- Name - A unique name for the subscription.
- Description - Details of the subscription.
- Status – the radio button for Enabled will be selected by default.
- If you click the Save button, it will return you to the main subscriptions. listing page. To edit or add any additional settings to your subscription, see the below section on Updating Existing Subscriptions.
Step 3
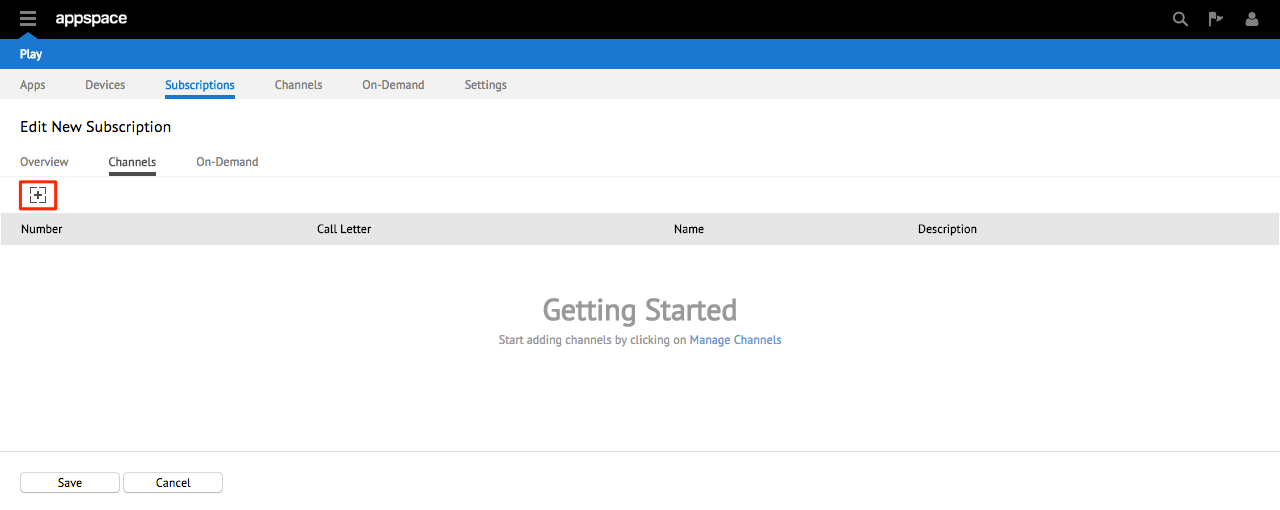
On the Channels sub-tab, click the + button to add a new channel to the subscription plan.
Step 4
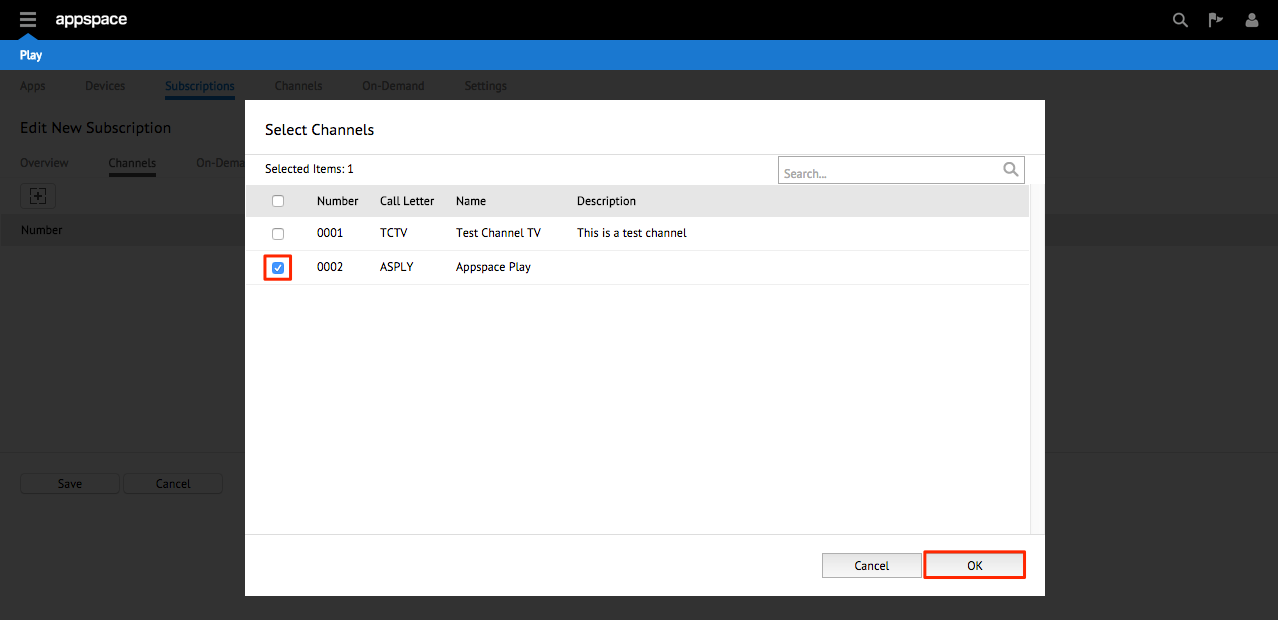
Select the channel(s) to add by ticking the box(es) next to the desired channel’s number or use the search bar to help find the desired channel. When finished, click OK to continue.
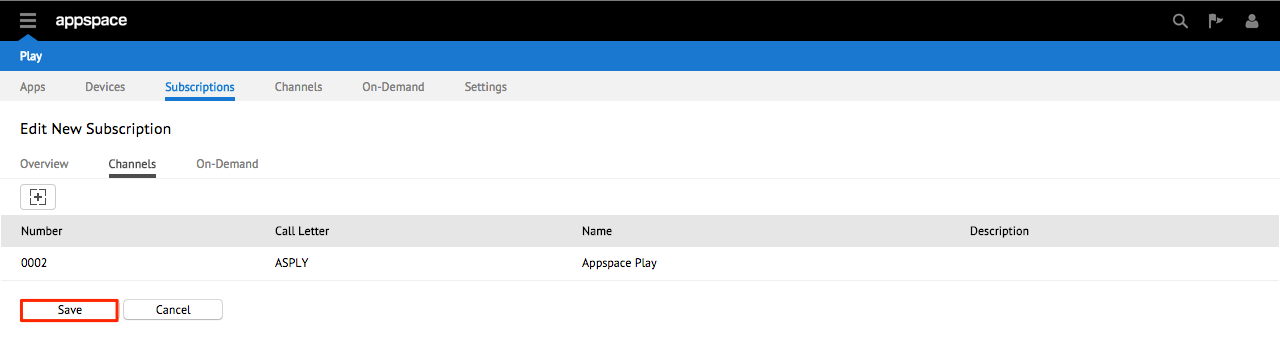
Step 5
Click save to add the channel to the Subscription.
Note
If you click the Save button, it will return you to the main subscriptions listing page. To edit or add any additional settings to your subscription, see the below section on Updating Existing Subscriptions.
Step 6
On the On-Demand sub-tab, click the + button to add new on-demand content to the subscription plan.

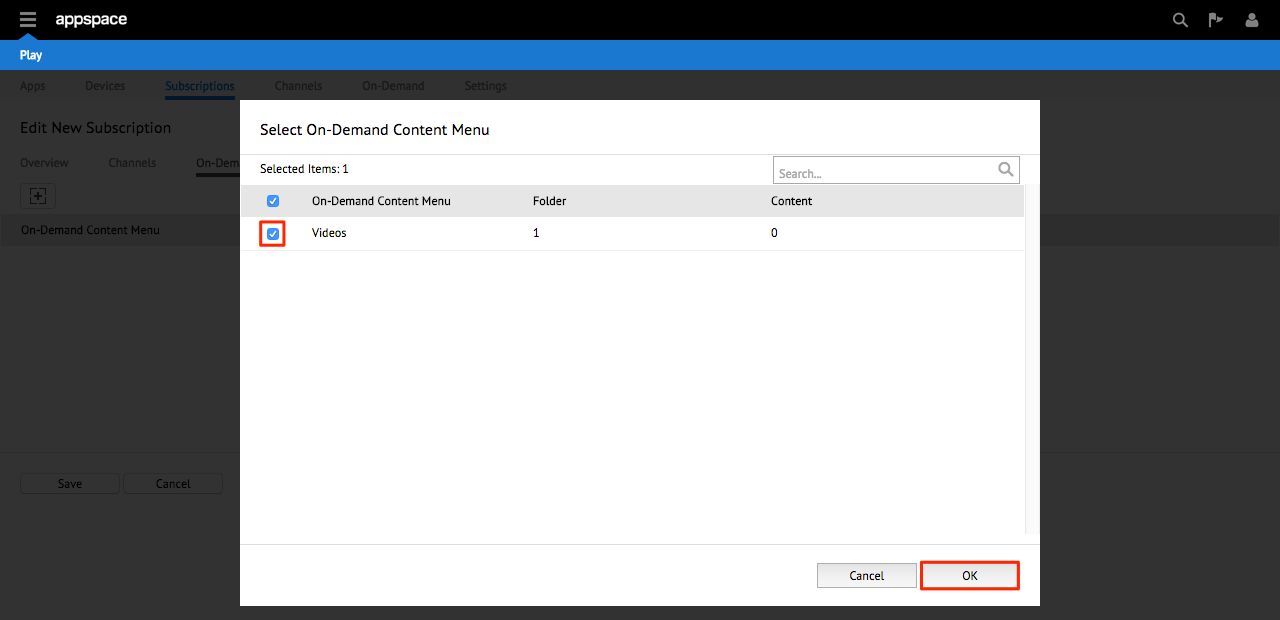
Step 7
Select the on-demand content to be added by ticking the box(es) next to the desired on-demand content. Click OK and then the Save button when finished to confirm the subscription details.
Step 8
Click save to add the on demand content to the subscription plan.

Updating Existing Subscriptions
Step 1
From the Subscriptions tab of the Play extension, click the name-link of the subscription plan to be updated.

Note
If you click the Save button, it will return you to the main subscriptions listing page. To edit or add any additional settings to your subscription, see the below section on Updating Existing Subscriptions.
Step 2
You can make any changes of the Subscription details on the Overview tab.
Step 3
You can add more channel(s) to the subscription.

Step 4
You can also add more on demand content(s) to the subscription as well.

Note
- For the Overview sub-tab, the changes are applicable for all elements on the page.
- For the Channels sub-tab, click the + (Manage Channels) button to edit the channel listing.
- For the On-Demand sub-tab, click the + (Manage On-Demand Menu) button to edit the on-demand content listing.
Step 5
Click on the Save button (on any of the sub-tabs) to confirm your changes. The updated information will now be reflected in the Subscriptions page.

Enabling/Disabling Existing Subscriptions
Step 1
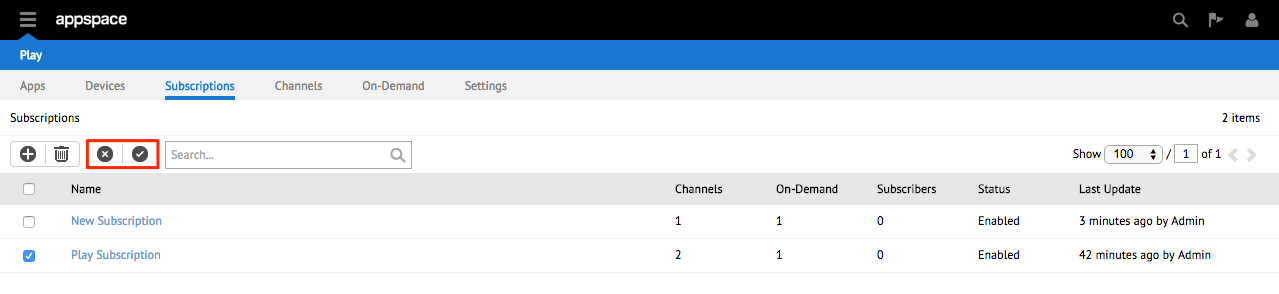
From the Subscriptions tab of the Play extension, check the checkbox next to the name of the subscription plan to be enabled or disabled. Click the tick or x button to enable or disable a subscription plan. Once you click Enable or Disable, the page should update and the current status of the channel should be updated/reflected in the Status column.
Deleting Existing Subscriptions
Step 1
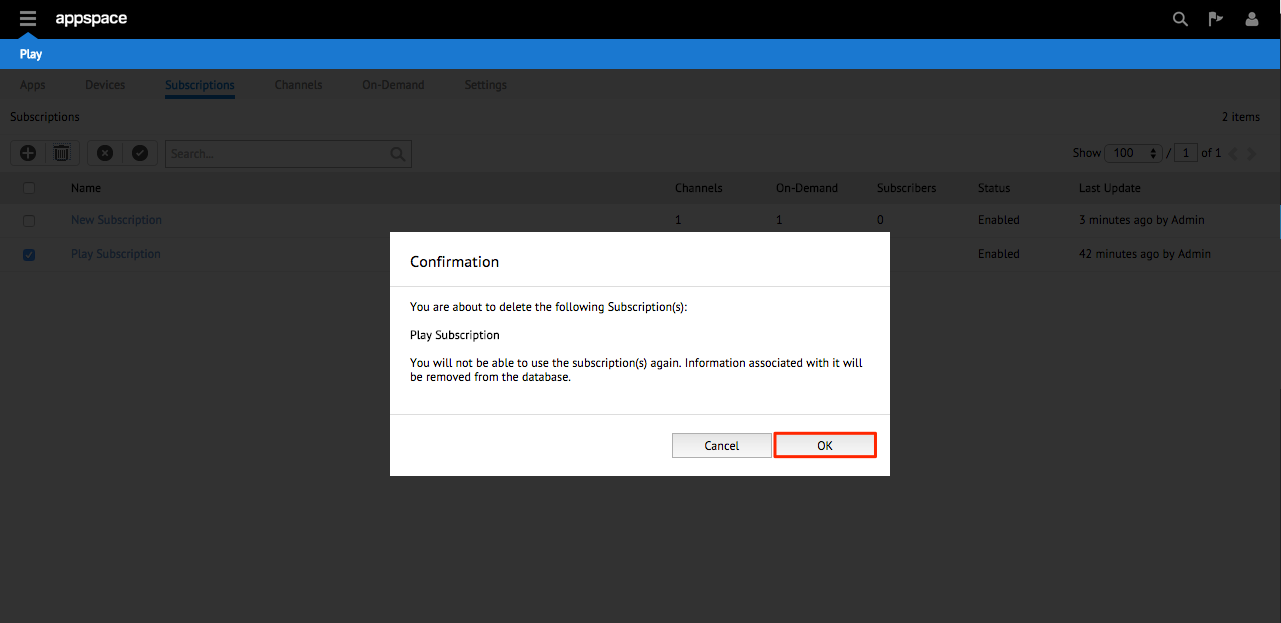
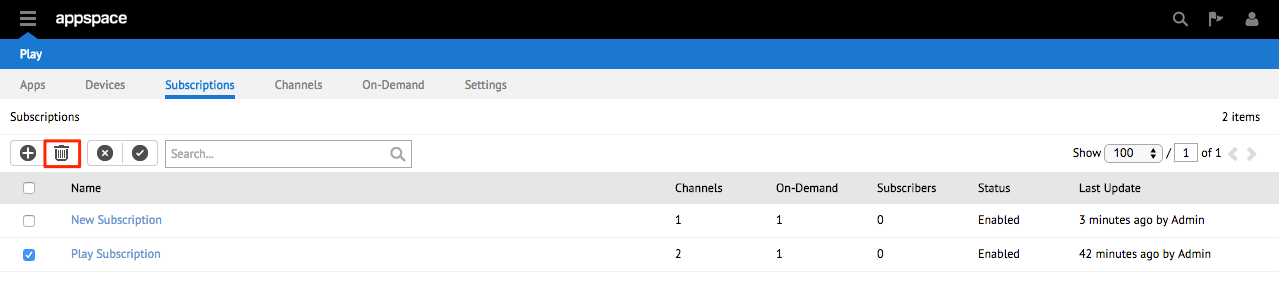
From the Subscriptions tab of the Play Extension, check the box next to the name of the subscription plan to be removed. Verify the details of the subscription prior to removing it from the list. Click on the trash bin.
Step 2
Click OK to confirm your action. The channel will no longer be displayed in the Subscriptions list.