Getting Started with Signs
Follow these quick steps to get started with setting up the Signs extension and creating a Signs app.
Before you begin, please read the following articles Introduction to Signs, Introduction to Widgets, and Introduction to Event Actions.
Setting Up Signs
Once you have the required platform, devices, and user access, follow the instructions below:
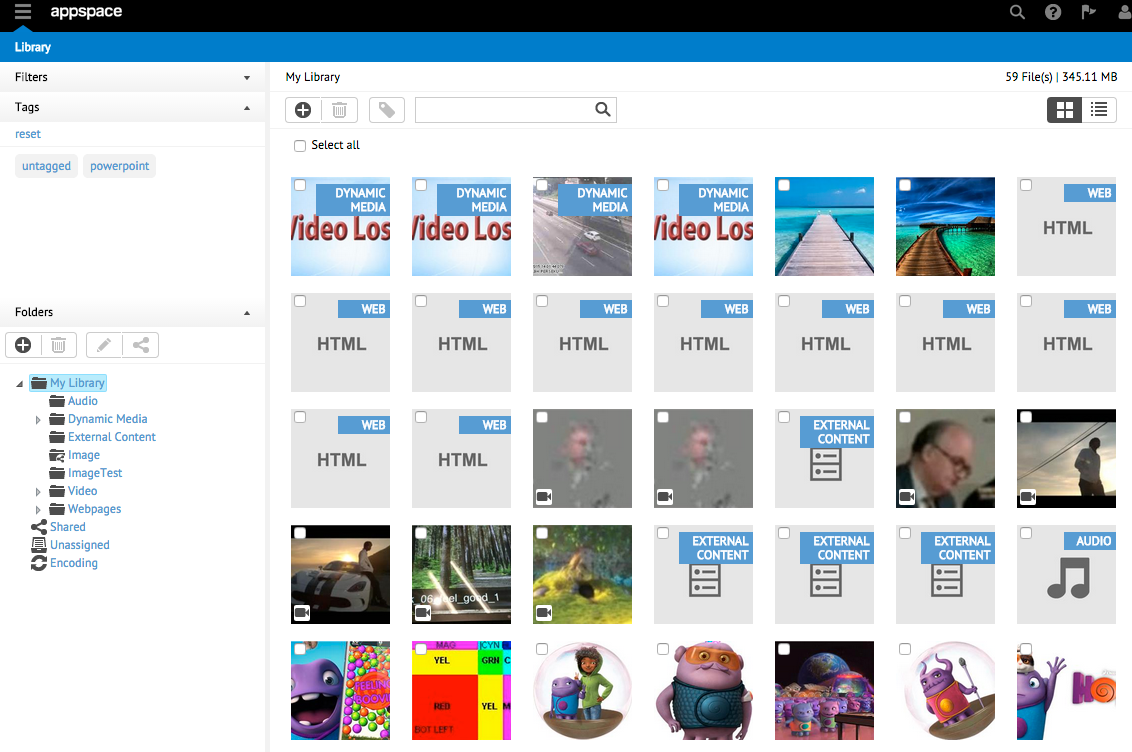
Add content that you would like to include in your Signs application, to the Appspace Library. Please refer to the Managing Content article.
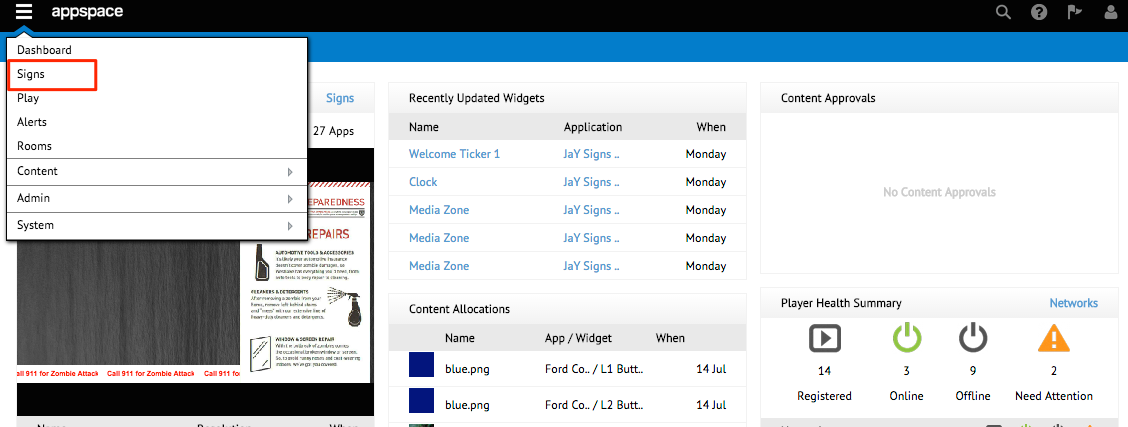
In the Appspace extensions drop-down menu, click Signs.
Create a Signs application.
- To create a fullscreen playlist-driven app in quick easy steps, follow the instructions in the Creating Basic Applications section.
- To create a content-rich, visually appealing app with multiple layouts and widgets, follow the instructions in the Creating Advanced Applications section.
Register your preferred device with Appspace. Please refer to the Device section. The registered device will appear in the network associated with the User Account that was used to register the device.
Assign your Signs app to the registered device from your network. Please refer to the Assigning an App to a Device article.
View your Signs app on the display screen; the assigned device will automatically play the app.