Getting Started with Meeting Room
The purpose of this guide is to quickly bring you up to speed with the Meeting Room extension. To do so, will cover three key sections:
- Section 1: Adding your Calendar Provider
- Section 2: Templates
- Section 3: Install, Configure and Register a Device
Section 1: Adding your Calendar Provider
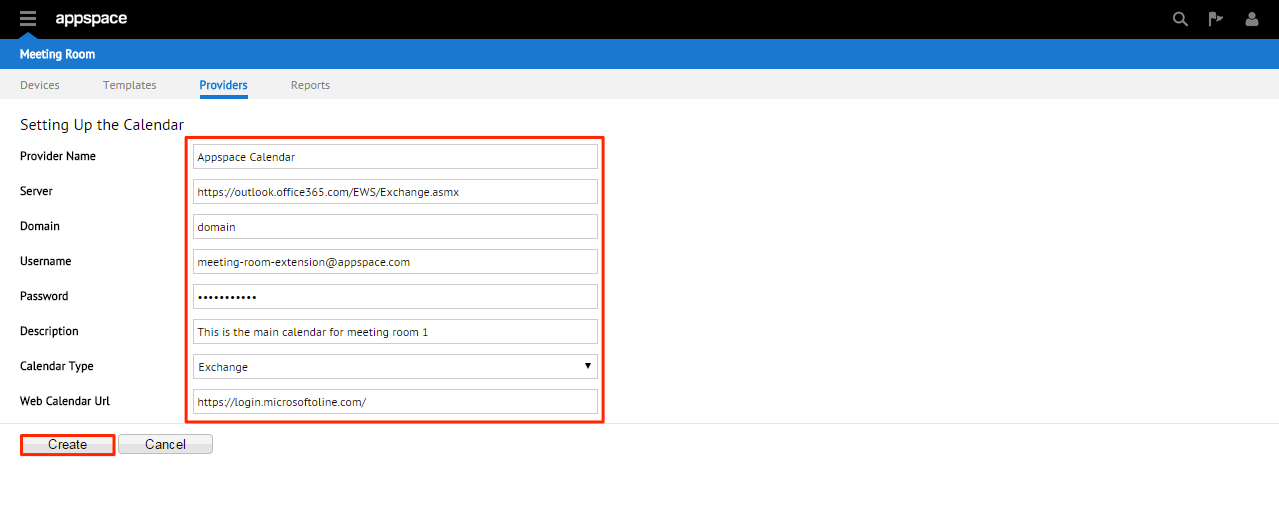
To add a calendar provider, some mandatory/optional information is needed. Refer to the table below and consult your IT administrator for further details:
| Provider Detail | Description | Required? |
|---|---|---|
| Server | The server address endpoint that allows exposure of the calendar provider format: http://{FQDN} | Mandatory |
| Domain | LDAP directory service domain. Filled only if implemented by the specific calendar provider | Optional |
| User name | Authentication user name | Required if authentication is implemented/enforced |
| Password | Authentication password | Required if authentication is implemented/enforced |
| Description | Miscellaneous description for your calendar provider | Optional |
| Calendar Type | Microsoft Exchange 2010 or 2013 | Mandatory |
| Web Calendar URL | FQDN URL for the web calendar provider interface | Mandatory |
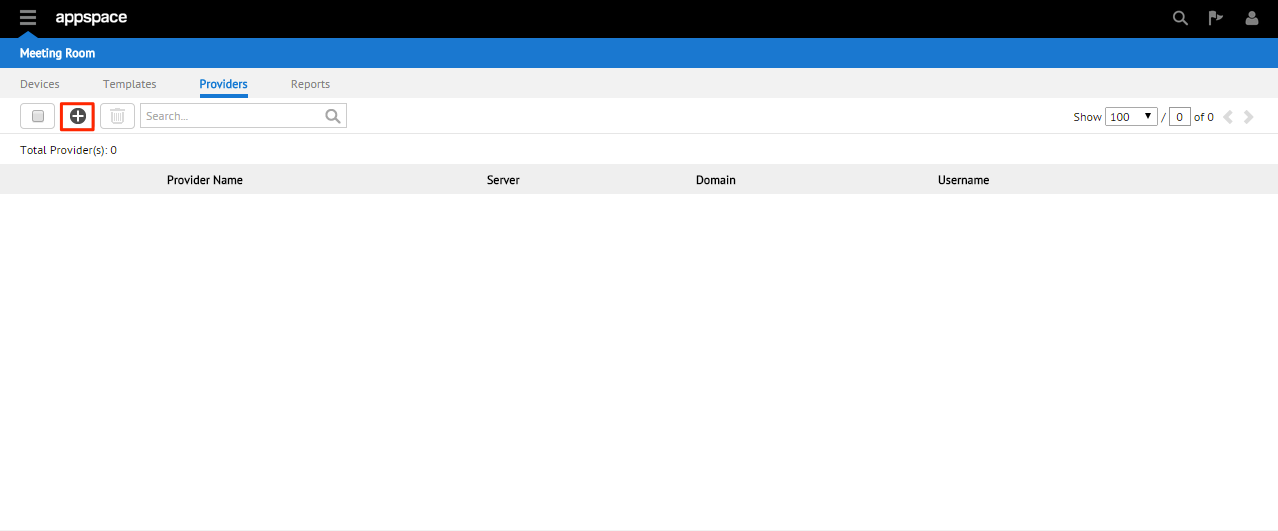
Step 1
Within the meeting room extension, click on the providers tab and click on the + (add provider) symbol to begin setting up the new calendar provider.
Step 2
Populate the details of your Microsoft Exchange calendar provider in the various fields and click the create button to complete the process.
Section 2: Templates
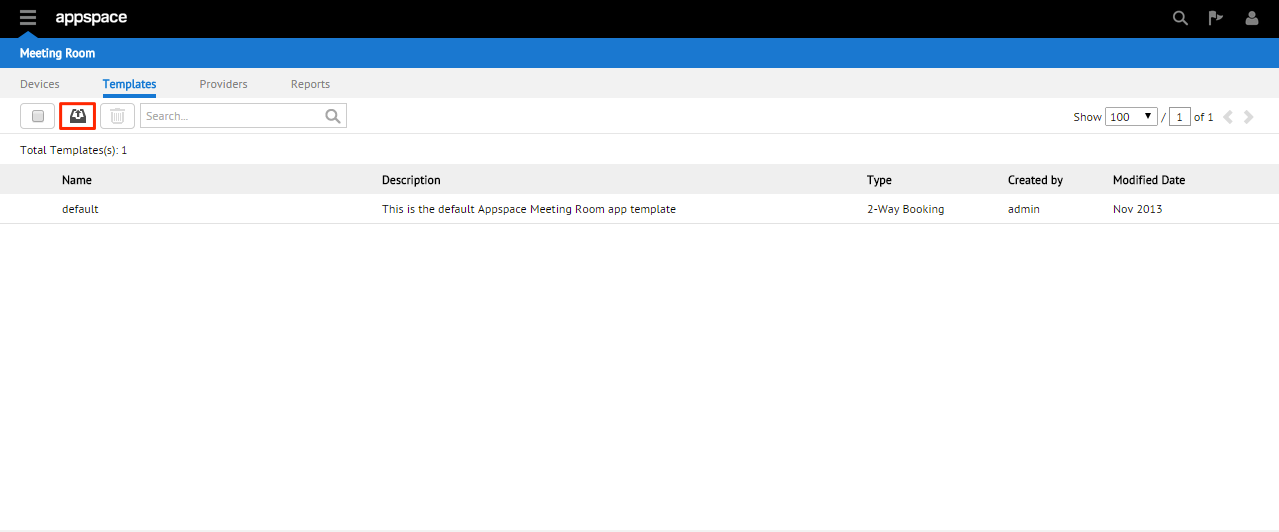
You’re now done with your calendar provider, you will need to decide if you’d like to use a ready-made template or import your own application template.
Importing an Application Template (Optional)
Step 1
From the Templates tab within the Meeting Room extension, click the Import button.
Step 2
Give your new template a name and browse for the template to be imported. Click Import when done.
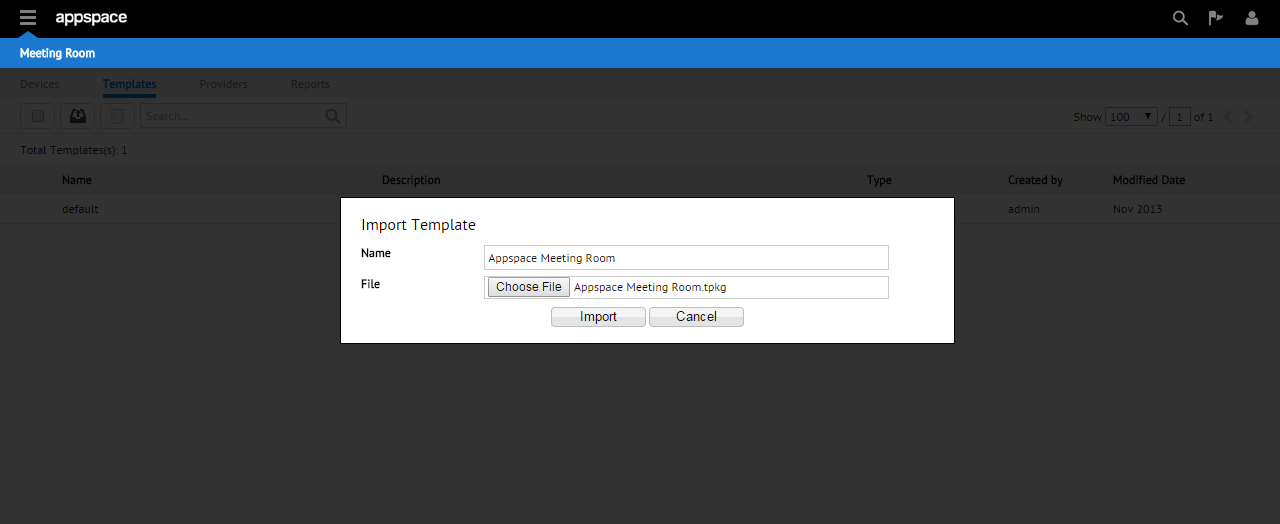
Note
Template files are in .tpkg format.
Step 3
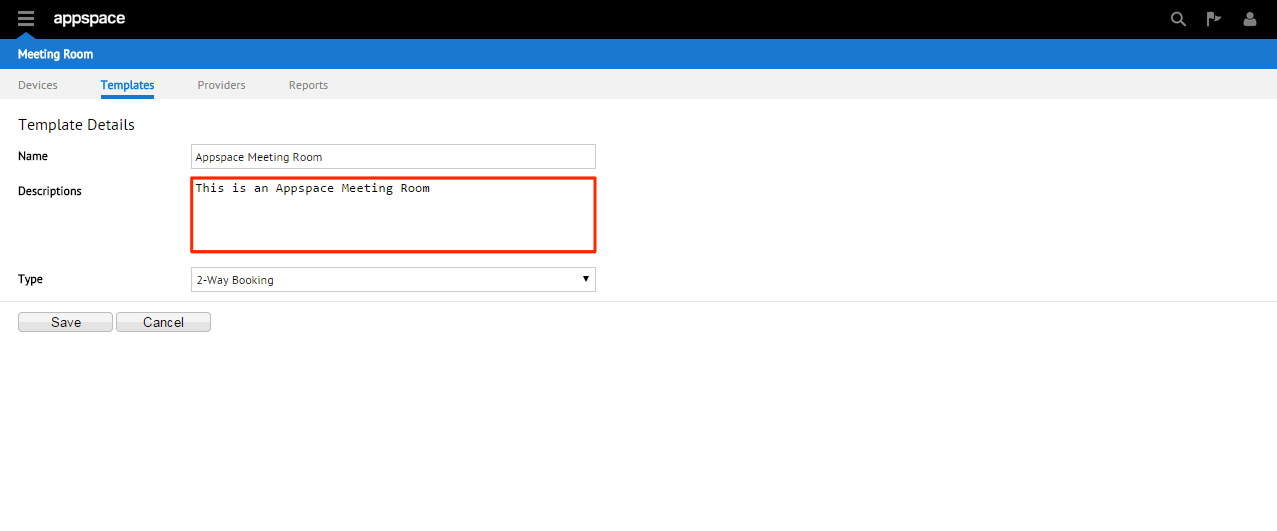
Give the template a description.
Step 4
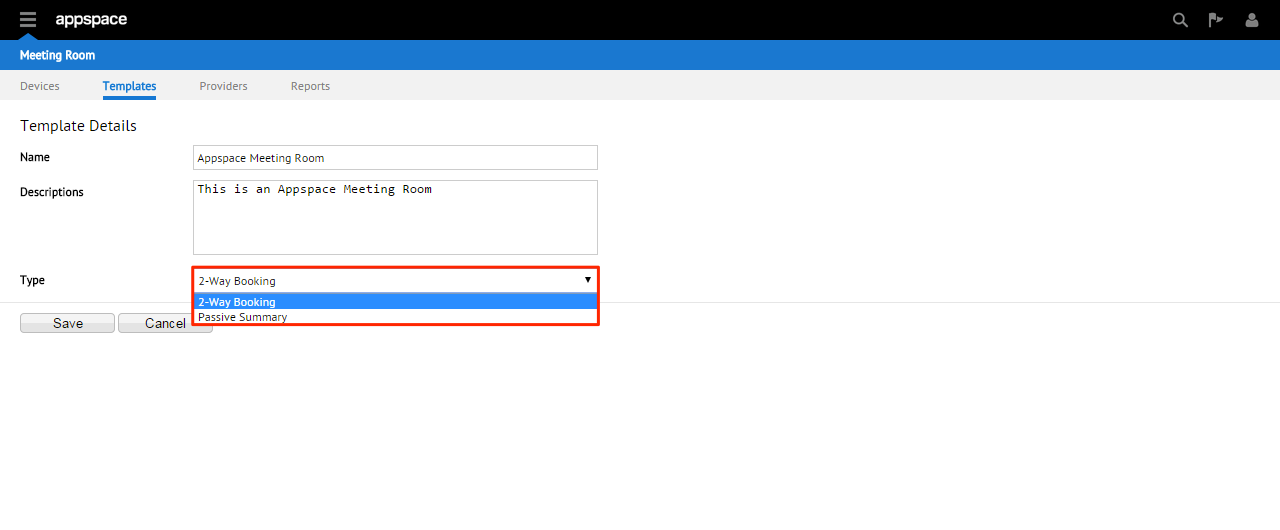
Select any template; 2-Way Booking (allows you to interactively book slots) and Passive Summary (only displays the meeting room’s slots) then click Save.
Note
The type of template depends on the functionality built into the template itself.
Section 3: Install, Configure and Register a Device
Now that you’ve configured your calendar provider and selected your template, you’ll need to install the meeting room application onto your Android 4.x device.
Step 1
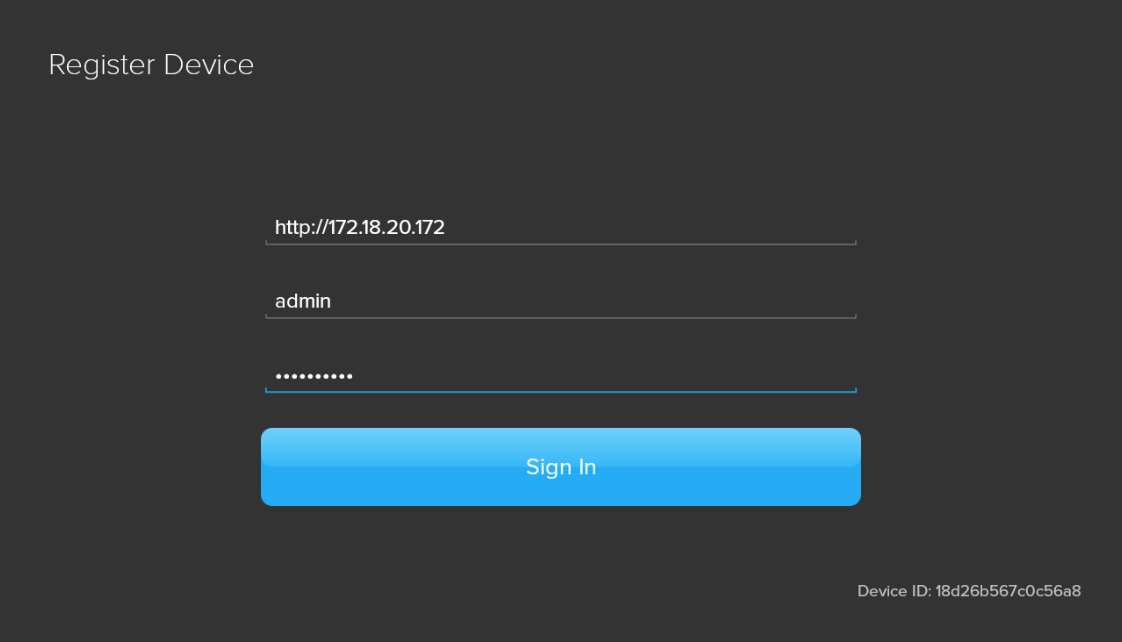
Launch the application. When prompted to register your device, fill in the Appspace instance URL and credentials (username and password) and click Sign In to begin the registration process.
Step 2
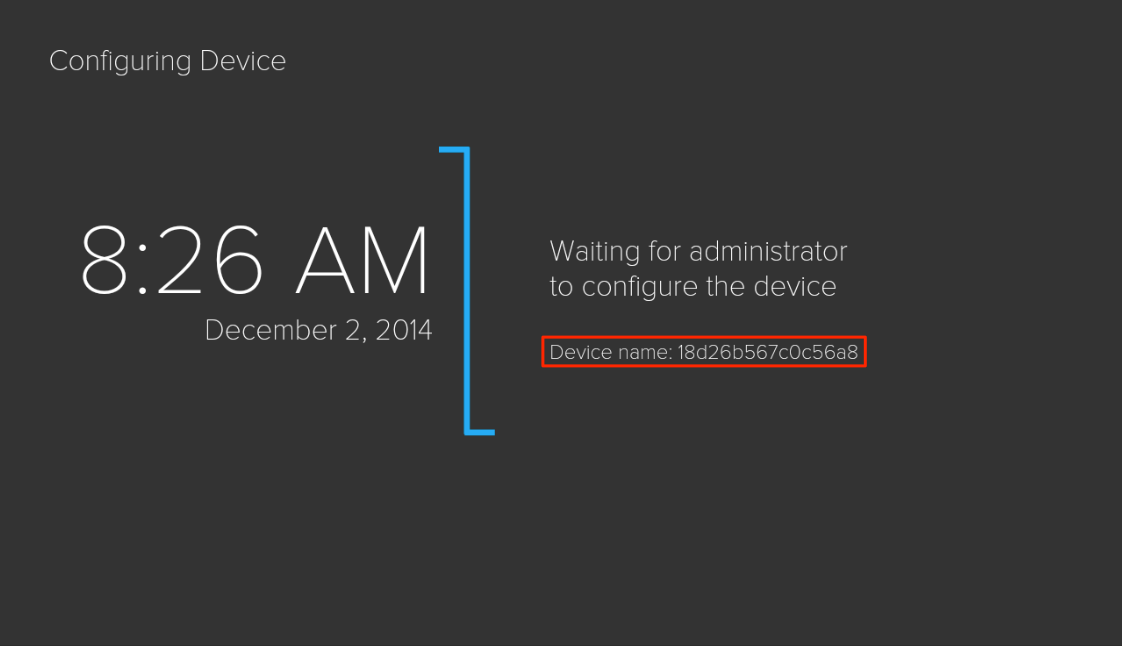
Once registration is completed, you will be greeted with a page displaying the message “Waiting for administrator to configure the device”. Note the device name (string of characters/numbers) listed.
Step 3
From the Meeting Room extension, you’ll notice your newly registered device appear (note the device name) under the Devices tab.

Step 4
Select your calendar provider and click the cog button to select your meeting room.
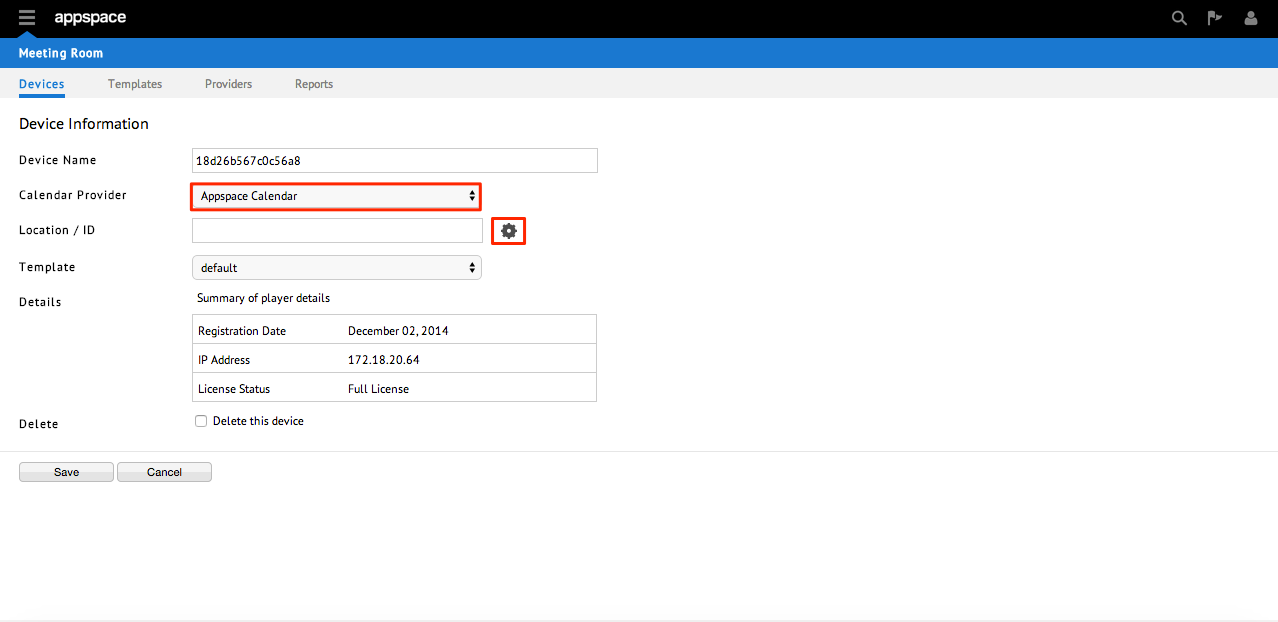
Note
Upon selecting your calendar provider from the drop down, the extension will retrieve the room list. By default, the extension retrieves the first calendar provider’s room list.
Step 5
Select a meeting room from the drop down and click OK.
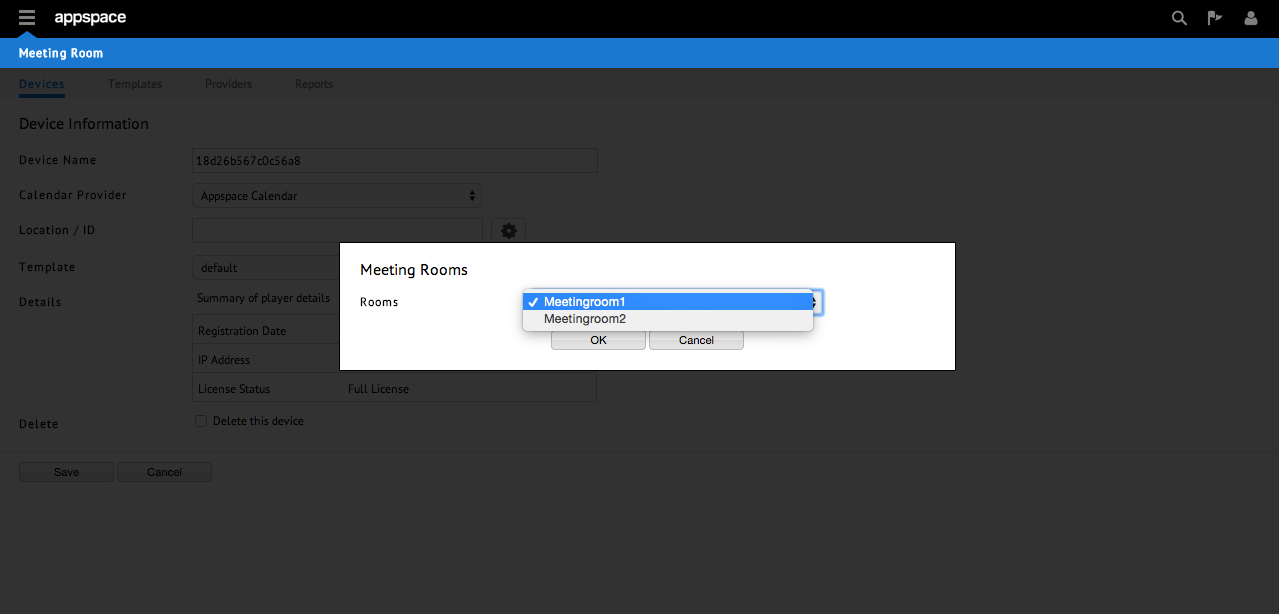
Note
Your location ID refers to the meeting room which resides within the room list distribution group.
Step 6
Select your template and click Save.
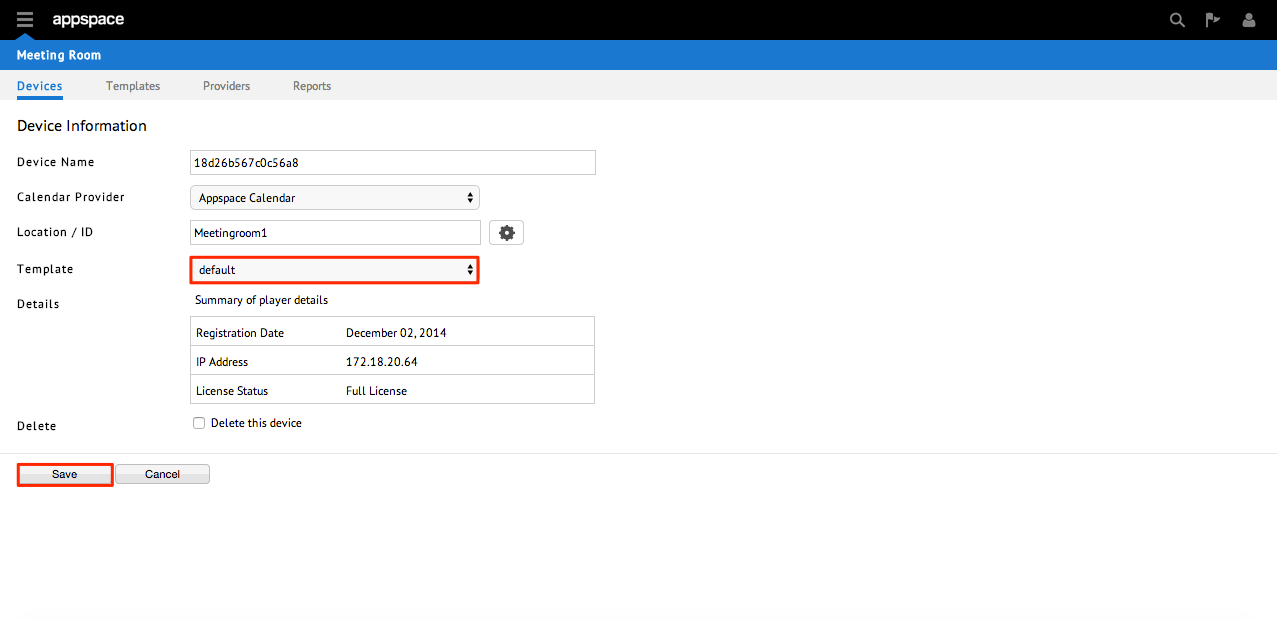
Step 7
The device should automatically detect your configuration changes and display the meeting room template.
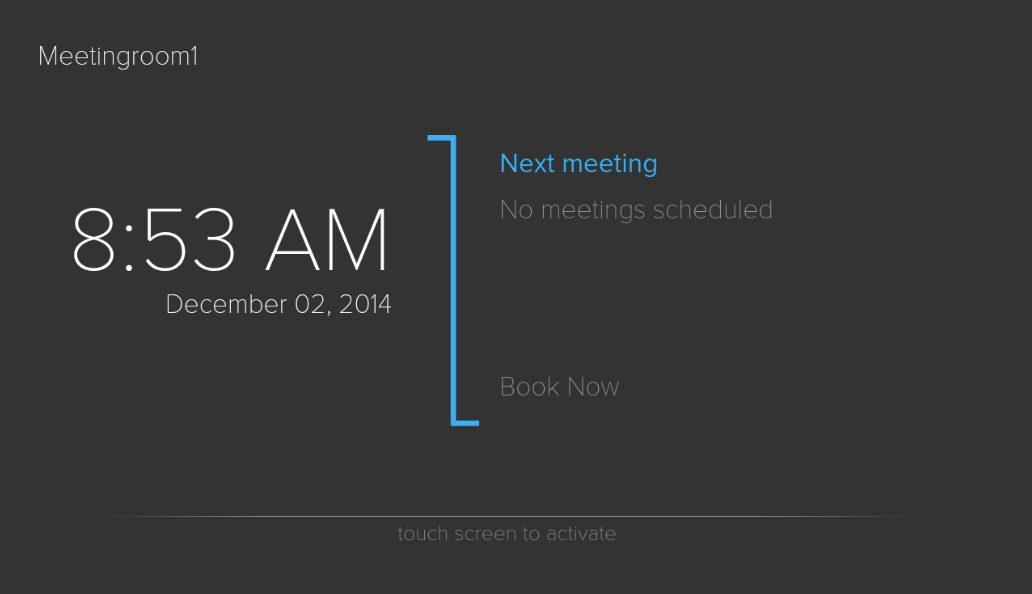
Step 8
The Android device will then retrieve the available time slots and display it on the screen.
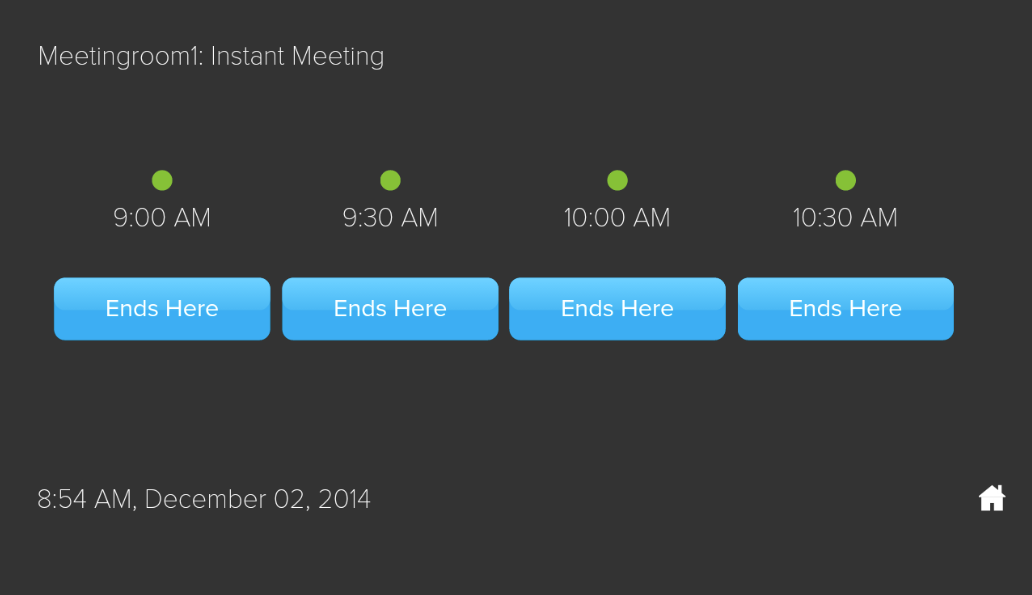
Note
Your device can now be placed in front of a meeting room to allow users to view its schedule and/or book it.
Recap
Now that your meeting room application is fully set up, you should be able to:
- View your meeting room application on your Android device.
- Check the available timeslots of a meeting room and if possible, book that room.