Managing Calendars
Introduction
This guide will focus on the steps to add, manage, and configure your calendar provider within the Meeting Rooms extension.
Requirements
- Microsoft Exchange 2010 or 2013
- One provider (Microsoft Exchange user mailbox) to book all meeting rooms
- Pre-configured room/resource mailboxes for each meeting room
- All meeting rooms must be a part of a room list distribution group (for further information on this please refer to this guide)
The table below presents the most commonly used/typical values and settings when configuring the Calendar Provider within the Meeting Rooms extension:
| Provider Detail | Description | Required? |
|---|---|---|
| Server | The server address endpoint that allows exposure of the calendar provider format: http://{FQDN} | Mandatory |
| Domain | LDAP directory service domain. Filled only if implemented by the specific calendar provider | Optional |
| User name | Authentication user name | Required if authentication is implemented/enforced |
| Password | Authentication password | Required if authentication is implemented/enforced |
| Description | Miscellaneous description for your calendar provider | Optional |
| Calendar Type | Microsoft Exchange 2010 or 2013 | Mandatory |
| Web Calendar URL | FQDN URL for the web calendar provider interface | Mandatory |
Adding a Calendar Provider
Step 1
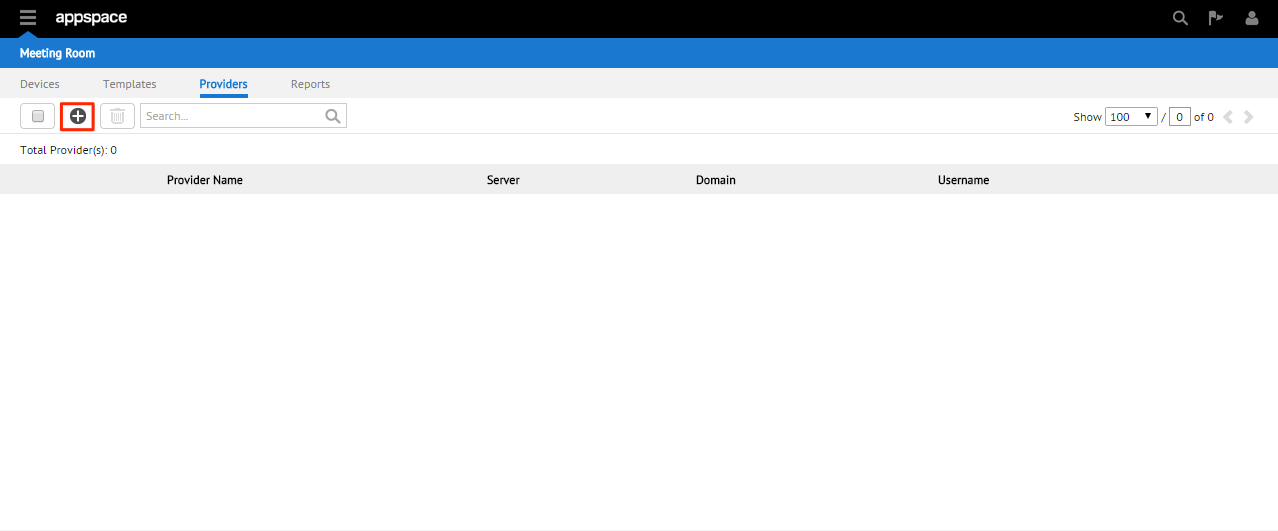
From the Meeting Room extension, click the Provider tab. Click the + button to add a calendar provider.
Step 2
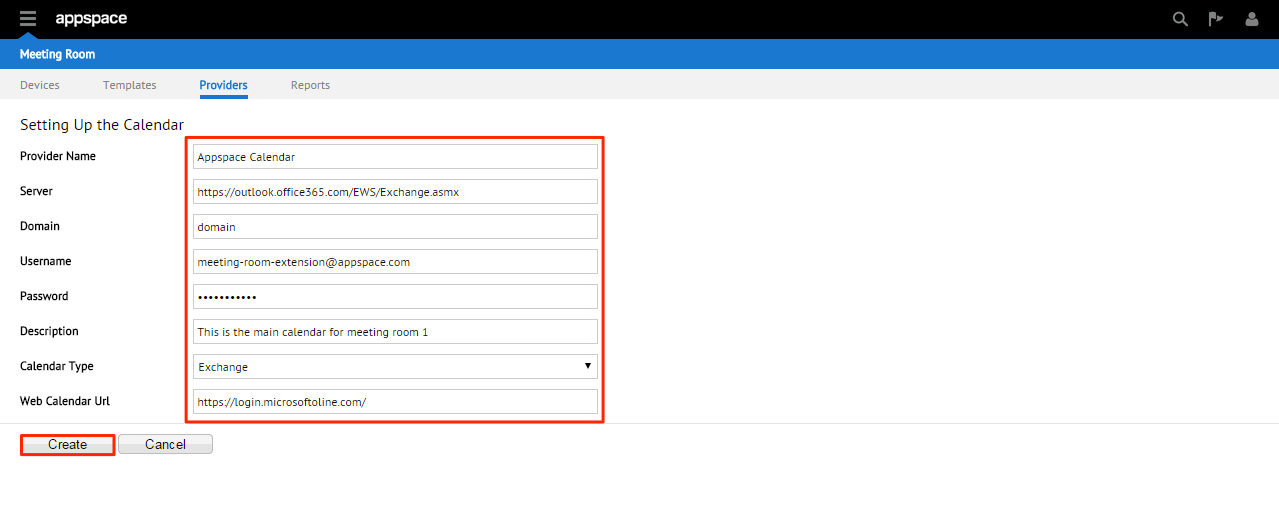
On the calendar setup page, fill in the details of your Microsoft Exchange or Lotus Notes calendar provider in the various fields. When finished, click the Create button to complete the process.
Deleting a Calendar Provider
Step 1
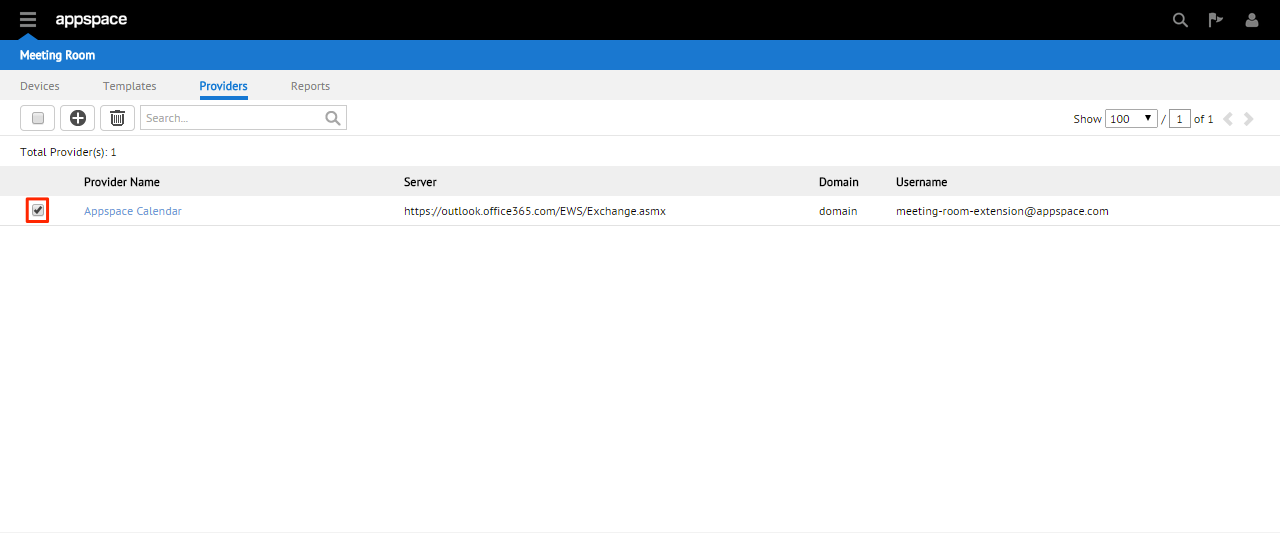
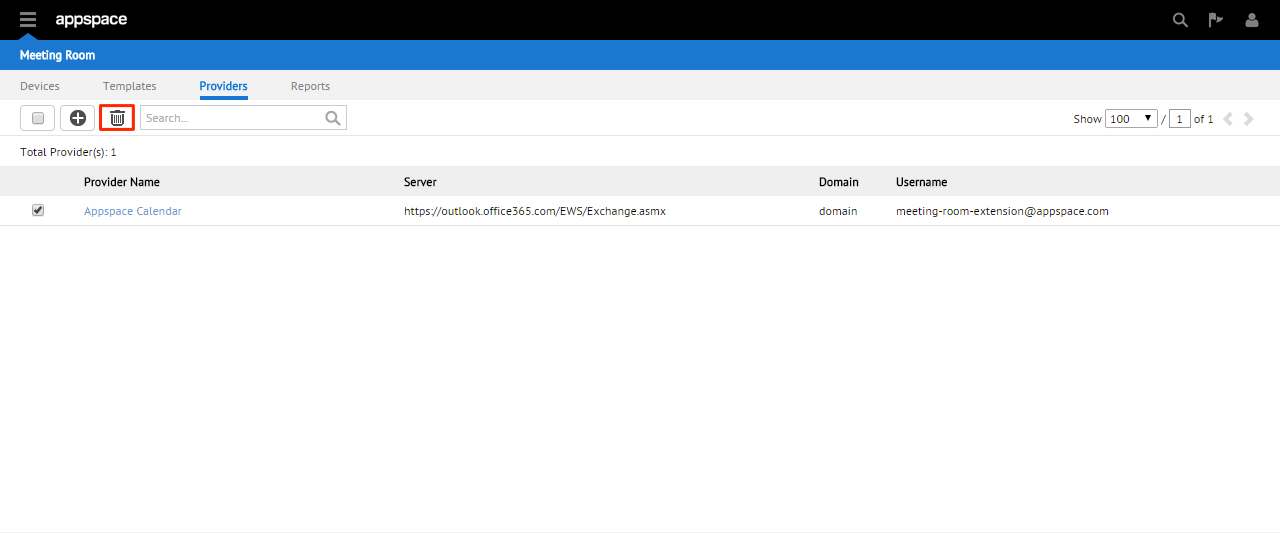
From within the Meeting Room extension, click on the Provider tab. Select the calendar provider to be deleted by checking the box next to the calendar provider.
Step 2
Click the trash can button to remove the selected calendar provider.
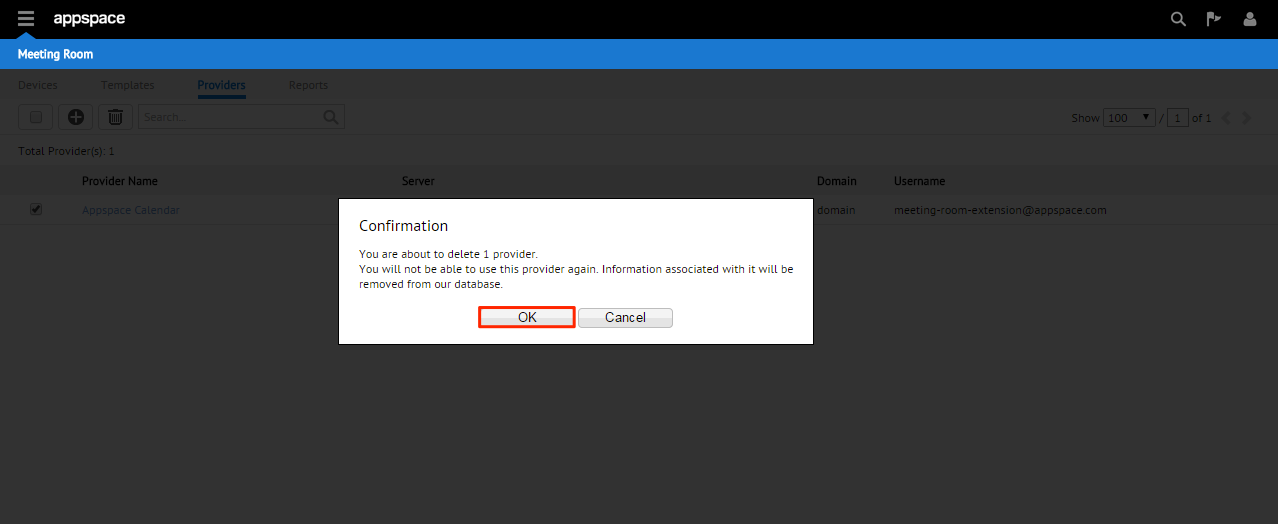
Step 3
When prompted, click OK to confirm your action.