Configuring Application Permissions
Appspace provides a clean and simple workflow for content allocation and approval, where all content allocation must be approved by the Content Administrator before it can be published.
This article provides information on the content approval process and instructions to configure application permissions.
Content Approval Process
The content approval process allows Content Administrators to configure user access to individual widgets within an app and to force all content allocation to go through an approval process.
A standard user can allocate content to an app in their network, but a Content Administrator must approve the content allocation before it can be played by the player. Content Administrators will be able to review the content requests and approve or deny a content allocation before that content is published to media player devices. This also allows organizations to set up multiple users with specific content management roles for an app.
User Roles for Managing Applications
The following are the default roles in the Signs extension:
- Restricted Access - This permission restricts the user from having any access to the application unless a permission is explicitly granted to a widget.
- Manage Content - This permission allows a user to have access to the selected application’s content items only.
- Manage Schedule - This permission allows a user to have access to the selected application’s content items and its schedules.
- Manage Application - This permission allows a user to have full access to the selected application.
When users with restricted access login to Appspace, they will have limited view of the features in Appspace. They will only be able to view and edit the apps and widgets to which they have been granted access to, based on the user role assigned to them.
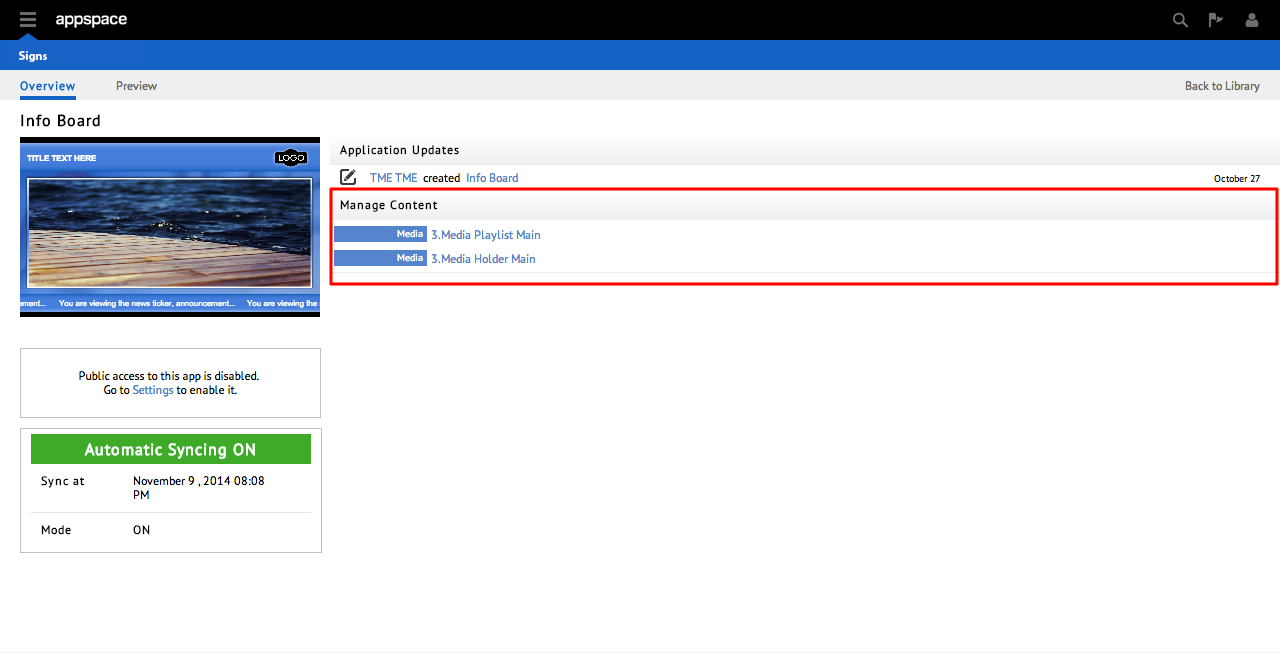
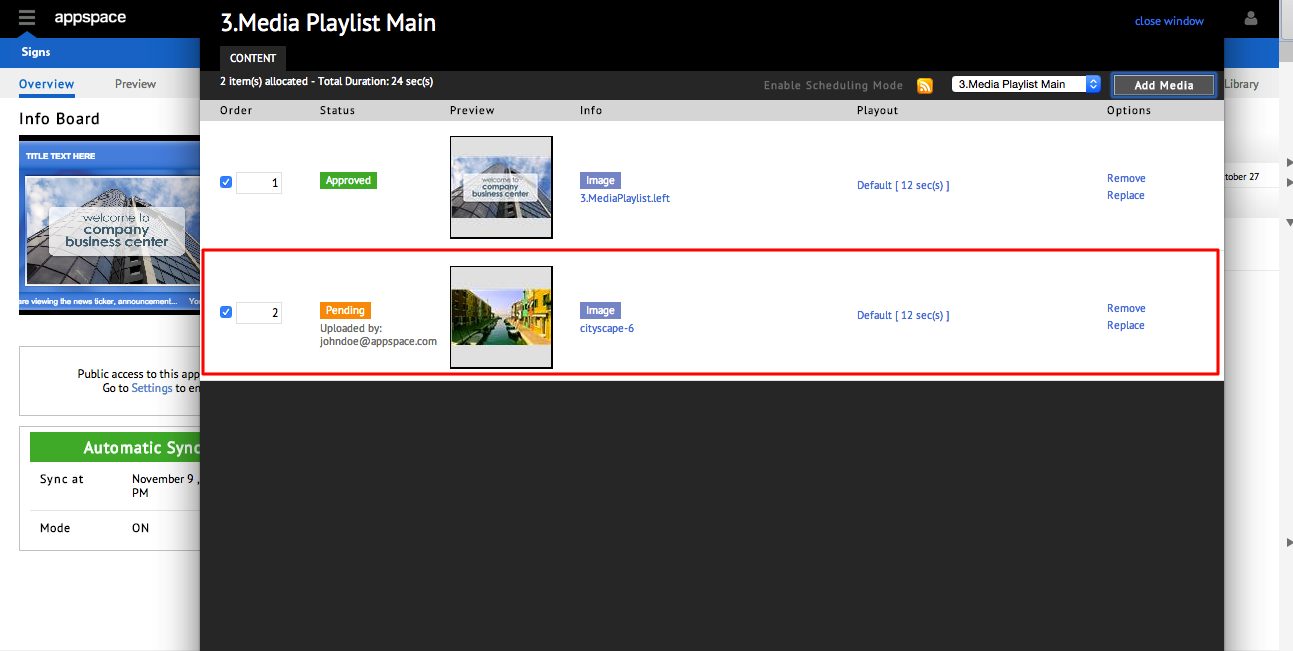
Restricted users can upload new content to widgets, however, content allocations are placed in Pending until approved by the Content Administrator.
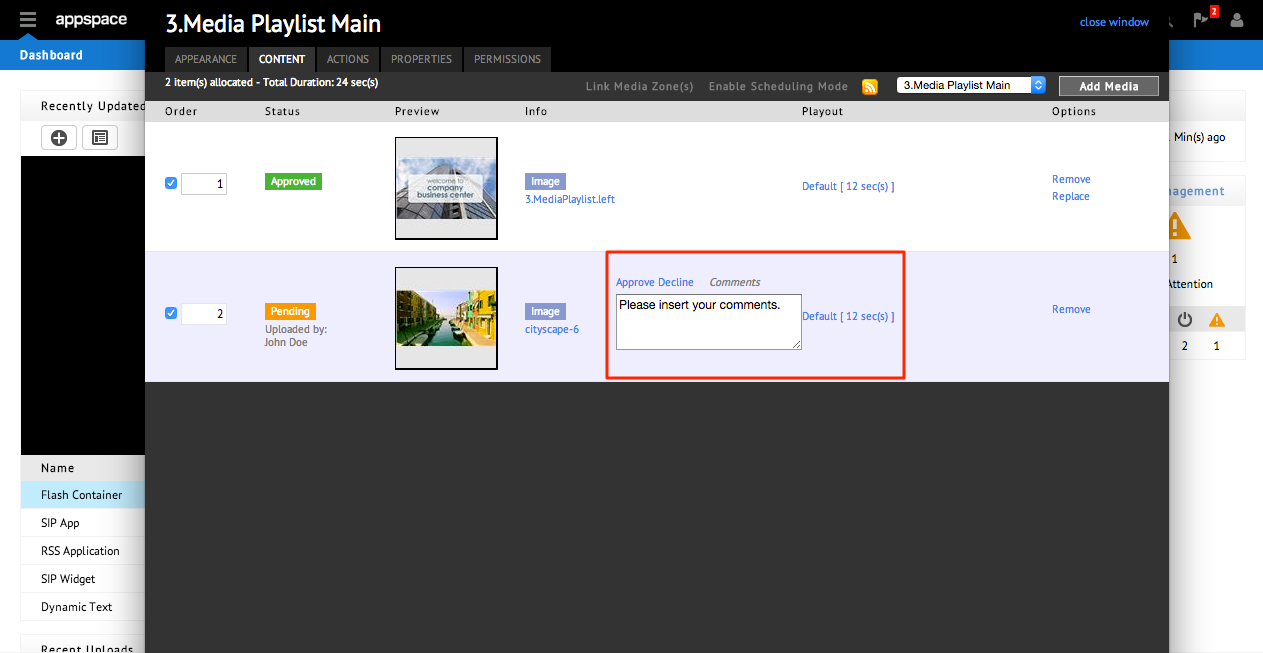
Approval via the Dashboard
When the Content Administrator logs in to Appspace, a notification will appear under the Content Approvals widget on the dashboard informing them of content approval requests.
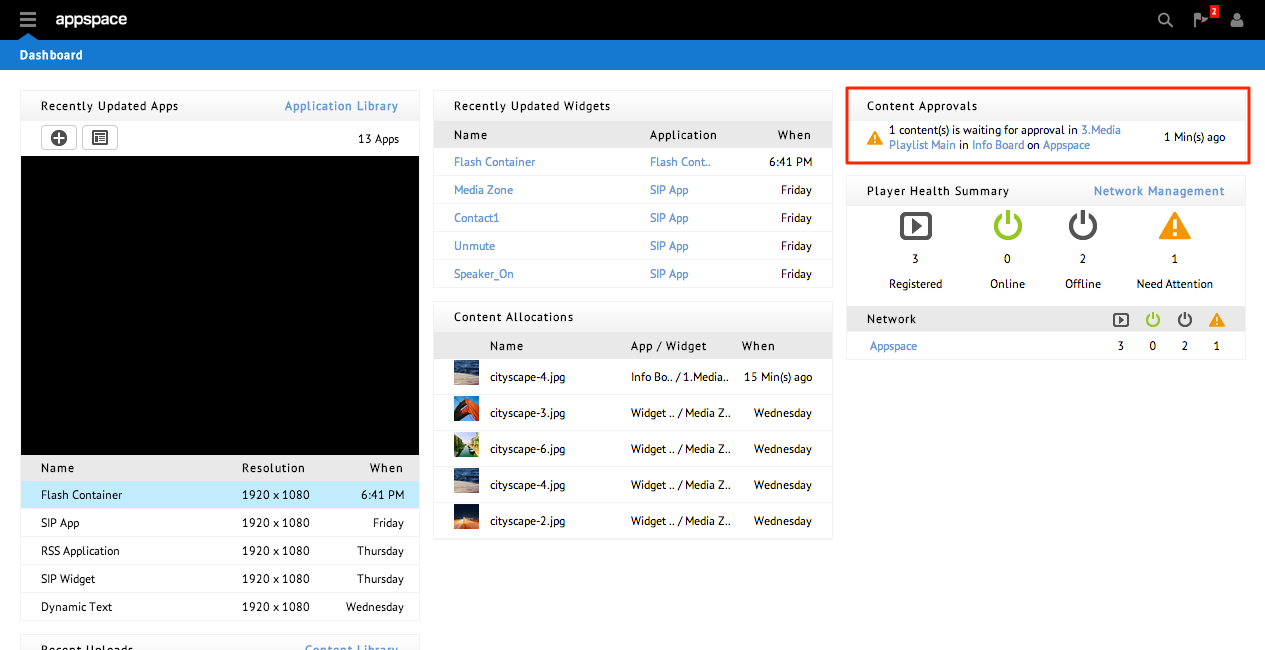
Content Administrators can simply click on the widget to review the content in the pending state, and decide to approve or decline the content from the links provided.
Approval via Email
Content Administrators also have the option to set content allocation notifications via email for approval. The configuration is set on a per-app basis.
In an app, go to the Settings tab. Locate the Approval Notification option and check the ‘Enable - I want to receive email notification for content approval.’ check box to activate email-based content approval notification.
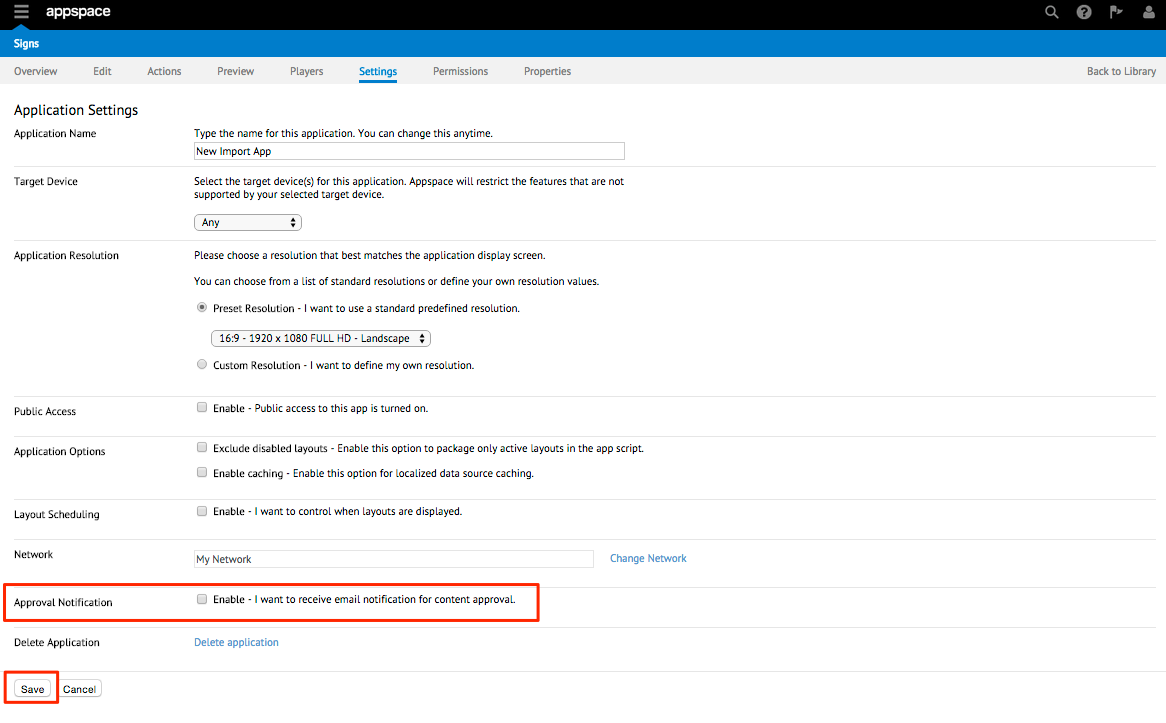
A notification email will be sent to the Content Administrators allowing them to review the content and directly approve or decline it from the email itself.
Configure Application Permissions
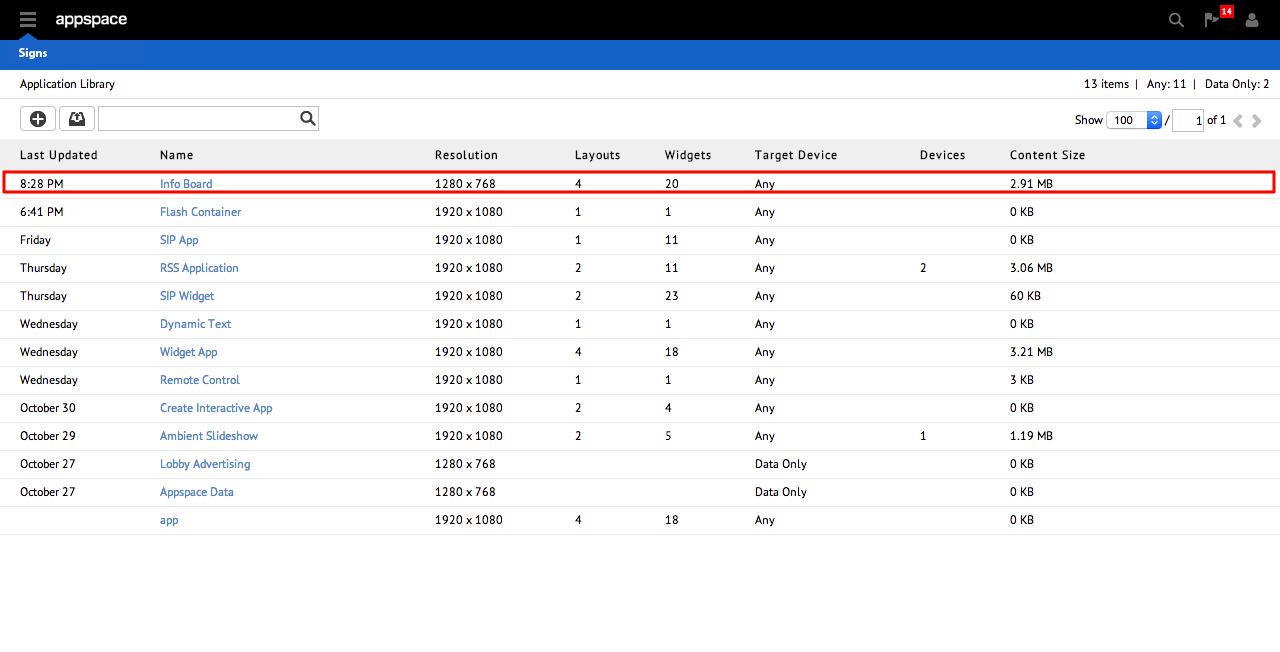
To configure application permissions, please follow the instructions below:
Click the application name link in the Application Library.
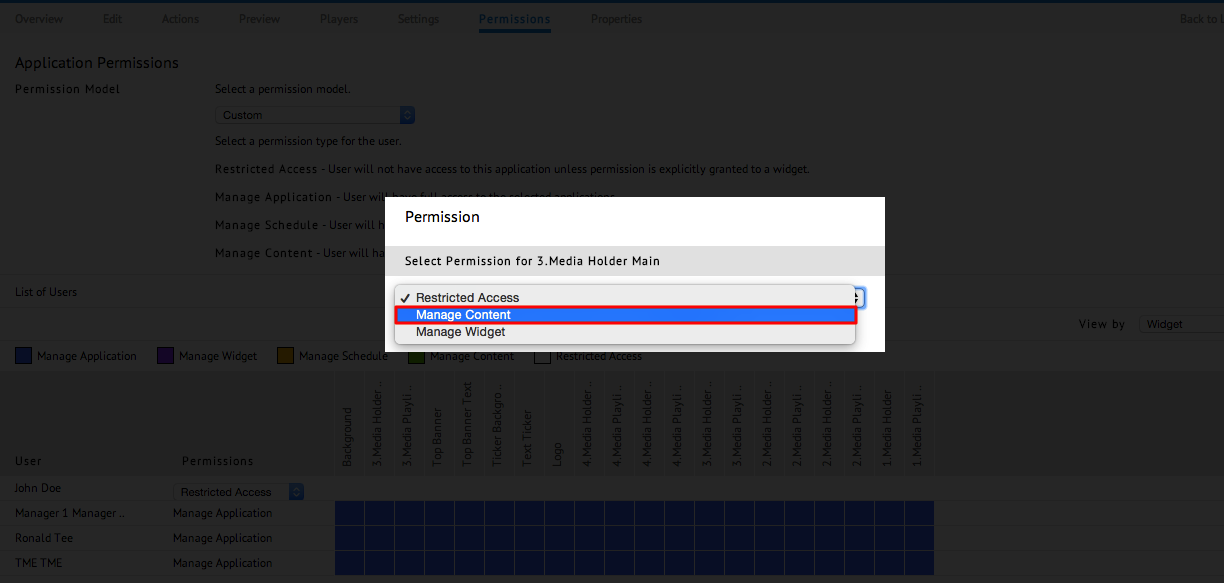
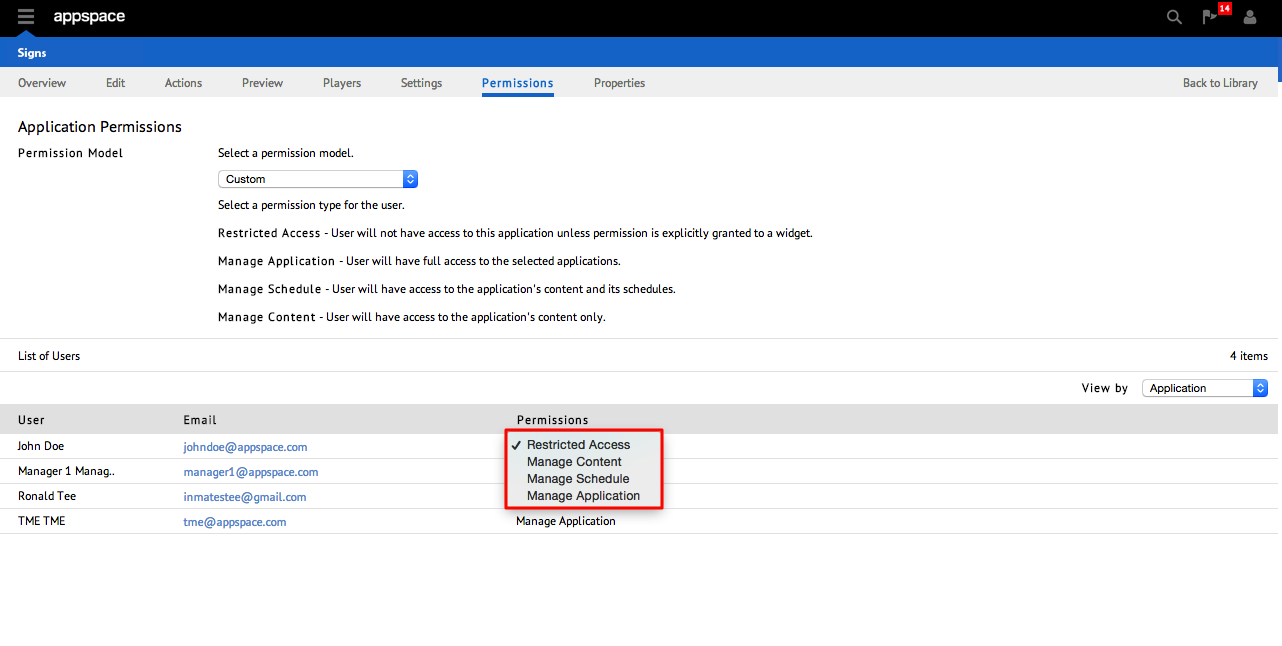
Click the Permissions tab.
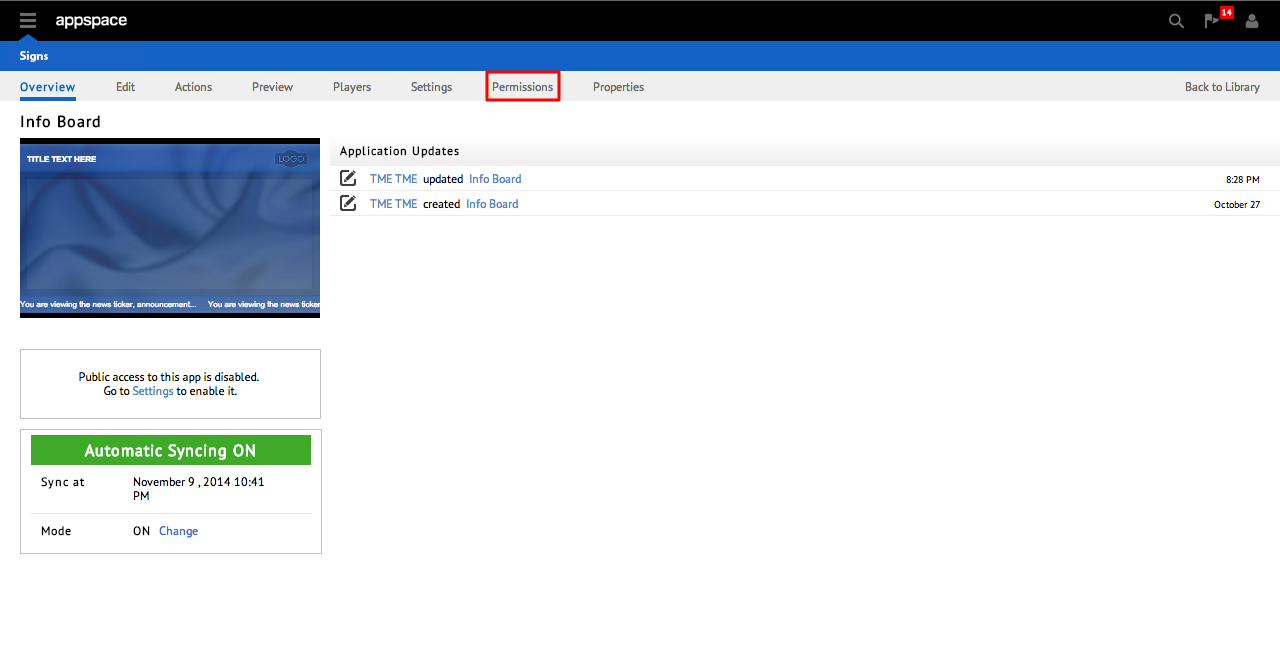
Select the user to apply the content approval workflow, and select the appropriate permission level from the drop-down menu.
Note
Set the permission of the user to Restricted Access to ensure that any content allocation by the user goes through the content approval workflow.
- Manage Application – The user will have full access to the selected application.
- Manage Schedule – The user will be allowed to manage only the application’s content and its schedules.
- Manage Content – The user will be allowed to manage the application’s content.
- Restricted Access – The user will not have access to this application unless permissions are explicitly granted to a widget.
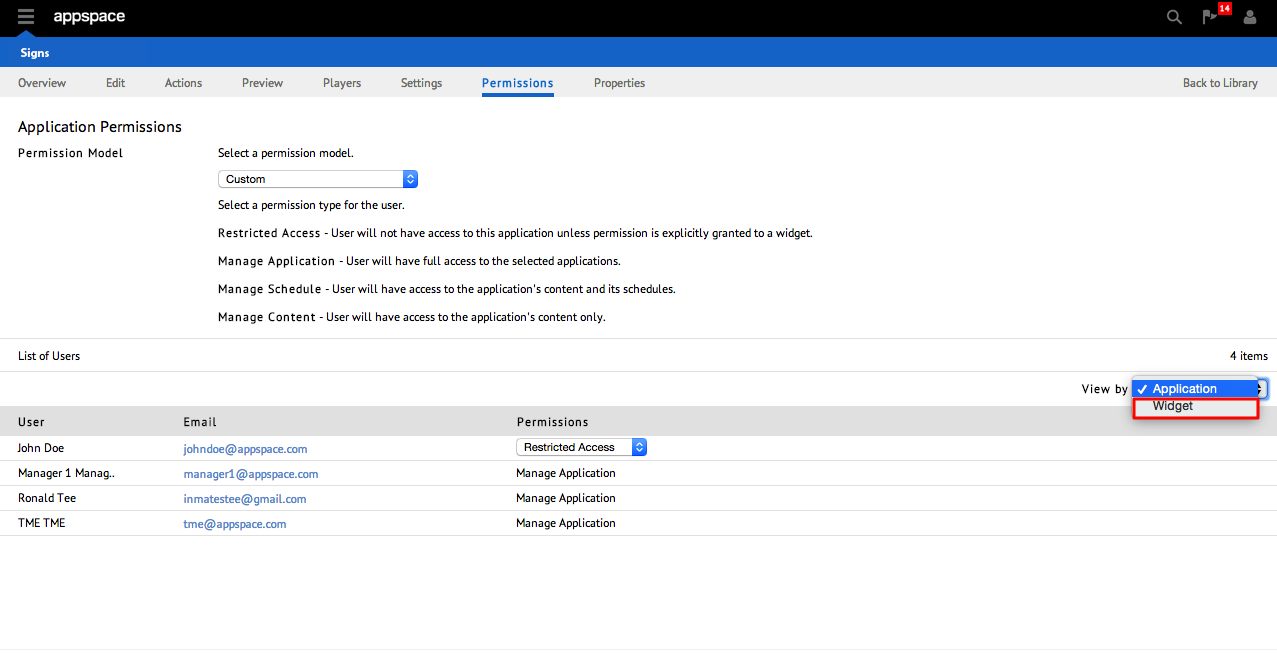
User access can also be configured on a per-widget basis, by selecting the Widget option from the ‘View by’ drop-down menu. The permissions matrix is color coded for easy identification of each permission level.
Select a user with Restricted Access, and click the + symbol icon in the corresponding cell of the widget.

Select the appropriate permissions for the widget, and click OK.