Managing Applications
This article provides the instructions to create, edit, and manage your applications within the Signs extension.
- Creating Applications
- Making Applications Interactive
- Importing Applications
- Exporting Applications
- Deleting Applications
Before you begin, please read the following articles Introduction to Signs, Application Creation Guidelines, and Introduction to Digital Media Applications.
Creating Applications
To create an application, please follow the instructions below:
Click the New Application button in the Application Library.
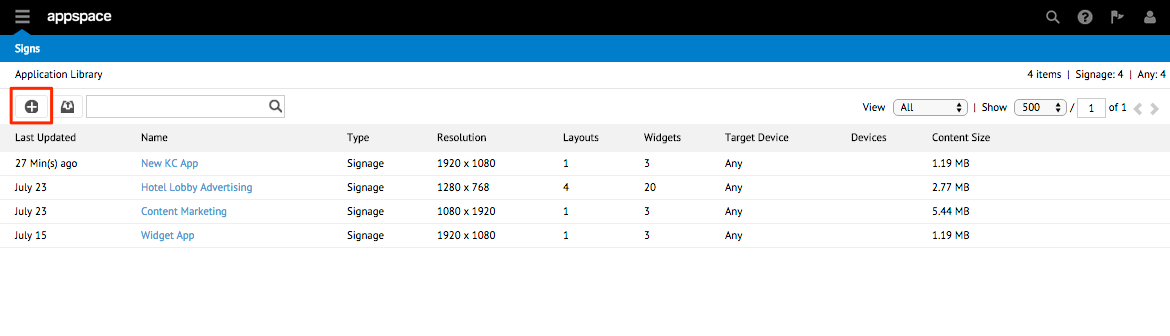
In the Create New Application window, select Signage from the drop-down menu and type an application name.

Note
With Signs 5.7, application names can now fit up to 255 characters.
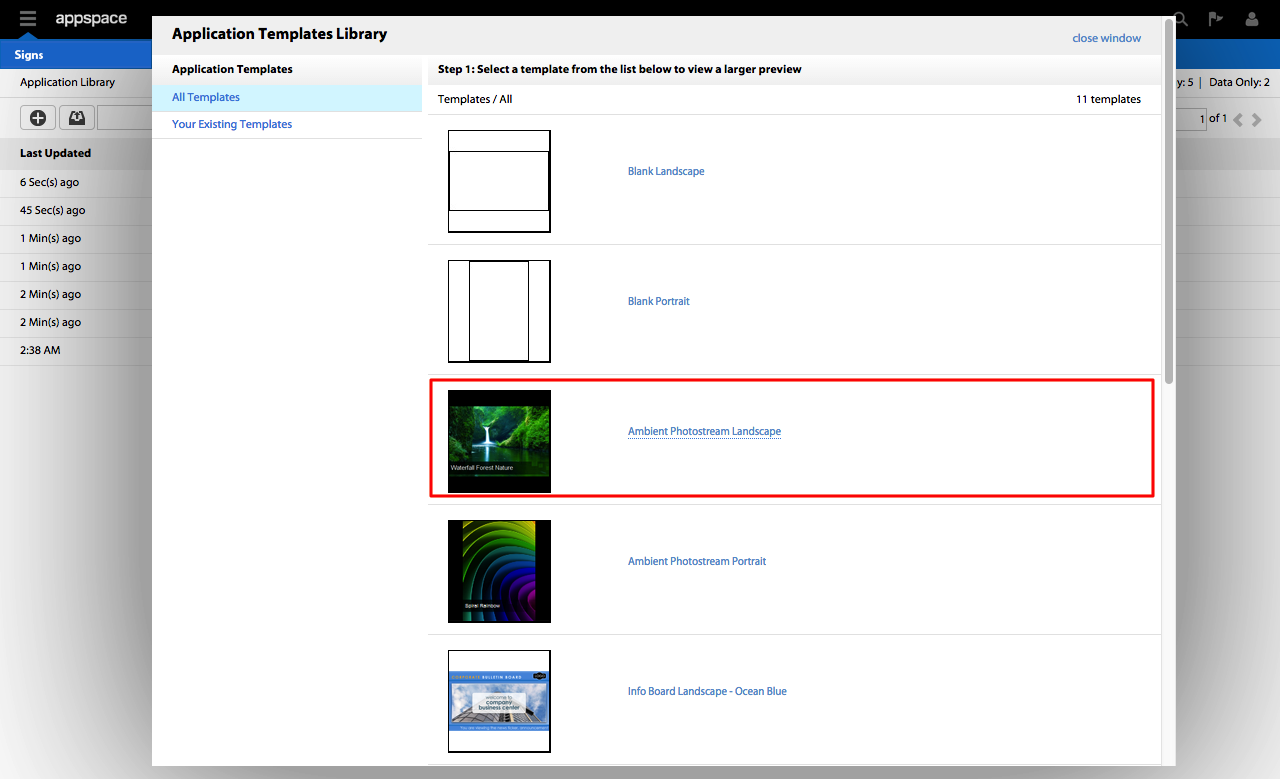
In the Application Templates Library window, select a template. Click the name link of the desired template for a preview of the application.
Note
The Application Templates Library contains a collection of predesigned application templates and previously used templates, which can be viewed by selecting the categories in the left column.
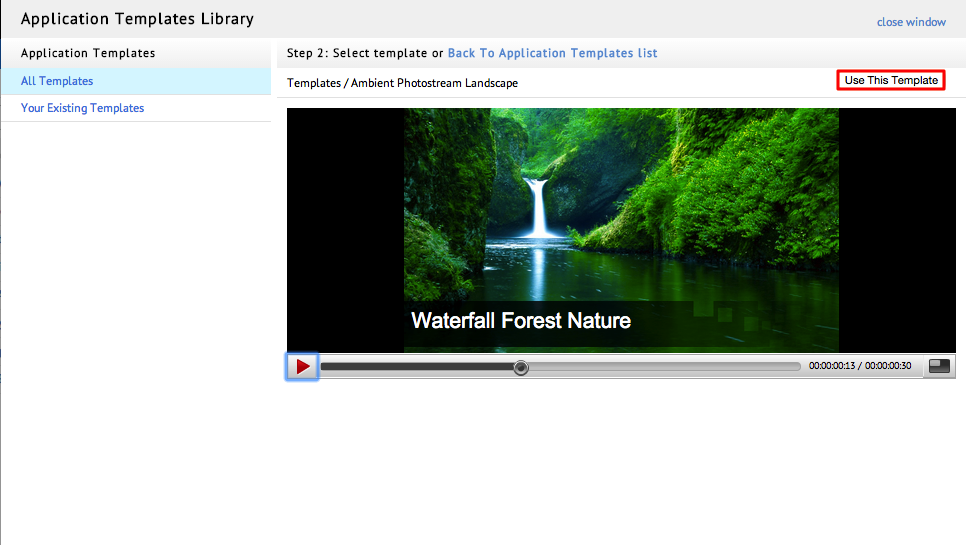
Click the ‘Back to Application Templates list’ link to view another template, or click the Use This Template button to select the current template.
Note
The playback bar below the live preview of the application allows you to play, pause, seek, and go to windowed mode to review the overall behavior and look of the template as time elapses.
The new application is created.
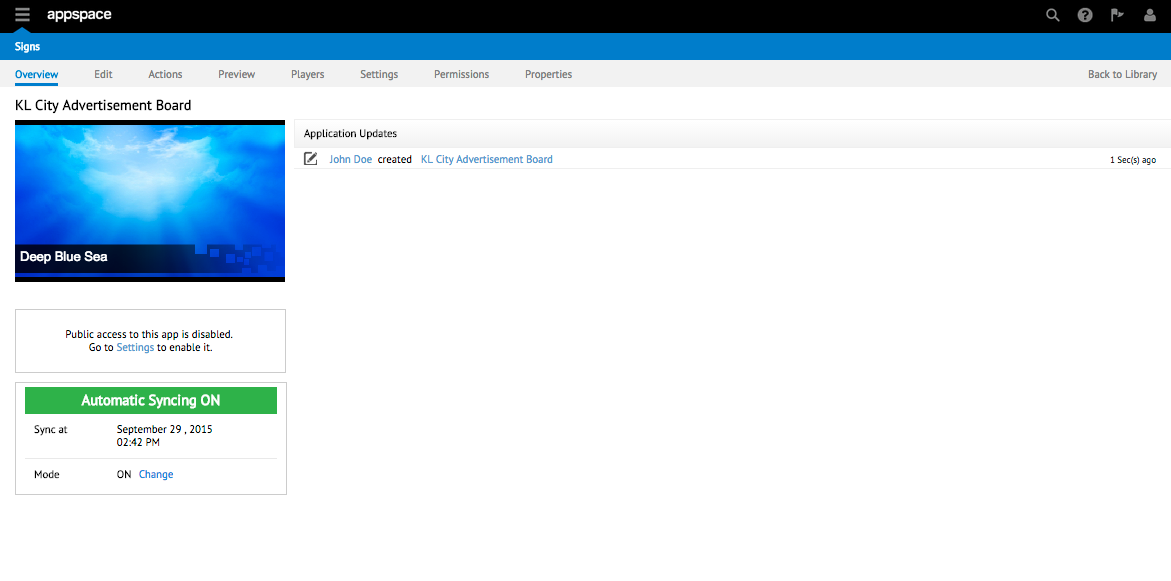
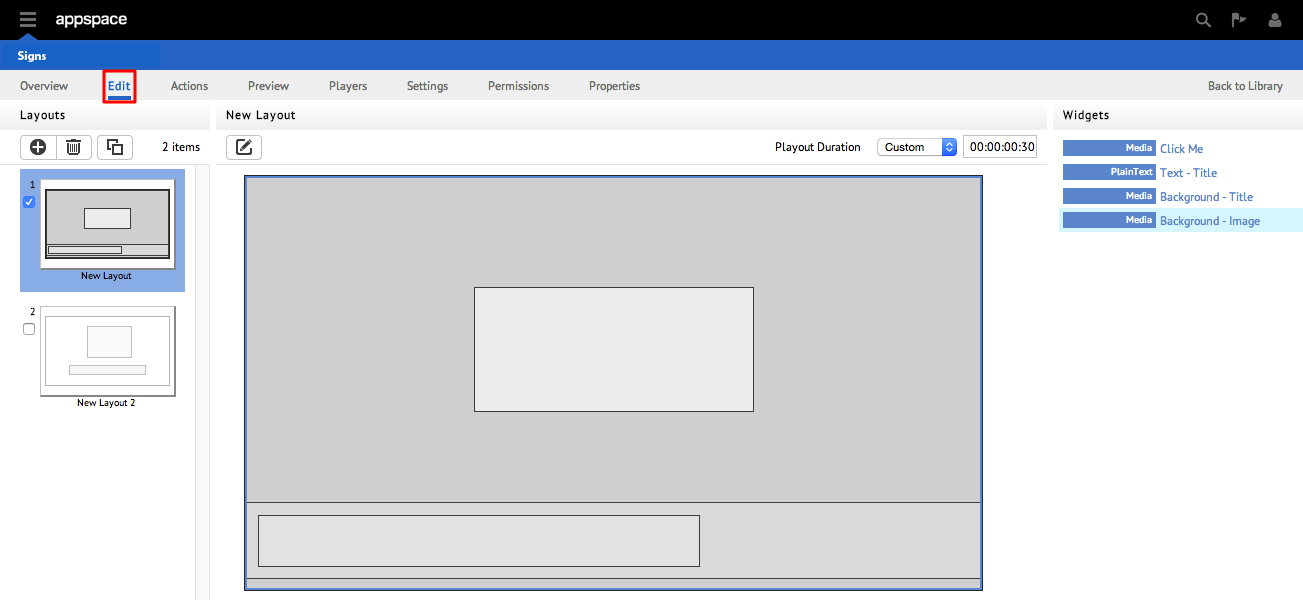
Click the Edit tab, and access the dashboard to edit the layout(s) for this application.
Note
To add an additional layout, click the New Layout button and input the layout name.
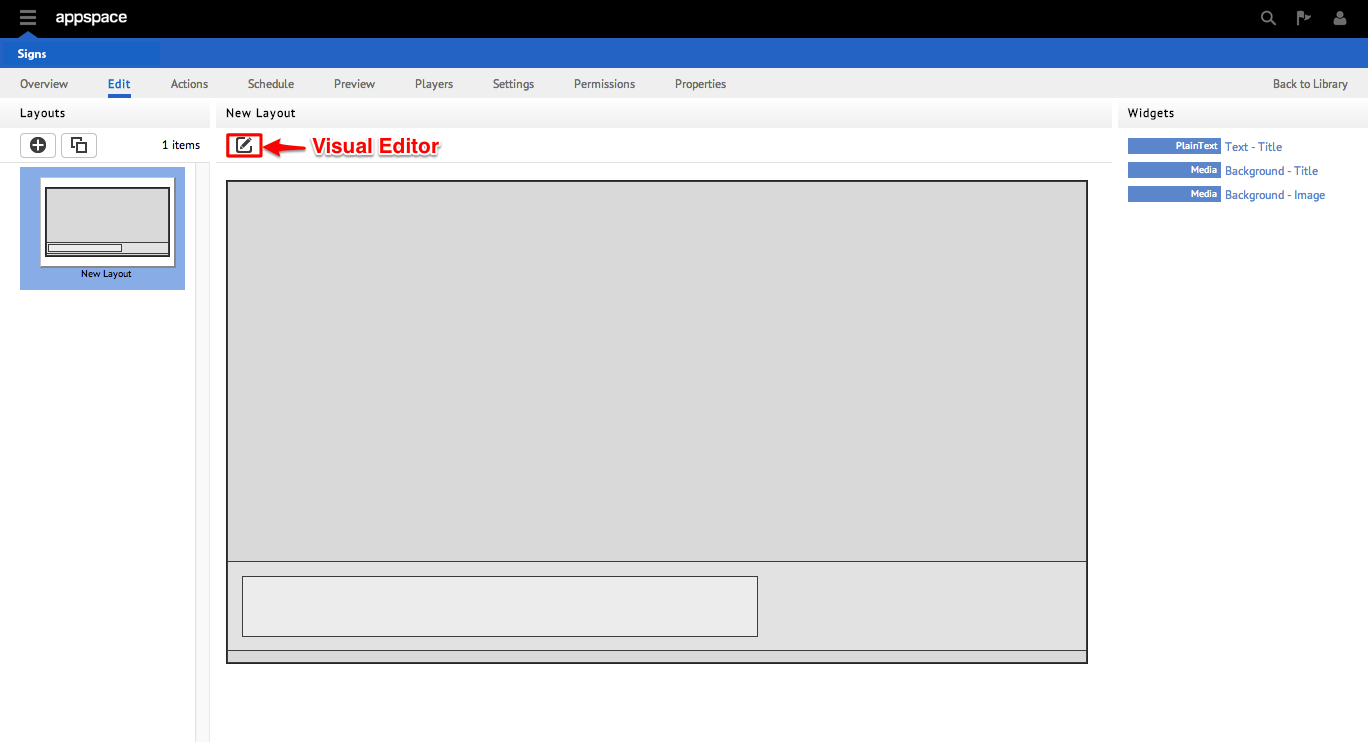
Click the Visual Editor icon to launch the Visual Editor, which is the primary app building tool and designer interface, that provides drag-and-drop layout editing capabilities and several app preview modes.
Click the ADD WIDGET button, and select the desired widget to add to the layout.

Once the widget has been added and customized, click the Save button.
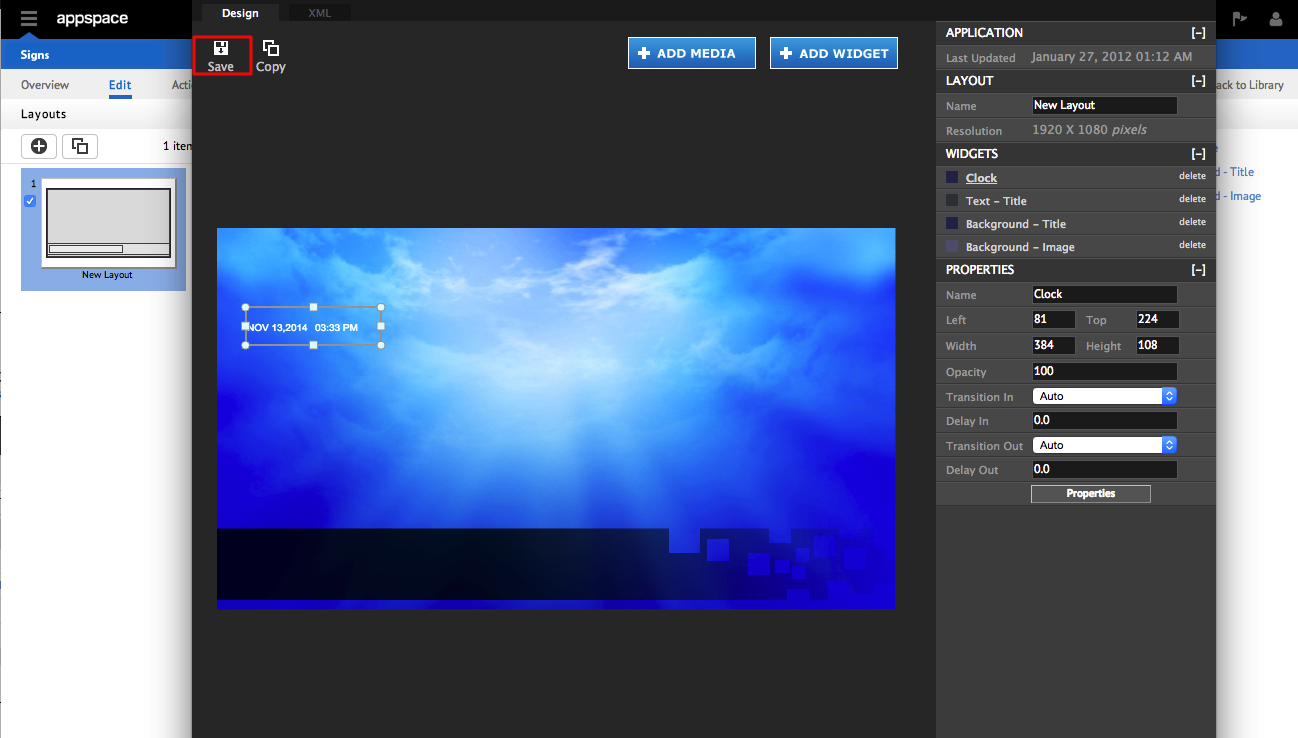
For more information on setting widget properties, please see Configuring Widget Properties.
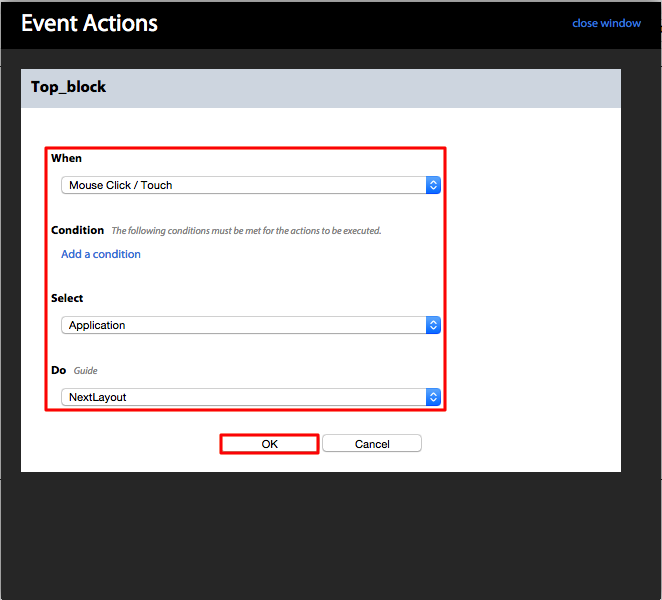
Making Applications Interactive
To make an application interactive, you can create an event that is triggered upon an action, from a widget or on an application layer. For example, when you click a button on your app, the action triggers a switch to the next layout.
To set these actions and conditions, please follow the instructions in the following articles:
Add an event action to your widget. Please refer to the Adding a New Action section in the Managing Event Actions in Widgets article.
Add an event action to your application. Please refer to the Adding a New Action section in the Managing Event Actions in Applications article.
Importing Applications
To import an application, please follow the instructions below:
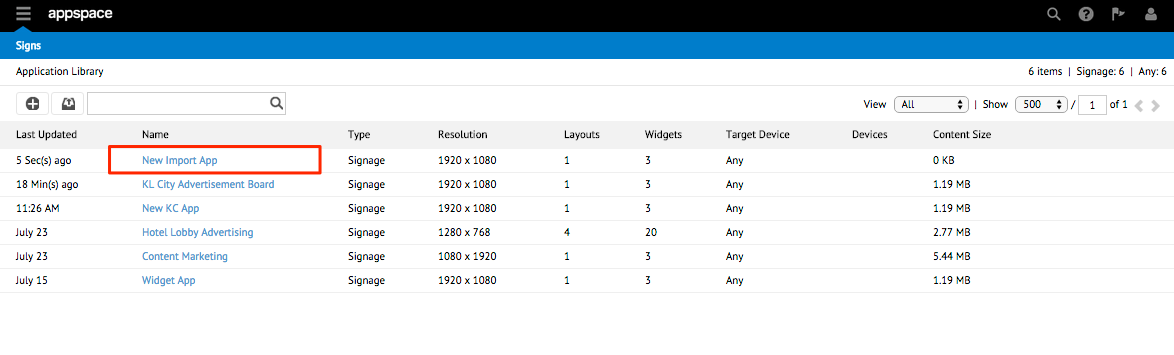
Click the ‘Import new application’ button in the Application Library to import an application.

In the Import Sign window, click the folder button to browse and select the application to import. The default file type is .aspkg

Name the application, and click OK.

The application should now be listed in the Application Library.
Exporting Applications
To export an Application, follow the instructions below:
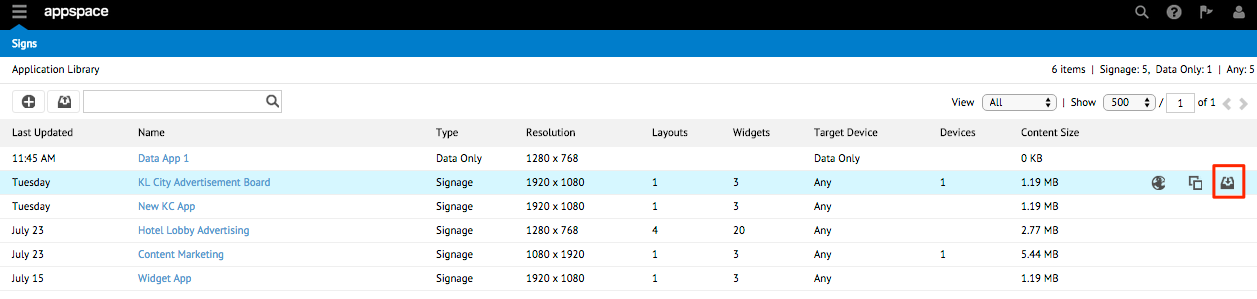
Select the desired application in the Application Library. When the application row is highlighted, click the ‘Export application’ button.
In the Export window, click OK. The application is exported as .aspkg by default.
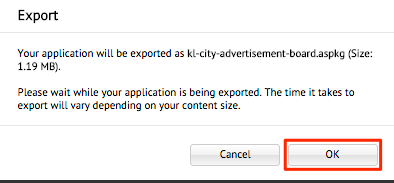
If prompted to save the file on your computer, choose a desired folder and save the file.
Deleting Applications
To delete an application, please follow the instructions below:
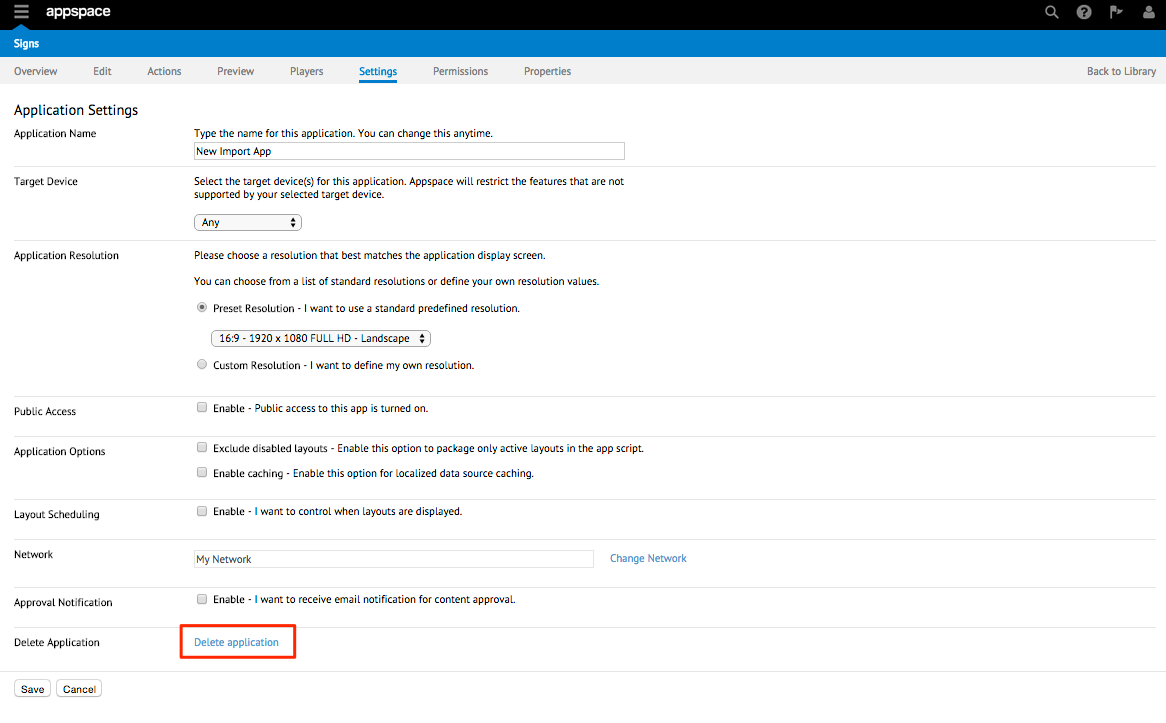
Click the application name link in the Application Library.
Click the Settings tab.

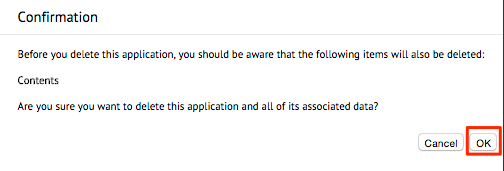
In the Application Settings page, click ‘Delete application’.
In the Confirmation window, click the OK button to confirm deletion.
Warning
Once applications are deleted, the action cannot be undone.
You are automatically redirected to the Applications Library, and the deleted application is no longer listed.