Getting Started with Users
Follow these quick steps to get started with the Users extension:
- Section 1: Creating Groups
- Section 2: Assigning Roles
- Section 3: Adding and Inviting Users
- Section 4: Accepting Invitations
Section 1: Creating Groups
Within the Users extension is the ability to define user groups. A group is a shared identity and is a collection of different users. A group will typically have at least one role defined/assigned, of which all users within that group will inherit said role(s). In addition to the common group role, a user will still have the ability to be assigned additional specific roles.
User groups are typically created and defined to separate users with different responsibilities. Organizations may differ greatly with respect to the way they choose to organize their users. Some may choose to have only one or two main groups defined, while others may choose to separate their users out into many several groups based on their exact duties or job titles – each with different roles and levels of accessibility.
Note
Each user may only belong (be assigned to) one user group.
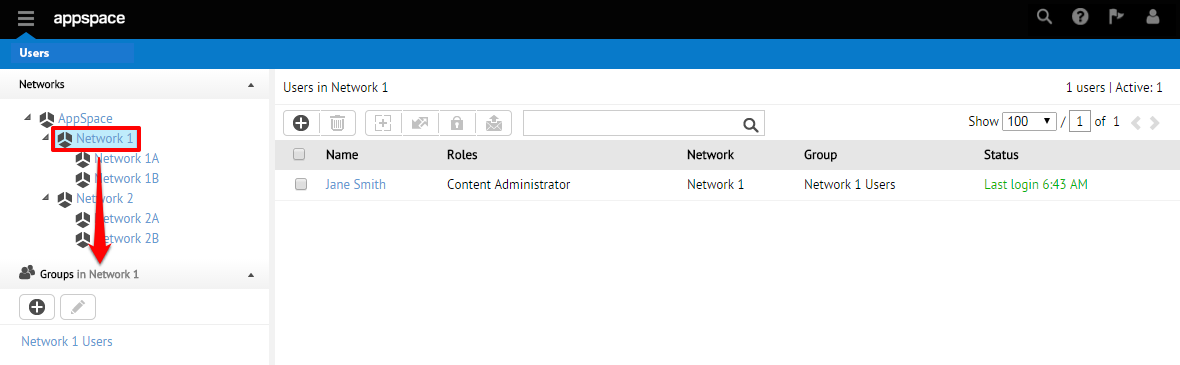
Select the desired parent network or subnetwork, in which to create the user group. The Groups section reflect the selected network or subnetwork immediately.
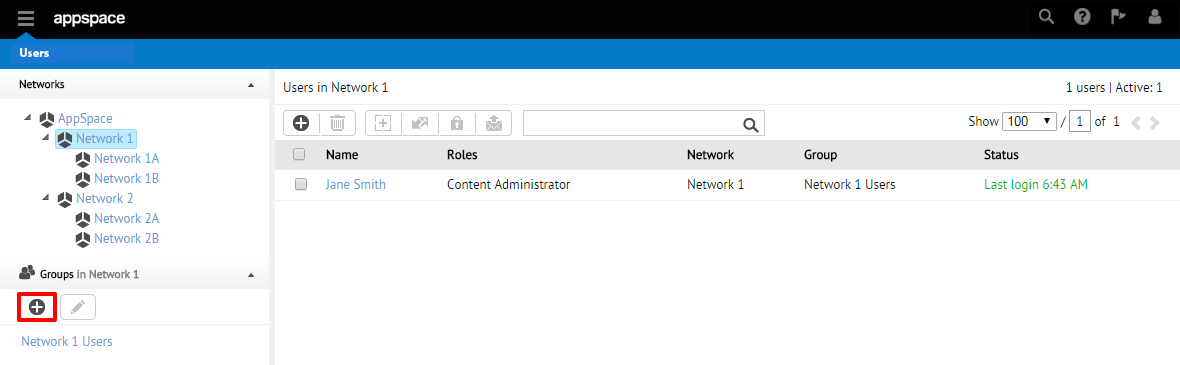
Click the Add User Group button to add a new user group to the selected network or subnetwork.
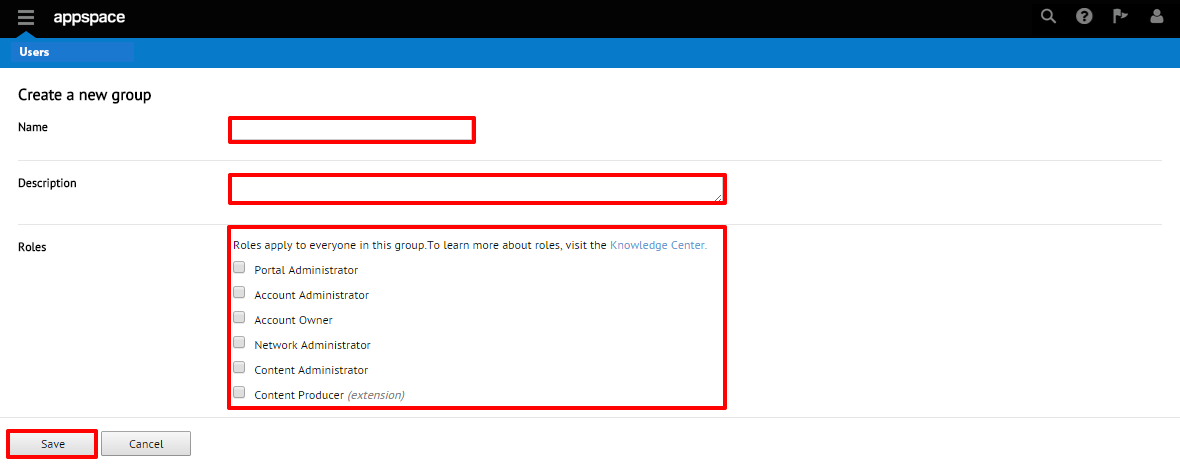
On the ‘Create a new group’ page, complete the Name and Description fields, and select the desired roles. These roles and their permissions will be inherited by all users in this group. Click Save to finish creating the new group.
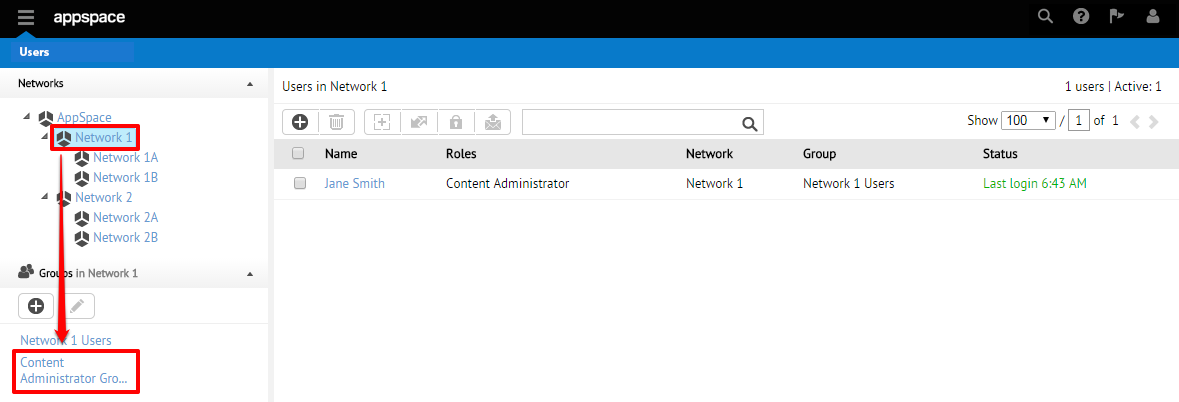
Your newly created group will now be visible when the network it belongs to is selected.
Section 2: Assigning Roles
There are several predefined system roles that provide different permission levels based on common workflows in Appspace such as managing applications, content administration, and network administration.
Note
For a comprehensive guide on the roles along with their extension accessibility, please refer to the Group and User Roles article.
As previously described, all roles that are assigned to a particular group will be applied to every user within that group. The group roles are defined during the group creation process (see Section 1 – Step 3 above).
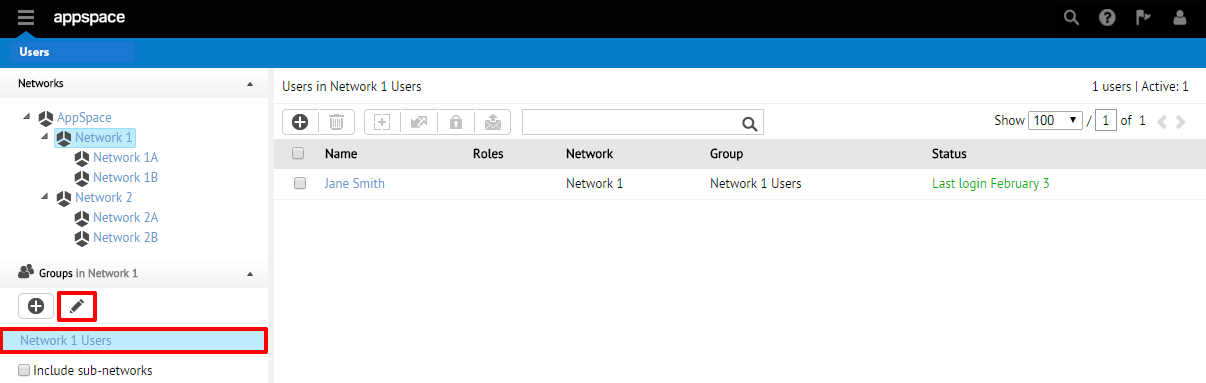
From the home page of the Users extension, begin by selecting the group for which you wish to edit (you will likely first have to select the appropriate network from the hierarchy tree). Click on the pencil (Edit Group) icon.
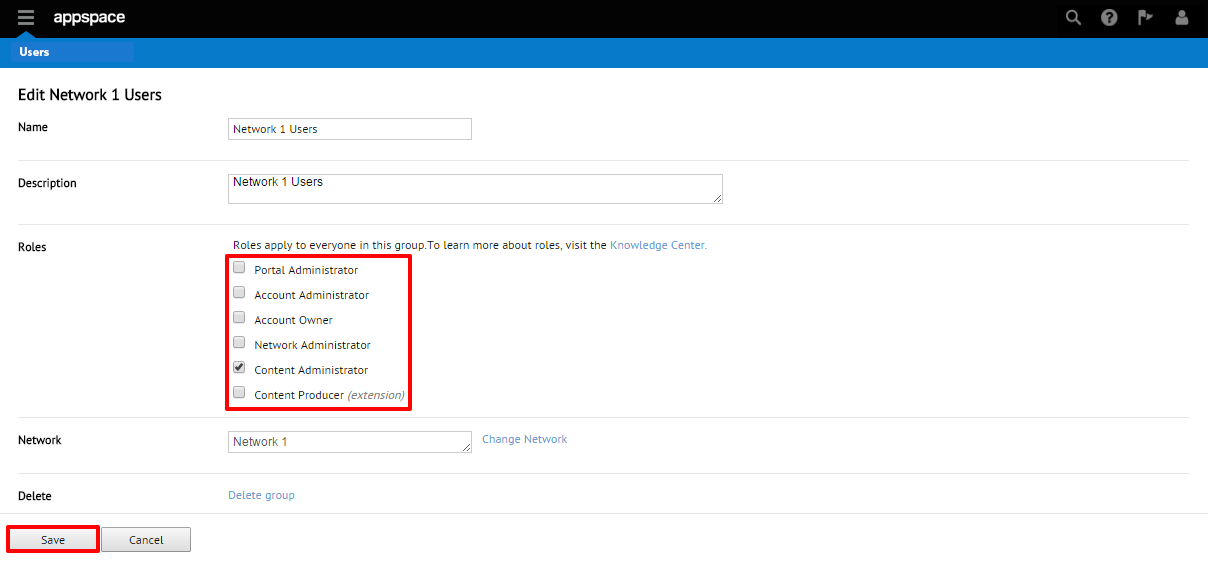
In the Roles field, check the box(es) of the desired role(s) that all users of this group will inherit. You may select multiple roles for the group. When finished, click the Save button.
Note
If you are adding roles to a group that already contains users, those users will instantly and automatically inherit the newly added roles.
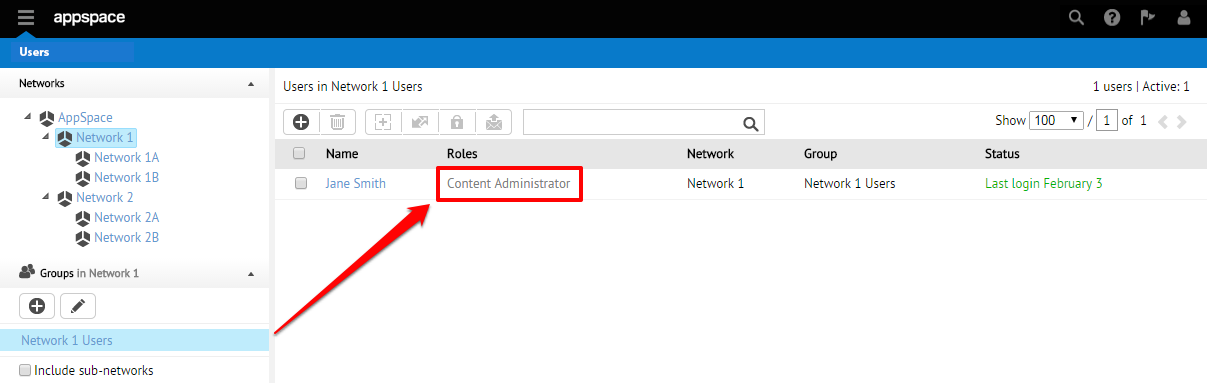
Back on the main Users extension, you should now notice that all users within the group should be properly assigned/inherited the newly added role(s).
Assigning (Additional) Roles to Users
In addition to the group-inherited roles, users may be granted additional roles. This option is first available during the user invitation process (see Section 3 – Step 2 below) but may be further edited at a later point in time.
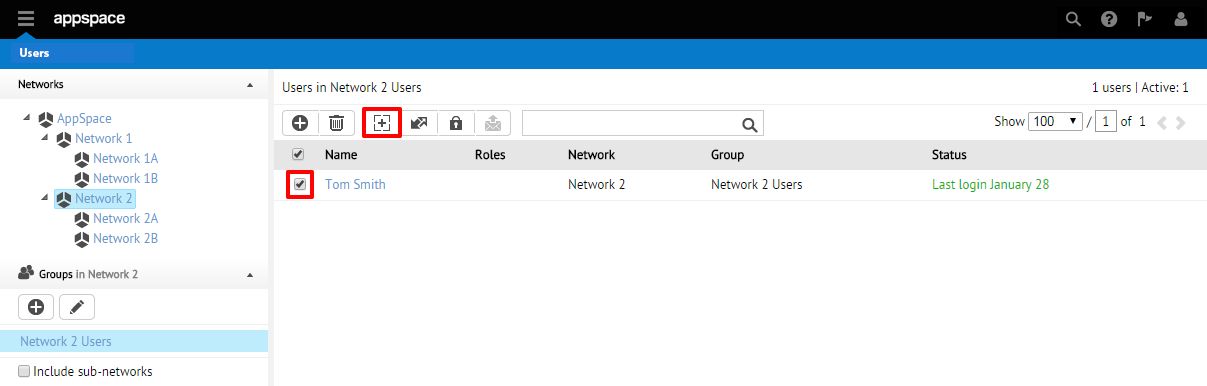
From the home page of the Users extension, find the user for which you would like to adjust roles for (you may have to first select the appropriate network and user group for the list of users to be properly displayed) and check the box next to their name. Proceed by clicking on the + (Assign User) icon.
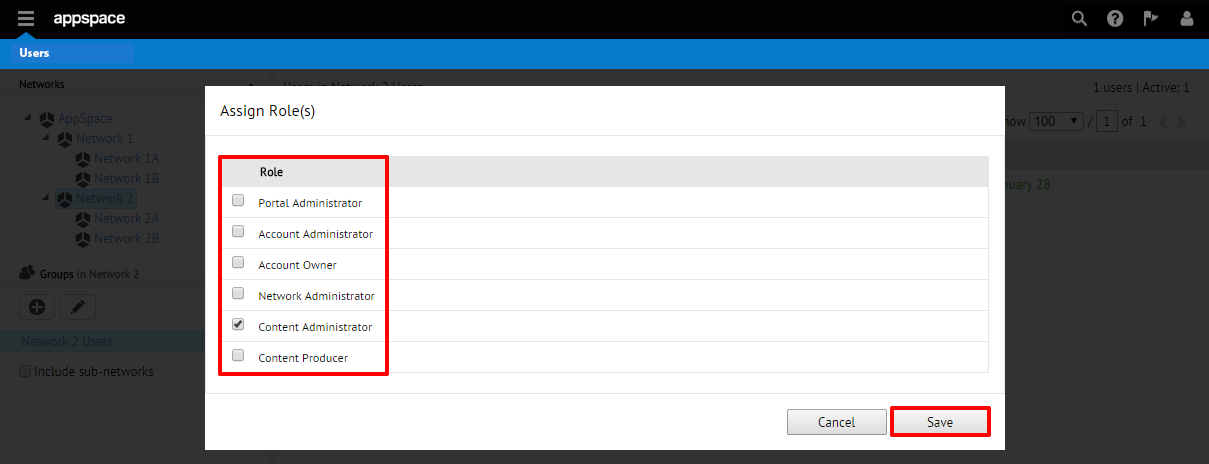
On the Assign Role(s) window, check the box(es) of the desired role(s) that you would like to assign to this user. You may select multiple roles for each user. When finished, click the Save button.
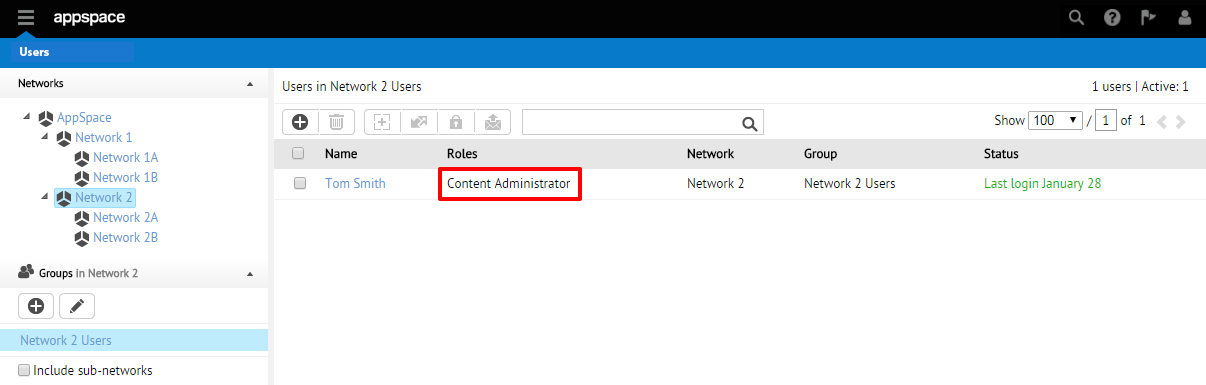
You should now see the table listing reflect the newly added role(s) for this user.
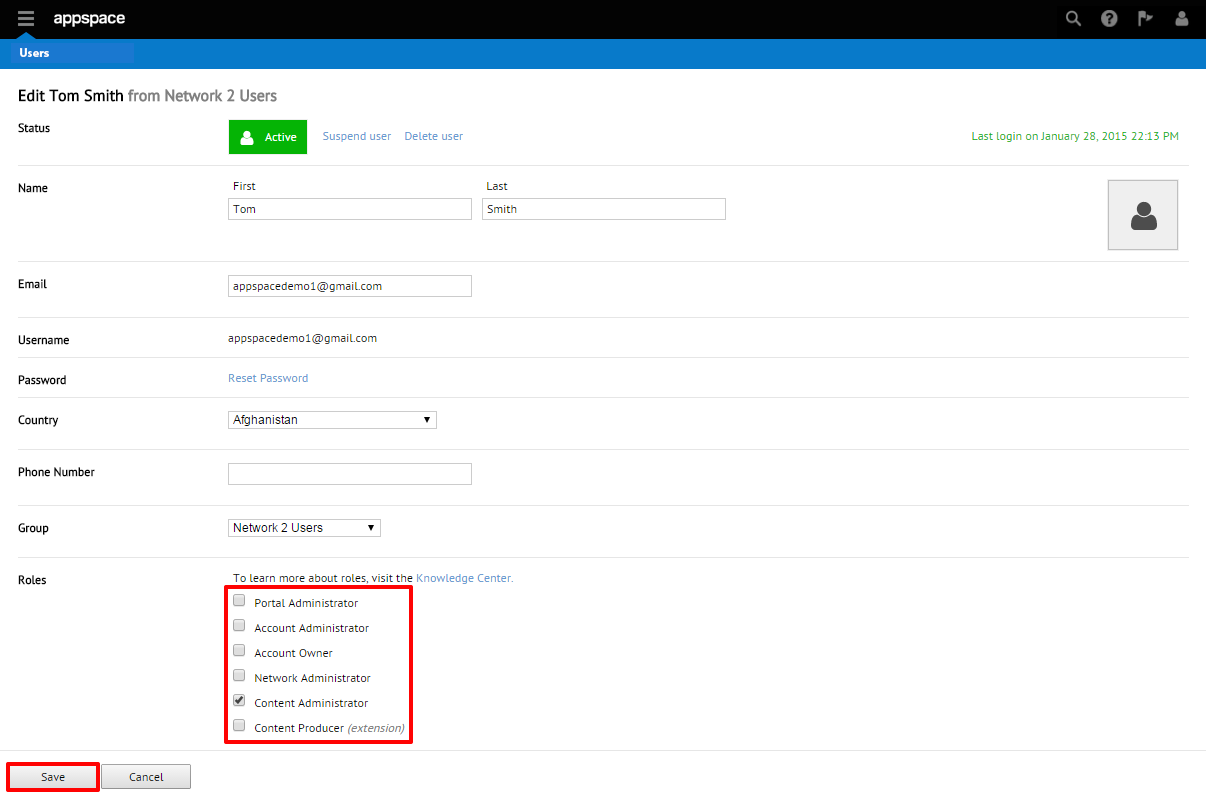
Alternate User Role Assignment Method
An alternate method to assign role(s) to a user is located on the Edit User page. The Roles field contains boxes for which you may check to assign role(s) for the user. Once you have finished, be sure to click Save to confirm your changes.
Section 3: Adding and Inviting Users
Every individual user who logs into an Appspace server (on-premise or Cloud) is defined by their own set of login credentials, profile information (name, phone number, e-mail address), and subject to the roles that they inherit according to the user group that they belong to. In Appspace Cloud, the workflow of adding users to groups within your network begins with the invitation workflow of selecting the proper group and sending out the invite via e-mail.
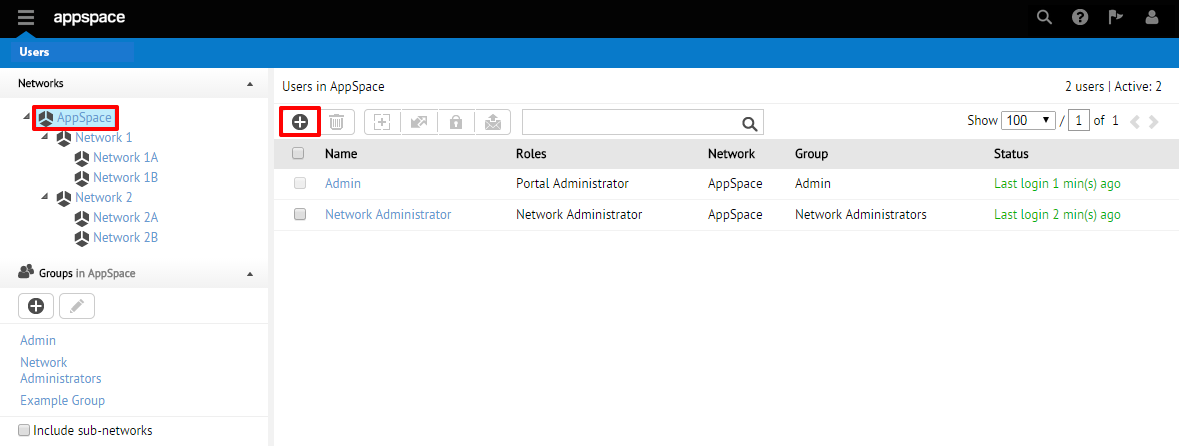
From the Users homepage, begin by selecting the network that contains the user group that you would like to invite new users to join. In the main user listing area, click on the + (Invite Users) icon from the toolbar.
On the Invite Users window, proceed to enter the e-mail address of the user to be invited. Proceed to select the correct Group from the drop-down menu for which this user is to be added to.
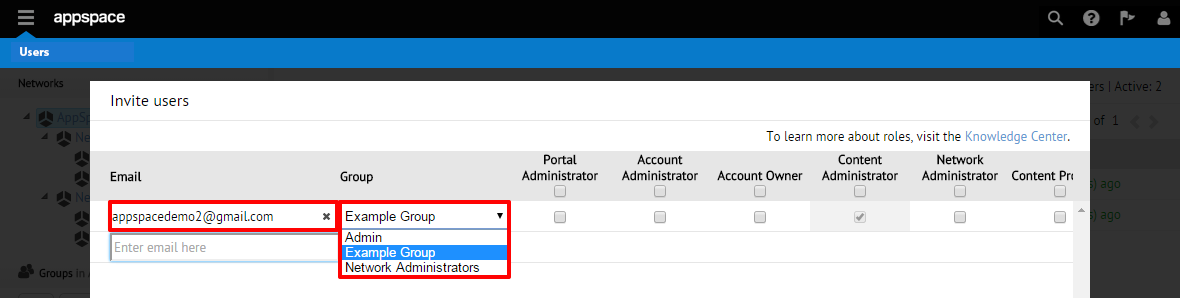
Note
If you do not see the desired group from the drop-down menu, it is because you did not select the correct network or subnetwork that contains the desired user group in step 1. You must return to the network tree to select the correct network or subnetwork.
Once the group has been selected, you have the option to add additional roles to this user. Some of the roles may already be checked (grayed out) by default – this reflects the roles that will be automatically inherited based on the group that has been selected. When finished, click the Send button to send out the invitation(s).
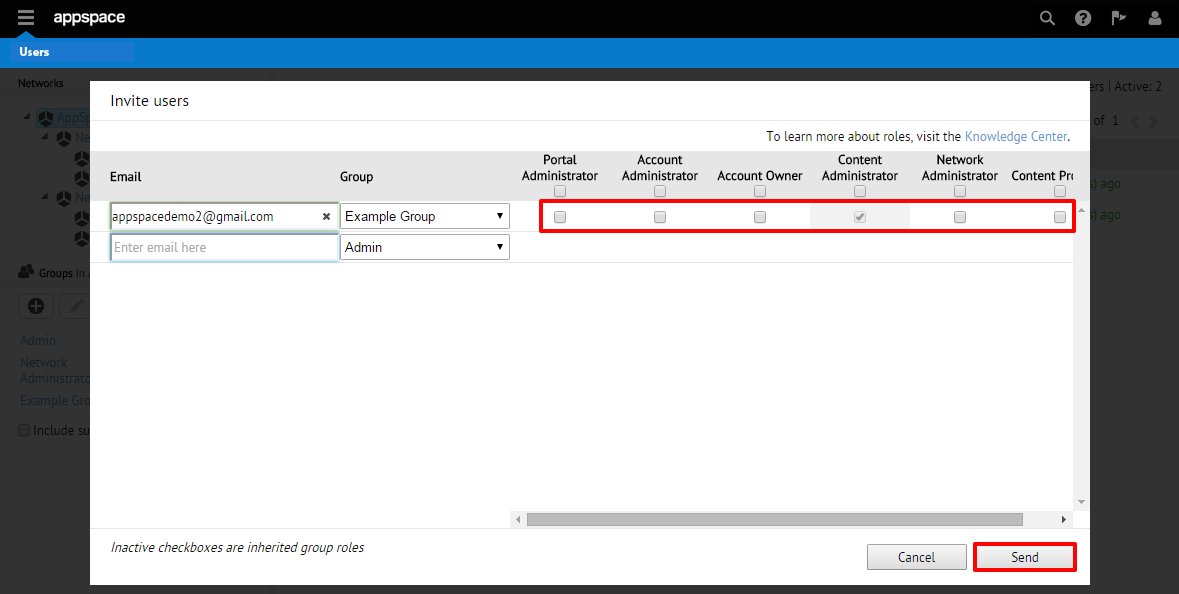
Note
You may choose to repeat this process using additional rows to send out multiple invitations at the same time.
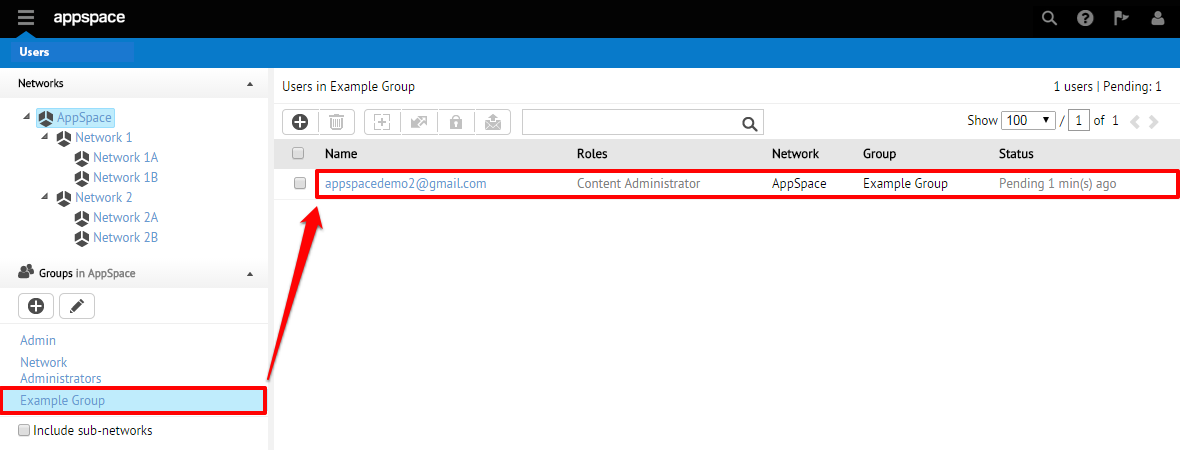
Back on the Users homepage, you should be able to confirm the successful invite that was sent by clicking on the appropriate user group. These invites will appear with a “Pending” status.
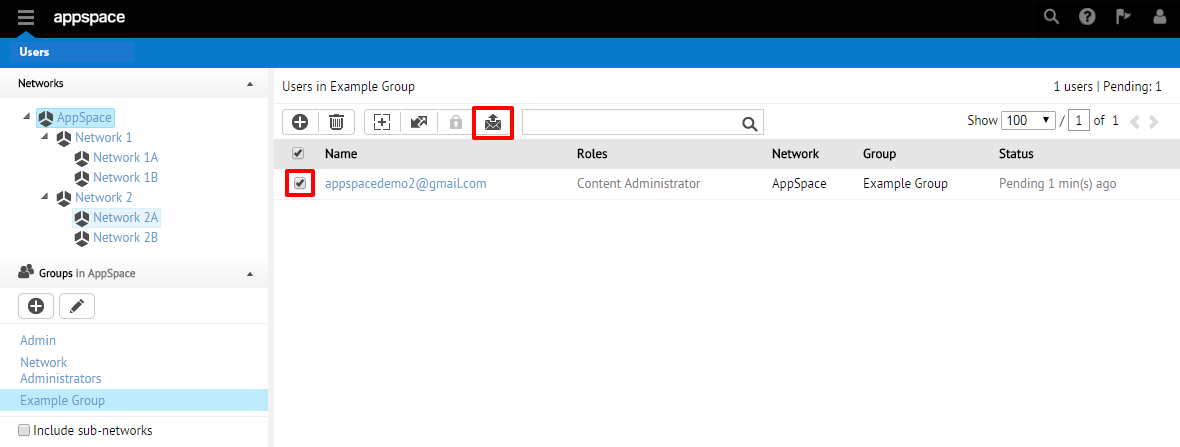
Optional: Resending Invitations
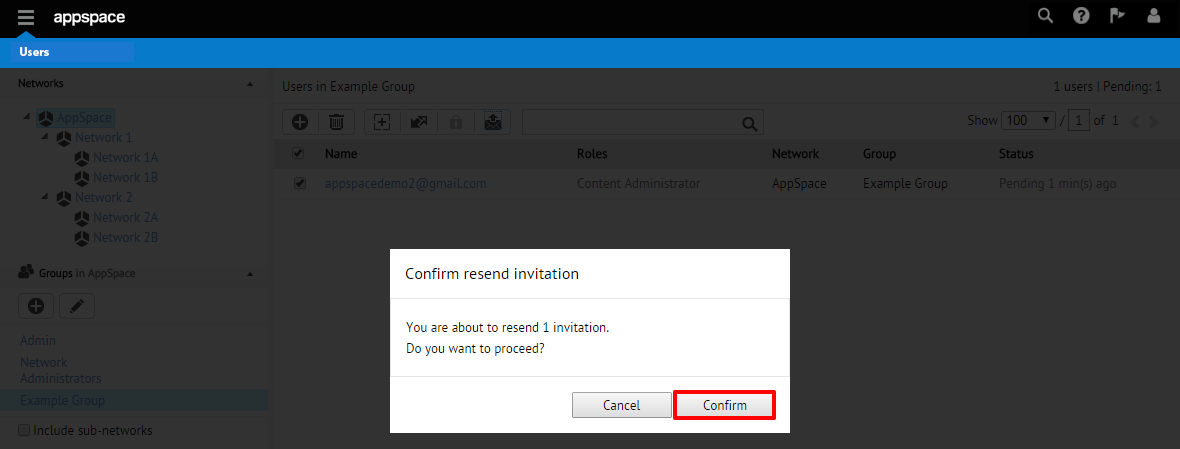
Should there be a need, administrators have the ability to resend invitations from the user listing section. Select the user(s) to resend the e-mail invitations by checking the box(es) next to them. Click the Resend Invitations icon from the toolbar to continue.
A pop-up window will ask you to confirm before resending the invitation(s). Click Confirm to complete the process.
Section 4: Accepting Invitations
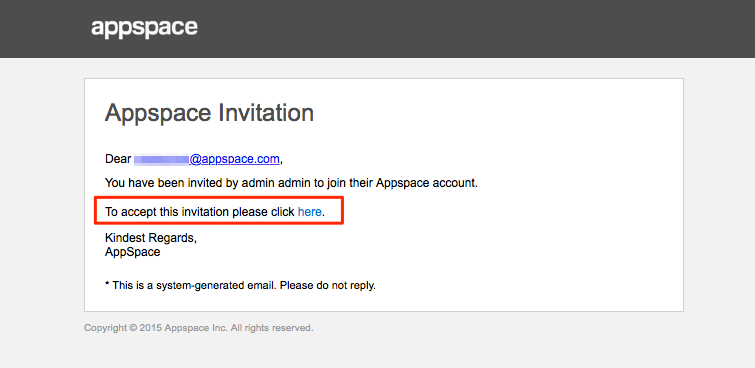
Once the invitations are sent out, the user(s) invited will receive an Invitation e-mail from Appspace.
In the email received, click ‘here’ to accept the invitation. You will be prompted to to login to your account or create an account if you do not have one.
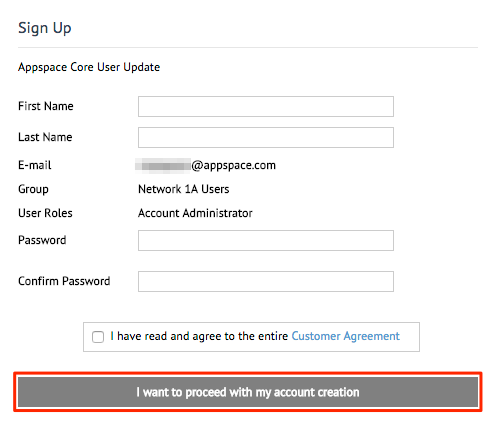
In the Sign Up page, fill up the necessary fields, check the ‘I have read and agree to the entire Customer Agreement’ check box, and click ‘I want to proceed with my account creation’.
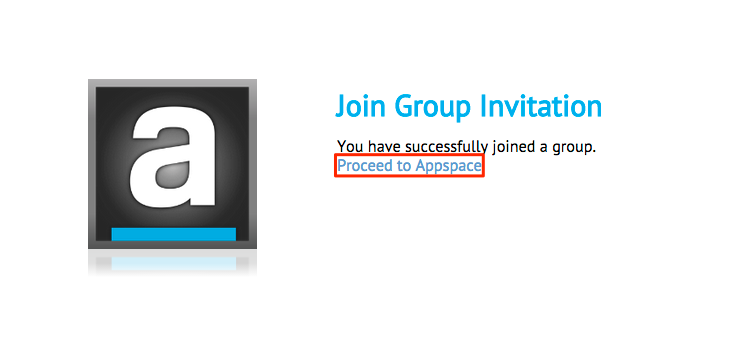
If successful, in the Join Group Invitation window, a message confirming the the join is displayed. Click ‘Proceed to Appspace’ to login to the Appspace server and access your user group.
Note
If unsuccessful, repeat steps 1 to 3 above.
Recap
You should now be familiar with the Users extension and be able to:
- Create user groups.
- Understand the various available roles.
- Assign roles to users and groups.
- Invite users to groups.
- Accept group invitations.