Introduction

In this guide, you will learn about inviting your coworkers to Appspace so that you can grow beyond a single-person operation. As the number of content and devices continue to grow, you will need a team of people to be able to manage the different parts of your organization’s content and deployment strategy.

Before you start inviting coworkers, it is best to plan how your coworkers will be using Appspace. By knowing the kind of users your coworkers will be, you can put them into user groups that best reflect their roles.

In general, most organizations will typically have at least two groups of people: the ones who manage the workplace infrastructure such as IT and AV administrators, and the ones who manage content such as brand owners and communicators. You can also create groups based on team function (e.g. IT/AV Admins and Corporate Comms). Ultimately, how you organize user groups is up to the structure of your organization.

Prerequisites

Before you begin, ensure that you have the following ready:

  • You will need an active Appspace cloud account.
  • You will need the Account Owner or Network Administrator role to be able to assign permissions

Create user groups

To start creating user groups, follow the steps below.

Navigate to the Users workflow

In the Appspace Console, navigate to the Users workflow from the main menu.

1

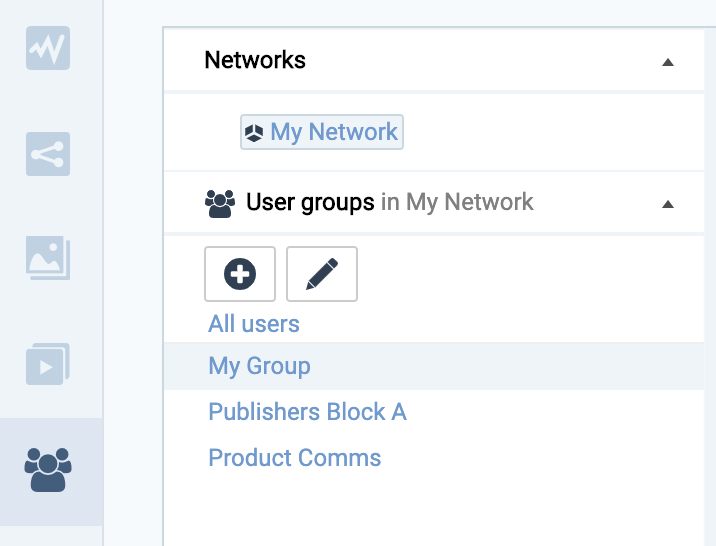
Create a new user group

By default, there is a user group called My Group that you automatically belong to. You can choose to create additional user groups as desired.

  • Click on the (+) button to create a new user group.
  • Give a name and description for your new user group.
2

Option to enable the library

Optionally, you can also enable the user group’s library. By enabling the library for the user group, team members in that group will have access to their own content library. If it is important for different teams to have their own libraries, you can enable this feature.

3

Multiple user groups

If you have people that belong to more than one team, Appspace supports the ability for a person to belong to more than one user group.

4

To the next part

Now that you have created user groups, you can start inviting your coworkers into the appropriate user groups.

Invite coworkers to user groups

To start inviting your coworkers, follow the steps below.

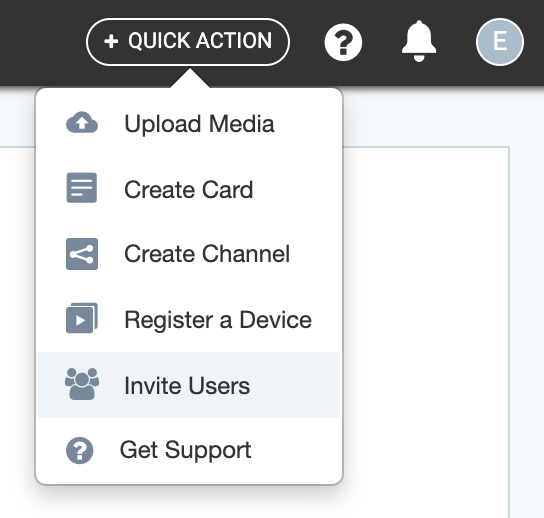
Start inviting users

Click on Invite Users from the Quick Action menu to start inviting users to your Appspace account.

1

Enter email addresses

Enter the email addresses of coworkers that you want to invite. The email addresses you enter here will all map to the user group that you will set in the next step.

Enter the name of the user group that you have created. The form will automatically search for valid user groups based on what you type.

2

Send the invitation

Click on the Send button to complete the process. Your coworkers will soon receive the Appspace invitation emails for them to activate their user accounts.

3

To the next part

Once your coworkers are registered as Appspace users, you can give them full administration permissions to manage everything in Appspace, or you can give specific permissions so that they can focus on specific tasks. The next part talks about permissions.

Permissions to manage content

As you have learned from previous guides, creating and publishing content revolves around channels and channel groups. You can grant permissions to your coworkers to manage content through two roles: Publisher and Editor.

To assign who gets publisher or editor permissions for a channel, follow the steps below.

A publisher will have full read, write, and delete permissions on a channel. A user with publisher permissions can change, edit content, and update settings for this channel.

An editor can only edit and manage the content in a channel, based on the approval rules applied to the channel in the Approvals tab.

Navigate to the Channels workflow

In the Appspace console, navigate to the Channels workflow and select the desired channel.

1

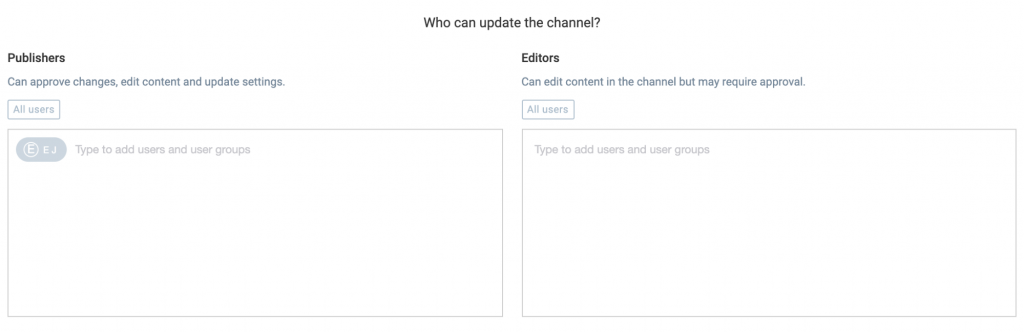
Set channel permissions

To set permissions for the channel, click on the Settings tab at the right, and then click on the Permissions tab underneath.

Enter the users or user groups that you want to give publisher or editor permissions in the appropriate sections.

2

Apply permission settings

Click on the Save button to apply the permission settings.

Now that your coworkers have been assigned as either publishers, editors, or both, they can start managing content in the desired channels.

3

To the next part

Once your coworkers are registered as Appspace users, you can give them full administration permissions to manage everything in Appspace, or you can give specific permissions so that they can focus on specific tasks. The next part talks about permissions.

Permissions to manage devices and networks

In Appspace, the role that is typically given to a facilities team member or IT personnel is the ability to manage devices and networks, which primarily involves registering and configuring devices that are running the Appspace App.

To assign permissions for managing devices and networks, follow the steps below.

Navigate to the Devices workflow

In the Appspace console, navigate to the Devices workflow.

Click on the Networks tab to access the current network. By default, your Appspace account will have a single network for all of your devices and device groups.

1

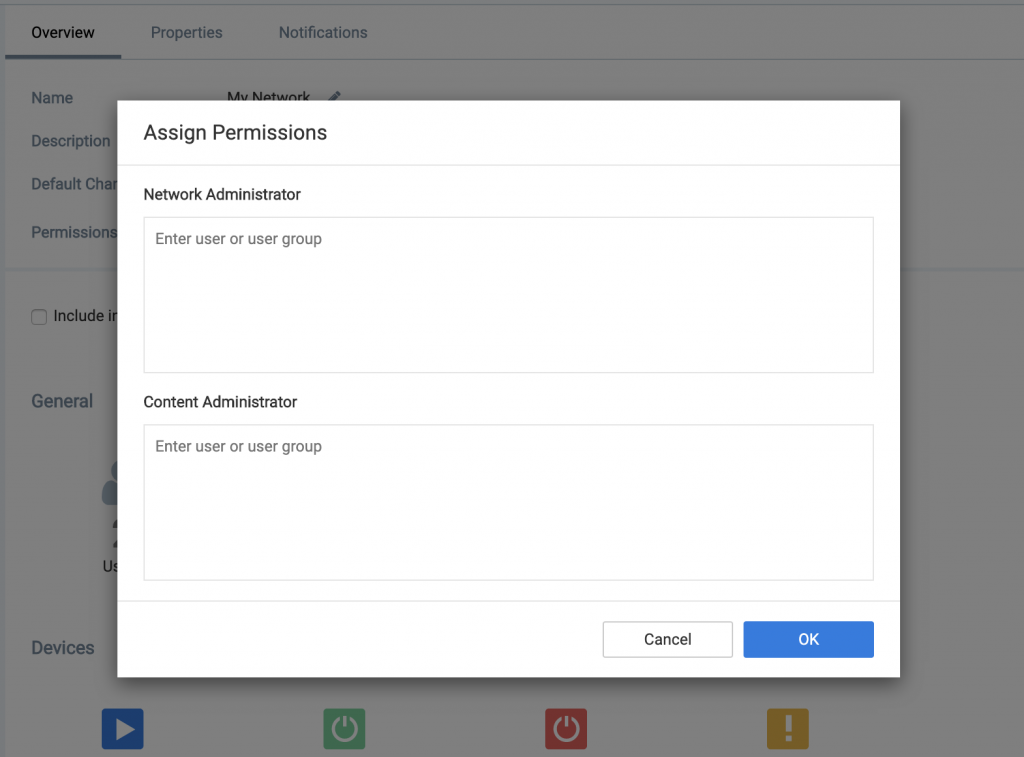
Start assigning permissions

In the Overview tab of your selected network, click on the Assign hyperlink to assign permissions.

Under the Network Administrator permission block, enter the users or user groups that you want to assign.

2

Apply permission settings

Click on OK to apply the permission settings for the network.

Now that you have assigned the Network Administrator permission to your facilities or IT team members, they can go ahead and start registering and managing devices in the network.

3

Congratulations!

You have successfully assigned permissions.

Now that you know how to set a range of permissions to different users and user groups, you can start growing your team.

What's Next?

With the ability to invite your coworkers to Appspace, and assigning them with task-oriented permissions, you now have the ability to scale your team to manage a continuously growing amount of content and new devices.

As you gain more experience with Appspace, you will want to start looking at more advanced topics in the Appspace Knowledge Center.