This article provides the instructions to create a user group, move the group to a different network, and assign existing users to individual or multiple user groups.
Prerequisites
- You must be one of the following users:
- Account Owner
- Network Administrator
Create a User Group
- Click Users from the Appspace Menu navigation bar, and select a network from the Networks section.
- Click the Add user group button in the Groups section.

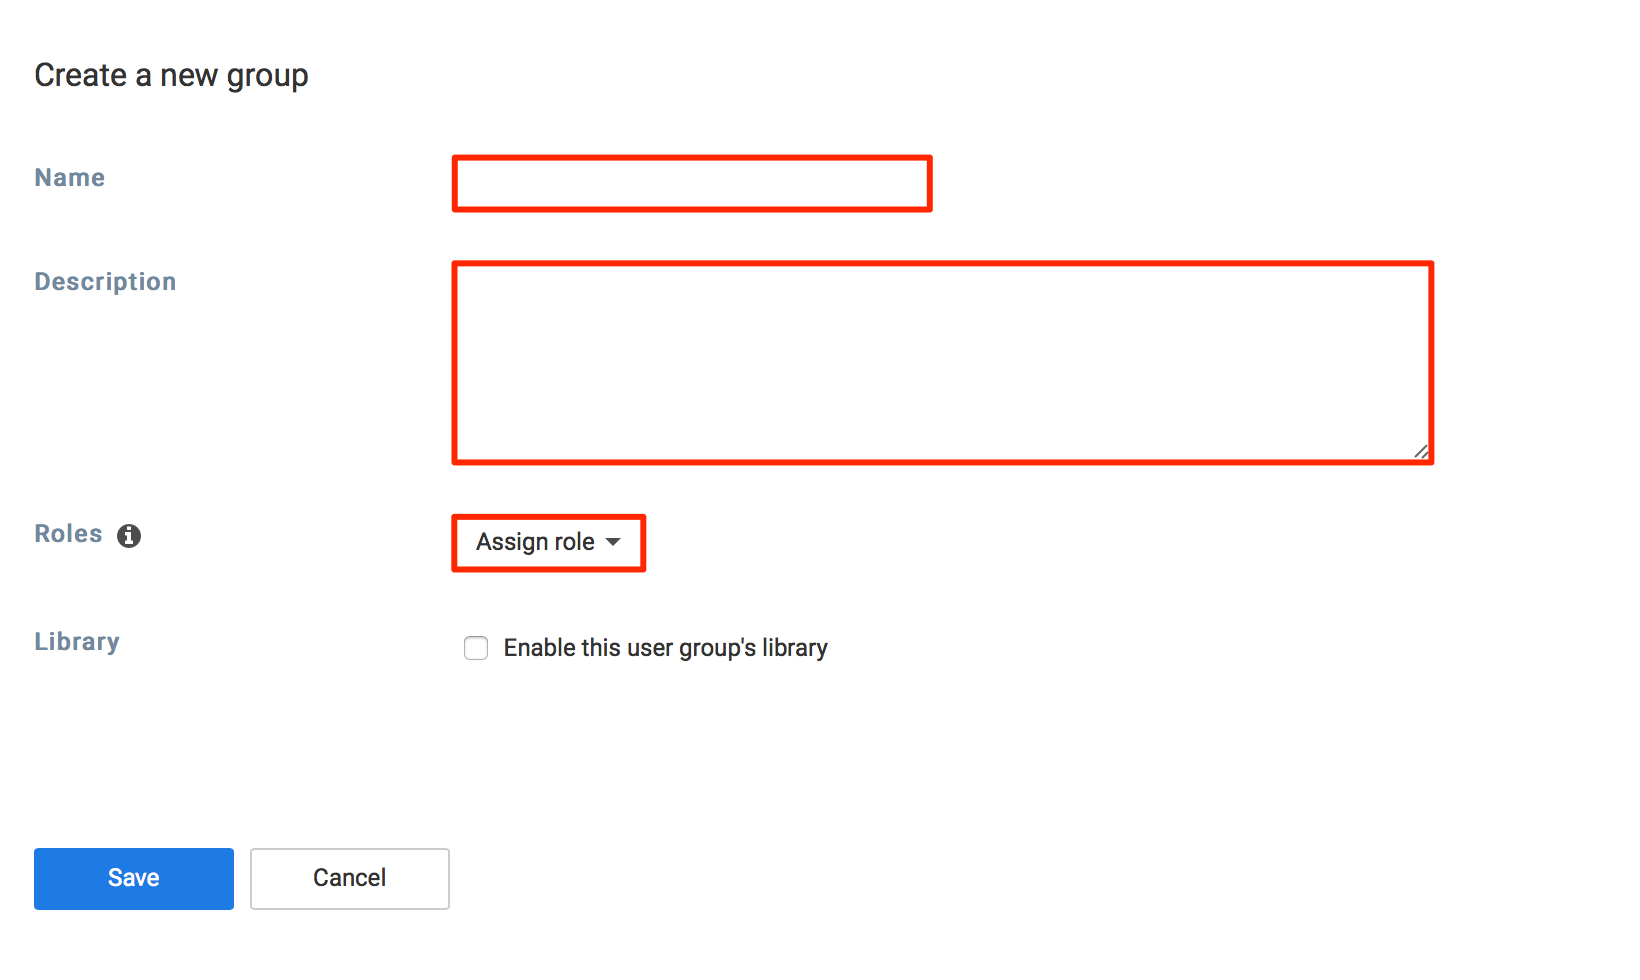
- In the Create a new group page, enter in the Name and Description of the user group.
- Select the roles which would be inherited by users within this user group in the Roles dropdown menu. Multiple roles may be selected.

- Configure the following group Library options:
- Slide the Enable this group’s library option to YES, to enable the group library.
- Slide the Enable automatic content expiry to YES, to enable the group content expiry. For more information and additional content expiry settings, visit the Content Expiry article.
- Click Save once done.
Assign User(s) to User Group(s)
Note
The user must already exist in the system. To add a new user, please refer to Create and send user invitations.
- Click Users from the Appspace Menu navigation bar, and select a network from the Networks section.
- Select the user(s), and click the Assign user groups button.

- In the Assign user groups window, Enter in or select the user group(s) you wish to assign the user(s) to.
- Click Save once done.
Move User Group across a Network
Warning
Unable to move user group if current user is part of the user group.
- Click Users from the Appspace Menu navigation bar, and select a network from the Networks section.
- Select the user group you wish to move, and click the Edit user group button.
- In the Edit user group page, click the Change Network link.

- In the Network window, select the desired network to move the user group to, and click OK. You may use the Search bar to locate the desired network.
- In the Confirmation window, Click Confirm to confirm the move.
- In the Edit user group page, the newly selected network appears in the network field. Click Save to apply changes.
Delete a User Group
Warning
- Unable to delete user group if current user is part of the user group.
- When you delete a user group, the group’s library and all its content will be deleted. However, the user will not be deleted.
- Click Users from the Appspace Menu navigation bar, and select a network from the Networks section.
- Select the user group you wish to delete, and click the Edit user group button.
- In the Edit user group page, click the Delete user group link.

- In the Delete user group window, click OK.
- In the ‘Confirm delete user group’ window, enter in your Appspace account password and click Confirm.
Was this article helpful?