Topics are a new way to organize your content for better discoverability. With Topics, you can create topic containers to group related pages together. This makes it easier for employees to find the information they need, even if they don’t know the exact name of the page they’re looking for.
For example, HR can create an “HR Policies” topic container to group pages related to HR policies. They can also create topic containers for specific departments or teams.
This article provides administrators with the instructions to create and manage topics and pages in the Topics module.
Prerequisites
- Account Owner, Publisher, or Author with channel publishing permissions.
- Premium user license to access the Appspace Employee App.
- Supported file types:
- Images: JPEG, and PNG
Create and Configure Topics
Follow the instructions below to create and configure topics.
- Log in to your Appspace console.
- Click the ☰ Appspace menu, and select Spaces.
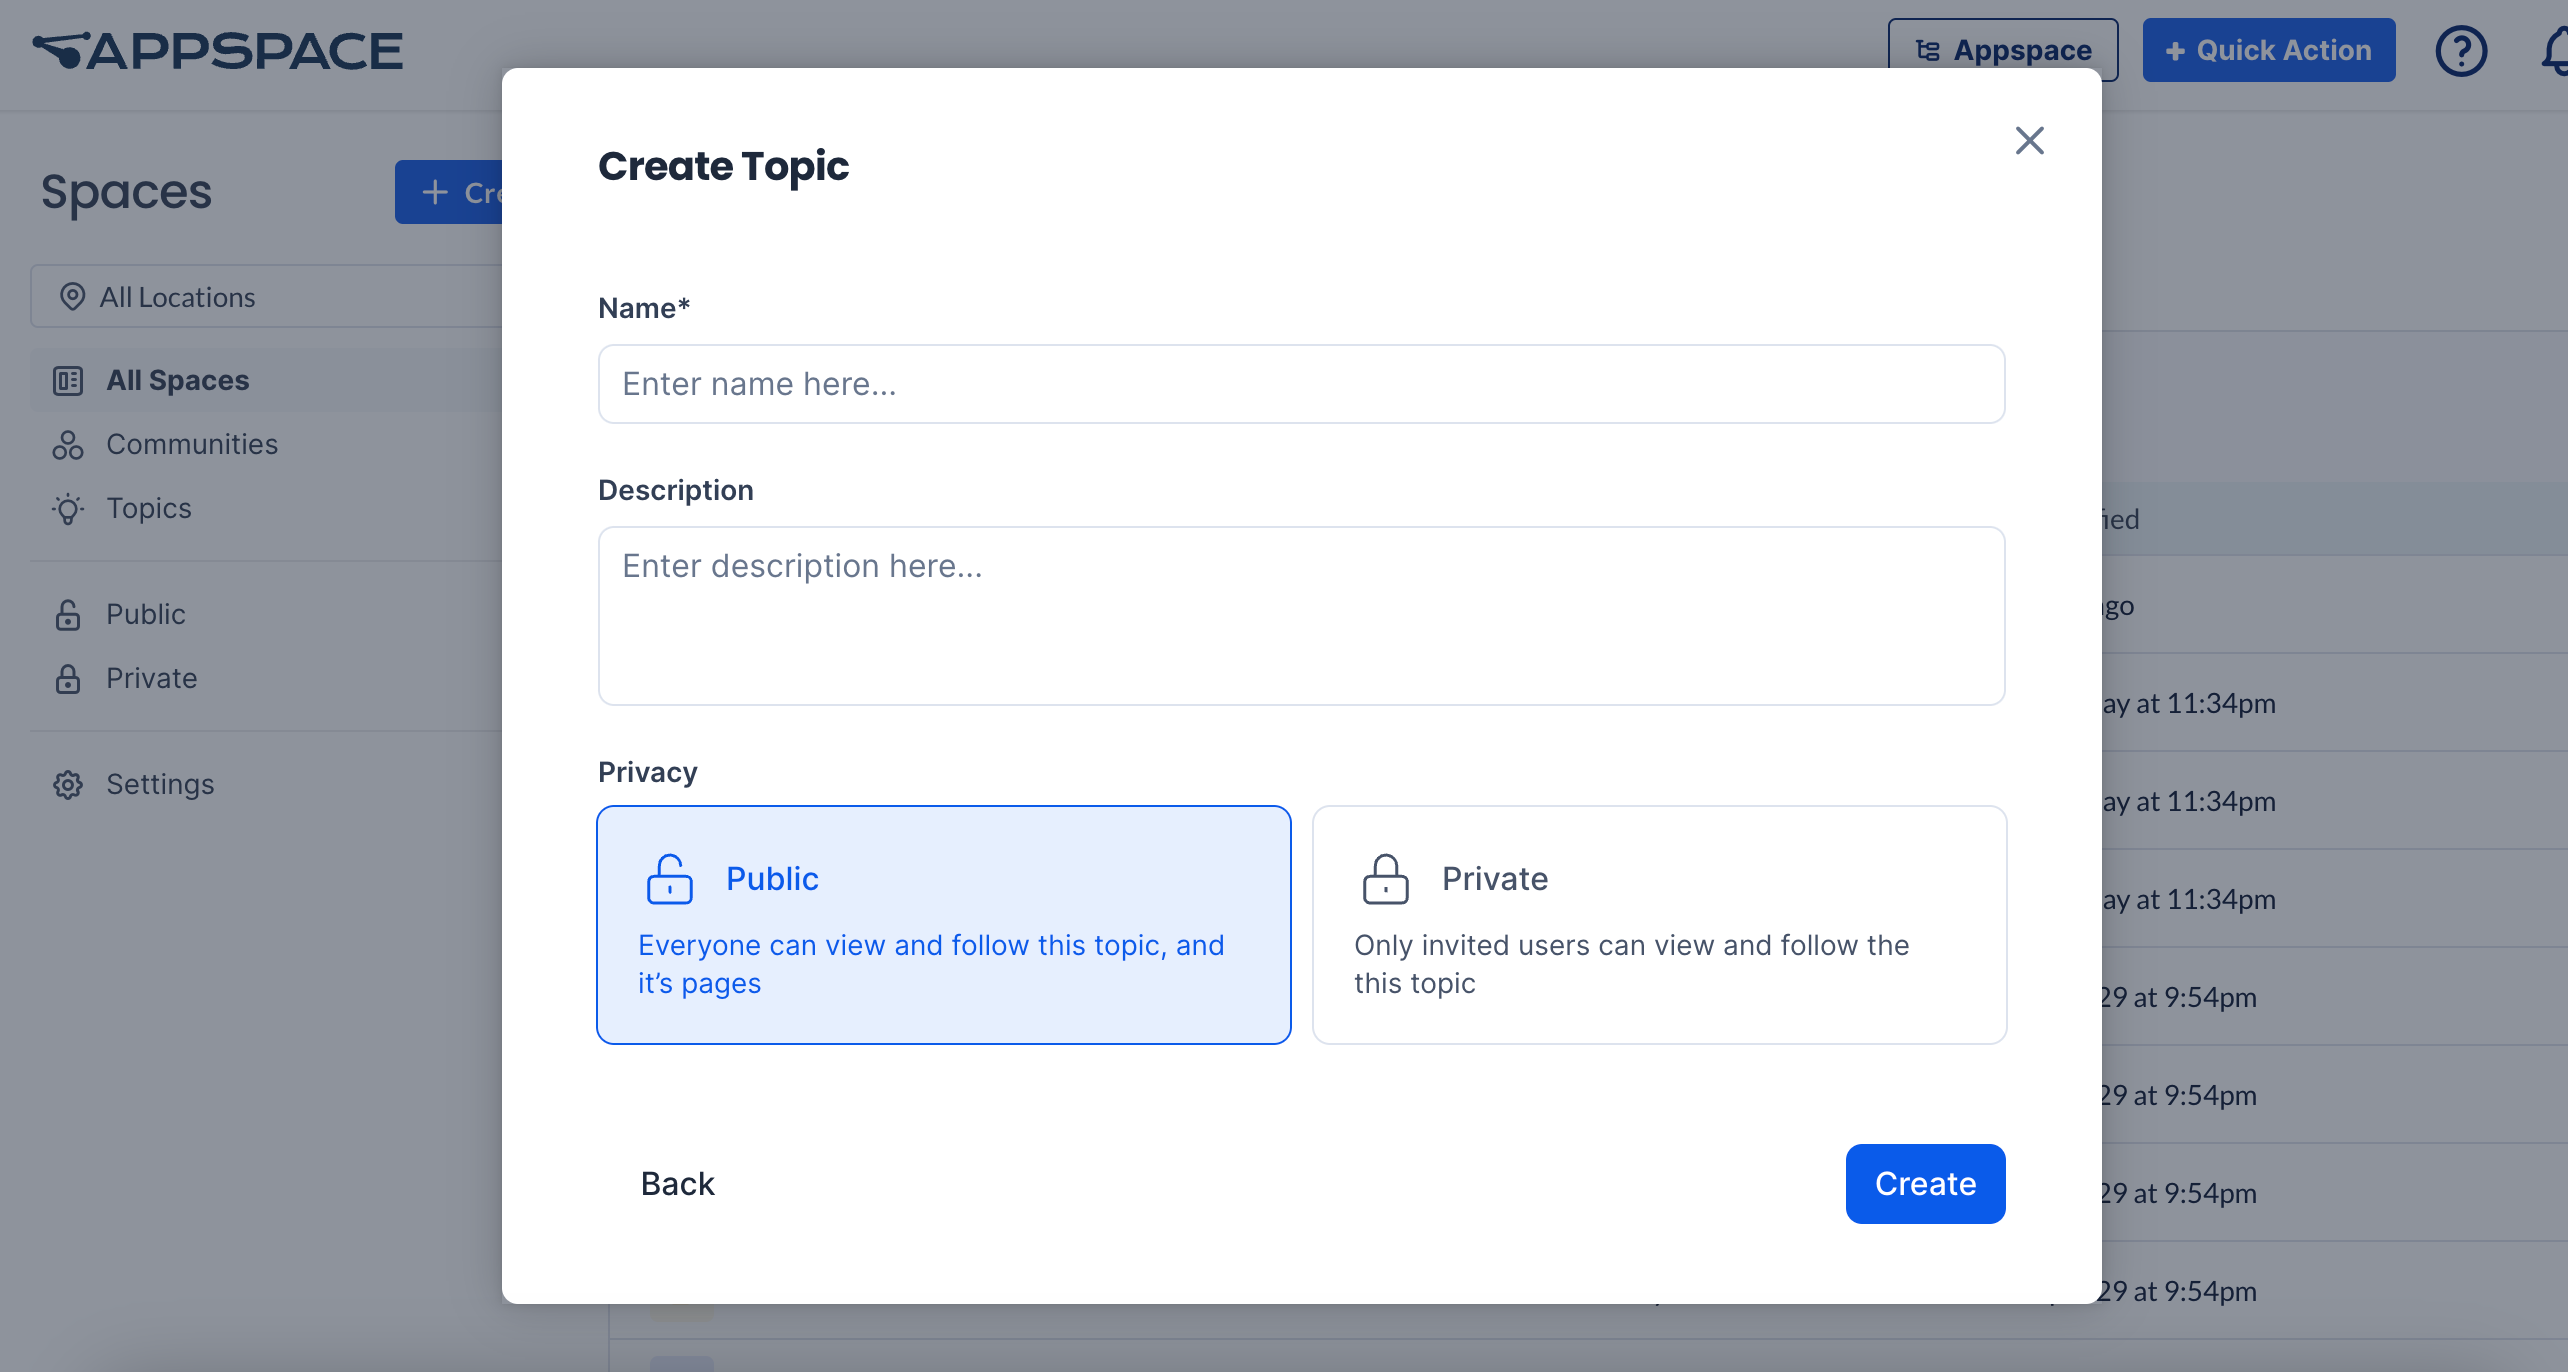
- In the Spaces dashboard, click on the +Create button and select Topic. Click the Create button.
- In the Create Topic window, you may do the following:
- Name – Enter the topic name.
- Description – Enter the topic description.
- Privacy – Public or Private.
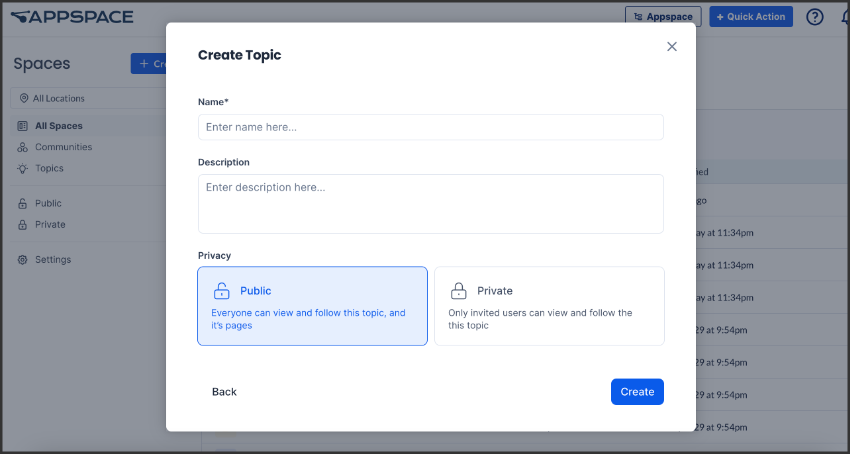
- Once done, click Create.
Add and Edit Categories
Categories allow users to arrange topics in a particular order to better customize the user experience.
Follow the instructions below to add and edit Categories for Topics.
- Log in to your Appspace console.
- Click the ☰ Appspace menu, and select Spaces.
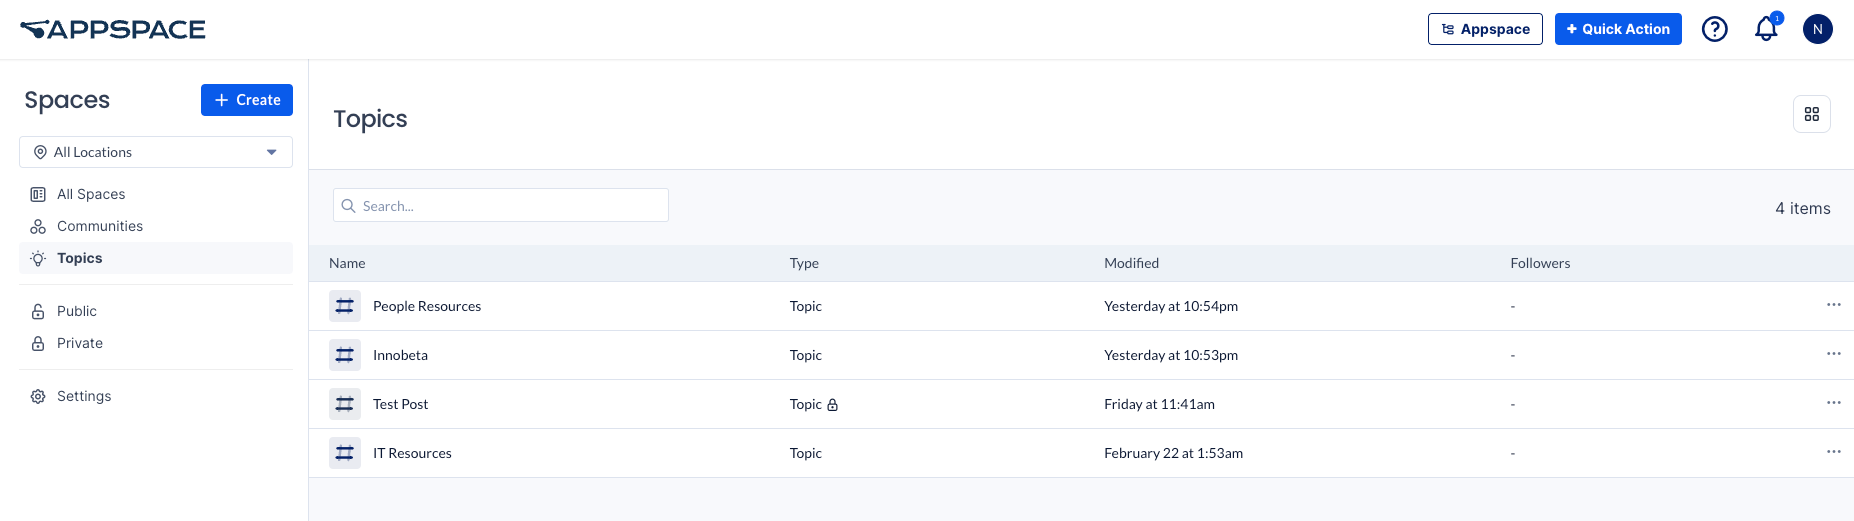
- Under Spaces on the left menu, select Topics.
- In the Topics listing, click Manage next to the Category column header.
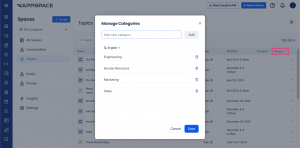
- In the Manage Categories window, you may do the following:
- To add a new category, click and type in the Add new category field and click Add.
- Click to edit a Category in the list, or click on the dustbin icon to delete it.
- Click the translate icon and translate the categories to a selected language, or select Translate all languages.
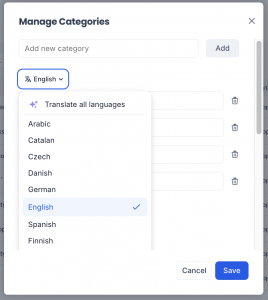
- Once done, click Save.
- Once you have assigned topics to categories, they will appear in the Category column. Click the header to sort the topics alphabetically by category.

Edit Topics
Follow the instructions below to edit a Topic.
- Log in to your Appspace console.
- Click the ☰ Appspace menu and select Spaces.
- Under Spaces on the left menu, select Topics.
- In the Topics list, select the desired topic or click the Search… field to search for a particular topic and click on it.
- In the General section, you may edit the following:
- Translations – Click the translate icon (next to the General heading) to translate the topics to a selected language, or select Translate all languages.
- Name – Enter the topic name.
- Description – Enter the topic description.
- Location – Select a location or sub-location for the topic. The topic will be visible to users in that location.
- Category (New) – Click and select a category for the topic, or type in a new category and press ENTER to create and assign it to the topic. Refer to the Add and Edit Categories section above to manage categories.
- Privacy – Set the topic to be Public or Private. Private topics will not be visible to non-members.
- Click Members on the left menu to view or remove members of the topic.
- Click Design on the left menu to edit the following design elements:
- Banner – Upload banner image. The banner’s dimensions are L: 688px X H: 138px.
- Color – Select the desired color, and click OK.
- Select Pages to view and manage pages in the topic.
- Select Sitemap to manage the sitemap of the topic.
- (New) Select Document Library to manage settings for the document library of the topic.
- If the topic does not have a document library yet, click Create Document Library. Choose a provider (Appspace, SharePoint, or Google Drive) where the server will store the documents, then click Create.
NoteThe SharePoint and Google Drive options are temporarily unavailable and cannot be selected at this time.
- You can edit the following settings for the document library, then click Save:
- Name – Edit the name of the document library, or leave as default to follow the topic name.
- Who can manage files and folders – Select either publishers and editors, or members to add or delete files, and administer the document library.
- The document library is displayed on the right widget. Click Open Library to view and manage the library contents.
- If the topic does not have a document library yet, click Create Document Library. Choose a provider (Appspace, SharePoint, or Google Drive) where the server will store the documents, then click Create.
- Select Social to enable or disable Reactions, Comments, and Shares on posts, stories, and pages published within the topic:
- Inherit – Follows the global settings set in the Employee App configuration.
- Default On – Enable the feature for users by default, unless configured in the Page.
- Default Off – Disable the feature for users by default, unless configured in the Page.
- Always On – Set the feature to enabled, and disable the option in the Page setings.
- Always Off – Set the feature to disabled, and disable the option in the Page settings.
- Select Permissions to add publisher or editor permissions for members of the topic.
- Once done, click Save.
View and Add Pages within a Topic
Follow instructions below to view the pages under a topic:
-
- Log in to your Appspace console.
- Click the ☰ Appspace menu, and select Spaces.
- Under Spaces on the left menu, select Topics.
- In the Topics list, select the desired topic or click the Search… field to search for a particular topic and click on it.
- Click Pages from the left bar. The Pages feed lists all available pages under the topic.
- To add pages to the topic, perform one of the following actions:
- Click + Add on the upper right corner and select Create New page to create a new page within the topic. Refer to this article on how to create a page.
- Click +Add on the upper right corner and select Add Existing page to add one or more existing pages to the topic. In the Add pages window, search or select one or more pages and click Add. A badge next to each listed page will indicate if the page has the Scheduled, Expired, or Draft statuses.
- To view and edit pages within the topic, mouse over a page and click the ellipsis (…) and select an option to perform one of the following actions:
- Edit – Edit the page.
- Preview – View the page in the employee view.
- Move location in sitemap – Move the position of the page within the configured sitemap of a topic.
- Remove from topic – Remove the page from the current topic. If the page is included in multiple topics, it will remain in the other topics.
- Delete – Delete the page. Once completed, this cannot be undone.
Configure the Sitemap of a Topic
(New) Sitemaps enable users to view and organize pages under a Topic as a navigational tree. They display the hierarchy of parent and child pages in a nested structure, making it easy for users to navigate through the pages. The Sitemap module in the Admin view also allows authors and publishers to rearrange pages under a Topic using a simple drag-and-drop interface.
Follow the instructions below to add and organize pages in the Sitemap of a Topic.
-
- Log in to your Appspace console.
- Click the ☰ Appspace menu, and select Spaces.
- Under Spaces on the left menu, select Topics.
- In the Topics list, select the desired topic to edit, or click the Search… field to search for a particular topic and click on it.
- Click Sitemap from the left bar.
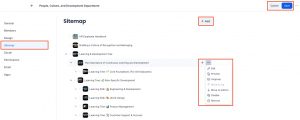
- Click +Add. In the Add pages window, search or select one or more pages to be added to the tree. A badge next to each listed page will indicate if the page has the Scheduled, Expired, or Draft statuses.
- Click Save in the top right corner to confirm the changes, or Cancel to undo all the actions.
- After adding multiple pages to the sitemap, you can rearrange their order, group pages under others to create a structure, or configure individual pages as needed. Perform one of the following options.:
-
-
- In the sitemap tree, click and drag a page up or down to change its order. Drag it over another page to restructure it as a child under that page.
- Hover over a page and click the + icon to select and add a child page under it.
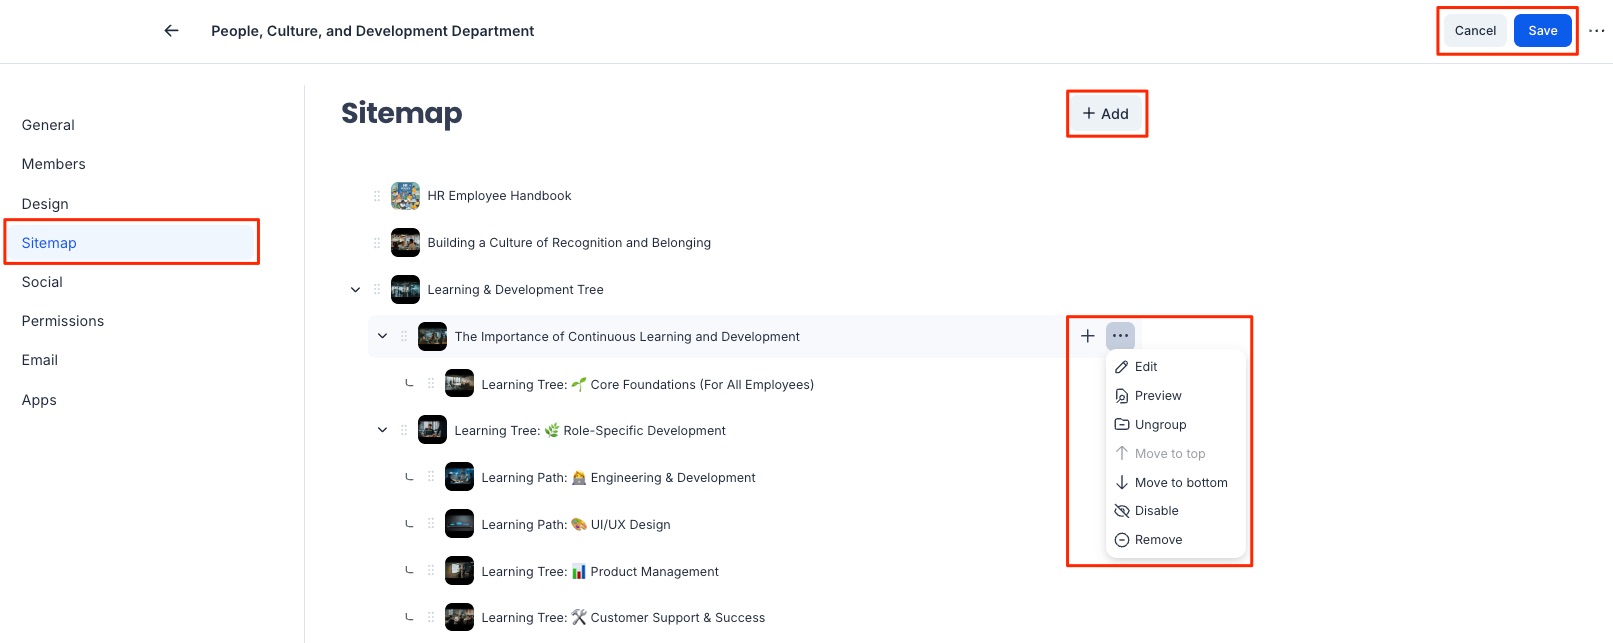
- Mouse over and click the ellipsis (…) on a page to perform the following actions:
- Edit – Edit the page.
- Preview – Preview the page.
- Ungroup – Remove the child pages under it and set them to the same level as the parent. This will not affect the children of the child pages. This option is greyed out if the page does not have child pages under it.
- Move to top – Shifts the page one position down within the sitemap. If the page is nested, it will be repositioned within its parent.
- Move to bottom – Shifts the page one position down within the sitemap. If the page is nested, it will be repositioned within its parent.
- Disable – Set the page as hidden in the sitemap. This will include any child pages under it.
- Remove – Remove the page from the sitemap.
-
-
- Click Save in the top right corner to confirm the changes or Cancel to undo all the actions.
Manage the Document Library of a Topic
(New) Document Libraries in Appspace provide a dedicated space for structured document management within a topic. This feature enables the storage, retrieval, and sharing of essential files across teams. Users who have been assigned document management rights can upload documents (such as PDF, XLS, or DOC files) and media files (such as images and videos), and create folders to keep everything organized.
Perform the following steps to manage the content of a document library:
- A Document Library must be created before it can be managed. Refer to the Document Library step under Edit Topics above to view how to create a document library for the topic.
- Management rights must be assigned to allow users to manage the document library. Refer to the Document Library step under Edit Topics for configuring who can manage files and folders in the Document Library.
- Log in to the Appspace console.
- Click the ☰ Appspace menu, and select Spaces.
- Under Spaces on the left menu, select Topics.
- In the Topics list, select the desired topic to edit, or click the Search… field to search for a particular topic and click on it.
- Click Document Library from the left bar.
- Click + New, and select File.
- Select a file from the document browser.
- The uploading file message appears. Wait for the uploading process to complete.
- To create a folder in the document library, perform the following steps:
- Click + New and select Folder.
- Type in the name of the new folder and click Create.
- To view, manage, or delete a file or folder:
- Move the mouse over a file or folder and click the ellipsis (…).
- Select one of the following options:
- Preview (files only)- Preview the file in the browser.
- Copy link (files only)- Copy the URL of the file.
- Download (files only)
- Rename
- Move to – Move the file or folder to another folder within the document library
- Details – View details of the file or folder such as type and size (files only), location (folders only), owner, date created, date modified (files and folders), and tags (files only). You can also click to Manage the file tags.
- Delete
Publish Topics
Follow the instructions below to publish a Topic.
- Log in to your Appspace console.
- Click the ☰ Appspace menu, and select Spaces.
- Under Spaces on the left menu, select Topics.
- In the Topics list, select an unpublished topic, or click +Create and select Create Topic if you wish to publish a new topic.
- In the Publish tab, you may do the following:
- Audience – Set your preferred audience:
- No users
- All users
- Specific users, user groups and location
- Follow – Set your preferences feed subscription:
- Mandatory: Following the feed is mandatory and unfollowing is not allowed.
- Opt-Out: Users are following the feed by default but can optionally unfollow.
- Opt-In: Users are not following the feed by default but can only optionally follow.
- Audience – Set your preferred audience:
- Once done, click Save.
Was this article helpful?