In line with the new UI updates in Appspace 8.1, organizations have the ability to personalize their Appspace cloud instances to match their own organization’s branding or theme, providing that personal touch. The following customizations are available:
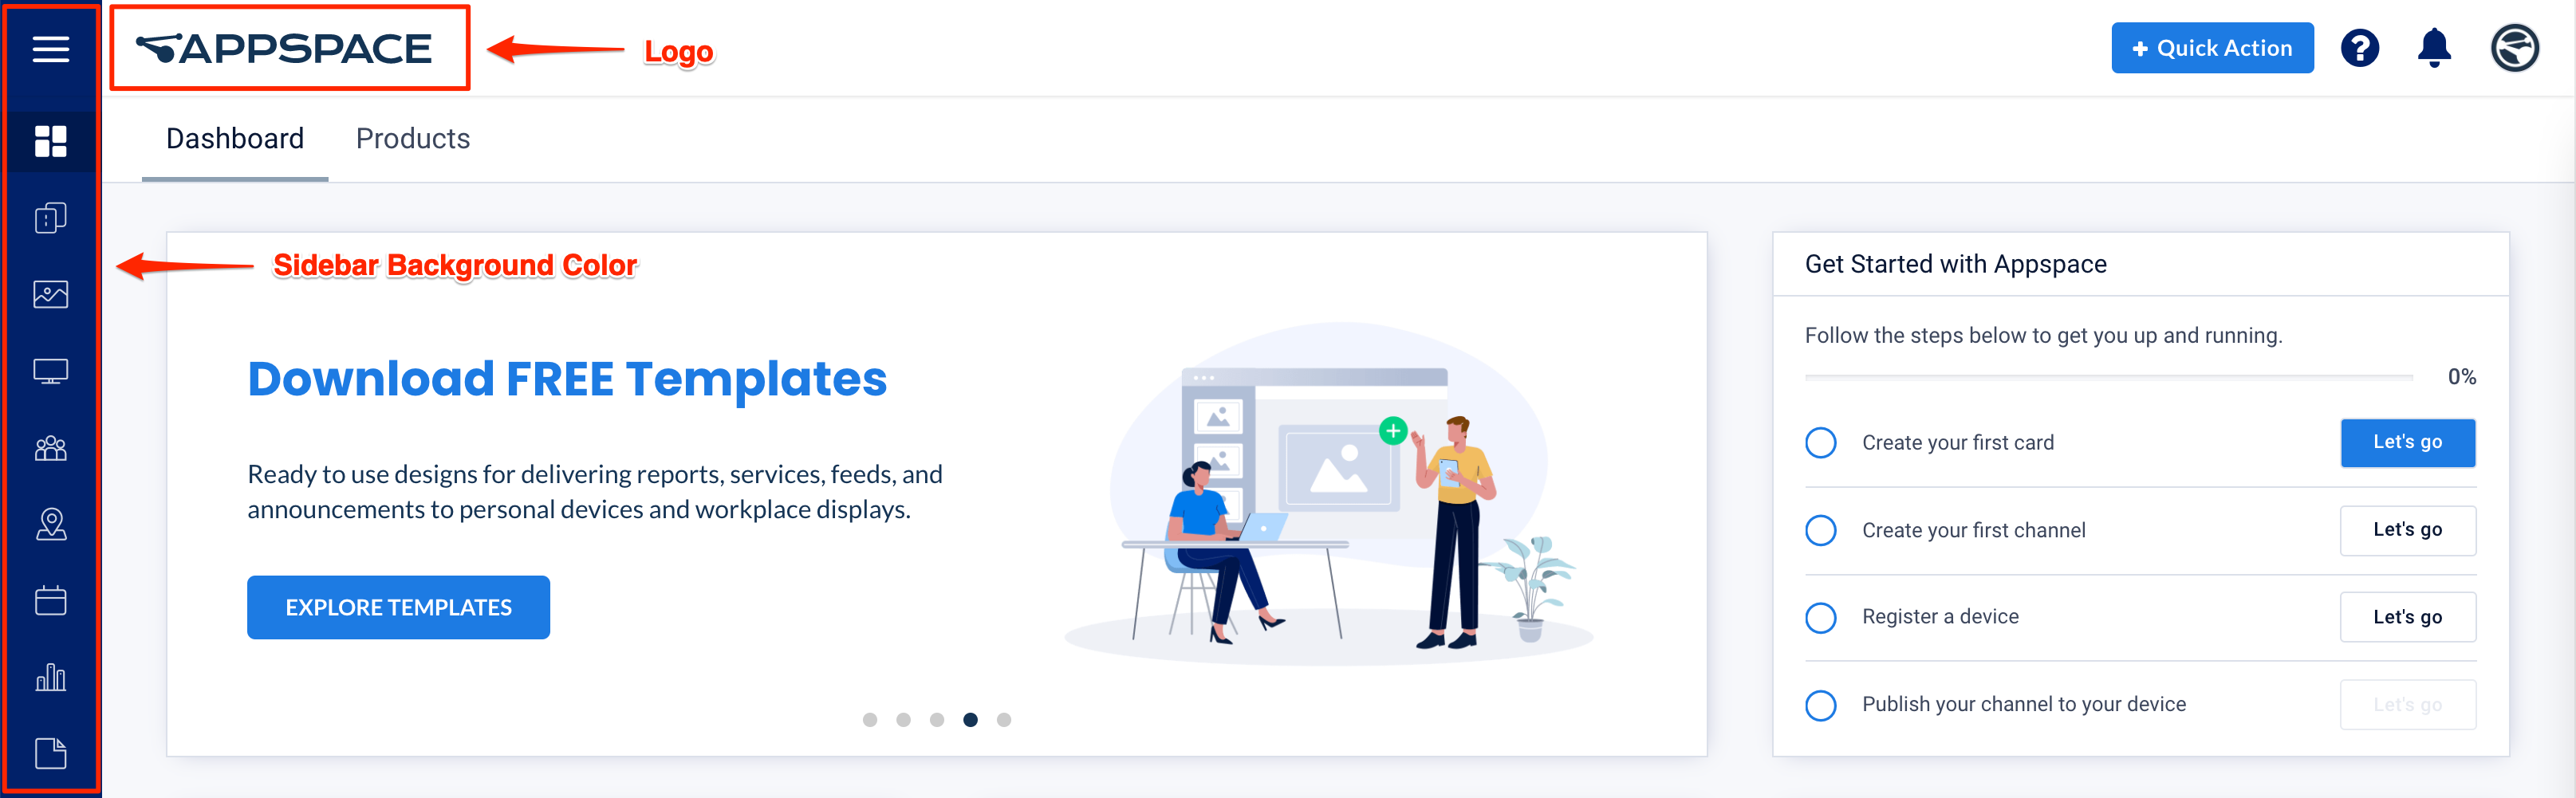
- Customize Logo.
- Customize Sidebar Background color.
- Configure the Time Zone
This article provides instructions to configure the customization settings to personalize Appspace cloud instances:
Prerequisites
- Required Appspace roles and permissions: Portal Admin and Account Owner.
Customize Logo
- Click the ☰ Appspace menu, and click Settings > Account Settings, and click the Instance Settings tab.
- Click the Custom Logo Sidebar browse button to upload your custom logo image file.

NoteRecommended custom logo resolution is 135px (W) x 40px (H). - Once done, click Save.
Customize Sidebar Color
- Click the ☰ Appspace menu, and click Settings > Account Settings, and click the Instance Settings tab.
- Click the Sidebar Background Color color picker, and select your desired sidebar background color.

- Once done, click Save.
Configure Time Zone
- Click the ☰ Appspace menu, and click Settings > Account Settings, and click the Instance Settings tab.
- Select the correct time zone based on your location from the Time Zone drop-down menu.

- Once done, click Save.
Was this article helpful?