This article provides administrators with the instructions to create and manage communities in the Employee App. Communities are collaboration spaces that serve as a social platform within the Appspace Employee App.
- This article is for configuring communities in the Employee App. To configure communities in the Administrative Console, see this article.
Communities are dynamic, user-driven collaboration spaces that provide a platform for users to easily create and participate in groups centered around various subjects, interests, and projects. Communities facilitate deeper engagement and interaction among team members, encourage cross-departmental collaboration, and bring together individuals with shared interests. This fosters a vibrant exchange of ideas and enriches the sense of togetherness and belonging.
- AI translation capabilities for Community Names and Descriptions in Settings.
Features released in Appspace 8.8 Lynx
- Pin posts, stories, and pages to the top of the Community Overview page to be viewed by all members.
Prerequisites
- Account Owner, Publisher, or Premium user who has been assigned as Community Owner.
- Premium user license to access the Appspace Employee App.
- Supported file types for community banners in Settings > Design:
- Images: JPEG, and PNG
Create and Delete Communities
By default, Account Admins and Publishers may create and delete communities, while Community Owners may only delete their own communities. This setting may be changed in the Spaces > Settings section in the Admin Console. (New)
To create a community, perform the following steps:
- Log in to the Appspace Employee App.
- Click + on the upper-right corner and select Space.
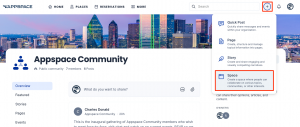
- In the Create Space window, select Community and click Create.
- Enter the Name and Description of the community, and set the community to be either Public or Private. Private communities are only viewable by members of the community.
- Click Create.
- The page for the new community is immediately displayed.
To delete a community, perform the following steps:
- Log in to the Appspace Employee App.
- Go to the More > Explore section, and select the Communities tab.
- Select a community to view the Community page. On the right bar, select Settings.
- In the Settings page, click the ellipsis (…) and select Delete.
- The confirmation window will appear. Select the check box and click Delete.

Assign Community Owners and Moderators
Account Admins, Publishers, and Community Owners may assign owners and moderators for a community by performing the following steps.
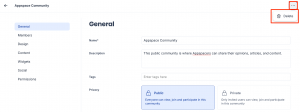
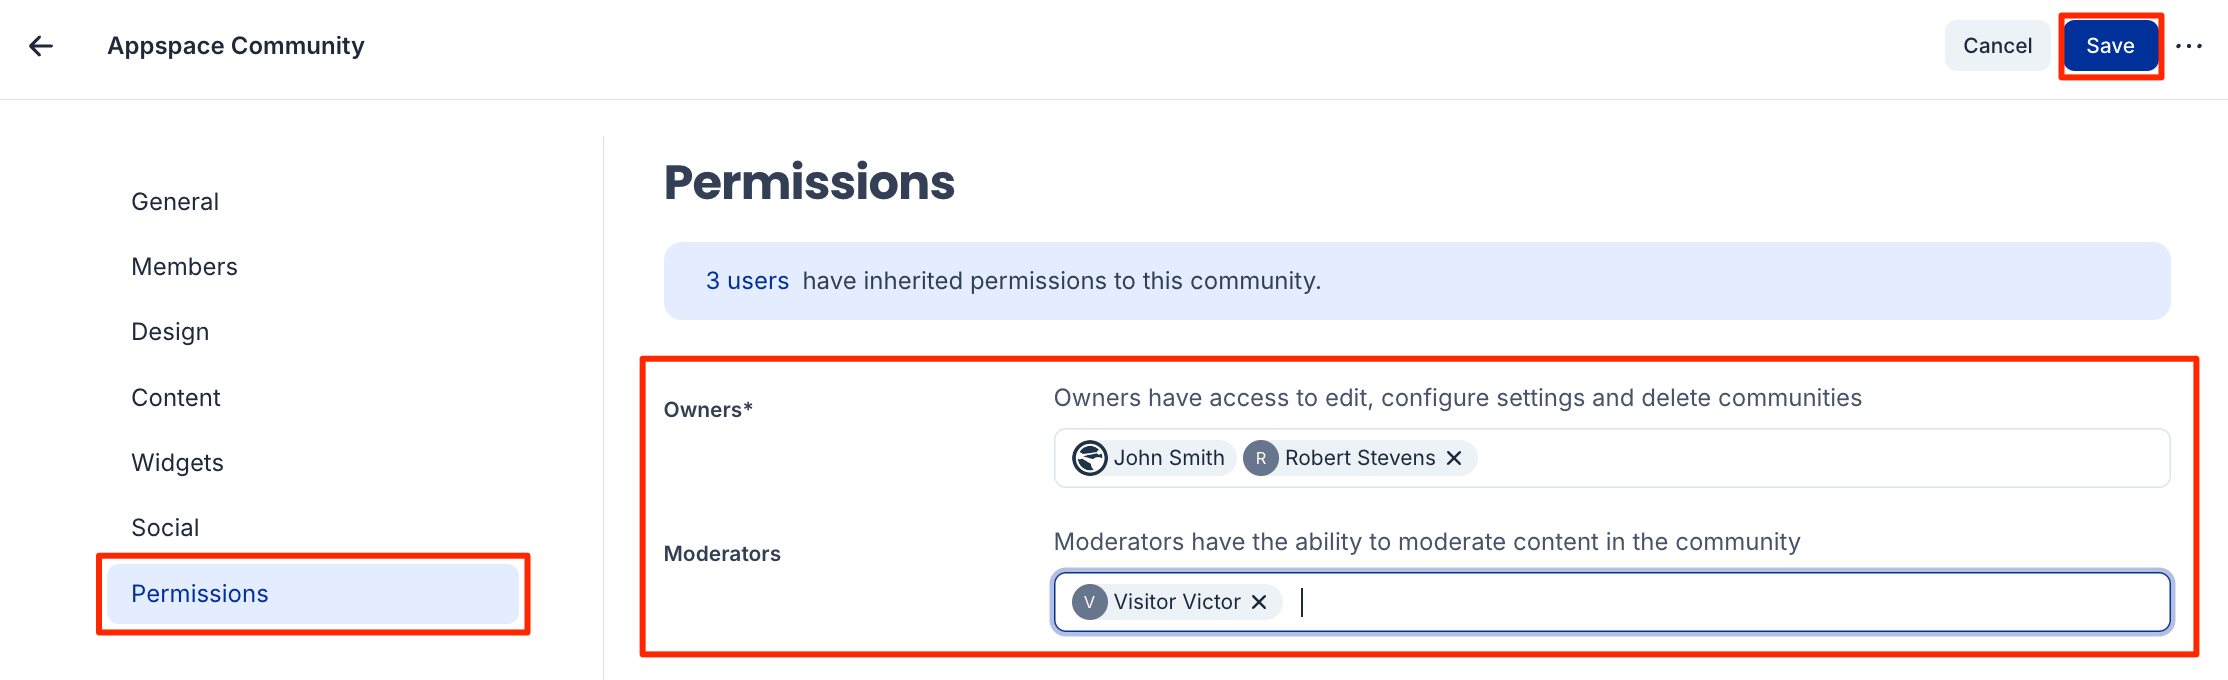
Community members who are assigned as owners have permission to edit and delete communities and configure community settings. Members who are assigned as moderators have permission to moderate and view reported posts stories or pages in the community.
- Log in to the Appspace Employee App.
- Go to the More > Explore section, and select the Communities tab.
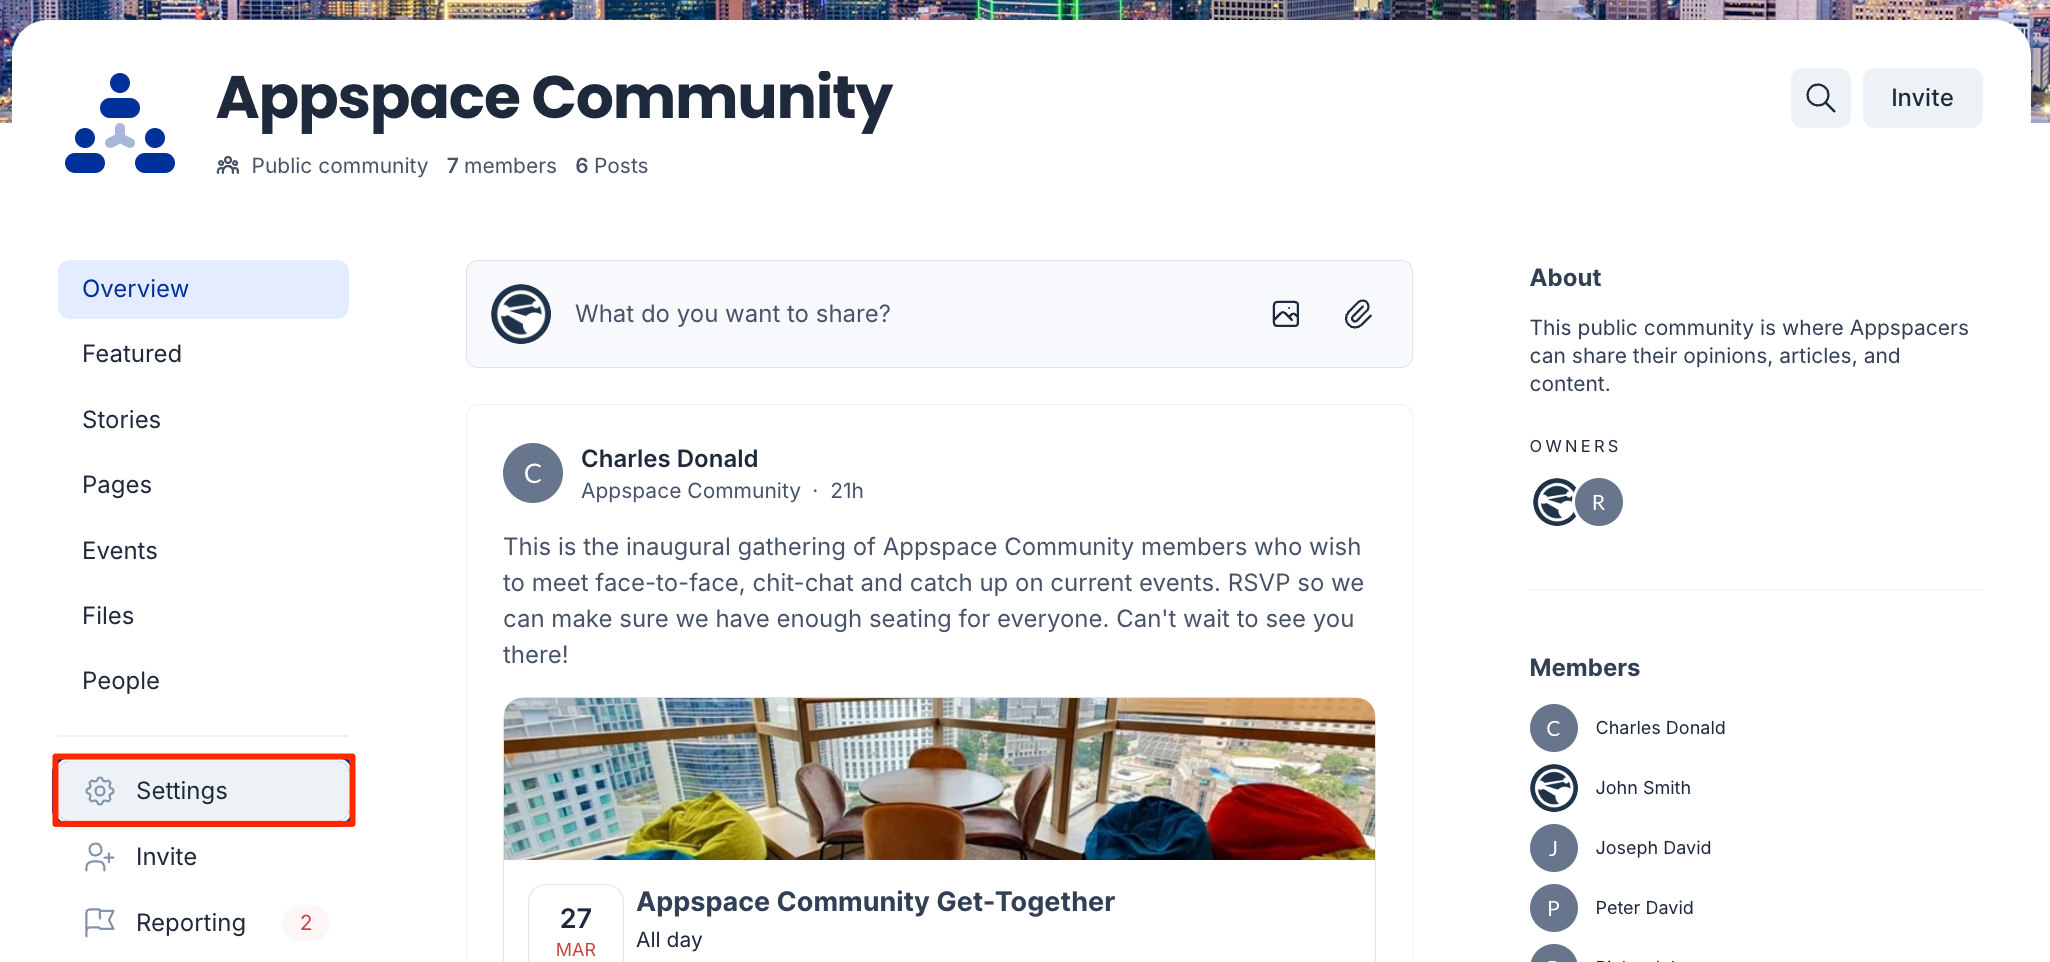
- Select a community to view the Community page. On the left bar, select Settings.
- Select Permissions to view the assigned owners and moderators of the community.

- Enter the name or email to the Owners or Moderators field.
Pin and Unpin Posts, Stories, or Pages in a Community
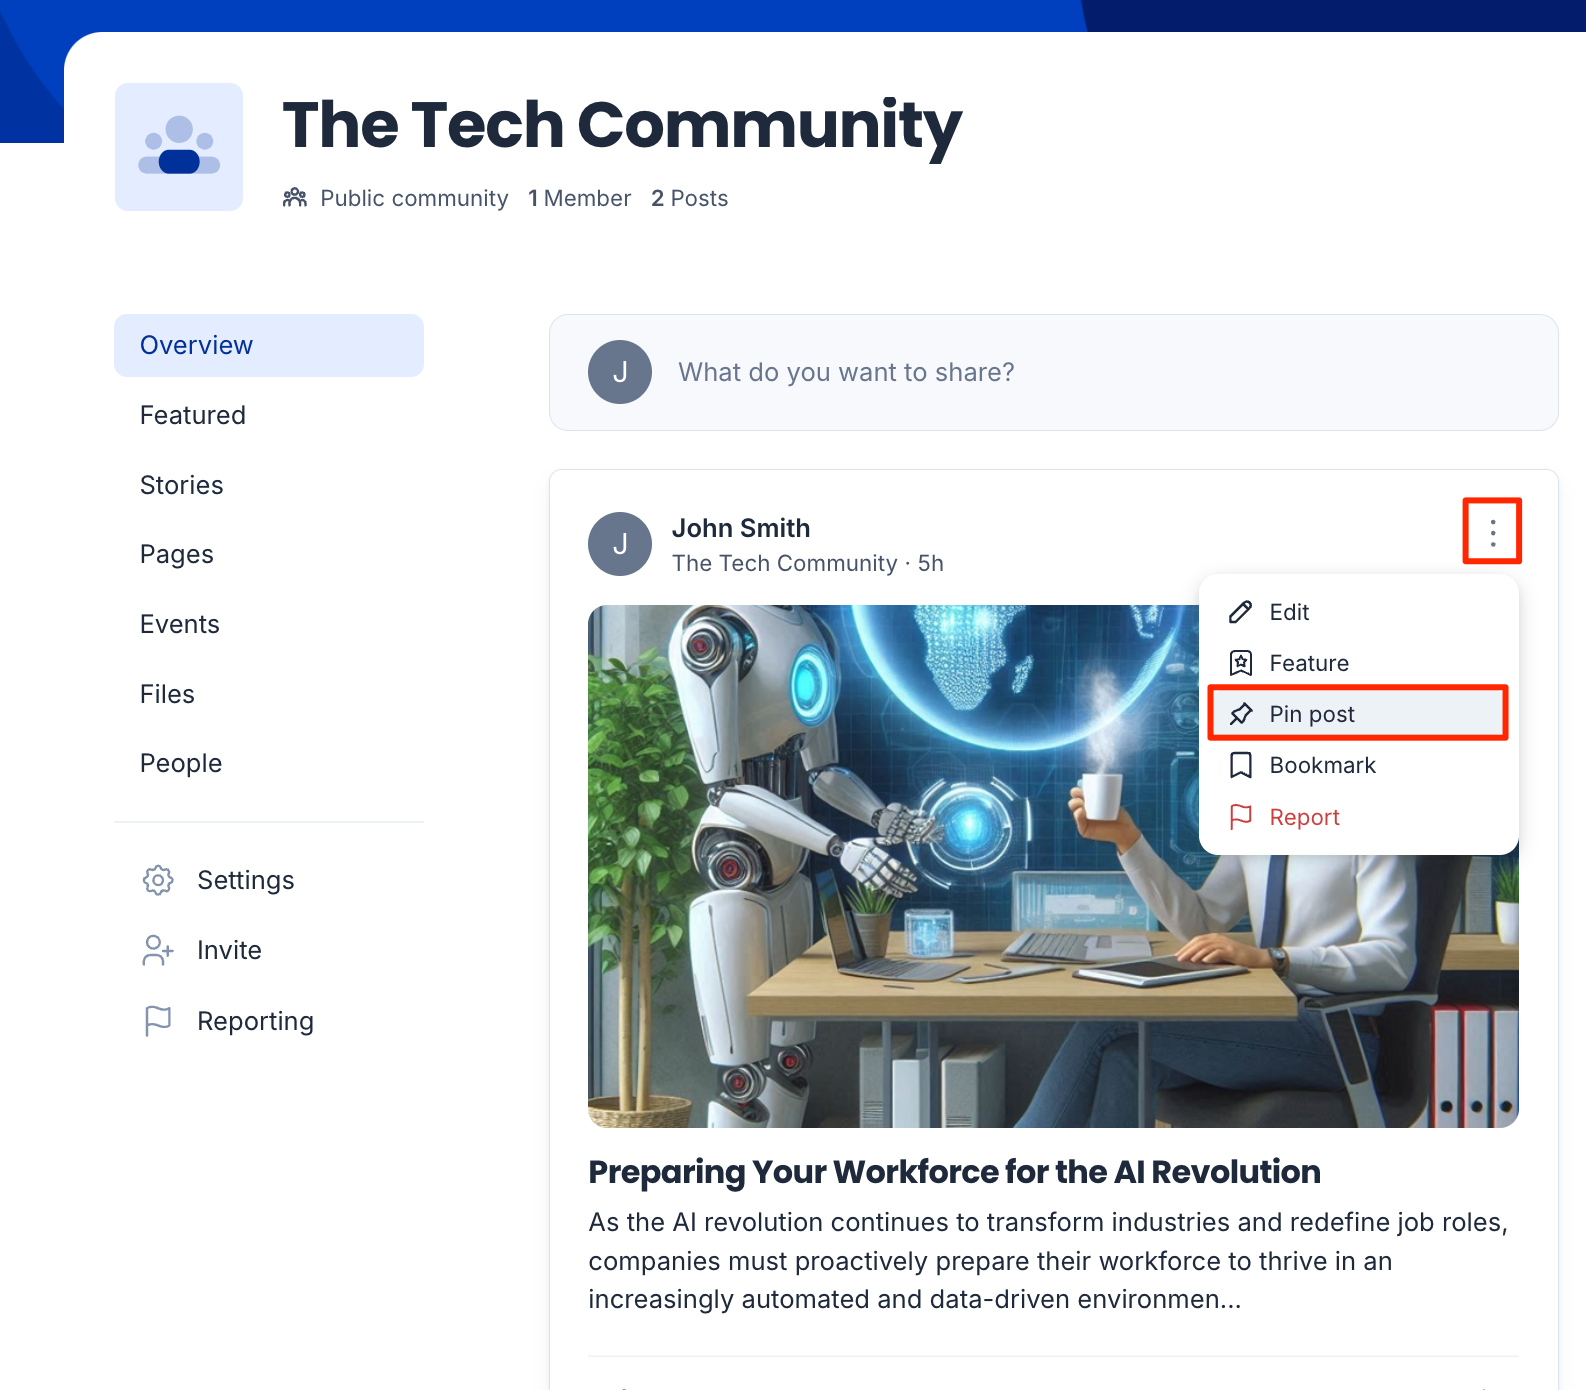
(New) Account Admins, Community Owners (including users with inherited roles from user groups), and Moderators may pin or unpin posts (including event posts, polls, and praises), stories, and pages published to a community. Pinned posts, stories, or pages are positioned at the top of the community Overview page to be viewed by members of the community.
To pin a post, story, or page to the top of a community page, perform the following steps:
- Log in to the Appspace Employee App.
- Go to the More > Explore section, and select the Communities tab. Select a community.
- The Community Overview page displays its posts, stories, and pages.
- Click the ellipsis (…) of a post, poll, praise, story, or page and select Pin post. For the Expires after field, select one of the following options:

- Never – the article is pinned indefinitely until it is manually unpinned.
- 7 days – the article is pinned for 7 days.
- 30 days – the article is pinned for 30 days.
- Custom date – the article is pinned until the selected date. Select the year, month, and date from the calendar.
- After selecting an option, the article is pinned at the top of the Community Overview page. If several articles are pinned, they are sorted by published date.
To unpin a post, story, or page on a community feed, perform the following steps:
- Log in to the Appspace Employee App.
- Go to the More > Explore section, and select the Communities tab. Select a community.
- The Community Overview page displays its posts, stories, and pages.
- Click the ellipsis (…) of a pinned post, story, or page and select Unpin.
- In the Unpin post window, select Unpin.
- The article is moved from the pinned position on the page to its regular sorted position. This is normally based on the published date.
Moderate Reported Posts, Stories, or Pages
Account Admins, Publishers, Community Owners, and Moderators may review posts, stories, or pages reported by a member of the community, by performing the following steps:
- Log in to the Appspace Employee App.
- Go to the More > Explore section, and select the Communities tab.
- Select a community to view the Community page.
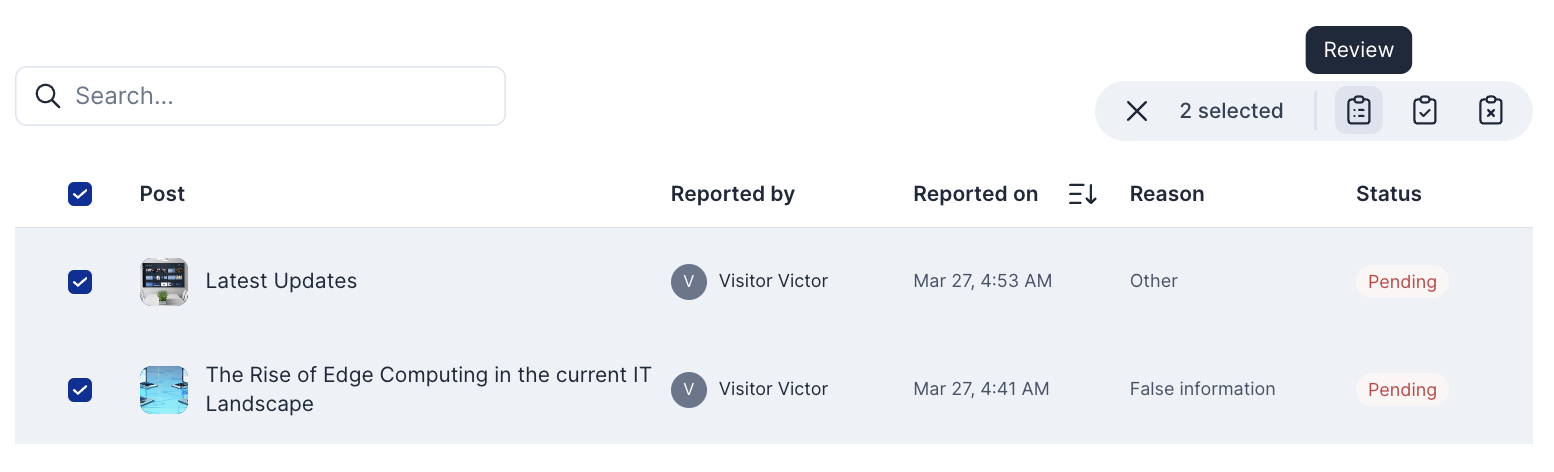
- Select Reporting on the left section to view the list of reported posts, stories, and pages.
- Click a reported item to view the details of the report in a window:
- Reported by – the person who reported the article is listed.
- Reason – the reason as put by the reporter of the article. Reasons include Inappropriate, Offensive, False information, or Other.
- Remarks – other remarks as written by the reporter of the article.
- Reported on – the date and time the article was reported.
- After reviewing the article report, select to Allow or remove the post.
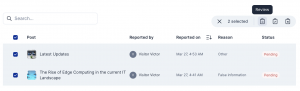
- Alternatively, you may choose to batch-select and review several articles at once. Select multiple checkboxes of several articles and select to Review, Allow or Remove the selected items.
 NoteThe author of the reported article will receive a notification only if their article is removed.
View and Remove Community Members
Account Admins, Publishers, and Community Owners may remove members from a community.
- Log in to the Appspace Employee App.
- Go to the More > Explore section, and select the Communities tab.
- Select a community to view the Community page. On the left bar, select Settings.
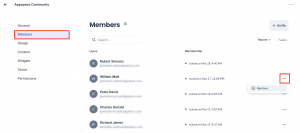
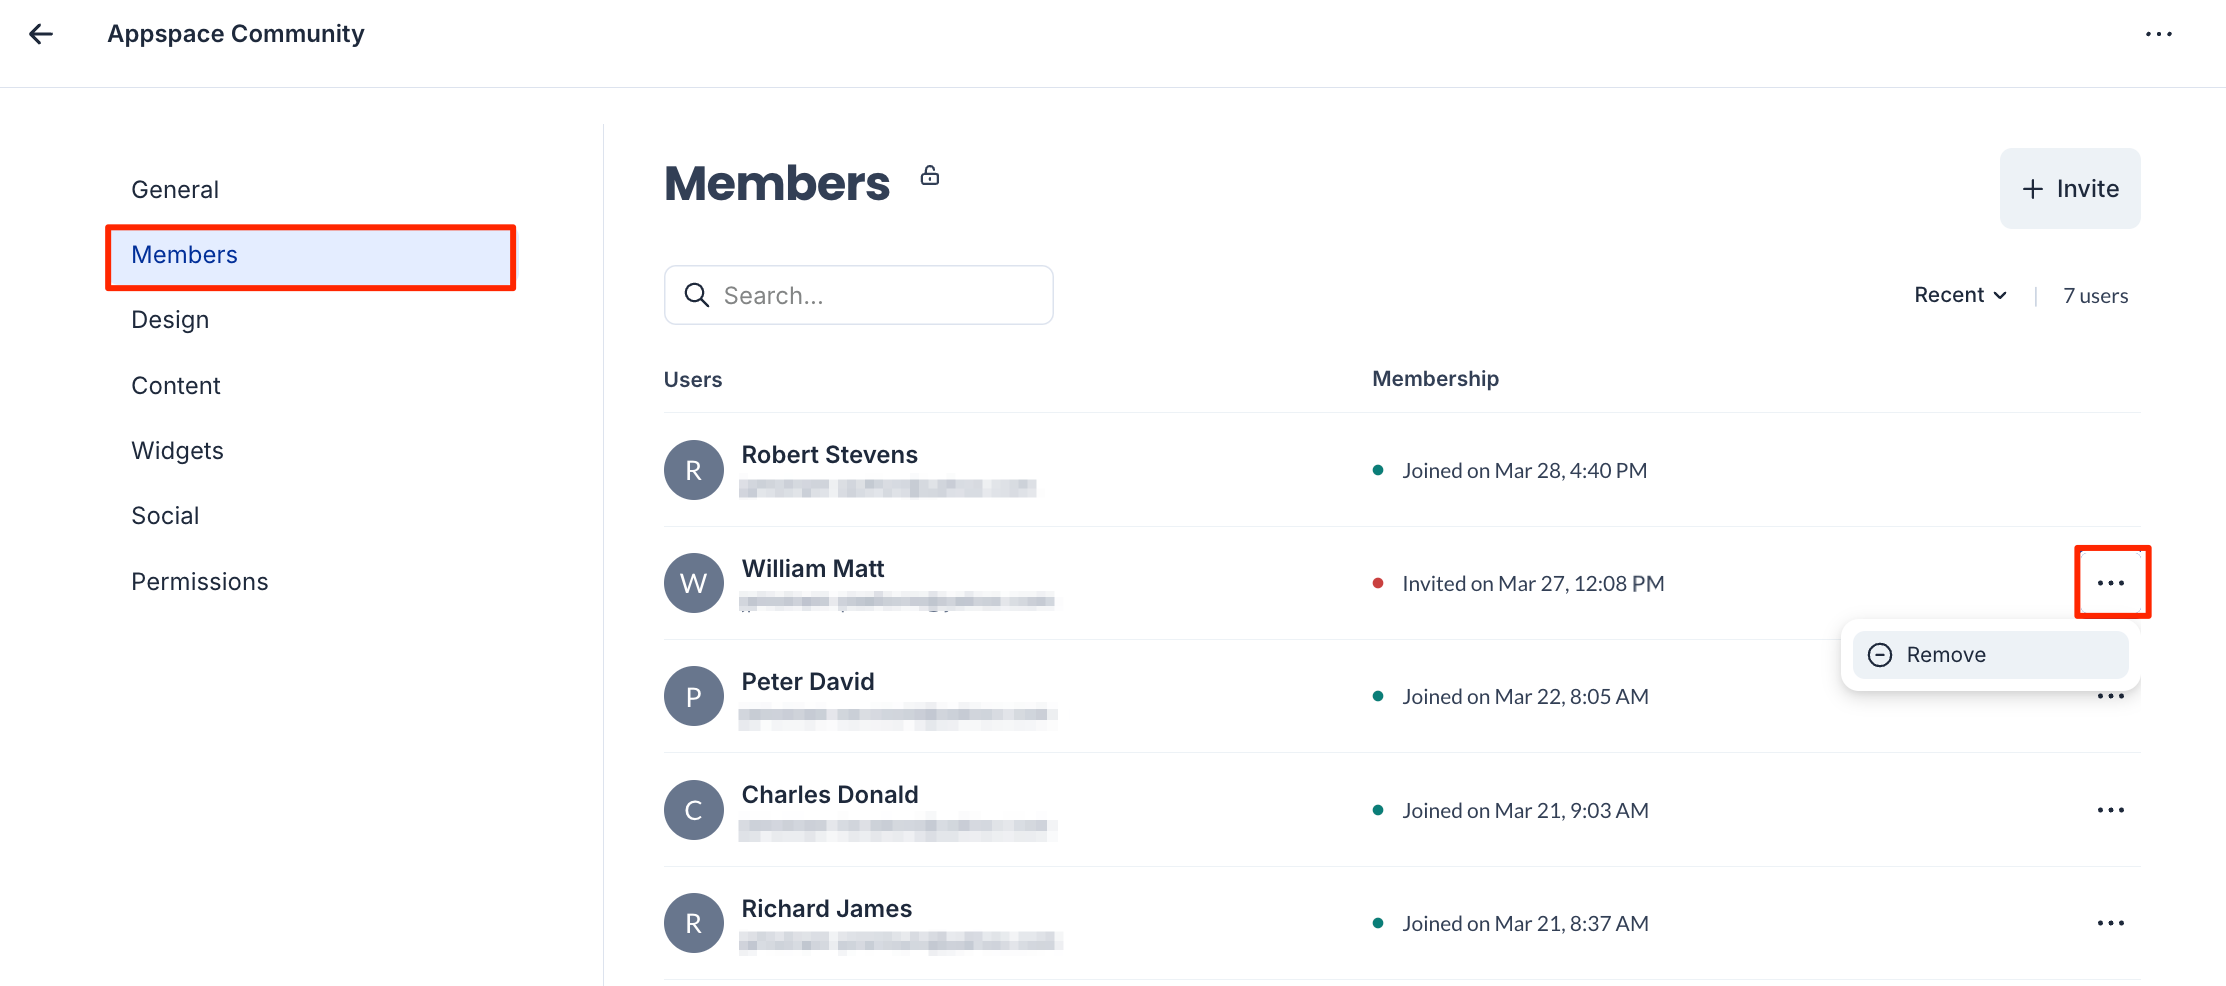
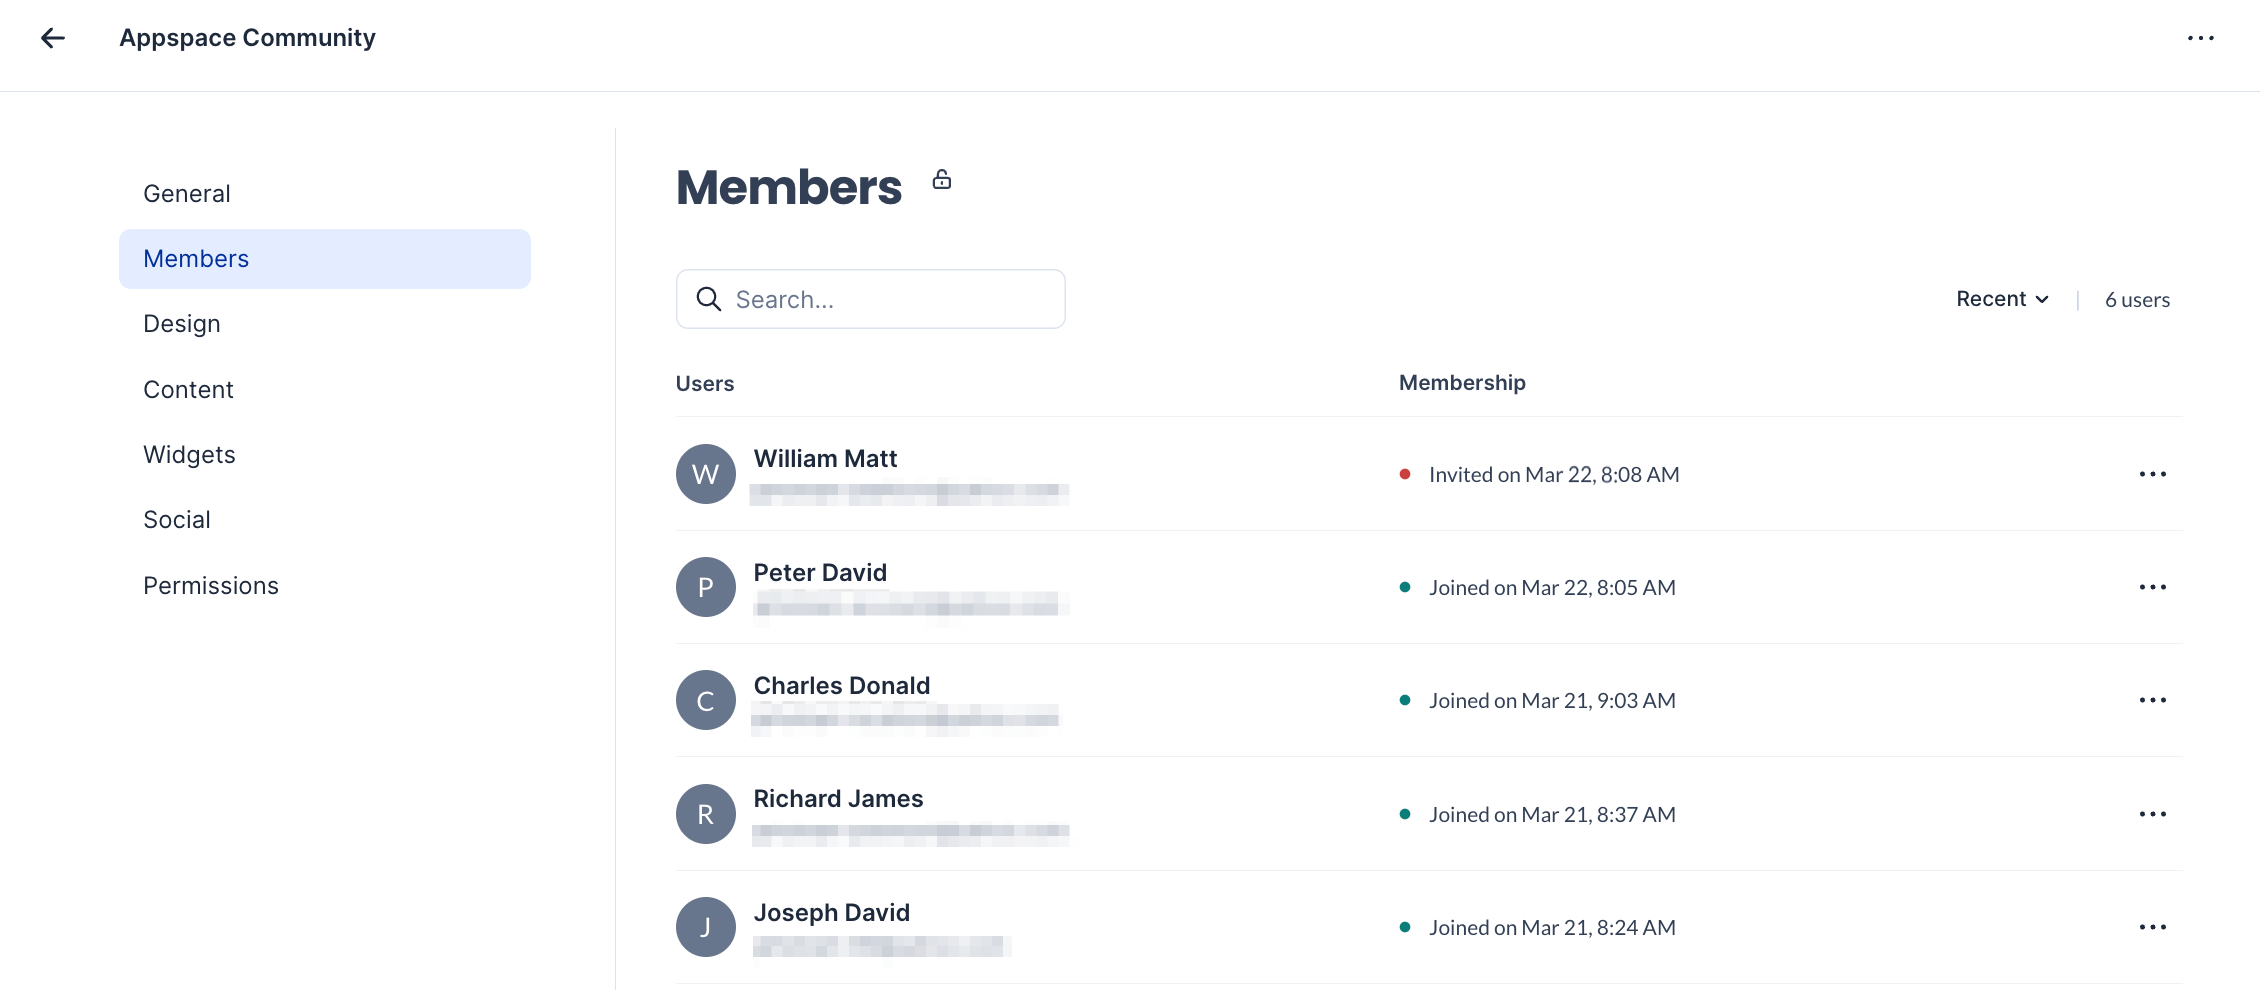
- Select Members to view members of the community.
- To remove a member, click the ellipsis at the end of a row and select Remove.
- In the window, click Remove.
Change Community Settings
Account Admins, Publishers, and Community Owners may change community settings.
However, the following options in community settings may be delegated to different users by the Account admin in the Spaces > Settings section in the Admin Console. (New)
- The Privacy setting, which sets the community to be Public or Private.
- The Membership setting, which sets the community to be set as Mandatory for users, or optional with users as members or non-members by default (Opt-Out or Opt-In). This option is only available if Privacy was set to Private.
- Log in to the Appspace Employee App.
- Go to the More > Explore section, and select the Communities tab.
- Select a community to view the Community page. On the left bar, select Settings.

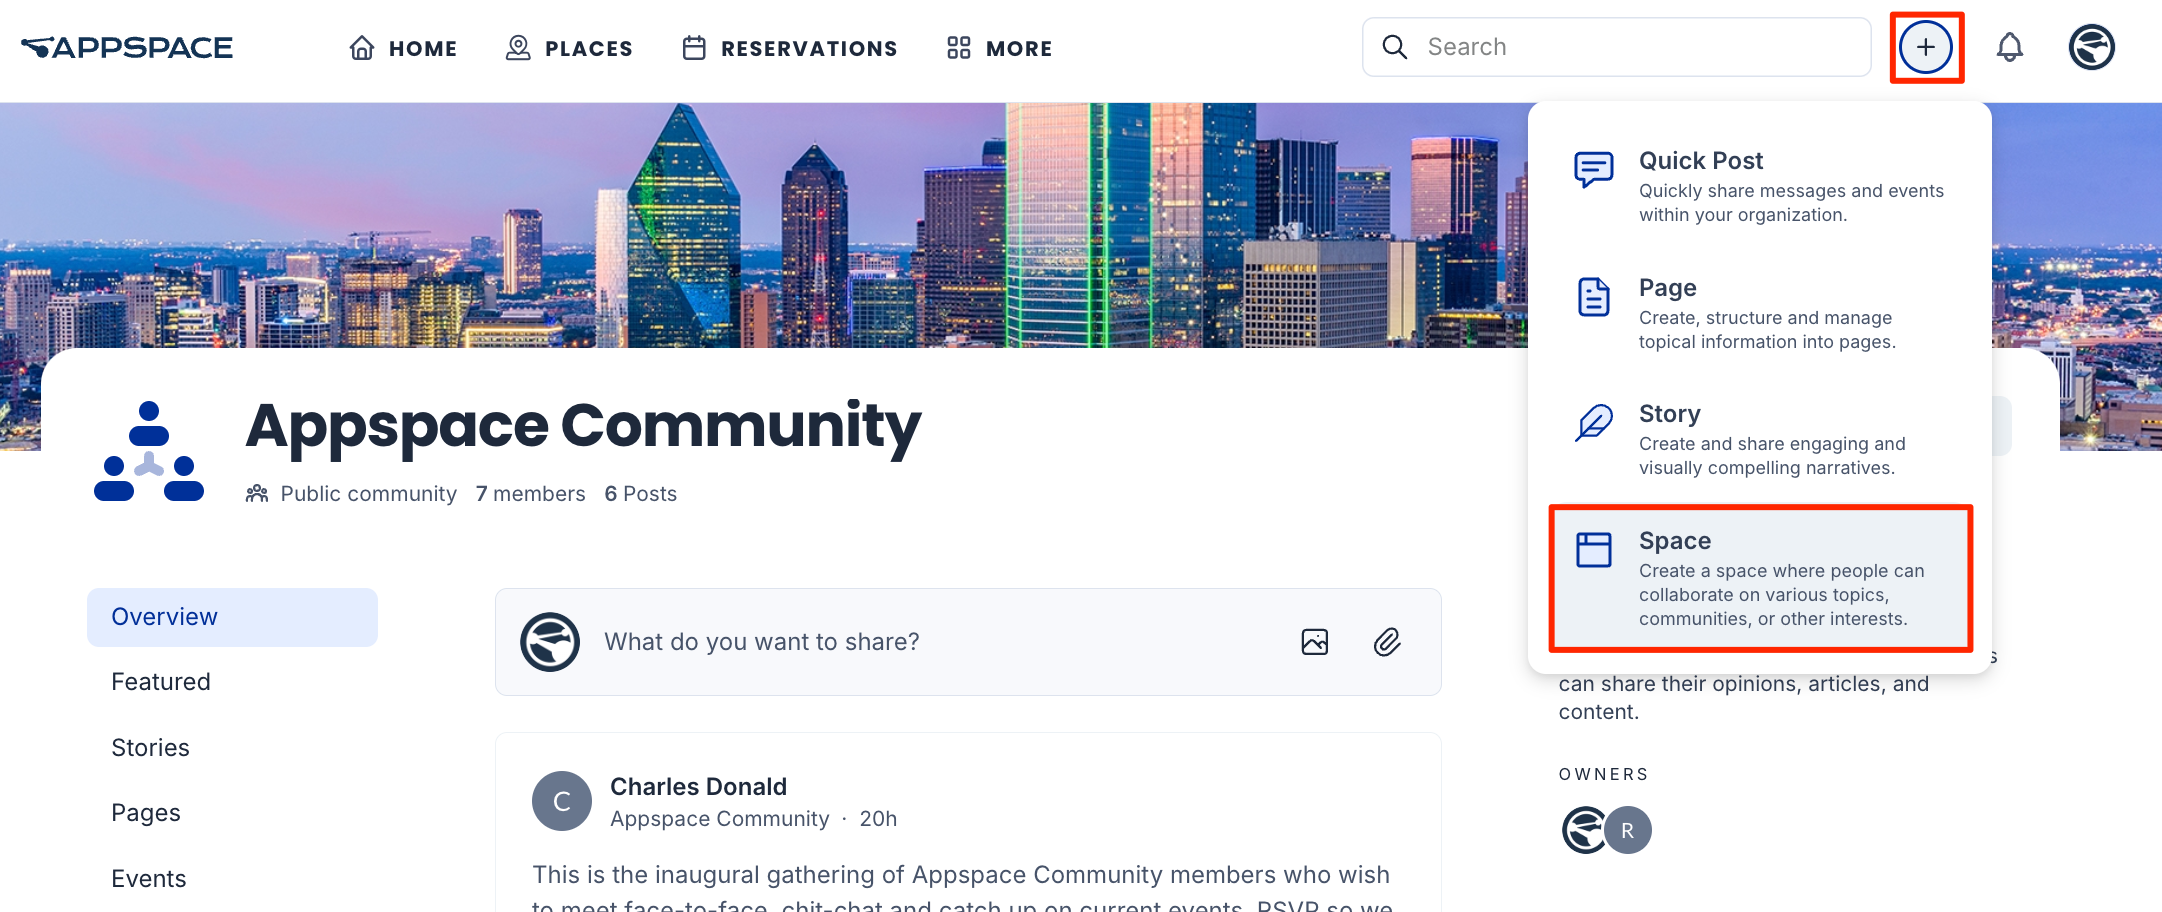
- Select General to set the name and description of the community, tags, and privacy:
- Name – Enter a name for the community.
- Description – Enter a description for the community.
- (New) Language – The language drop-down menu at the upper right corner allows you to set the language translations for the community Name and Description. Refer to this article for more information.
- Tags – Enter tags that will be associated with the community.
- Privacy – Set the community to be Public or Private. Private communities will not be visible to non-members.
- Membership – Set to have membership for the community set as Mandatory for users, or optional with users as members or non-members by default (Opt-Out or Opt-In).
- Audience – Enter a user group or a location to add all users in the user group or location as members. This option is only available if Privacy was set to Private.
- Select Members to view or remove members of the community. You can also view people who have been invited but have not accepted the invitation to be members.
- Select Design to set a banner and icon for the community.
- Banner – Upload a banner image (jpg and png) or remove an existing banner for the community.
- Icon – Select a color and an icon from the list of available icons.
- Select Content to define who can contribute User Posts, Event Posts, Praises, Polls (New), Attachments, Pages, and Stories:
- None
- Everyone
- Moderators and owners
- Owners only
- (New) Select Document Library to manage settings for the document library of the community.
- If the community does not have a document library yet, click Create Document Library. Choose a provider (Appspace, SharePoint, or Google Drive) where the server will store the documents, then click Create.NoteThe SharePoint and Google Drive options are temporarily unavailable and cannot be selected at this time.
- You can edit the following settings for the document library, then click Save:
- Name – Edit the name of the document library, or leave as default to follow the community name.
- Who can manage files and folders – Select either moderators and owners, or members to add or delete files, and administer the document library.
- The document library is displayed on the right widget. Click Open Library to view and manage the library contents in the Files tab.
- If the community does not have a document library yet, click Create Document Library. Choose a provider (Appspace, SharePoint, or Google Drive) where the server will store the documents, then click Create.
- Select Widgets to select the widgets to be displayed on the community page.
- About – Displays the Description of the community as set in Setting > General above, and the community owners.
- Members – Lists the community members on the right.
- Tags – Displays the tags of posts, stories, and pages published within the community. Select a tag to filter the articles displayed.
- Top pages – Displays the top pages published within the community.
- Top stories – Displays the top stories published within the community.
- Media gallery – Displays the images and videos attached to posts, stories, and pages published within the community.
- Recent documents – Displays the document files (such as pdf, xlsx, or docx) published within the community.
- Upcoming events – Displays event posts that are set near the current date.
- Select Social to enable or disable Reactions, Comments, and Shares on posts, stories, and pages published within the community:
- Inherit – follows the global settings set in the Employee App configuration.
- Yes – enable the feature for users.
- No – disable the feature for users.
- Select Permission to add owner or moderator permissions for members of the community. Refer to the Note in this article to view the roles of each permission type for the community.
- Select Email to configure email notifications sent to community members.
- Notification Types – Select Digest to send email notifications as a summary that can be sent Daily or Weekly, after which you can set the Publish Time and/or Publish Day of the Week that the email will be sent. Select Featured Content Notifications to send email notifications for featured content that is scheduled to be published.
- Time Zone – Select the time zone of the community members that will receive the email notifications.
- Content Rules – Set rules for the content of email notifications. You can restrict notifications to content from certain post types (Posts, Events, Polls, Praises, Stories, Pages, or Questions), and Restrict or Exclude content to only the ones containing certain Tags.
- Sender Display Names – Set the name that will be displayed as the sender of the email notification.
- Email Title – Set the title for the email notification.
- Sender Subject – Set the subject for the email.

Was this article helpful?