This article provides administrators and publishers with the instructions to create and manage communities in the Admin Console. Communities are collaboration spaces that serve as a social platform within the Appspace Employee App.
- This article is for configuring communities in the Admin Console. To configure communities in the Employee App, see this article.
Communities are dynamic, user-driven collaboration spaces that provide a platform for users to easily create and participate in groups centered around various subjects, interests, and projects. Communities facilitate deeper engagement and interaction among team members, encourage cross-departmental collaboration, and bring together individuals with shared interests. This fosters a vibrant exchange of ideas and enriches the sense of togetherness and belonging.
- AI translation capabilities for Community Names and Descriptions in Settings.
Prerequisites
- Account Owner or Publisher role.
- An Appspace Platform user license.
- An active Appspace public/private cloud user account.
- Supported file types for community banners in Settings > Design:
- Images: JPEG, and PNG
Create and Delete Communities
By default, Account Admins and Publishers may create and delete communities, while Community Owners may only delete their own communities. This setting may be changed in the Spaces > Settings section in the Admin Console.
To create a community, perform the following steps:
- Log in to the Appspace console.
- Click the ☰ Appspace menu, and click Spaces.
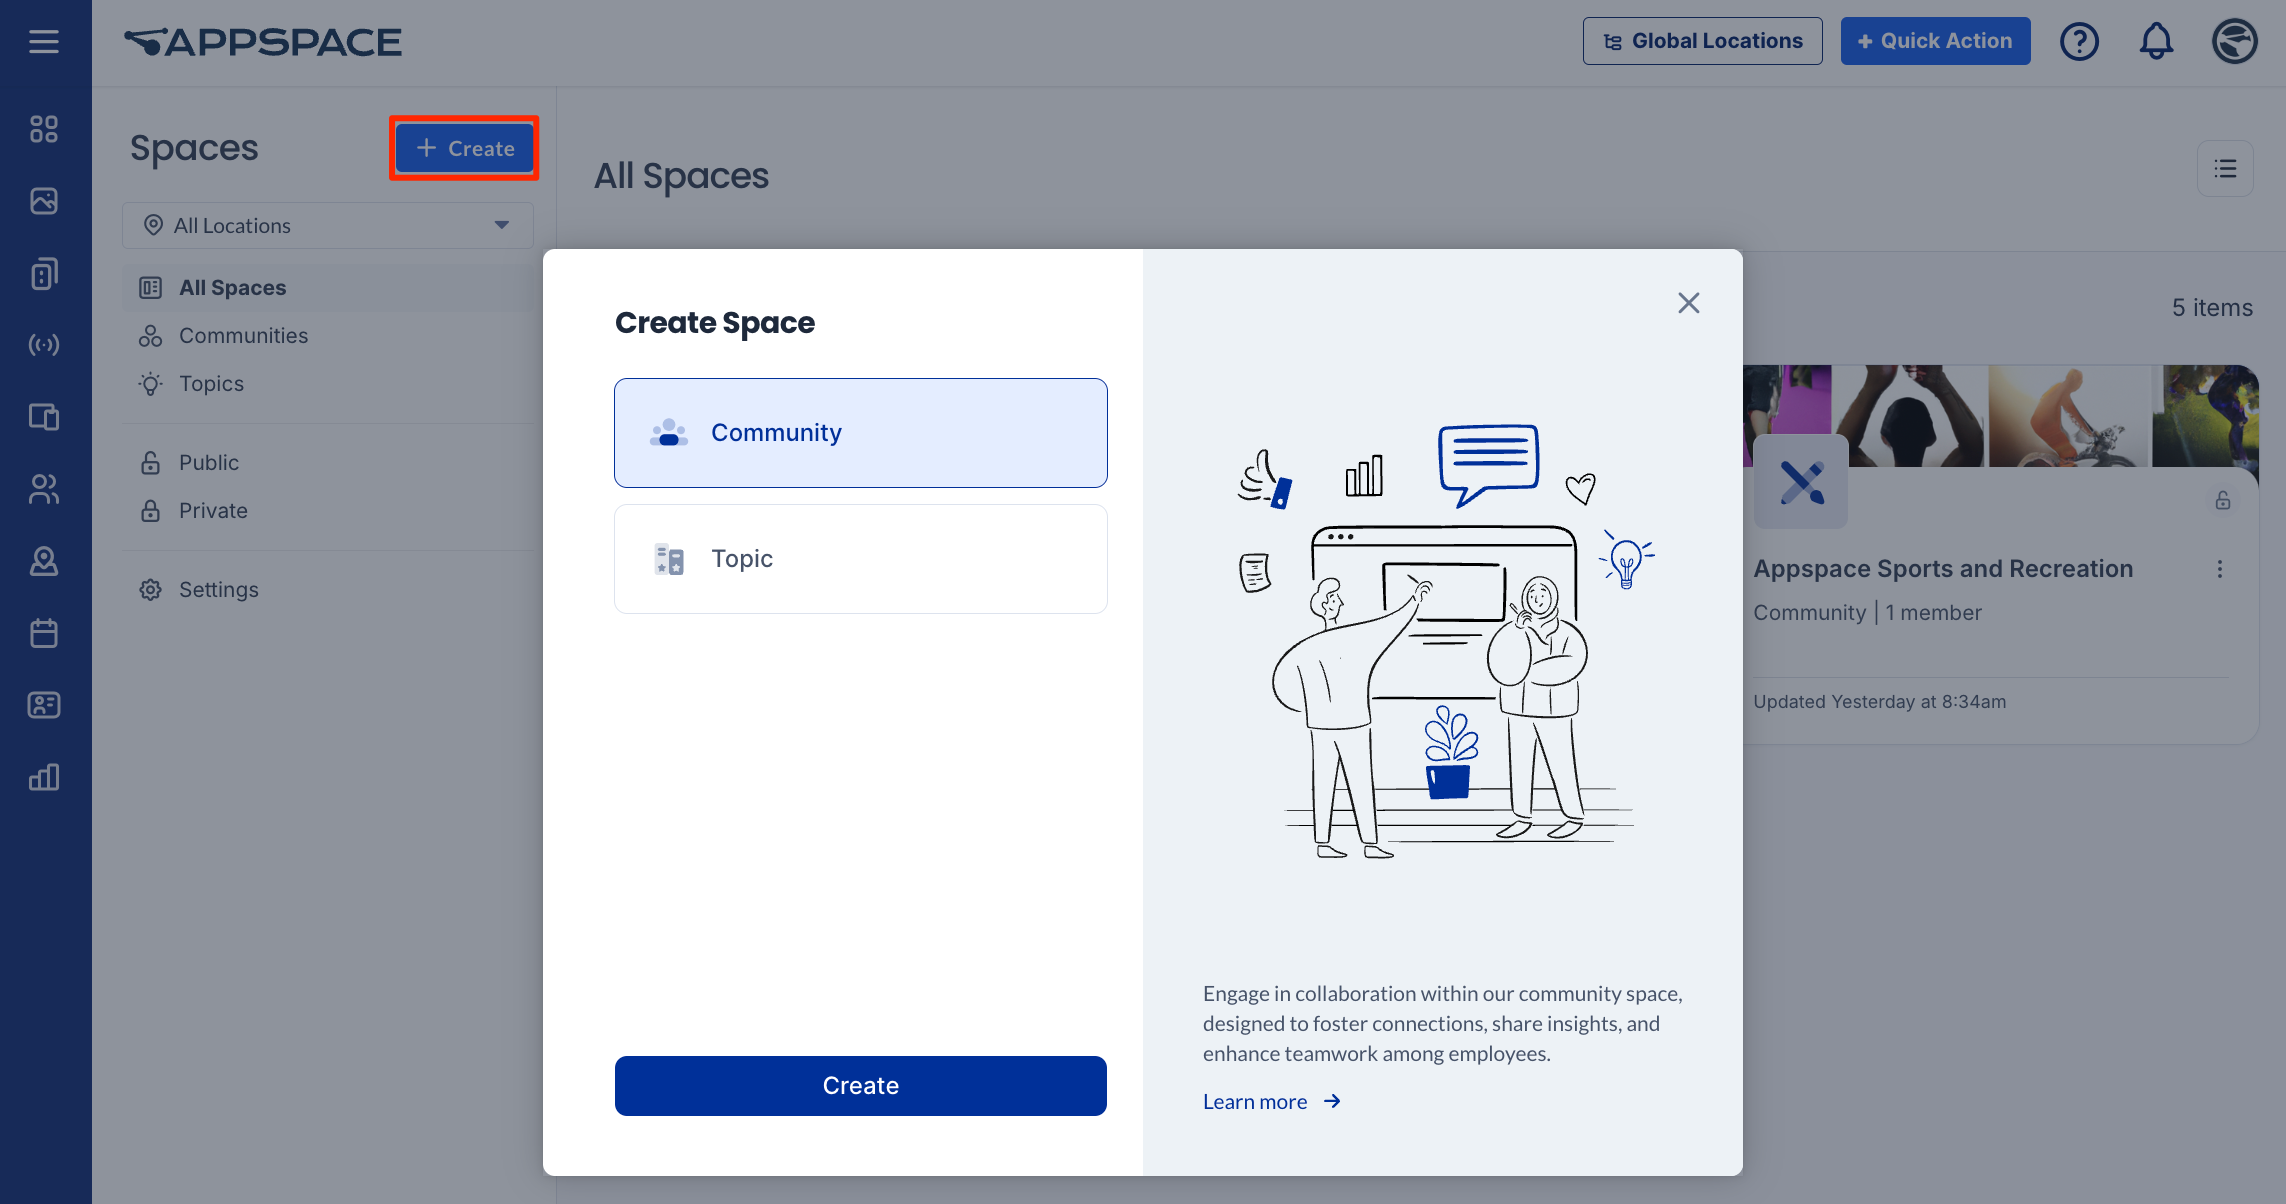
- Click +Create on the upper-left corner.
- In the Create Space window, select Community and click Create.

- Enter the Name and Description of the community, and set the community to be either Public or Private. Private communities are only viewable by members of the community.
- Click Create.
- The page for the new community is immediately displayed.
To delete a community, perform the following steps:
- Log in to the Appspace console.
- Click the ☰ Appspace menu, and click Spaces.
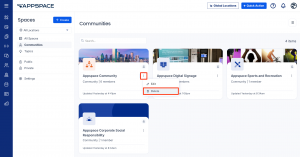
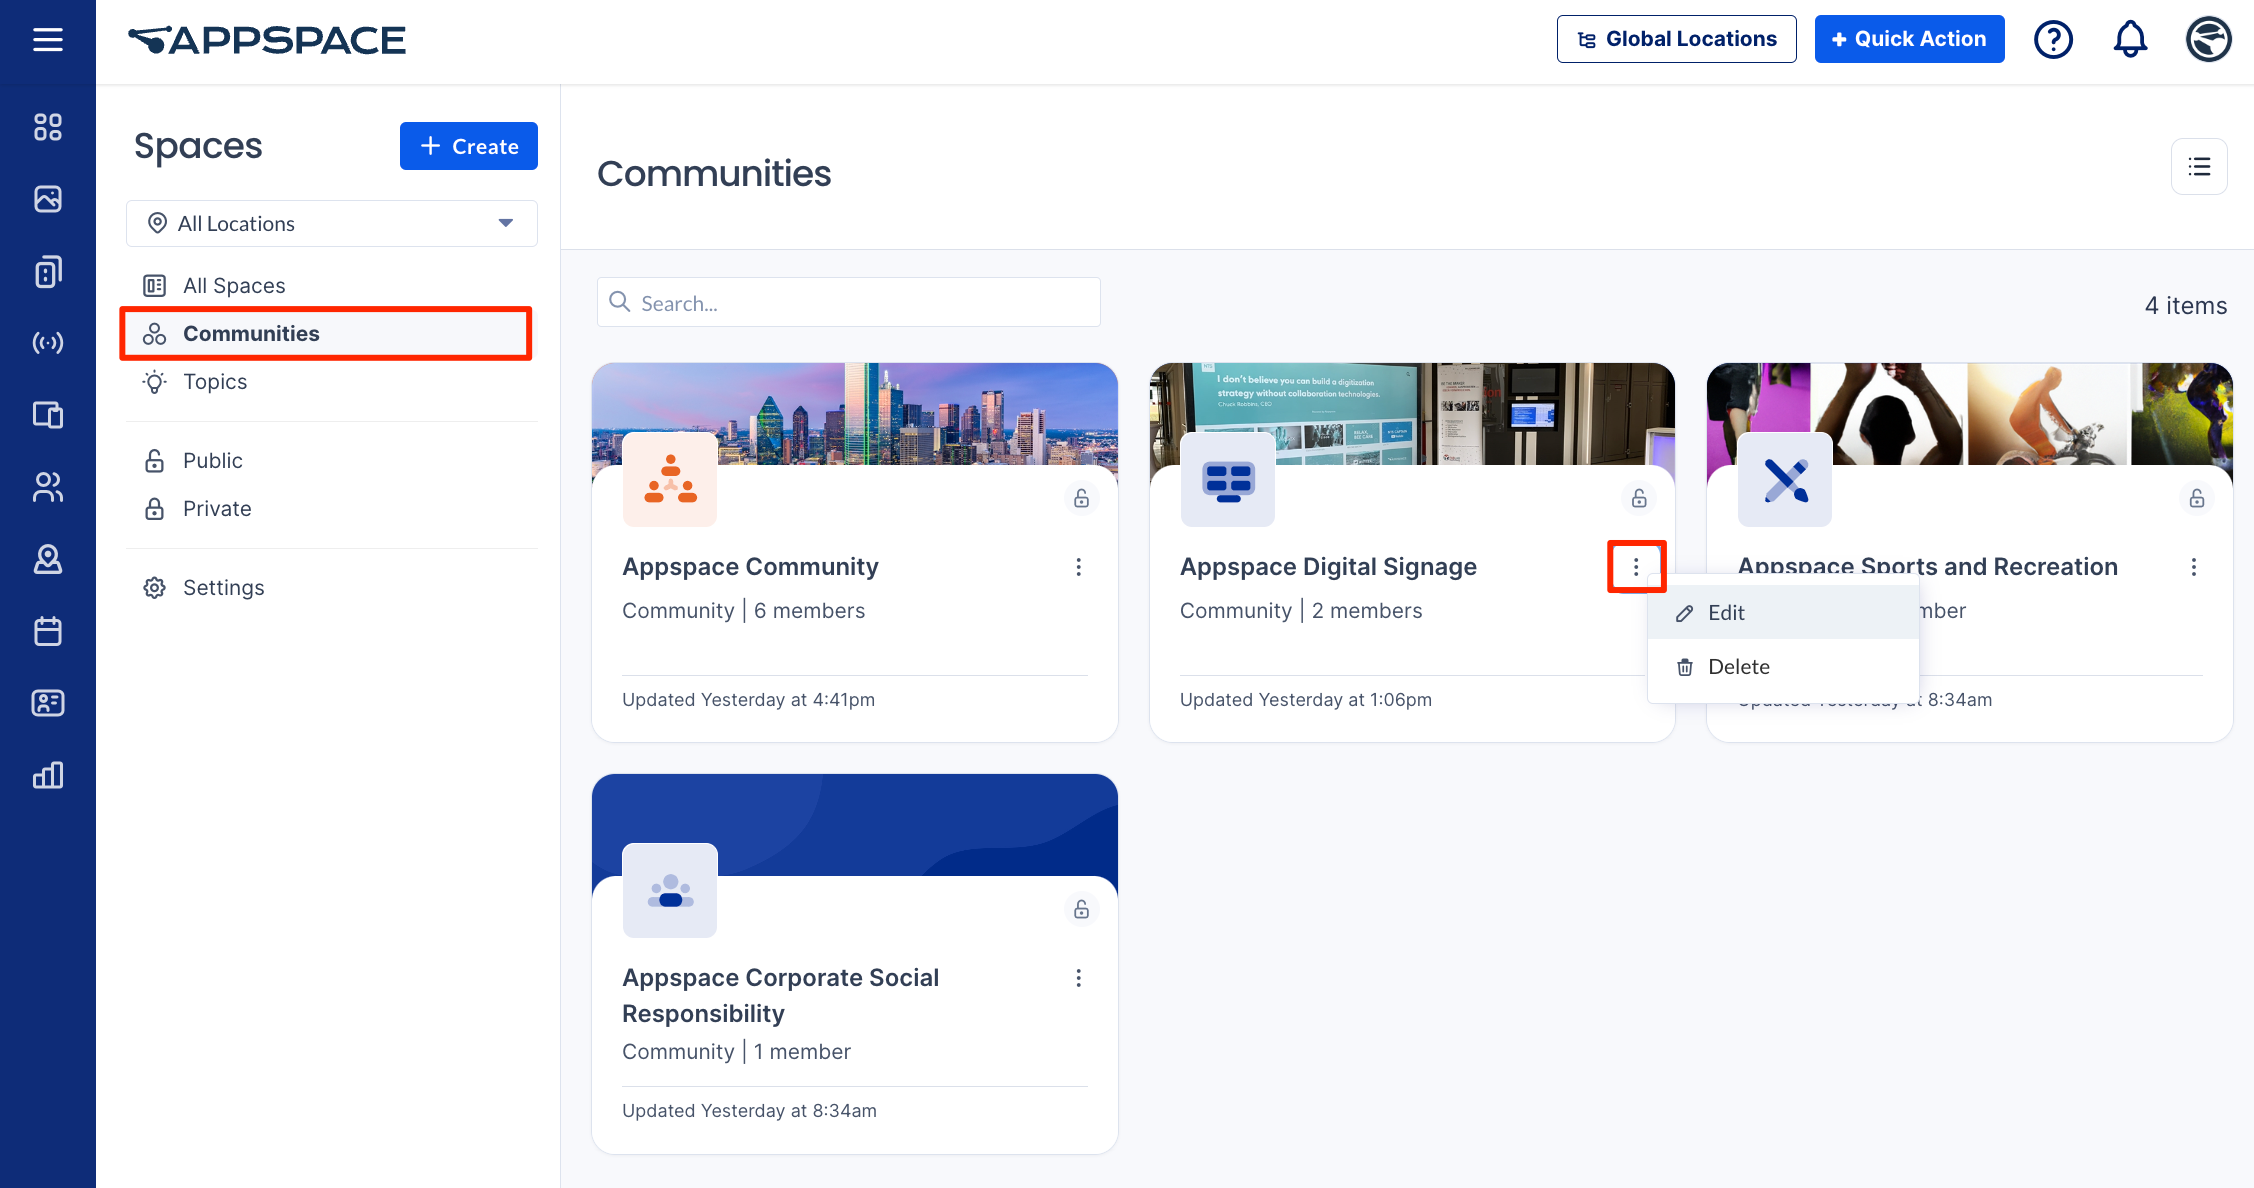
- Click Communities on the left bar to view the available communities.
- Click the ellipsis (…) on a community and select Delete.
- The confirmation window will appear. Select the check box and click Delete.
- Select a community to view the Community page. On the right bar, select Settings.
- In the Settings page, click the ellipsis (…) and select Delete.
- The confirmation window will appear. Select the check box and click Delete.

Assign Community Owners and Moderators
Account Admins, Publishers, and Community Owners with a Platform user license may assign owners and moderators for a community by performing the following steps.
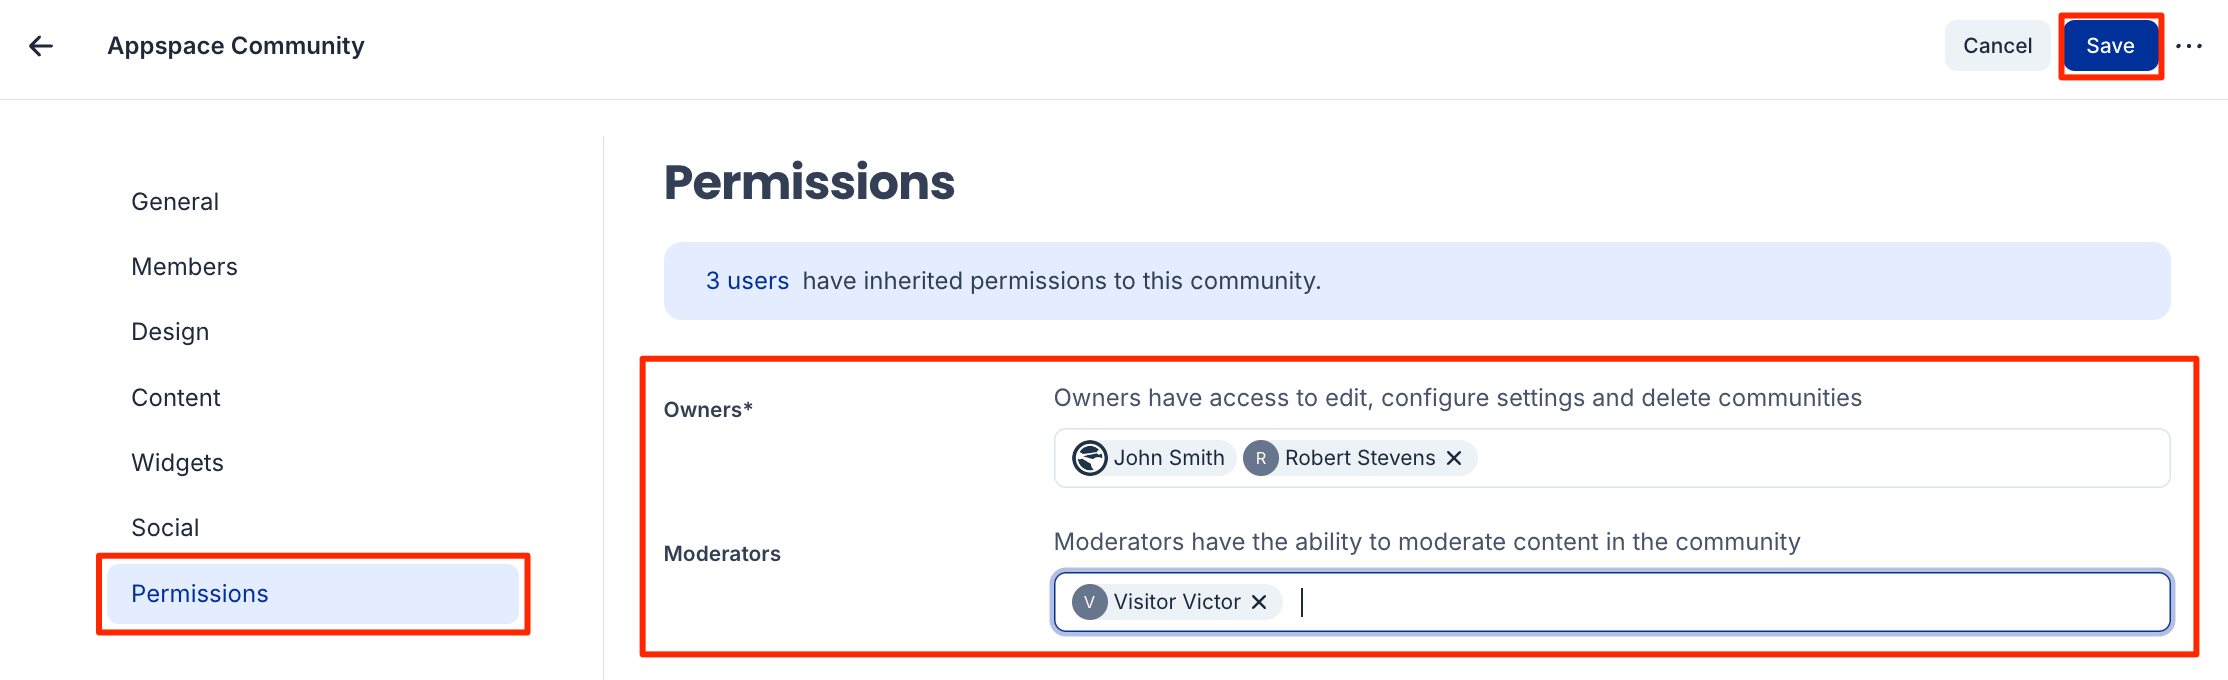
Community members assigned as owners have permission to delete communities, configure community settings, and edit community articles in the Employee App. Members who are assigned as moderators of a community have permission to moderate reported posts, stories or pages in the community in the Employee App.
- Log in to the Appspace console.
- Click the ☰ Appspace menu, and click Spaces.
- Click Communities on the left bar to view the available communities.
- Click the ellipsis (…) on a community and select Edit to access its Settings page.
- Select Permissions to view the assigned owners and moderators of the community.

- Enter the name or email to the Owners or Moderators field.
View and Remove Community Members
Perform the following steps to remove members of a community:
- Log in to the Appspace console.
- Click the ☰ Appspace menu, and click Spaces.
- Click Communities on the left bar to view the available communities.
- Click the ellipsis (…) on a community and select Edit to access its Settings page.
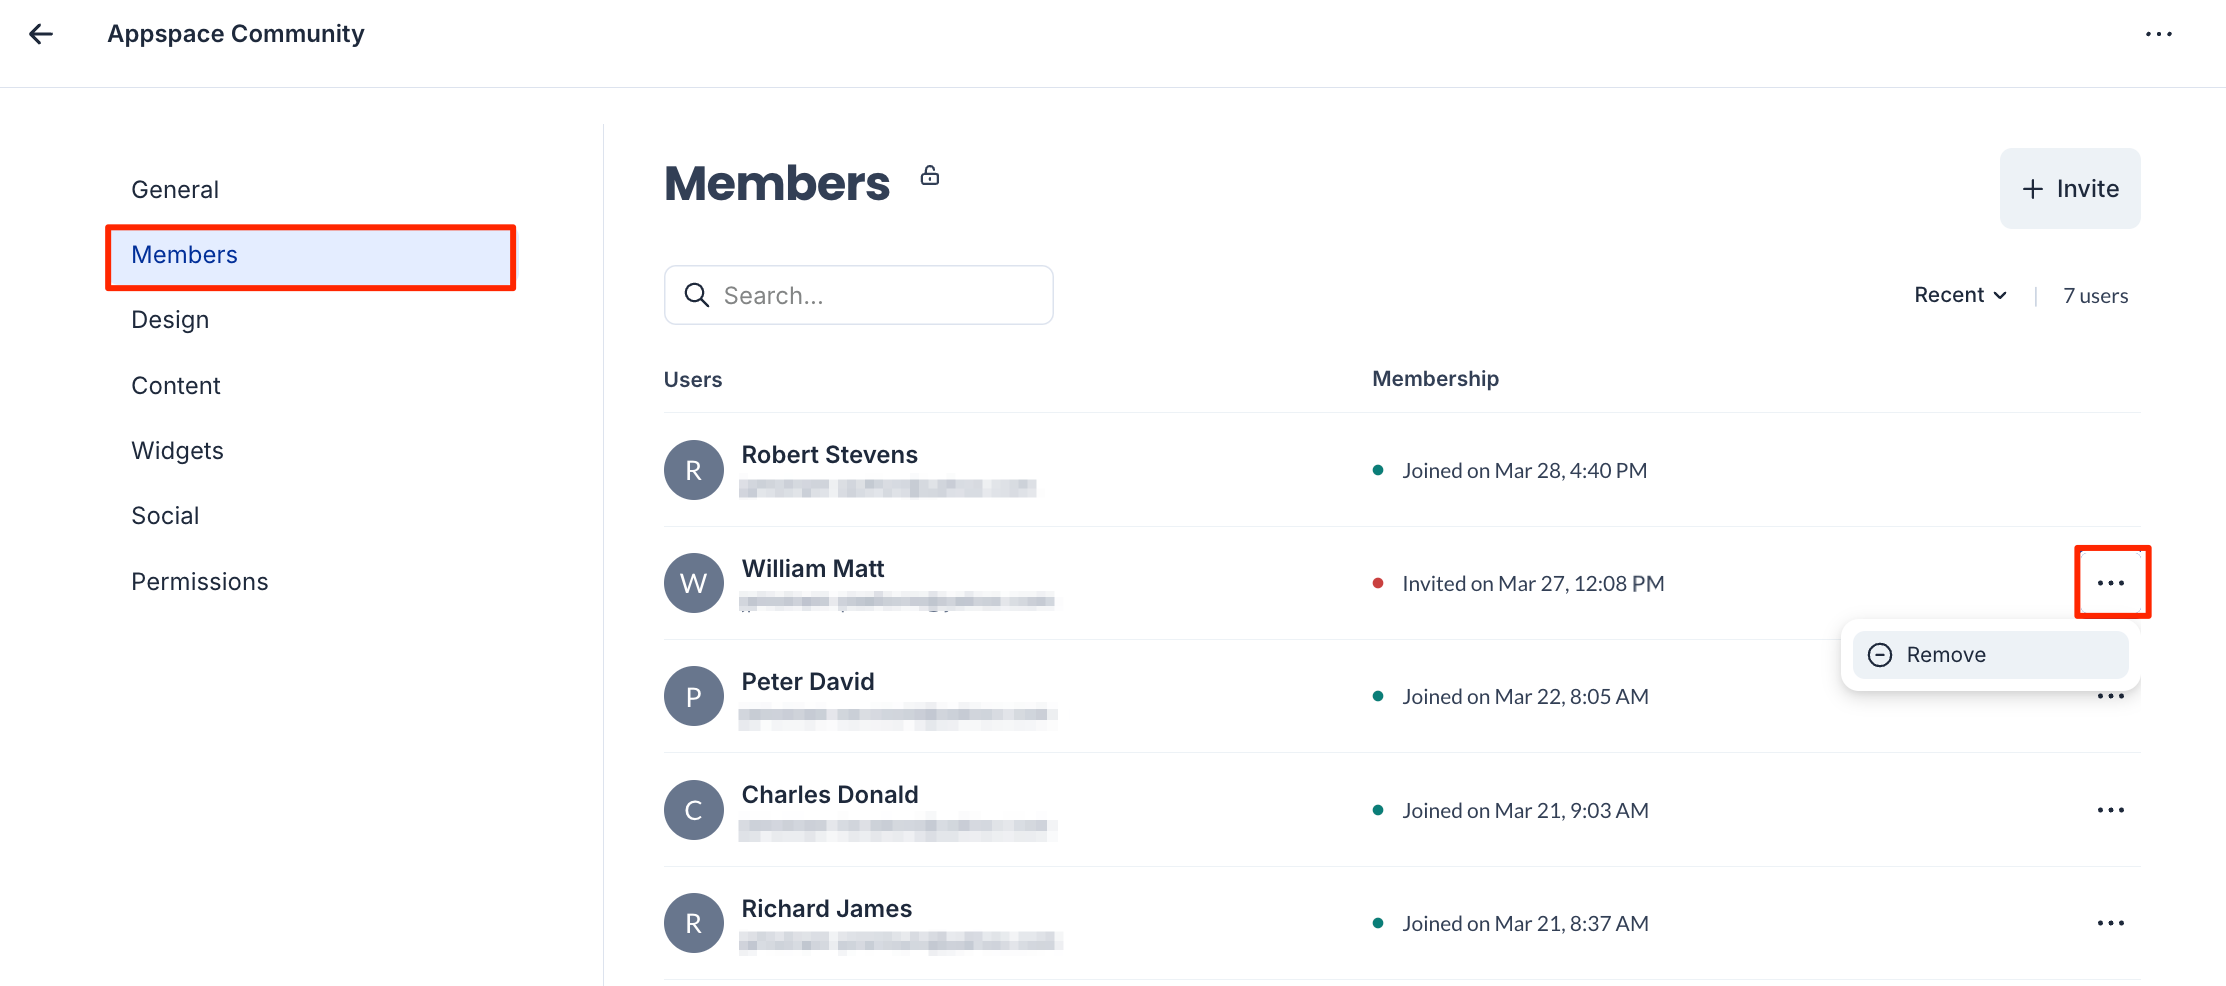
- Select Members to view members of the community.
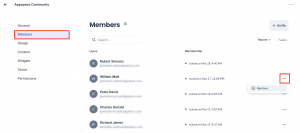
- To remove a member, click the ellipsis at the end of a row and select Remove.
- In the window, click Remove.
Change Community Settings
Perform the following steps to change the settings of a community:
- Log in to the Appspace console.
- Click the ☰ Appspace menu, and click Spaces.
- Click Communities on the left bar to view the available communities.

- Click the ellipsis (…) on a community and select Edit to access its Settings page.
- Continue to Step 4 of the Community Settings section in the Manage Communities in the Employee App article.
Delegate Community Creation, Privacy, and Membership Settings
Account owners can set minimum user roles and delegate user and user groups with the right to perform the following actions:
- Create and delete communities.
- Set communities as private or public in the Privacy option in Community > Settings.
- Specify if membership for a community is Mandatory for users, or optional with users as members or non-members by default (Opt-Out or Opt-In) in the Membership field in Community > Settings.
Refer to this article to configure these settings in Spaces > Settings.
Was this article helpful?