This article provides instructions to set permissions for the Google Calendar passport service account in the Google admin portal (https://admin.google.com/). These permissions are necessary when creating an application passport for Google Calendar to be the calendar provider for Space Reservations in Appspace.
Prerequisites
- A Google Administrator to perform the instructions in this article.
- A Google account with the super admin role or other (used as a service account for Google Calendar passport authentication).
- Access to the Google admin portal https://admin.google.com/
Instructions
The instructions in this article must be completed first by a Google Administrator prior to creating a Google calendar passport.
Follow the instructions in the order listed below:
Step 1: Enable Calendar App
Follow the instructions below to enable the Google Calendar service:
- Access the Google admin portal at https://admin.google.com/.
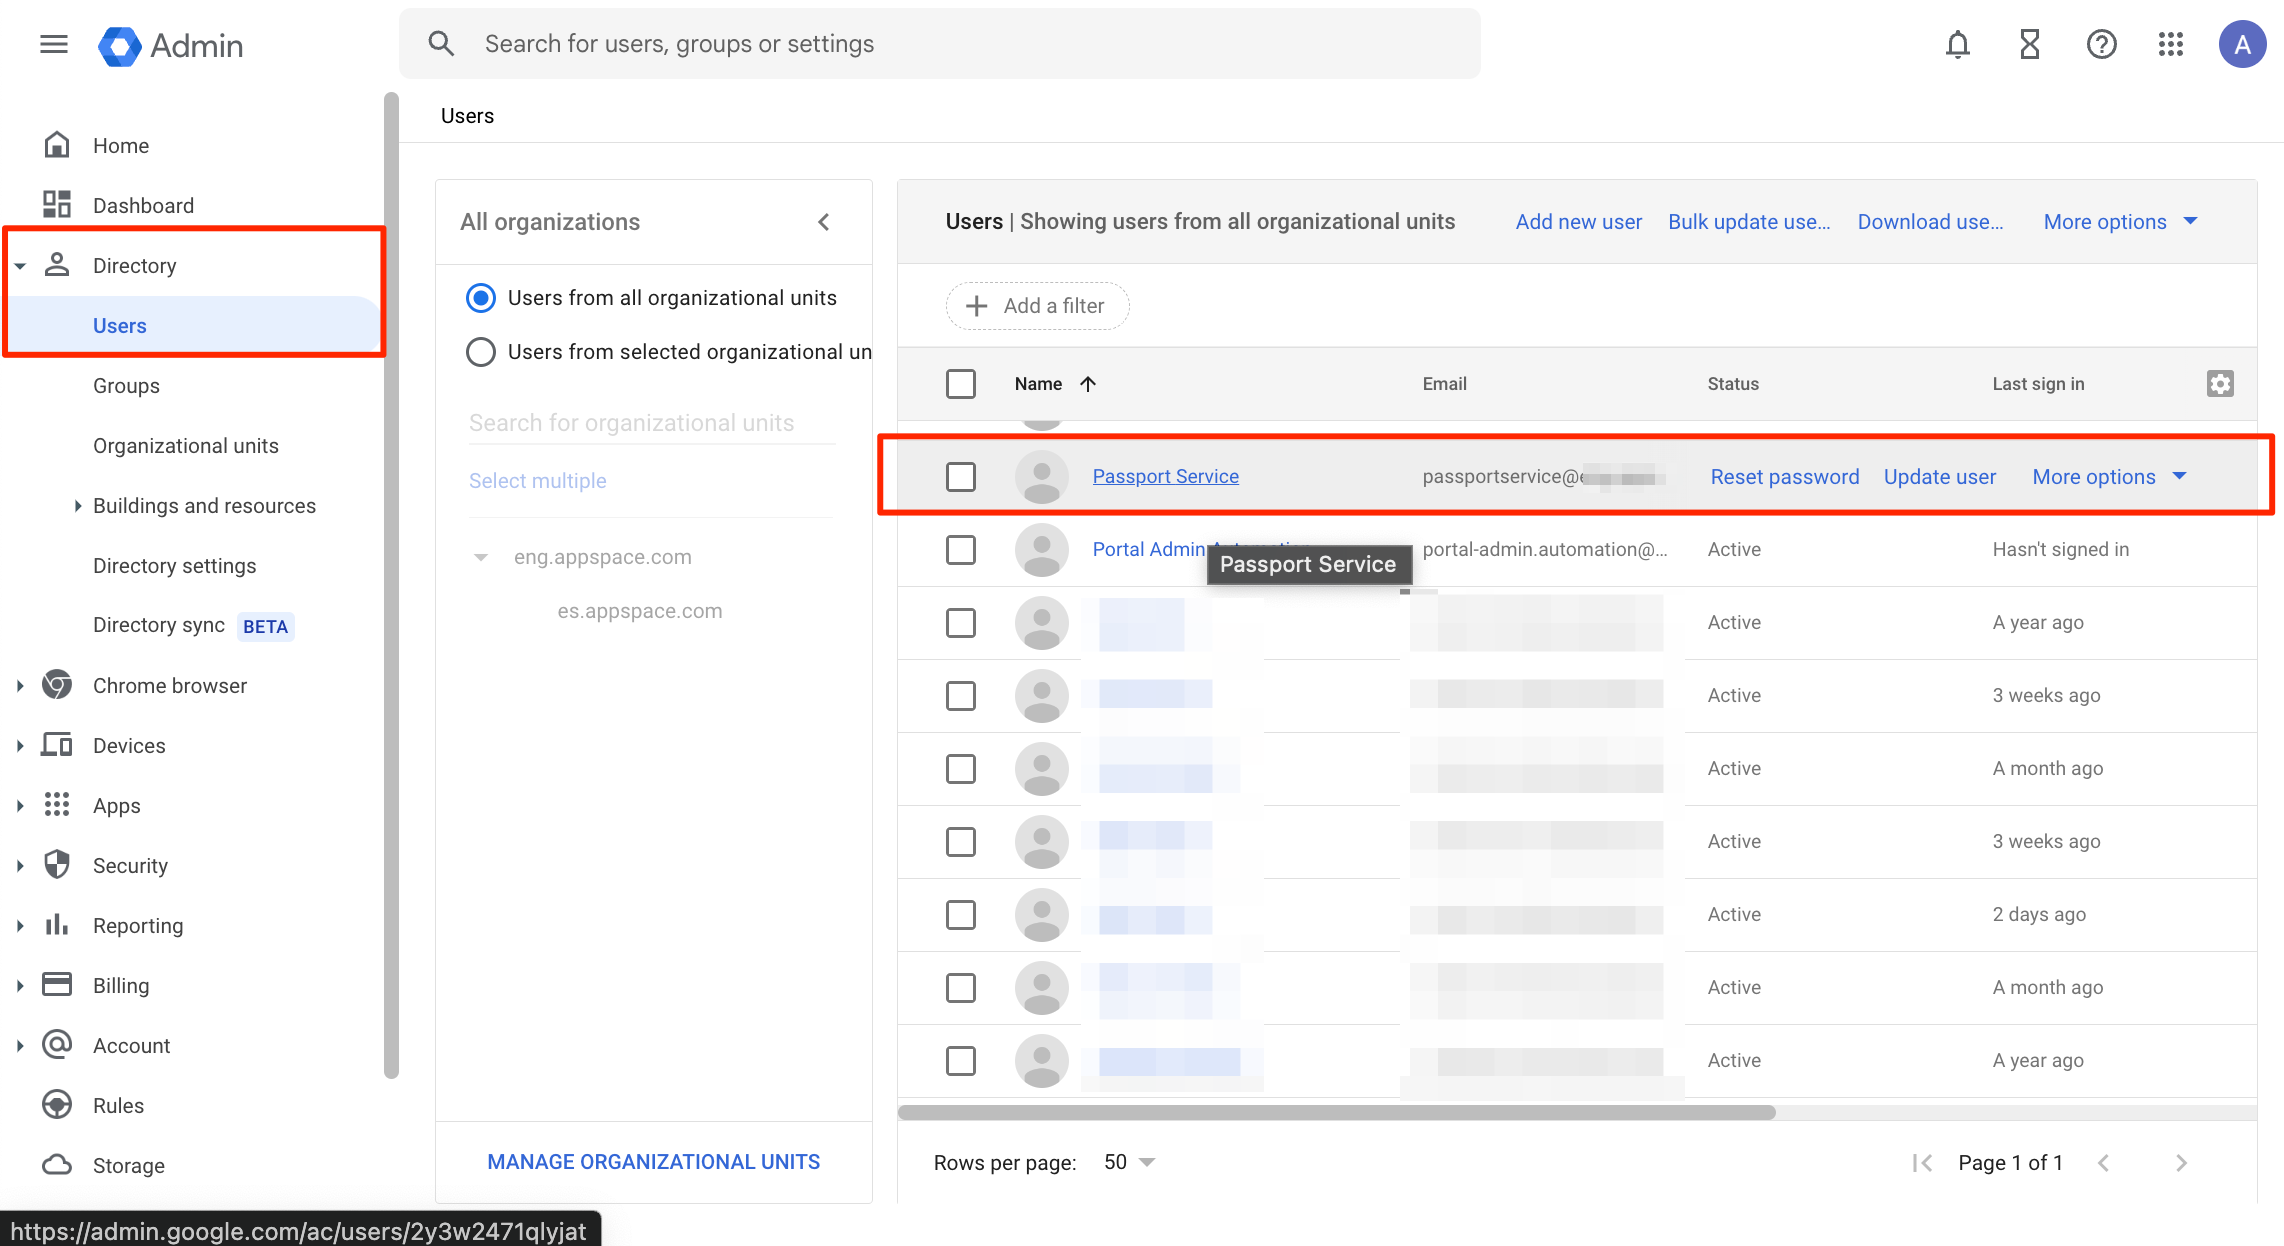
- Select Directory > Users on the left menu panel and navigate to the user you will use as the passport service account for Google calendar integration.

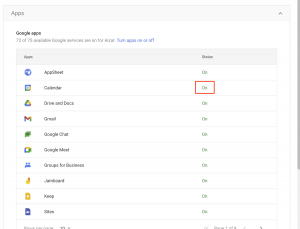
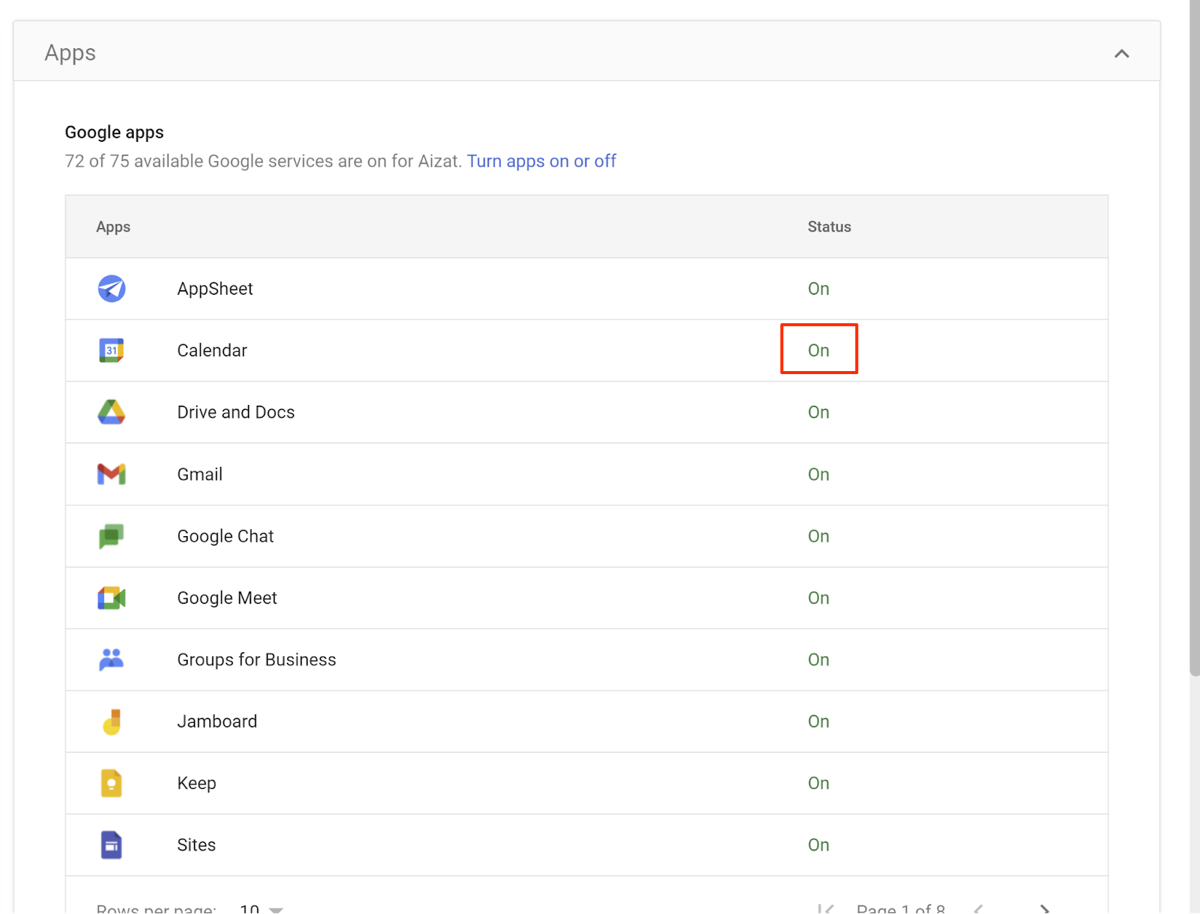
- In the User details tab, scroll down to the Apps section and click on it.
- In the Apps page, ensure that Calendar is set as On. Refer to the following article to turn on apps: support.google.com/a/answer/181865
Step 2: Create New Role in Google Admin Portal
To grant access to the passport service account, you need to create a new role in the Google Admin portal and set up permissions.
-
- Access the Google admin portal at https://admin.google.com/.
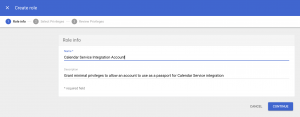
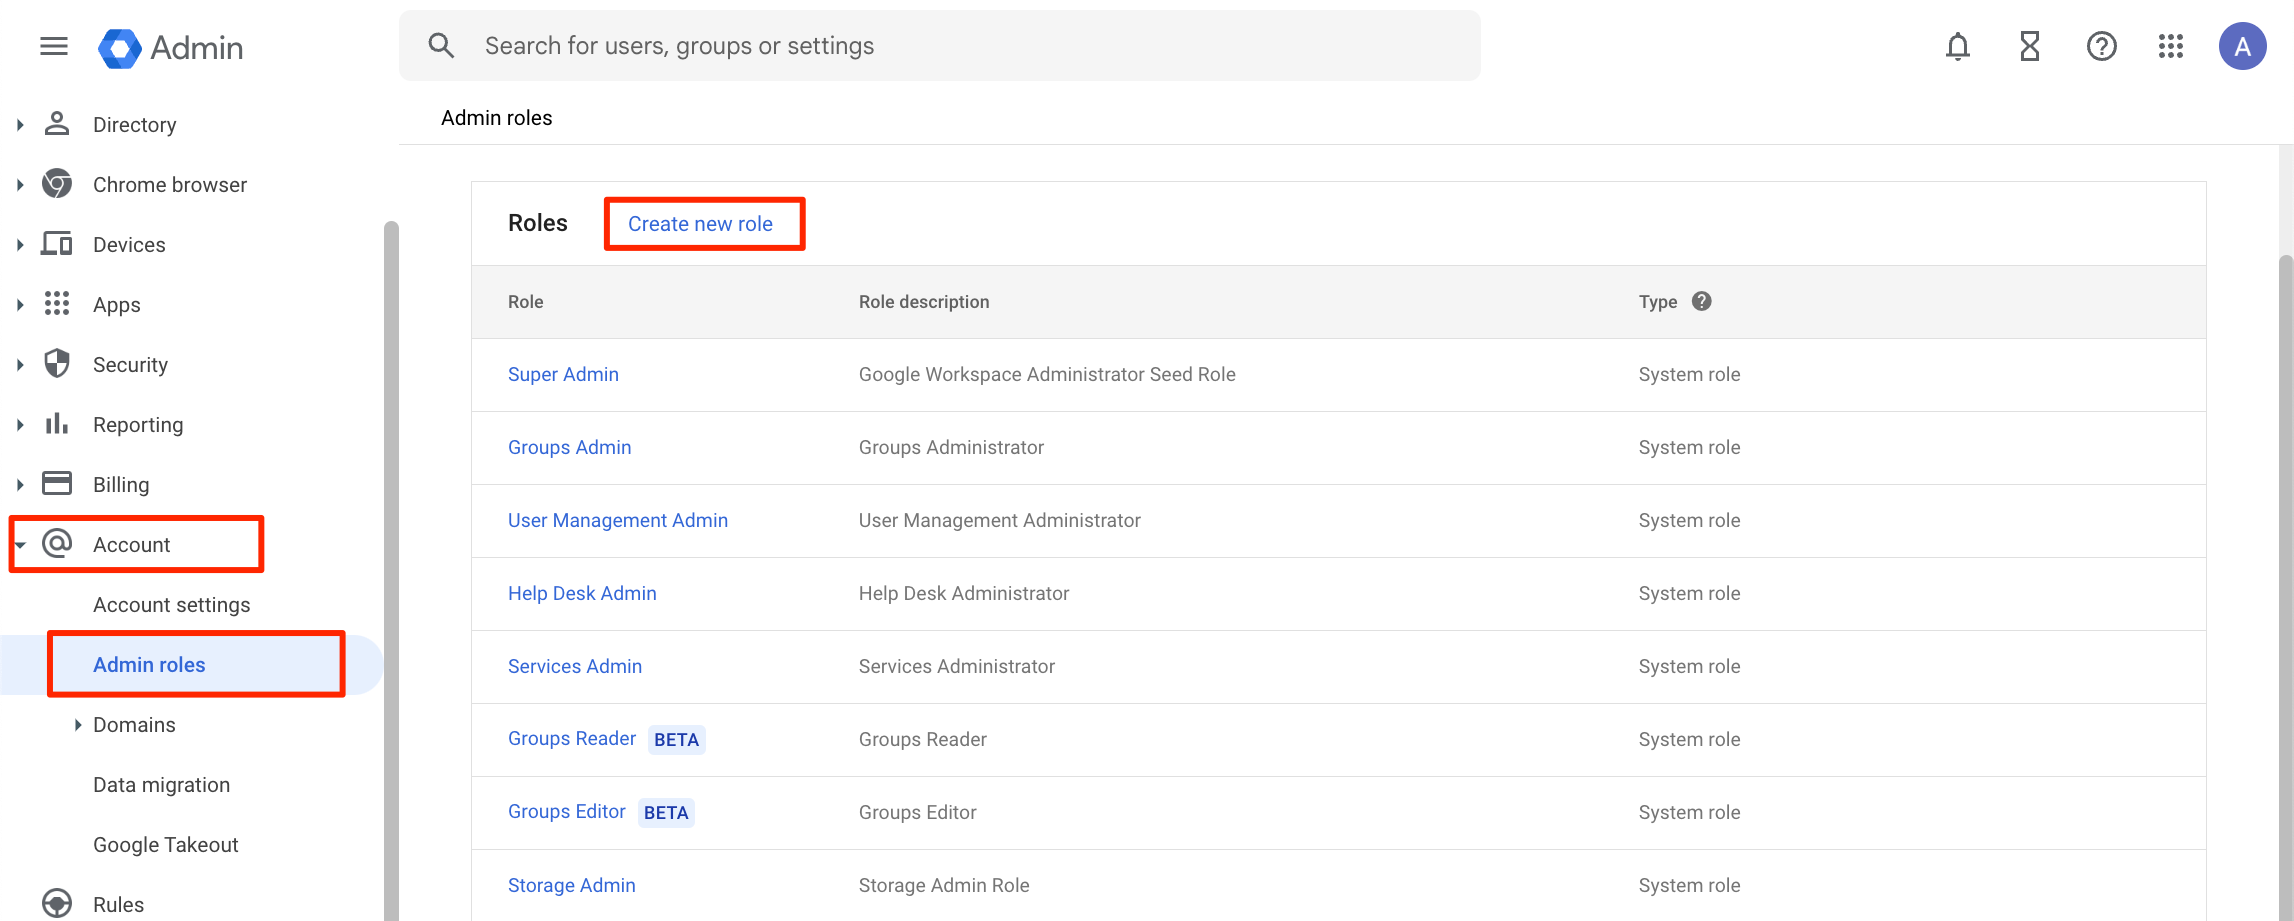
- Select Account > Admin roles on the left menu panel. In the Admin roles page, click Create new role.

- Enter the Name and Description of the new role and select Continue.
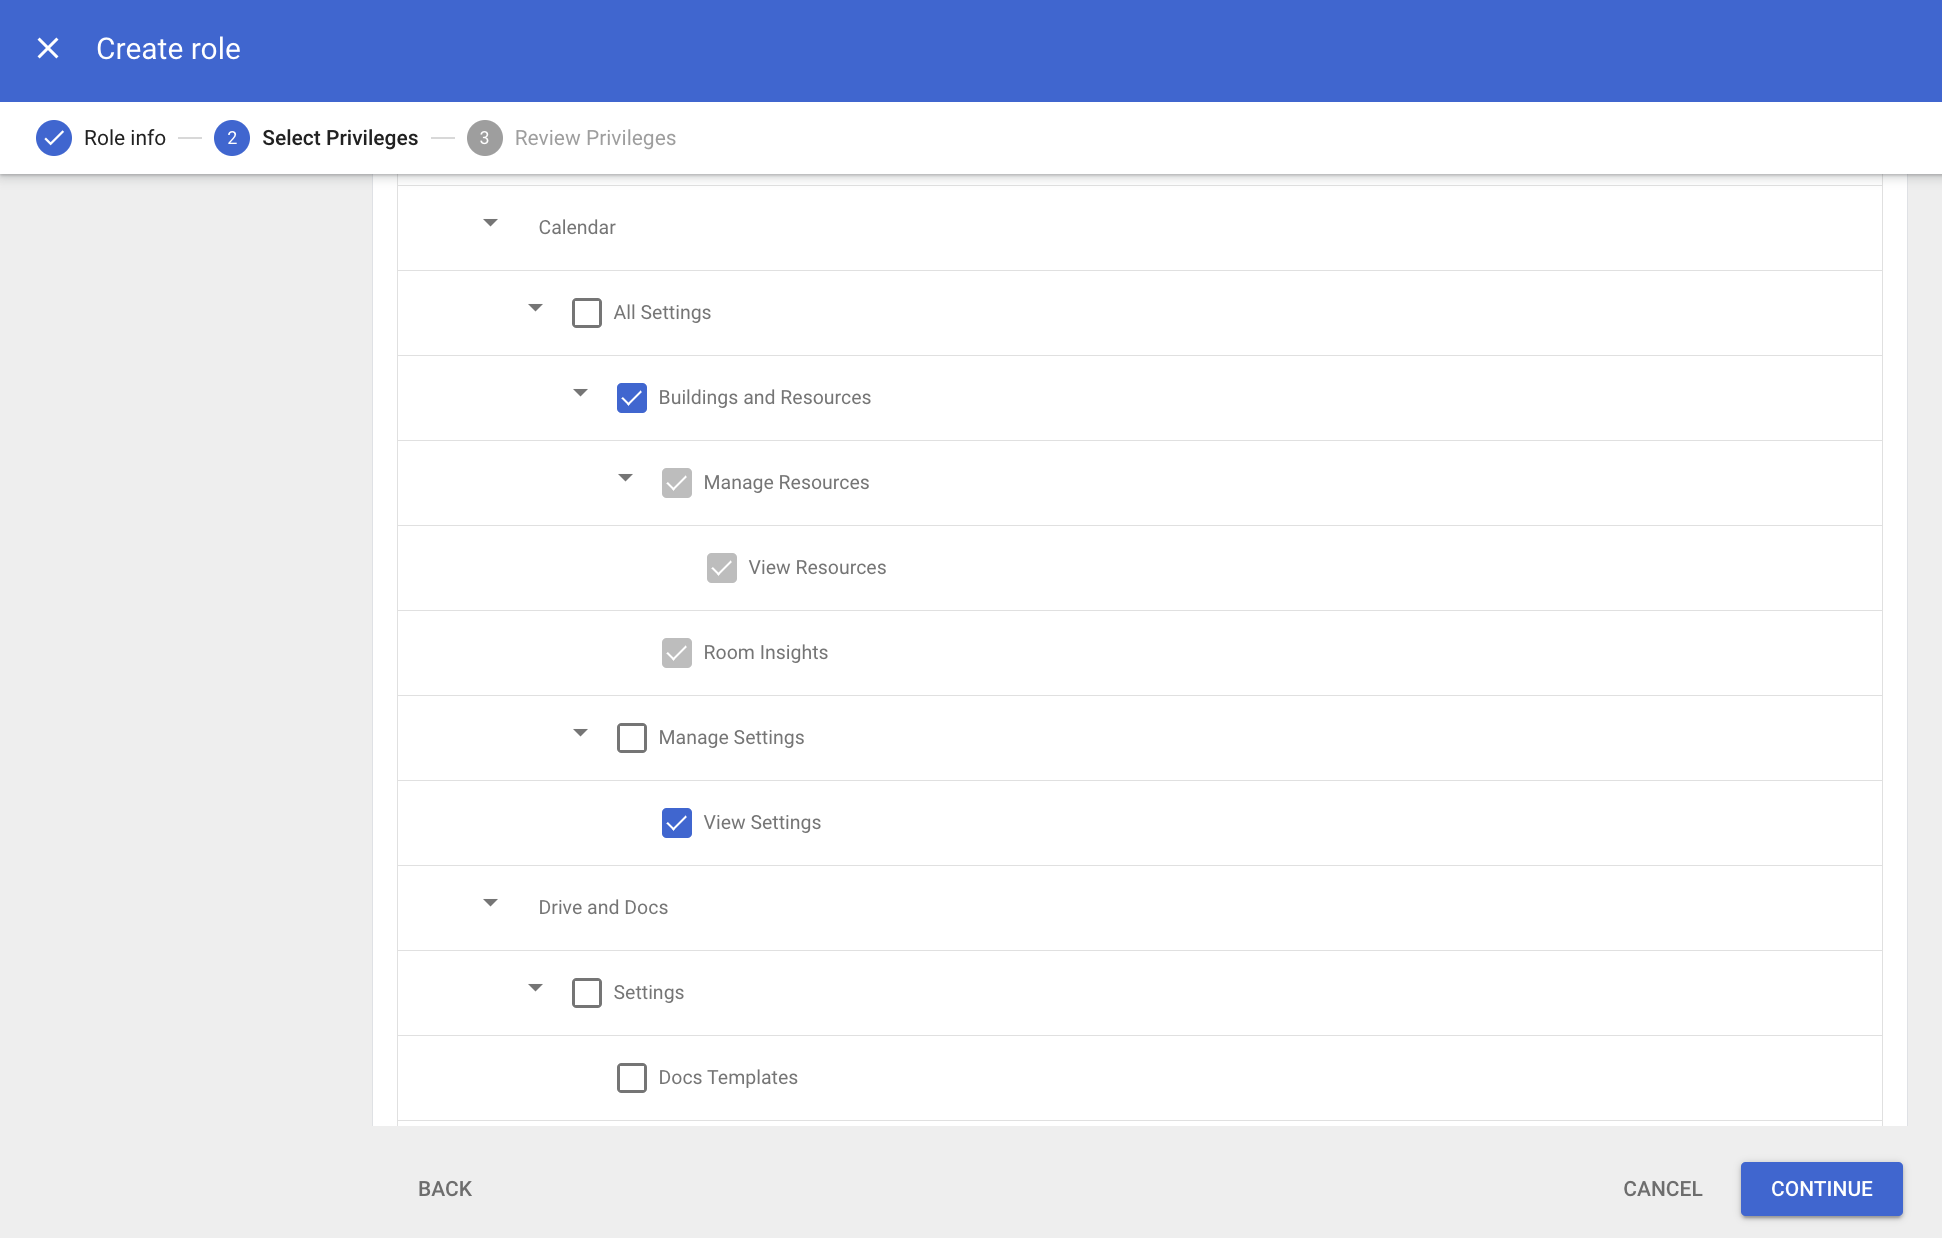
- Select the following privileges under the Admin console privileges section:
- Organizational Units > Read
- Users > Read
- Services > Contacts > Contacts Settings Message > Delegates Read
- Services > Calendar > All Settings > Manage Settings > Buildings And Resources
- Services > Calendar > All Settings > View Settings

- Select the following privileges under the Admin console privileges section:
- Organizational Units > Read
- Users > Read
- Groups > Read
- Click Continue, then click Create Role.

Step 3: Assign Role to the Passport Service Account
After creating the new role, perform the following steps to assign the role to the passport service account and grant permissions to the user:
- Access the Google admin portal at https://admin.google.com/.
- Select Directory > Users on the left menu panel and navigate to the user you will use as the passport service account for Google calendar integration.
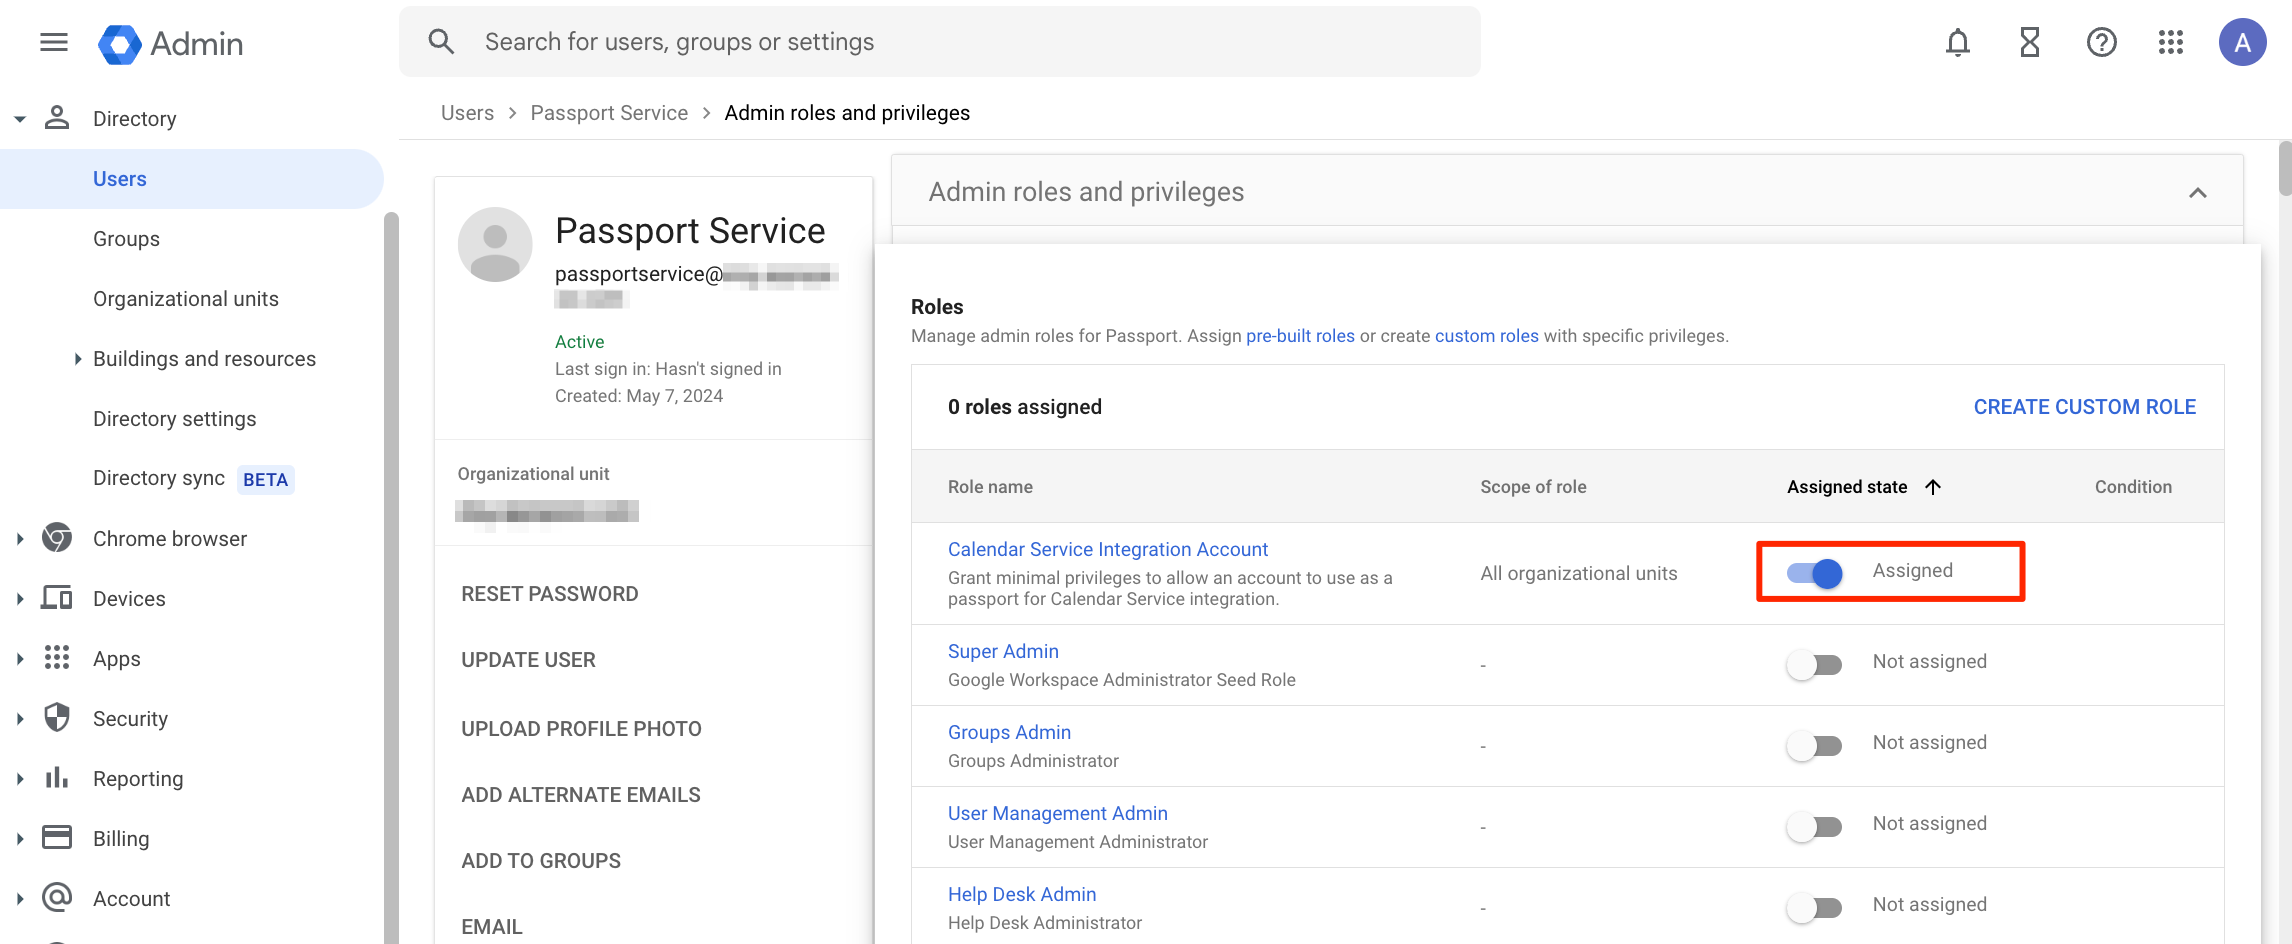
- In the User details tab, scroll down to the Admin roles and privileges section and click on it.
- Select the pencil icon in the upper right corner.
- Set the new role to Assigned and click Save.

- Scroll down to the Privileges section and check that the user has the same privileges as the role.
Step 4: Share Room Calendar to the Service Account
Once you’ve assigned the role to the passport service account, follow these steps to grant room calendar access to the passport service account.
- Follow the instructions in the article to share the room calendar with the passport service account: https://support.google.com/calendar/answer/37082.
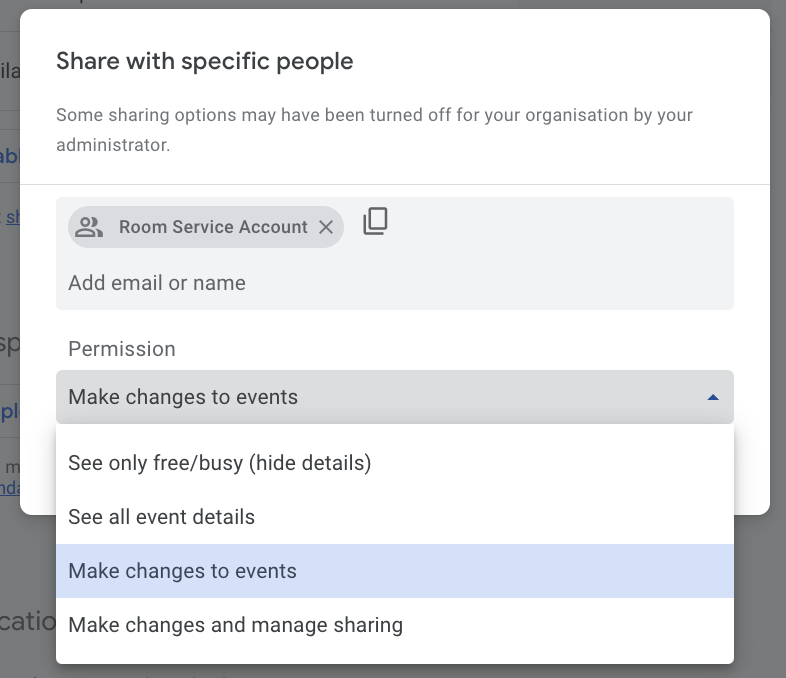
- Select one of the following options for Access Permissions:NoteIt is recommended to share the room with the Make changes to events option to allow users to create, edit, and delete provider room events in Space Reservations for Appspace without using the Google Calendar. See Understand permissions settings for shared calendars in this article.
- Make changes to events – Grants permission to create, edit, and delete events in Space Reservations after importing the provider room or resource to Appspace.
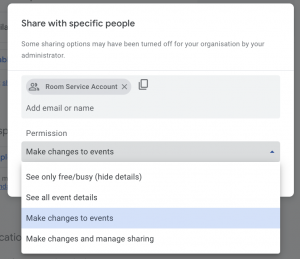
- See all event details – Grants read-only access to events for the provider room or resource in Appspace Space Reservation.
- Make changes to events – Grants permission to create, edit, and delete events in Space Reservations after importing the provider room or resource to Appspace.
Was this article helpful?