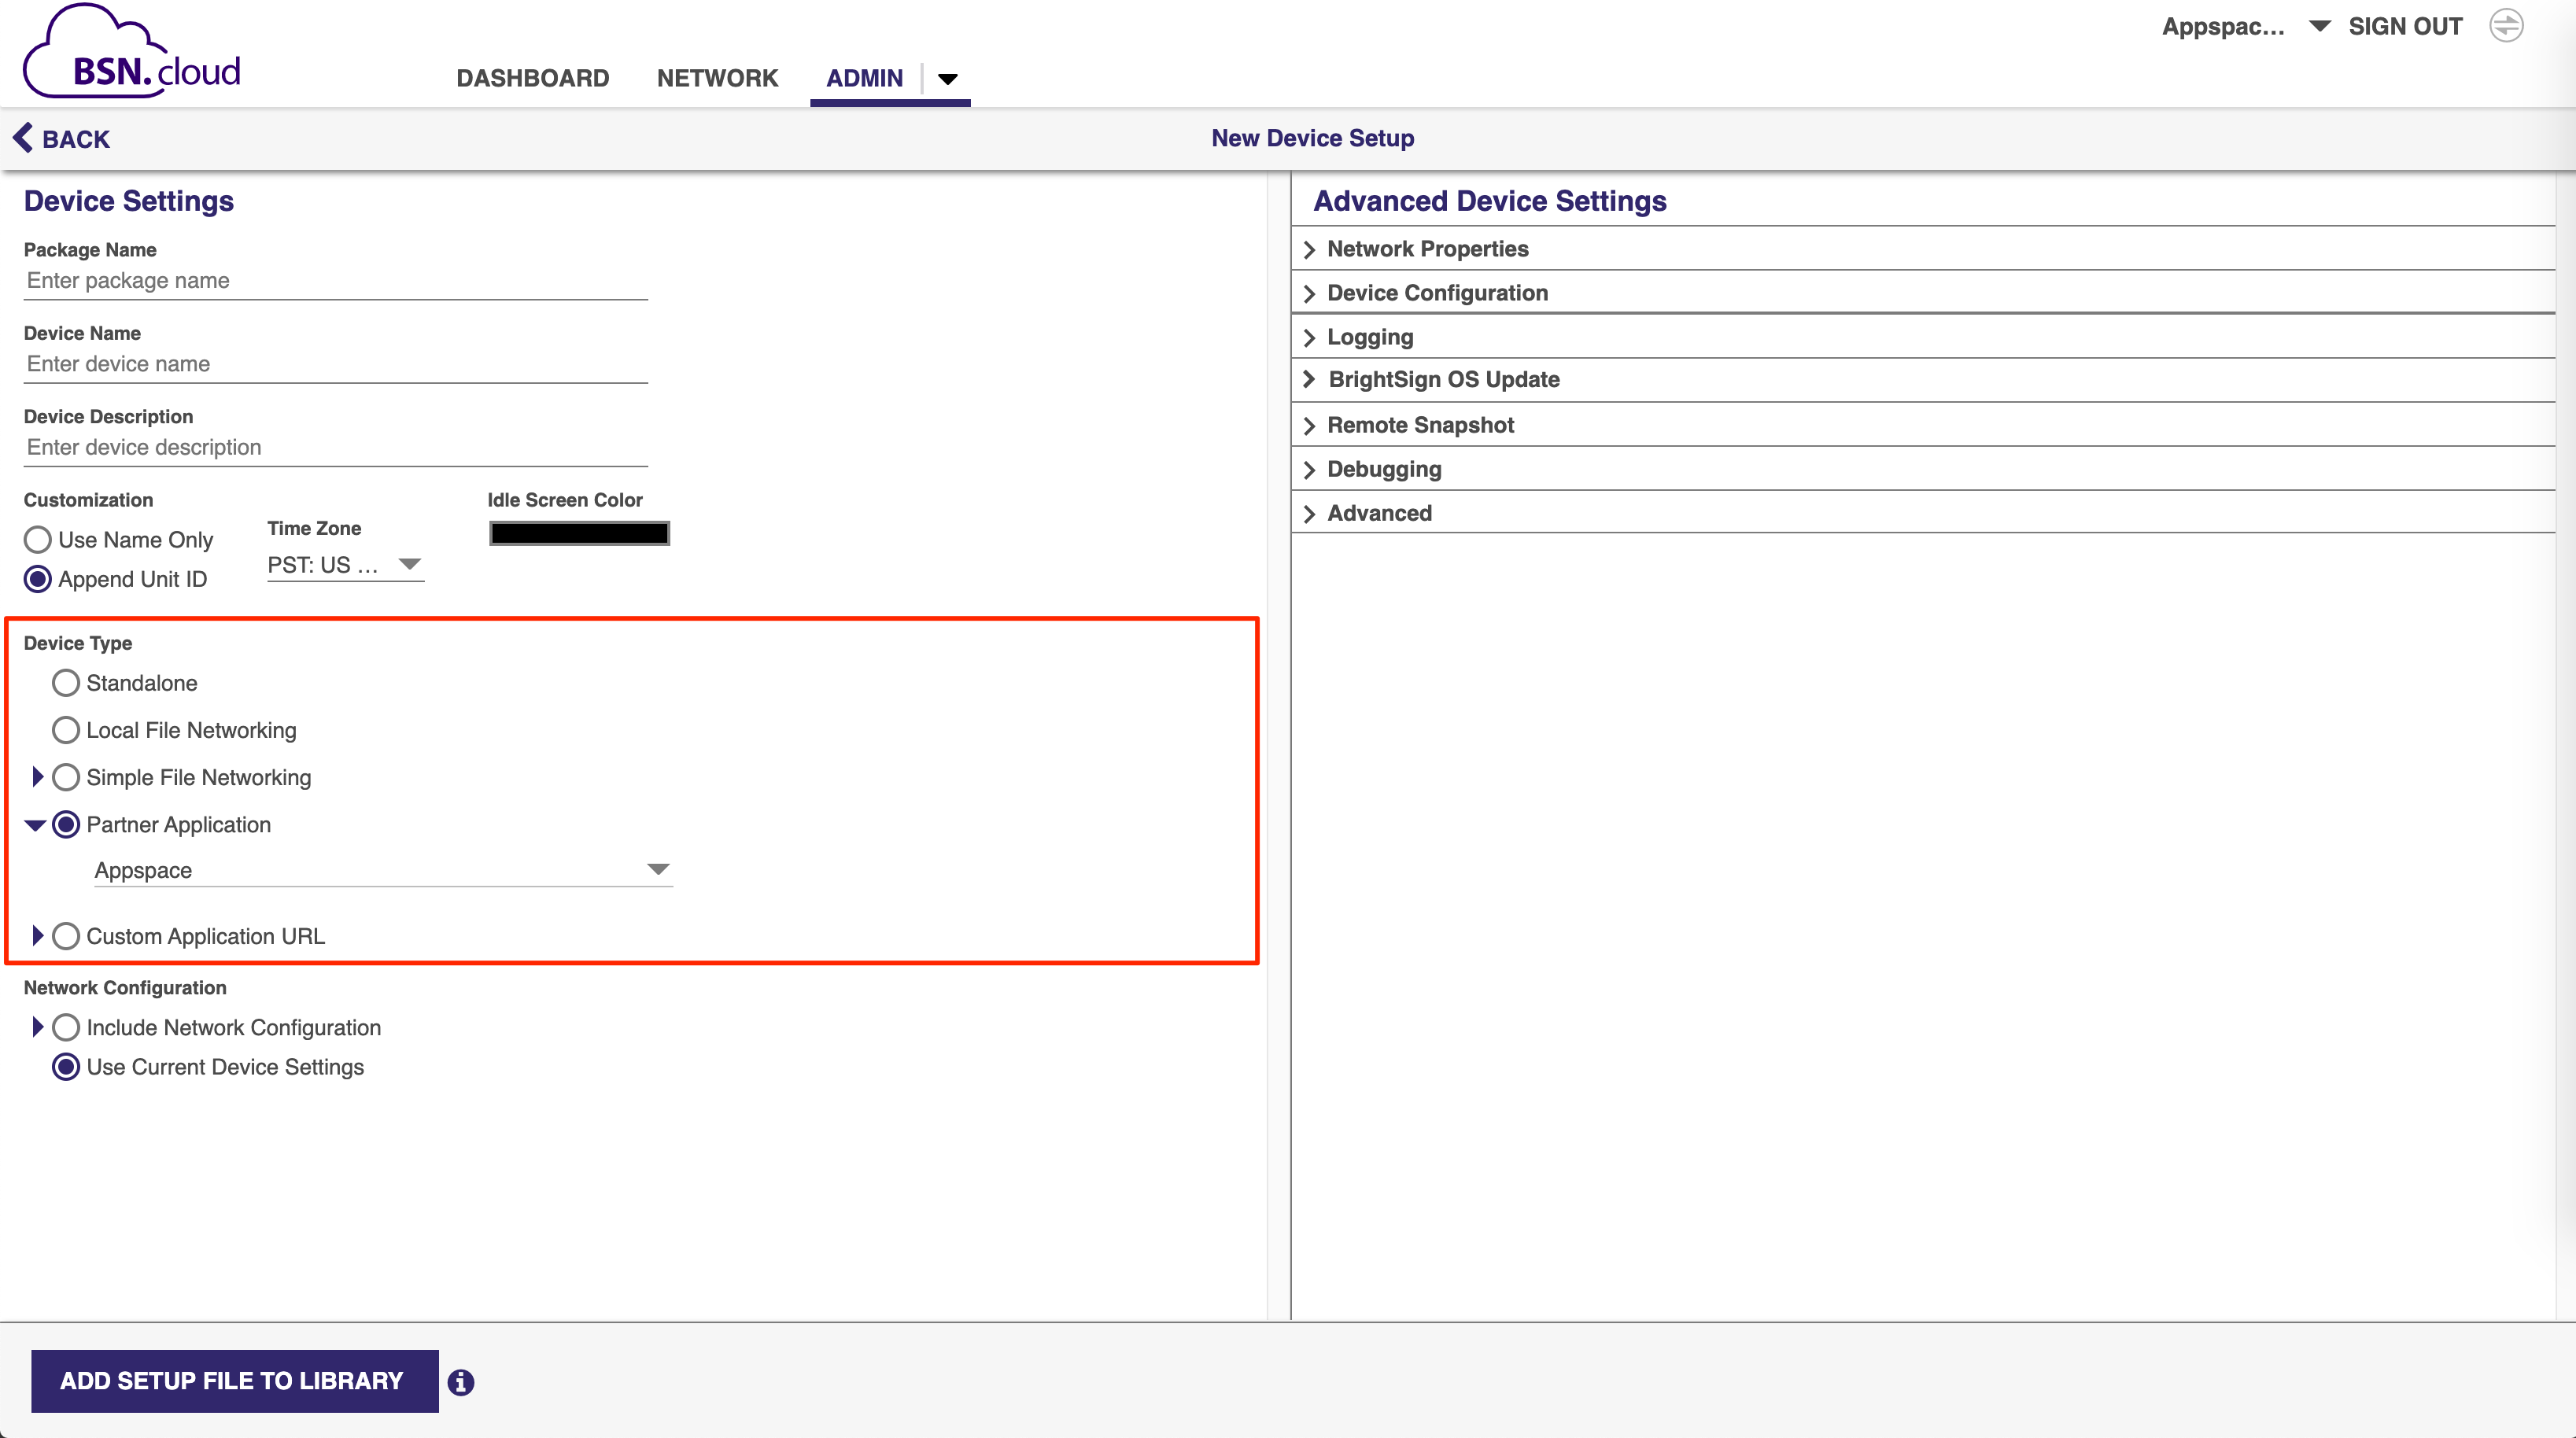
Appspace provides a flexible framework for device management, however, it is very common for hardware partners to provide their own cloud management systems for their devices. BrightSign has deployed the BSN.cloud portal to make cloud provisioning of their devices a two-part registration process – all you need is the device serial number. While the device administrators will have deeper management and diagnostics of the devices, facilities will benefit from a scalable simple platform using Appspace.
This article provides the instructions to configure BrightSign devices with an advanced device registration method ideal for bulk-registering devices on Appspace cloud and on-prem, leveraging BrightSign’s cloud management platform, BSN.cloud. Some of the benefits of using the BSN.cloud portal to manage your BrightSign devices include:
- Able to reinstall and register Appspace App onto BrightSign devices that are registered to your BSN.cloud account quickly.
- Able to reboot devices remotely, when assisting with troubleshooting.
- Able to capture a screenshot of the device, when assisting with troubleshooting.
- Able to view the HDMI output of the device remotely.
- Able to run OS level diagnostics, providing a full system log together with live updates from the device.
- Able to manage the local device filesystem, which consists of uploading, downloading, and deletion of files locally on the device.
- Able to enable or disable local device access to the diagnostics web tool.
Once you have BSN.cloud configured, Appspace App will be automatically downloaded and installed, ready for bulk registration of all the BrightSign devices in your network. When devices are provisioned using the BSN.cloud, in the scenario that the device configuration is lost or the device requires a new SD card, all that is needed is an SD card replacement. The Appspace App package will be reinstalled automatically. You then just need to register the device using its serial number(s).
Prerequisites
- An active Appspace account, with sufficient Device IDs to register the device.
- Account Owner or Network Administrator privileges in Appspace.
- BrightSign device requirements:
- Device with a blank SD card or internal storage
- Firmware: BrightSign 8.0 or above
- Device serial number
- Direct internet access from the device
- A BSN.cloud account.
Provision Device with BSN.cloud
Follow the instructions below to setup the BrightSign device on BSN.cloud:
- Log in to BSN.cloud (https://control.bsn.cloud/) using your BrightSign credentials, or create a new account.
NoteThey will be an option to download the dedicated app for Windows or Mac, or to continue via the browser. Choose to continue via the browser.
- Please follow the instructions in the Getting Started with the Control Cloud article from the BrightSign documentation: https://docs.BrightSign.biz/display/DOC/Getting+Started+with+the+Control+Cloud Do take note of the following:
- In the Prepare Your Players For The Control Cloud section:
- In the Provision The Player(s) section:
- Note down the BrightSign device serial number(s), as these would be also used to register the device(s) on the Appspace console.
NoteThe BrightSign device serial number can be found on the packaging, or printed under the device.
- Note down the BrightSign device serial number(s), as these would be also used to register the device(s) on the Appspace console.
- Proceed to boot up your BrightSign device(s).
NoteEnsure the BrightSign device is installed with the correct firmware and has a blank SD card or internal storage. The Appspace App package will be automatically downloaded and launched. The device may be rebooted 3 to 4 times, and may take up to 5 to 10 minutes to complete.
- Once installed, proceed to register the device via serial number on the Appspace console, with the same BrightSign device serial numbers that were used to register on the BSN.cloud in Step 2 above.
- Once registered, the devices will appear in the Appspace Device list.
Was this article helpful?
