This article provides the instructions to configure the room booking service for the Microsoft Office 365 Calendar data provider with global administrator privileges, for our room scheduling cards (Room Schedule and Schedule Board cards).
Prerequisites
- A Microsoft Office 365 Administrator to perform the instructions in this article.
- A Microsoft Office 365 account with global administrator-level permissions (used as a service account for room booking).
Instructions
Microsoft Office 365 requires global administrator-level permissions for a service account to handle room booking and check-in across an organization. This article outlines steps to configure the room booking service for the Microsoft Office 365 Calendar data provider with global administrator privileges.
However, if you do not wish to use global permissions, you may also configure the booking functionality using a user account, with access to book only rooms that have been delegated to the this user account.
To setup your room booking service, you must first configure the calendar data provider settings and then create the room scheduling card. Once the card has been configured, you then need to add the card to a playlist channel and publish the channel to a registered device installed with the Appspace App.
The instructions in this article must be completed first by an Office 365 Administrator prior to configuring a room scheduling card in the Appspace console.
Follow the instructions in the order listed below:
- Step 1. Create a booking account in Office 365
- Step 2. Configure resources (meeting rooms) in Office 365
- Step 3. Delegate access for resource’s calendar to booking account
- Step 4. Configure resource calendar permissions
Step 1. Create a booking account in Office 365
We recommend creating an account in Office 365. This account will be used for authentication when configuring the room scheduling card. We will call this the booking account.
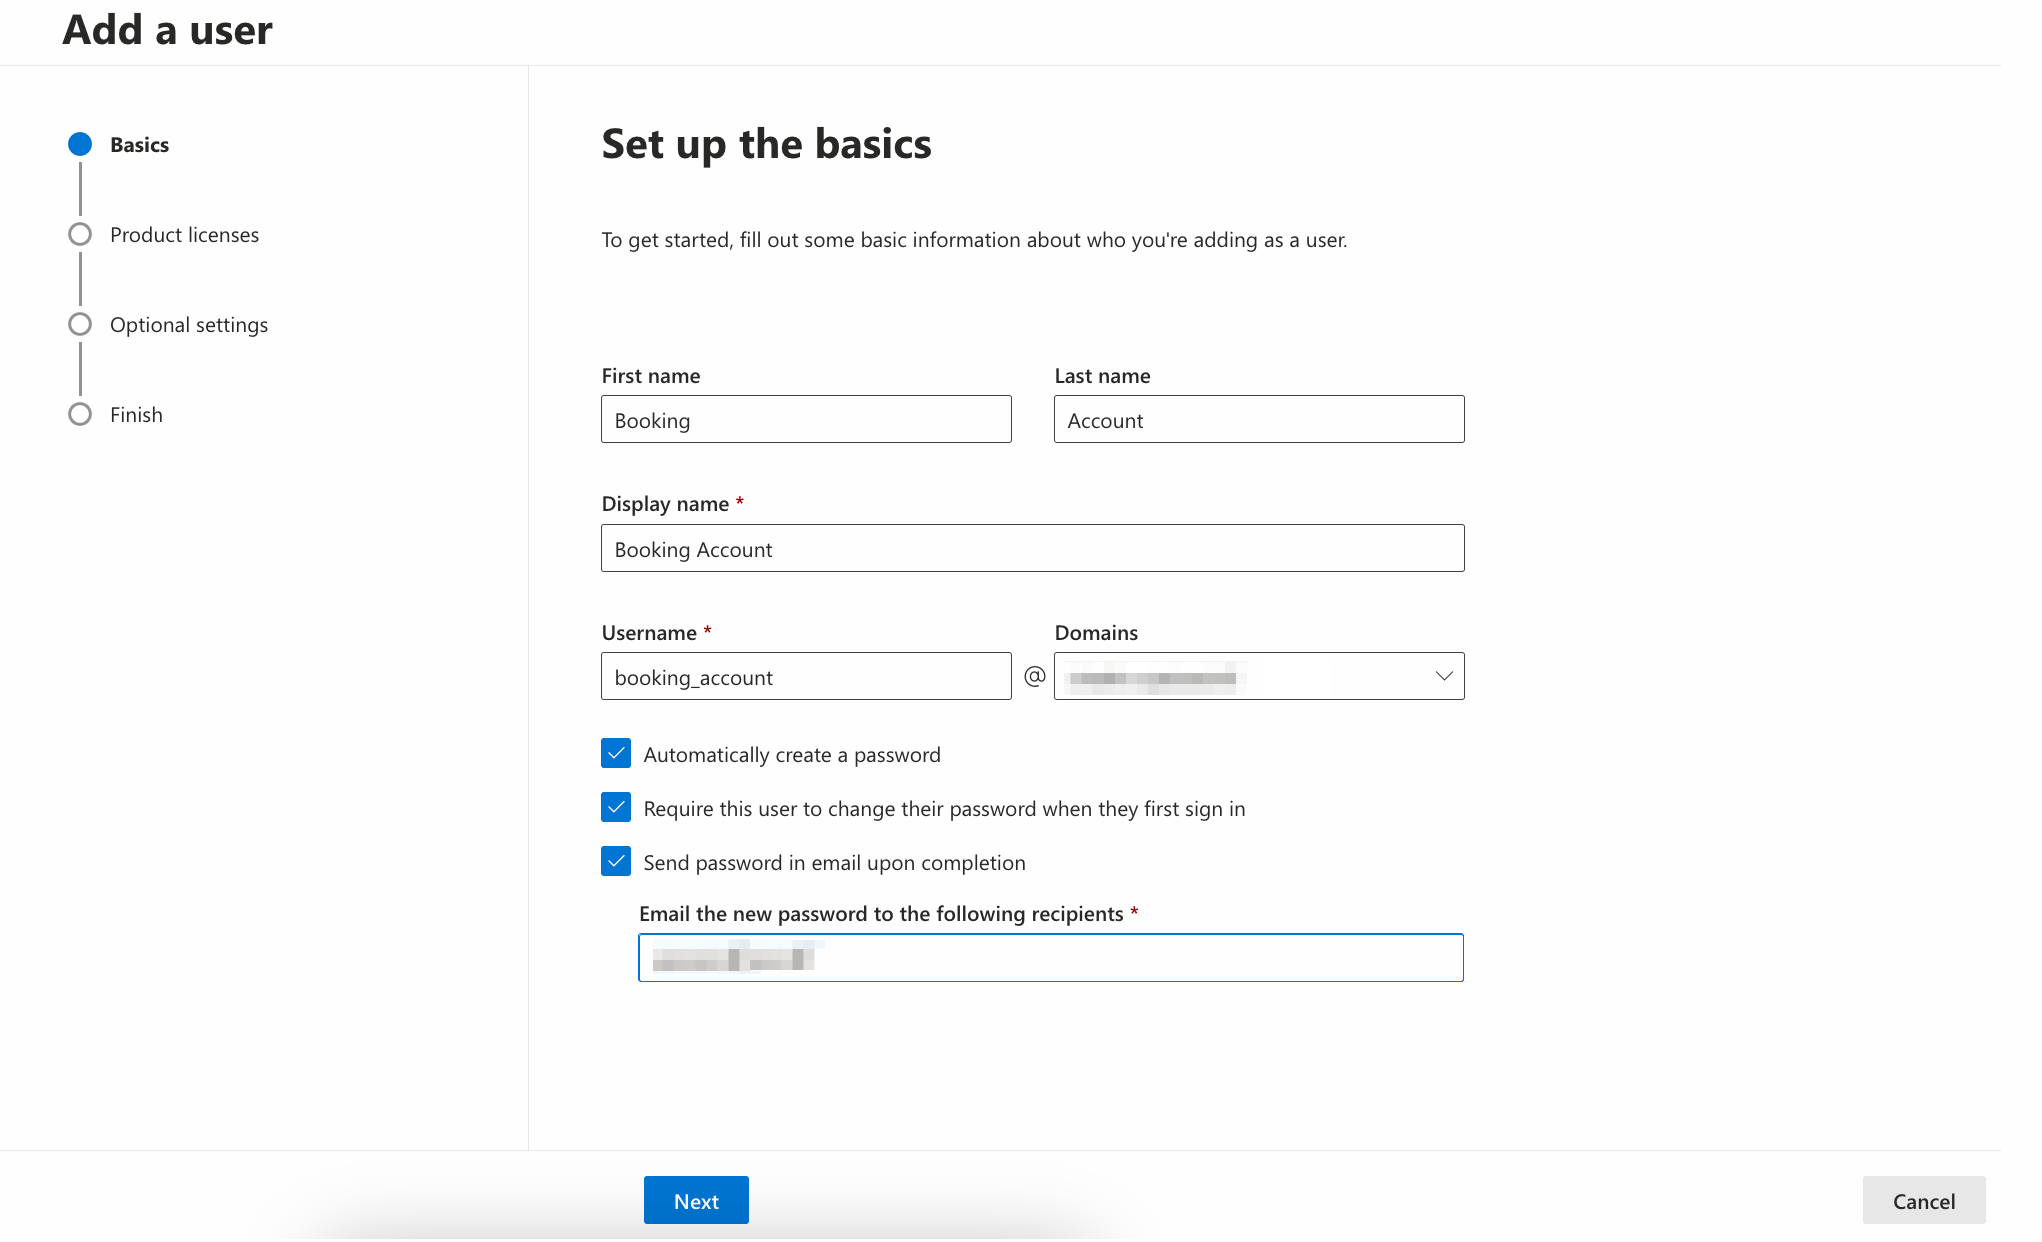
- To create the booking account, follow the instructions in the Add users individually or in bulk to Office 365 article:
https://support.office.com/en-us/article/add-users-individually-or-in-bulk-to-office-365-admin-help-1970f7d6-03b5-442f-b385-5880b9c256ec?ui=en-US&rs=en-US&ad=US - Add the basic account information, such as:
- Proceed to Step 2 below.
Step 2. Configure resources (meeting rooms) in Office 365
All meeting rooms in an organization are known as resources in Office 365. Follow the instructions below to configure all resources available in your company:
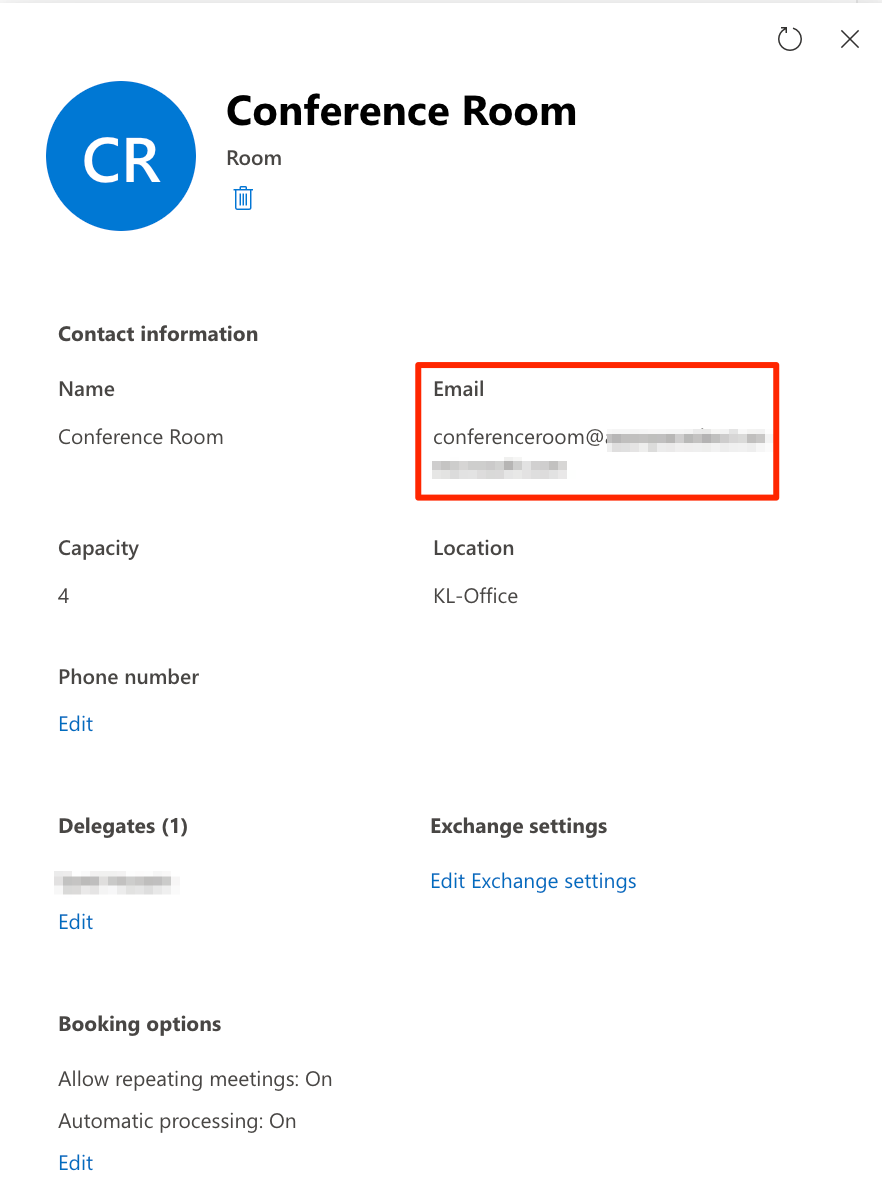
- Follow the instructions in the Set up room and equipment mailboxes article: https://support.office.com/en-us/article/room-and-equipment-mailboxes-9f518a6d-1e2c-4d44-93f3-e19013a1552b#ID0EABAAA=Set_it_up NoteHere, you may obtain the email alias for the resource id that is required for the player property when configuring the room scheduling card.

- Once the account is created, navigate to Resources > Rooms & equipment.
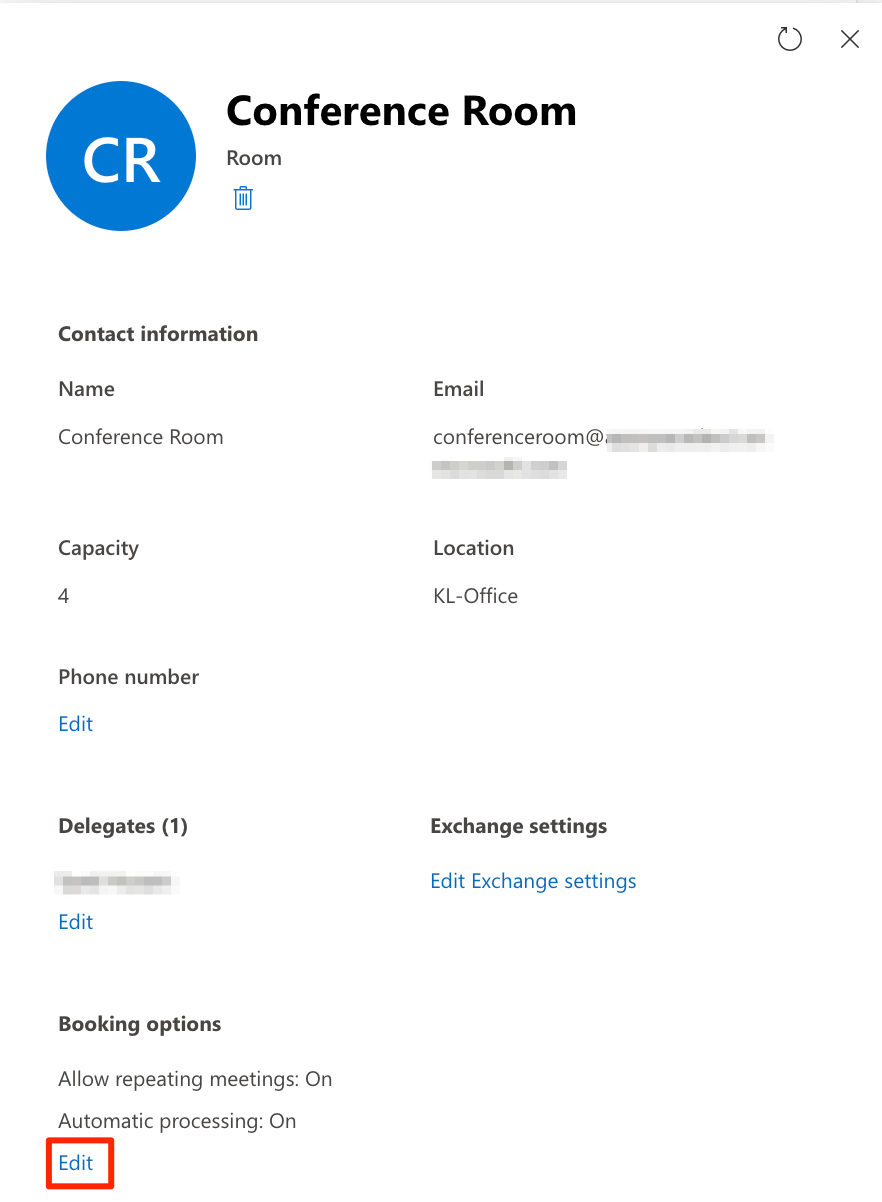
- Click the room name, and click Edit in the Booking options section.

- Ensure the Auto accept meeting request option is turned On.
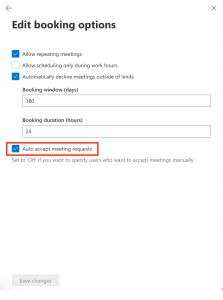
- Click Save changes if required.
- Proceed to Step 3 below.

Step 3. Delegate access for resource’s calendar to booking account
You now need to provide your booking account with access to each meeting room’s calendar, a process known as delegate access. This will allow the room scheduling card to make bookings on Microsoft Outlook Calendar via the booking account that is used to authenticate calendar access.
- Sign in to Office 365 admin center (https://admin.microsoft.com) with your Global administrator credentials.
- Navigate to Resources > Rooms & equipment.
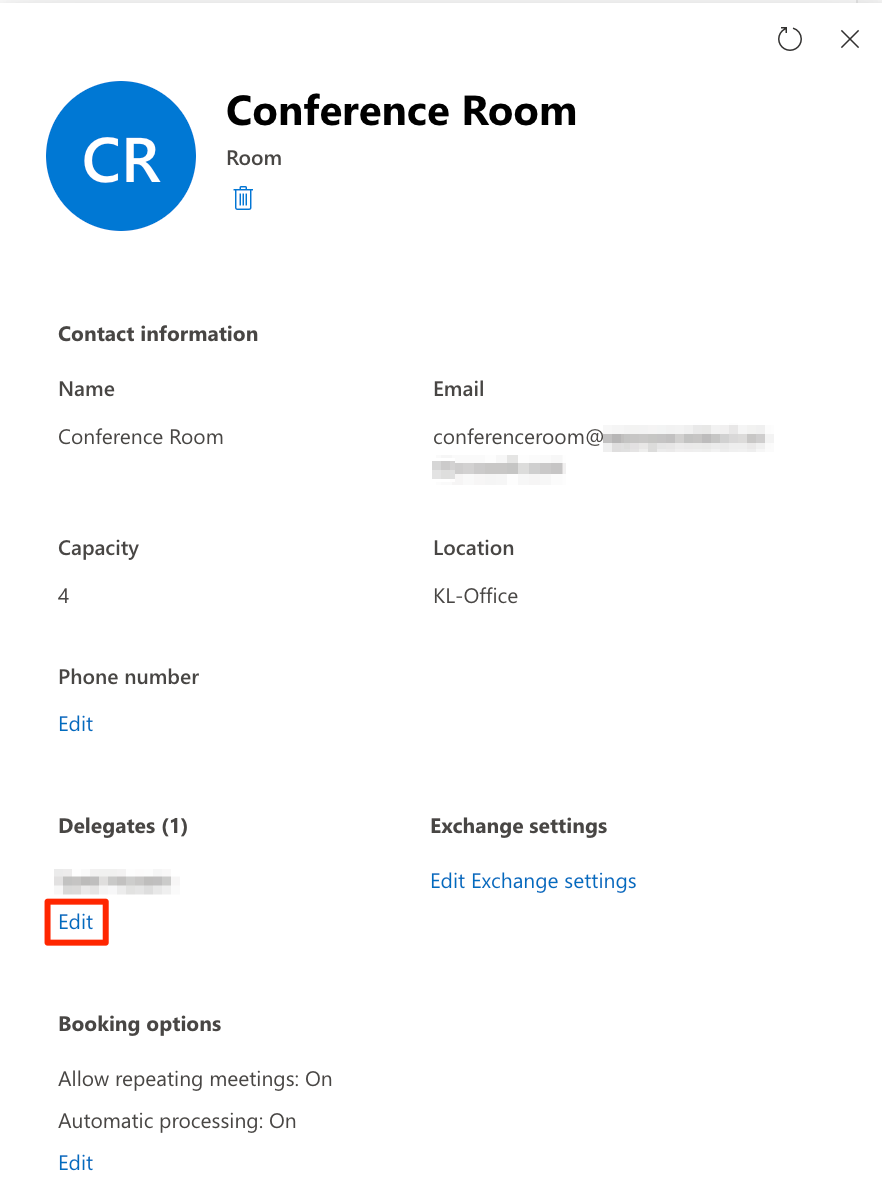
- Click the room name, and click Edit in the Delegates section.

- Enter the name to search for the booking account and select the account from the drop-down list.
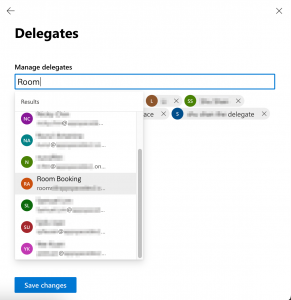
- Click Save changes.
- Repeat the above steps for all resources (meeting rooms).
- Proceed to Step 4 below.

Step 4. Configure resource calendar permissions
You would now need to configure the meeting room’s calendar to allow the room scheduling card to retrieve and display event information of the meeting room.
To configure Office 365 resource scheduling permissions, follow the instructions below:
-
- Sign in to Office 365 with your booking account credentials.
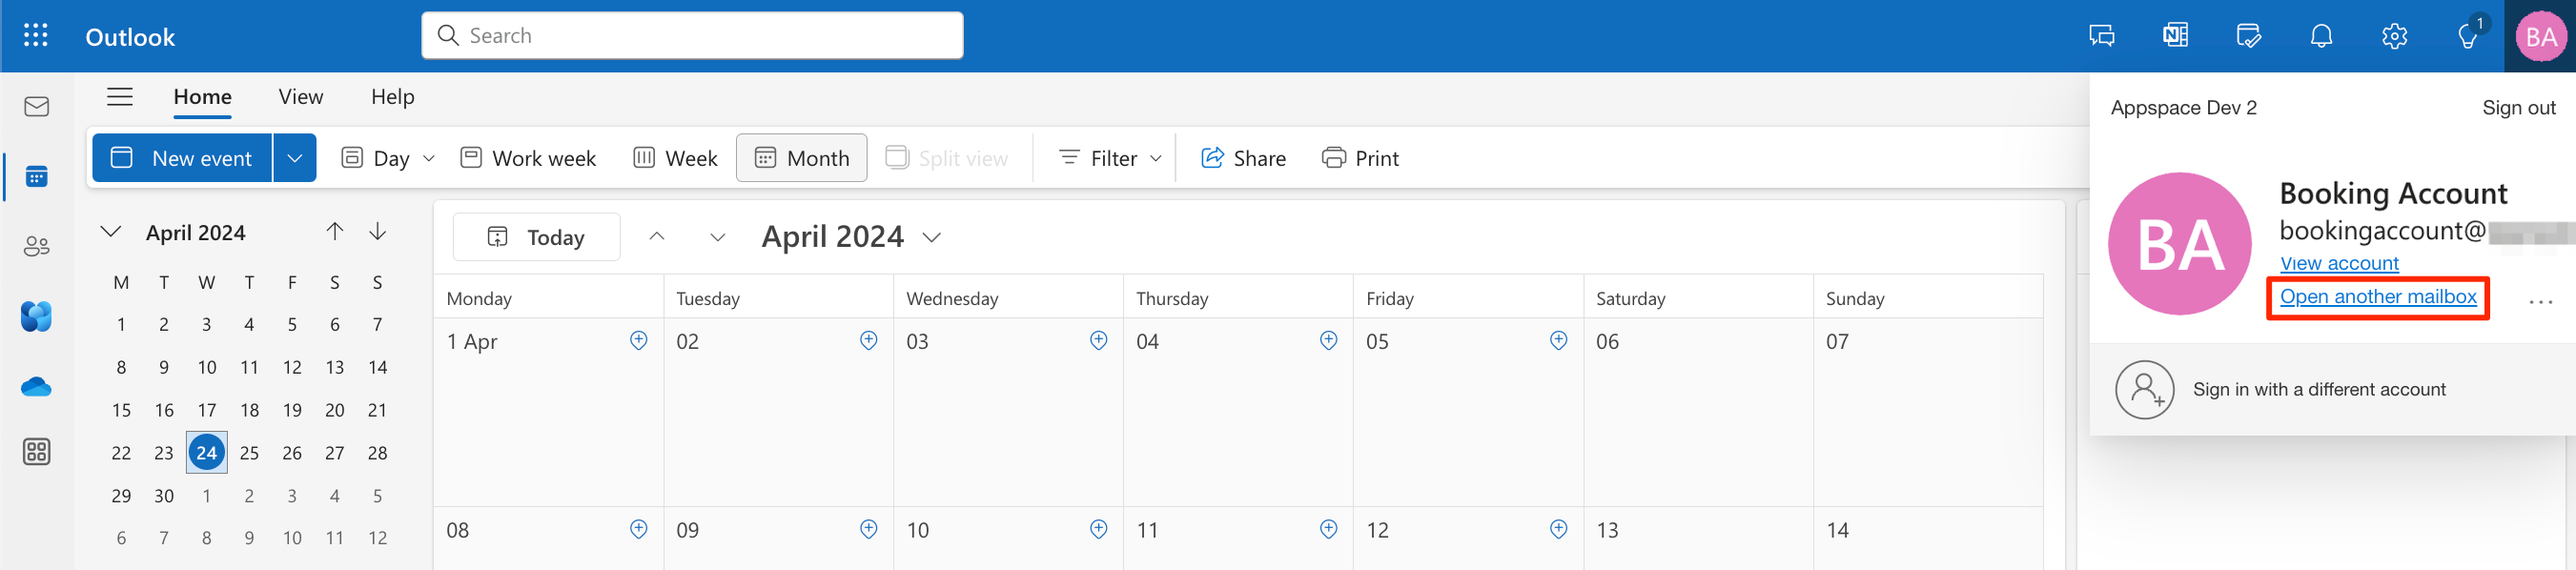
- Go to the Office 365 Calendar, click your name in the top right corner, and select Open another mailbox from the drop-down list.

- Enter in the resource name, and click Open. The resource account opens in a new tab.
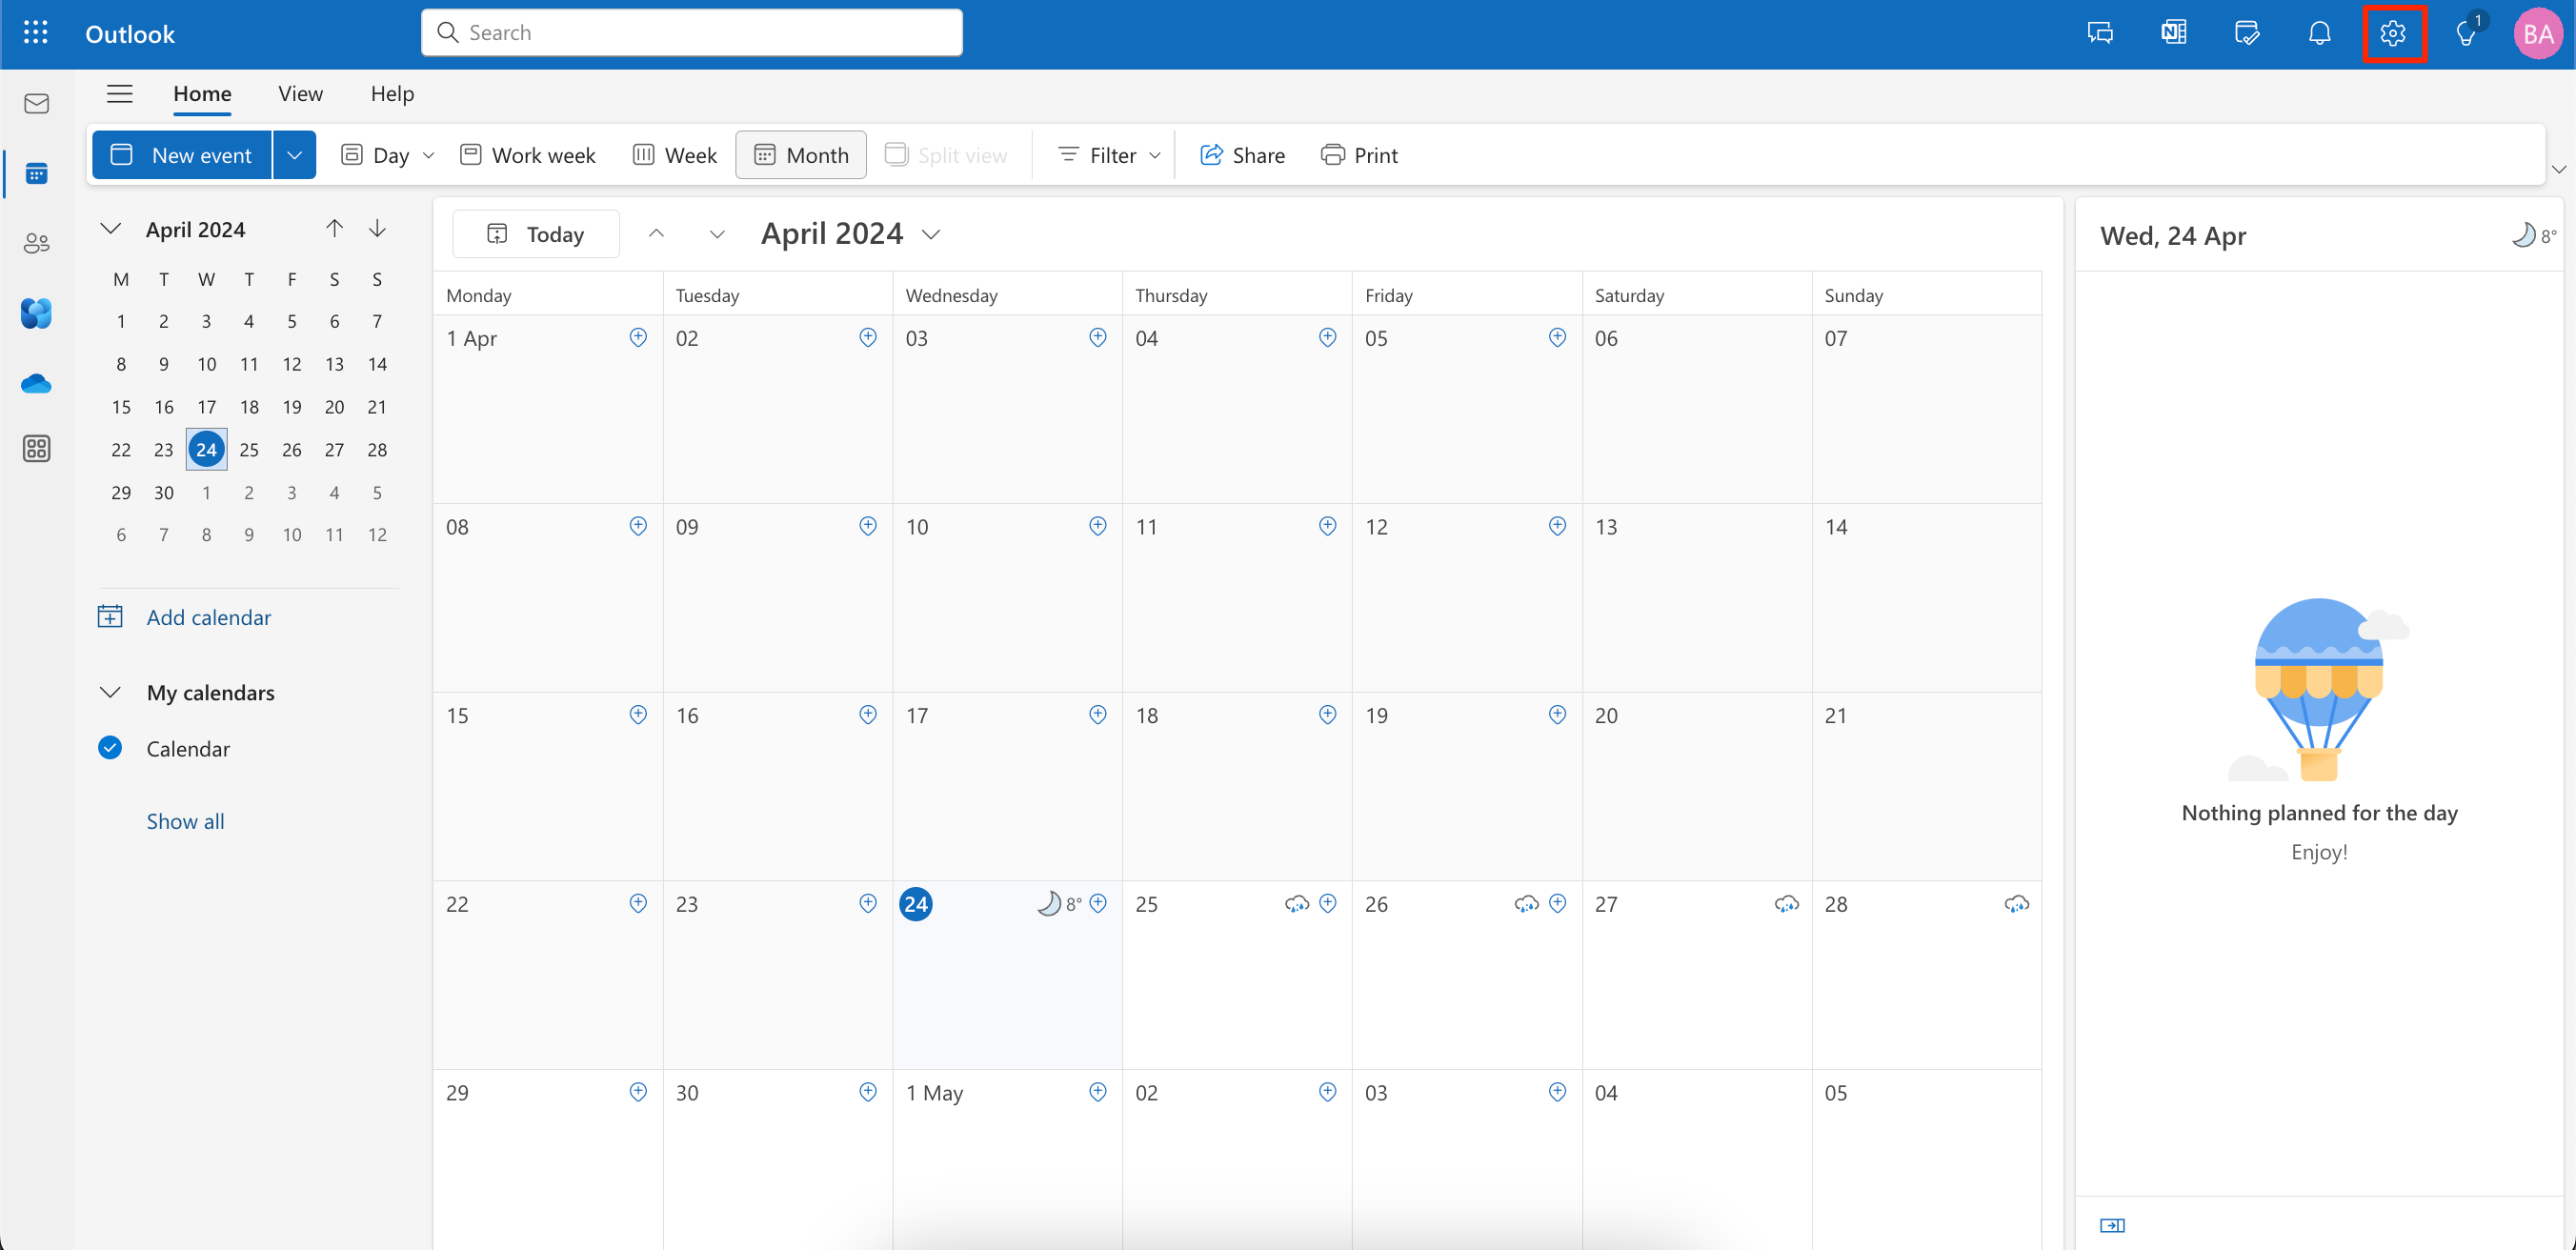
- Click the Settings (Gear) icon.

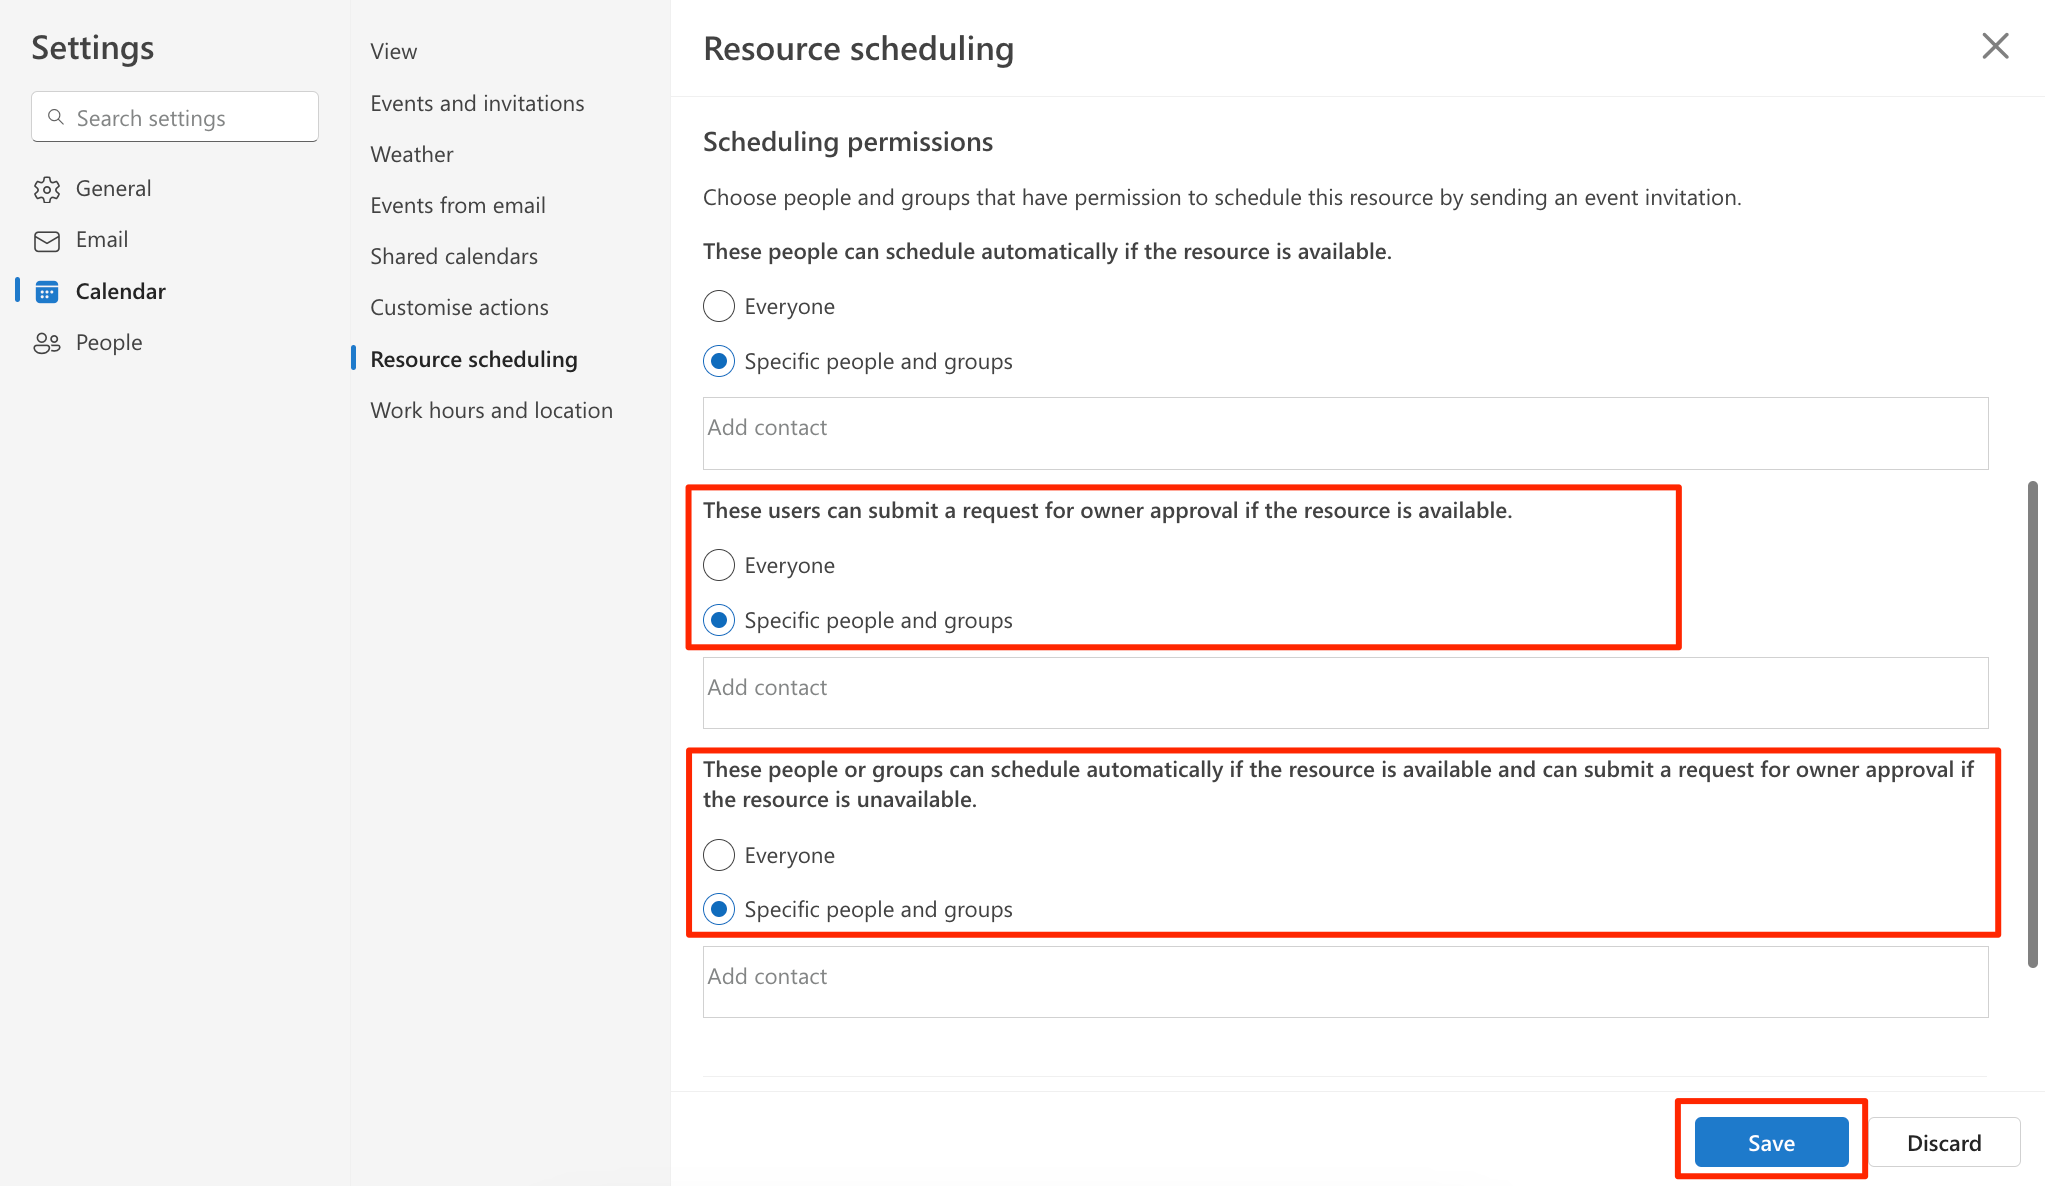
- In the Settings window, navigate to Calendar > Resource Scheduling.
- In the Scheduling Permissions section, select Specific people and groups: for the following fields:
-
-
- These users can submit a request for owner approval if the resource is available.
- These people or groups can schedule automatically if the resource is available and can submit a request for owner approval of the resource is unavailable.

-
-
- Click Save.
Was this article helpful?