This article aims to provide a comprehensive, step-by-step guide for installing the Appspace SharePoint Intranet Teams App in a Microsoft 365 tenant.
Prerequisites
Microsoft 365 Setup
Accounts
The installation process involves executing a PowerShell script, which requires the following permissions:
- Teams Administrator role in the Microsoft 365 tenant: required to install or update the app.
- Site Collection Administrator of the Appspace SharePoint Intranet site collection we are going to use in the script: required to disable the feature of mobile views in the site.
Software
- Installation script requires PnP Powershell. You have information about how to install it in this url: https://pnp.github.io/powershell/articles/installation.html
- It requires you to have your own Entra ID application. In the following article they explain how to register it: https://pnp.github.io/powershell/articles/registerapplication.html. Using the provided script and creating an Entra ID application for PnP interactive login, the application already has all configuration and permissions required to install the Teams App.
Once created, you have to provide the client id of this application to the Teams App install script.
Old Version
If you have an old version of the Beezy Teams app, it needs to be removed from Setup Policies and from Teams Apps and then follow the installation steps to install this new Appspace SharePoint Intranet Teams App.
Installation Package
The installation package contains the necessary PowerShell scripts and some required assets for the deployment.
The structure within “Deployment files” folder in the provided package is the following:
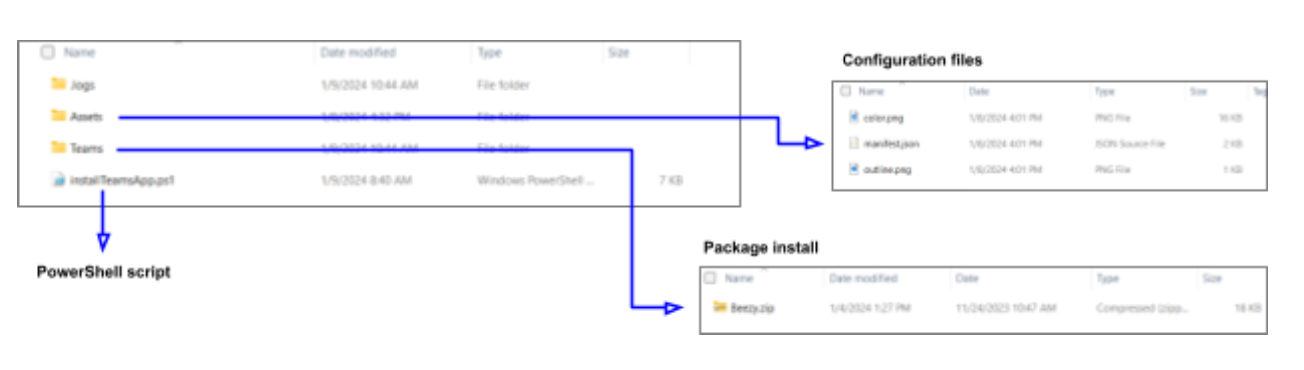
The zip package inside the “Teams” folder will be generated by the script.
How to Add Your Custom Logo
Before initiating the installation steps, you can replace certain files to feature your custom logo. To do this, you must substitute the following files in the Assets folder, taking into account some requirements:
- File outline.png: Used primarily on the left side of Teams when your app is active, this icon must be 32×32 pixels and either white or transparent.
- File color.png: Displayed in the store and in most scenarios, this icon must be 192×192 pixels in total, with a 96×96-pixels symbol in the center.
It’s important to maintain the same filenames for these assets.
Installation Steps
When installing the Appspace SharePoint Intranet Teams App for the first time, we need to execute the script with the following parameters:
.\installTeamsApp.ps1 -WebURL [Beezy main site URL] -TenantName [SharePoint tenant] -TeamsAppName [Beezy-App] -skipUpdateVersion -PnPEntraIDAppClientId [Entra ID app to use with PnP client id]
Parameters:
- WebURL: site collection URL where Beezy is installed.Ie. https://contoso.SharePoint.com/sites/beezy
- TenantName: name of your SharePoint tenant. Ie. contoso
- TeamsAppName: name of this app that you’ll see in your Microsoft 365 Teams. You can choose the name you want.
- skipUpdateVersion: we have to add this parameter to avoid increasing the version of the app.
-
PnPEntraIDAppClientId: client ID of the application registration in Entra ID which will allow you to interactively log on to your tenant using PnP PowerShell.
Once the script has finished successfully, we can check if the app was deployed correctly, and configure it if we want to install it by default for all users. These steps are explained in the section, setting up the app in the organization.
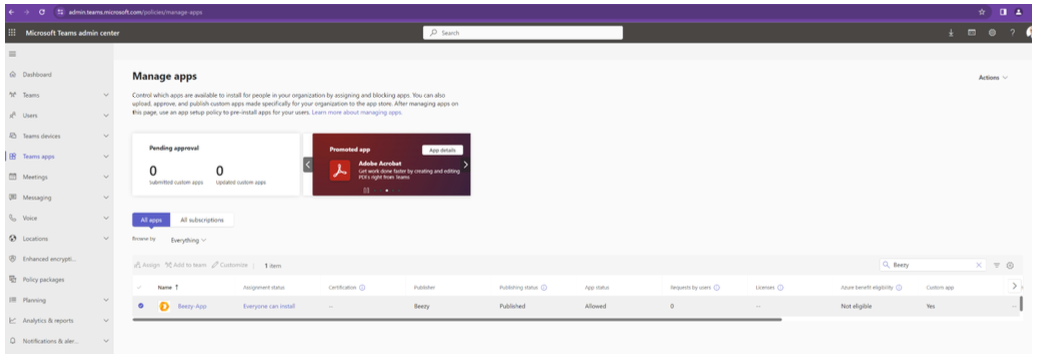
Setting Up the App in the Organization
Browse to the Microsoft 365 Admin Center > Teams Admin Center > Manage apps:
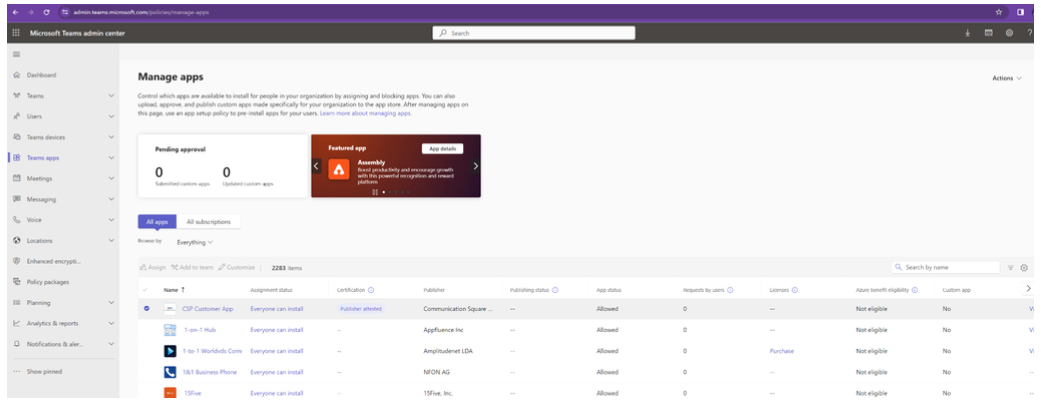
In the ‘All apps’ view locate the Appspace SharePoint Intranet Teams App:
Select the app to see its details:
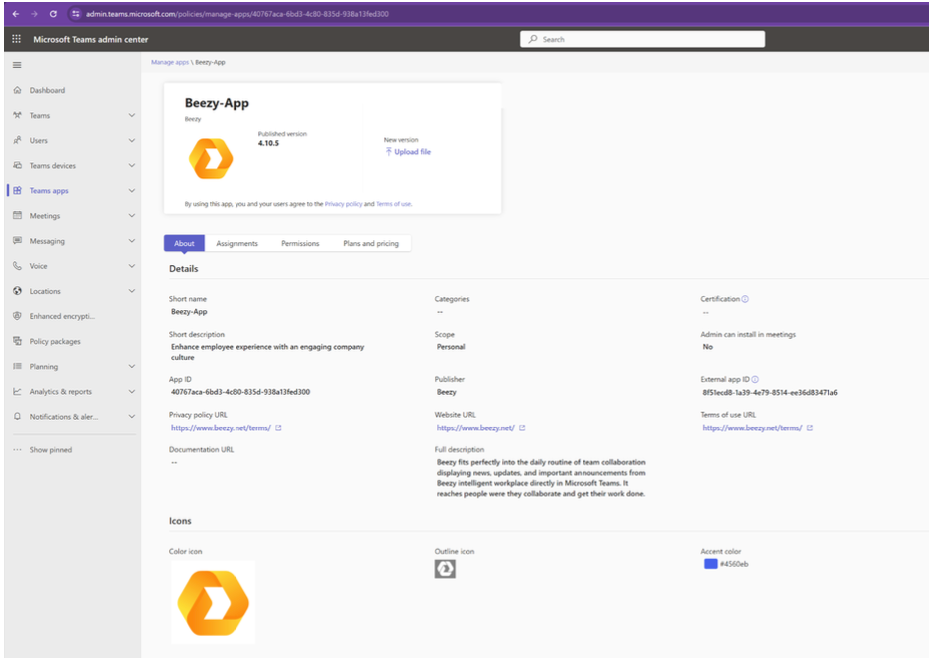
In the details we can find the External app ID to be used when upgrading the app. If we want to install the app by default for all users we can follow these steps:
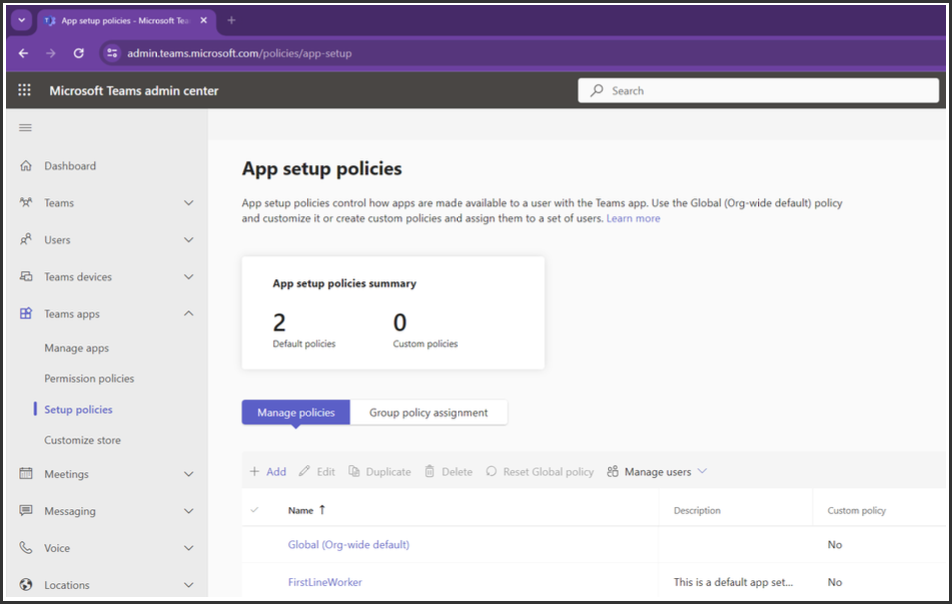
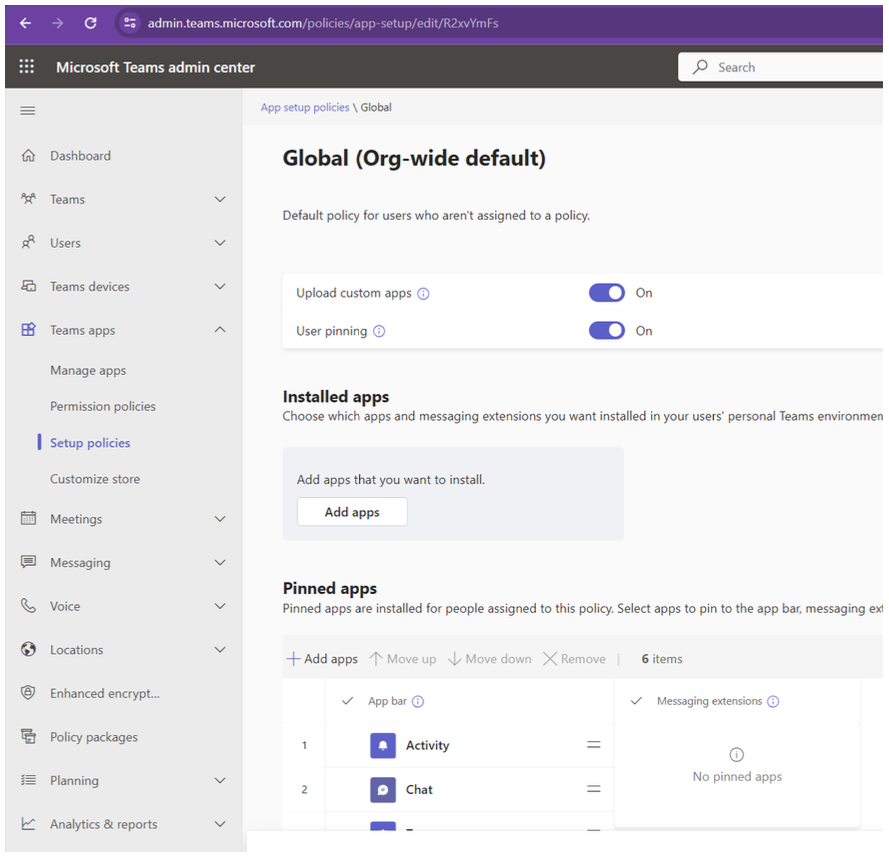
- Click on the T eams apps menu, located in the sidebar menu, and then in the Setup Policies option:
-
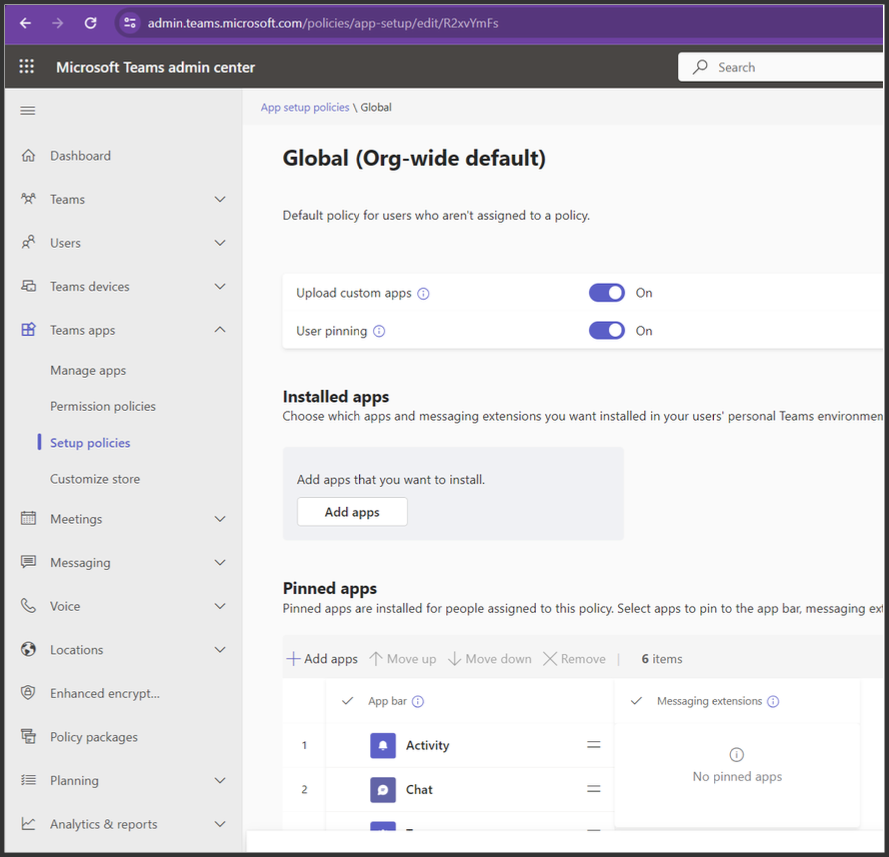
Click on Global (Org-wide default) policy:
-
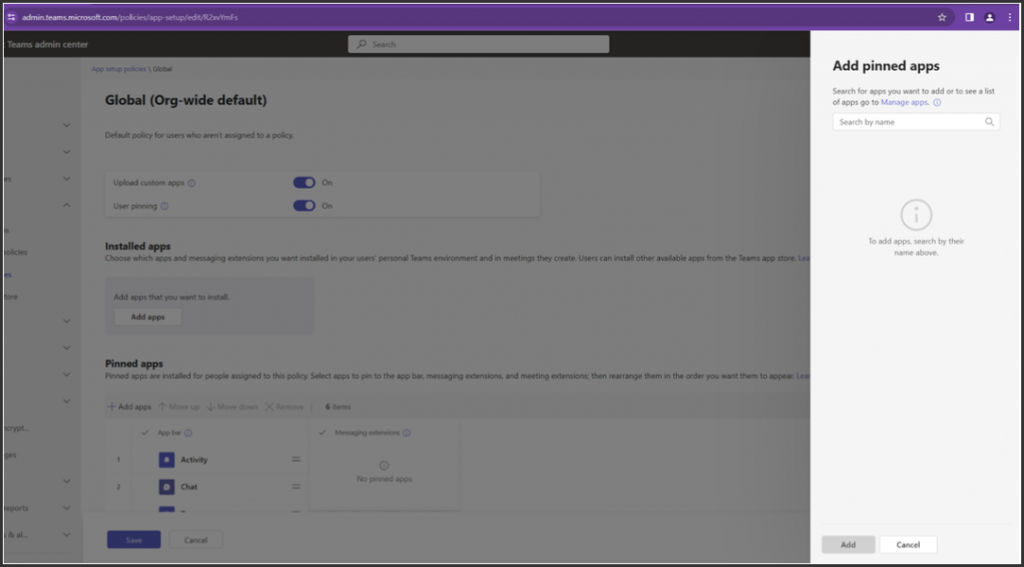
Click on the ‘Add apps’ button, inside the ‘Pinned apps’ section, then we will see in the right side of the page a panel to add a new app:
-
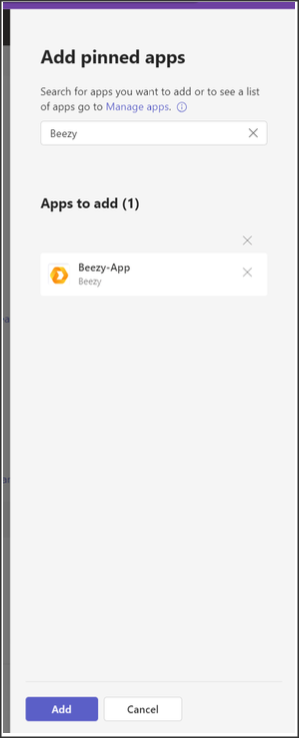
Search the Appspace SharePoint Intranet Teams App and add it:


Was this article helpful?