Appspace provides the ability to schedule each layout in a playlist that contain one or more layouts. Each scheduled layout will be displayed at a specific date and time. By default, layout scheduling is disabled in Appspace.
This article provides the instructions to enable, create, and delete layout scheduling.
Enable Layout Scheduling
To enable Layout Scheduling, please follow the instructions below:
-
Click Channels from the Appspace menu.
-
Select the desired advanced channel from the Channels tab.
-
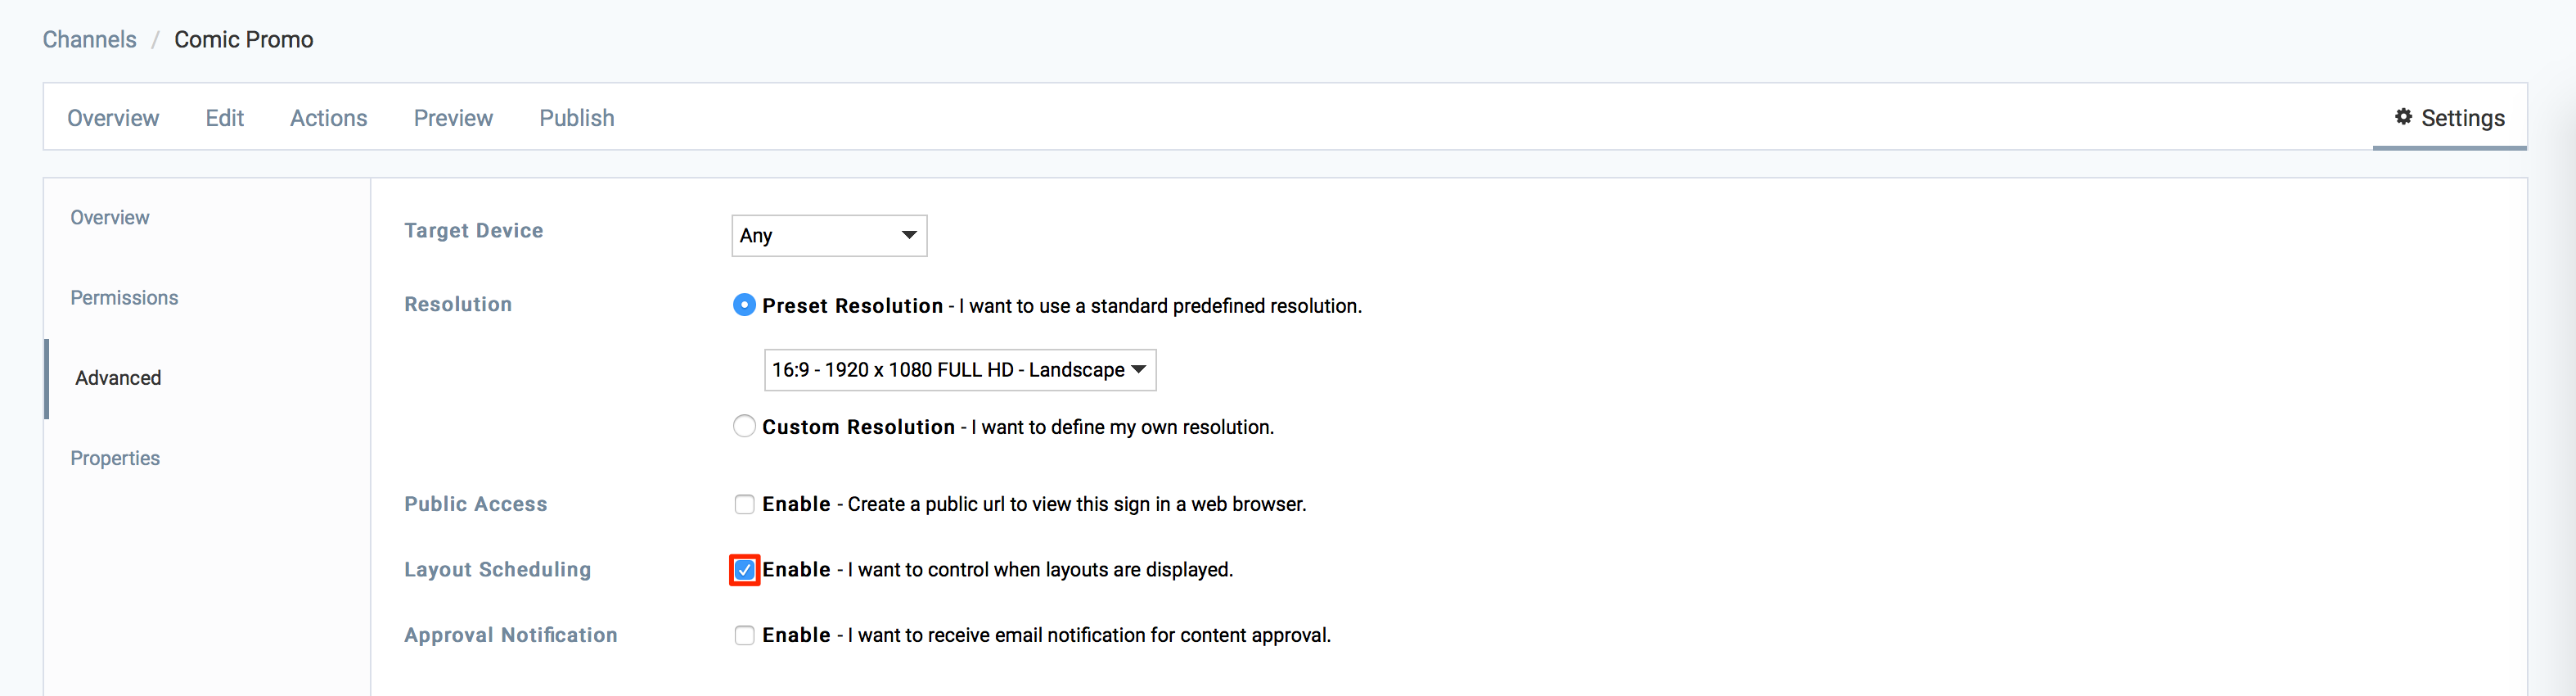
Click the Settings tab, check the Enable checkbox for Layout Scheduling and click Save.
-
Once scheduling is enabled, the Schedule tab will become visible.
Create Layout Schedule
To export an advanced channel, follow the instructions below:
To create a layout schedule, please follow the instructions below.
-
Click Channels from the Appspace Menu navigation bar.
-
Select the desired advanced channel from the Channels tab.
-
Click the Schedule tab, and click the ADD button to add a new schedule.
-
Enter in the Name of the schedule.

-
Select the Schedule Time. Play forever loops the schedule while Play between these dates allows you to configure a start and end date for the schedule.
-
Select the Schedule Priority.
Note- Normal Schedule – the channel will play content from the schedule when it is active and content from any lower priority schedules that are active.
- Exclusive schedule – the channel will play content from the schedule when it is active and block the playout of content from all lower priority schedules.
-
Use Tag Rules to restrict playback of the schedule to specific players, then proceed to set the Recurrence. Add all recurrences to the list by clicking Add To List.
-
Click Apply when finished.
-
Click the Add Layout button.

-
Select a layout to add the layout to the schedule or deselect it to remove it and click Apply.
-
Close the new schedule window.
Was this article helpful?