Appspace enables Publishers and Authors to quickly create posts, pages, and stories within the Appspace Employee App, providing an improved content creation workflow experience that allows authors to quickly post articles with text and media without the need to leave the Employee App (and go to the Appspace console).
Authors, Publishers, and Account Owners can create posts, pages, stories, upload media, and publish it to a channel, directly from the Home dashboard or from within any channel in the Employee App.
The Appspace platform will automatically translate the post’s content to digital signage and enterprise messaging formats. Users may create a post with any of these combinations:
- Video + Article: Plays only the video in a signage playlist.
- Image + Article: Generates a card with an image and article.
- Article Only: Generates a card with the article.
This article provides instructions to create and publish posts, pages, and stories in the Appspace Employee App.
Prerequisites
- Account Owner, Publisher, or Author with channel publishing permissions.
- Premium user license to access the Appspace Employee App.
- A channel must include at least one playlist for the Quick Post functionality to be shown.
- Supported file types:
- Images: JPEG, PNG, and GIF
- Video: only MP4
Create Post
Follow the instructions below to create a post in your Employee App:
- Log in to your Appspace Employee App.
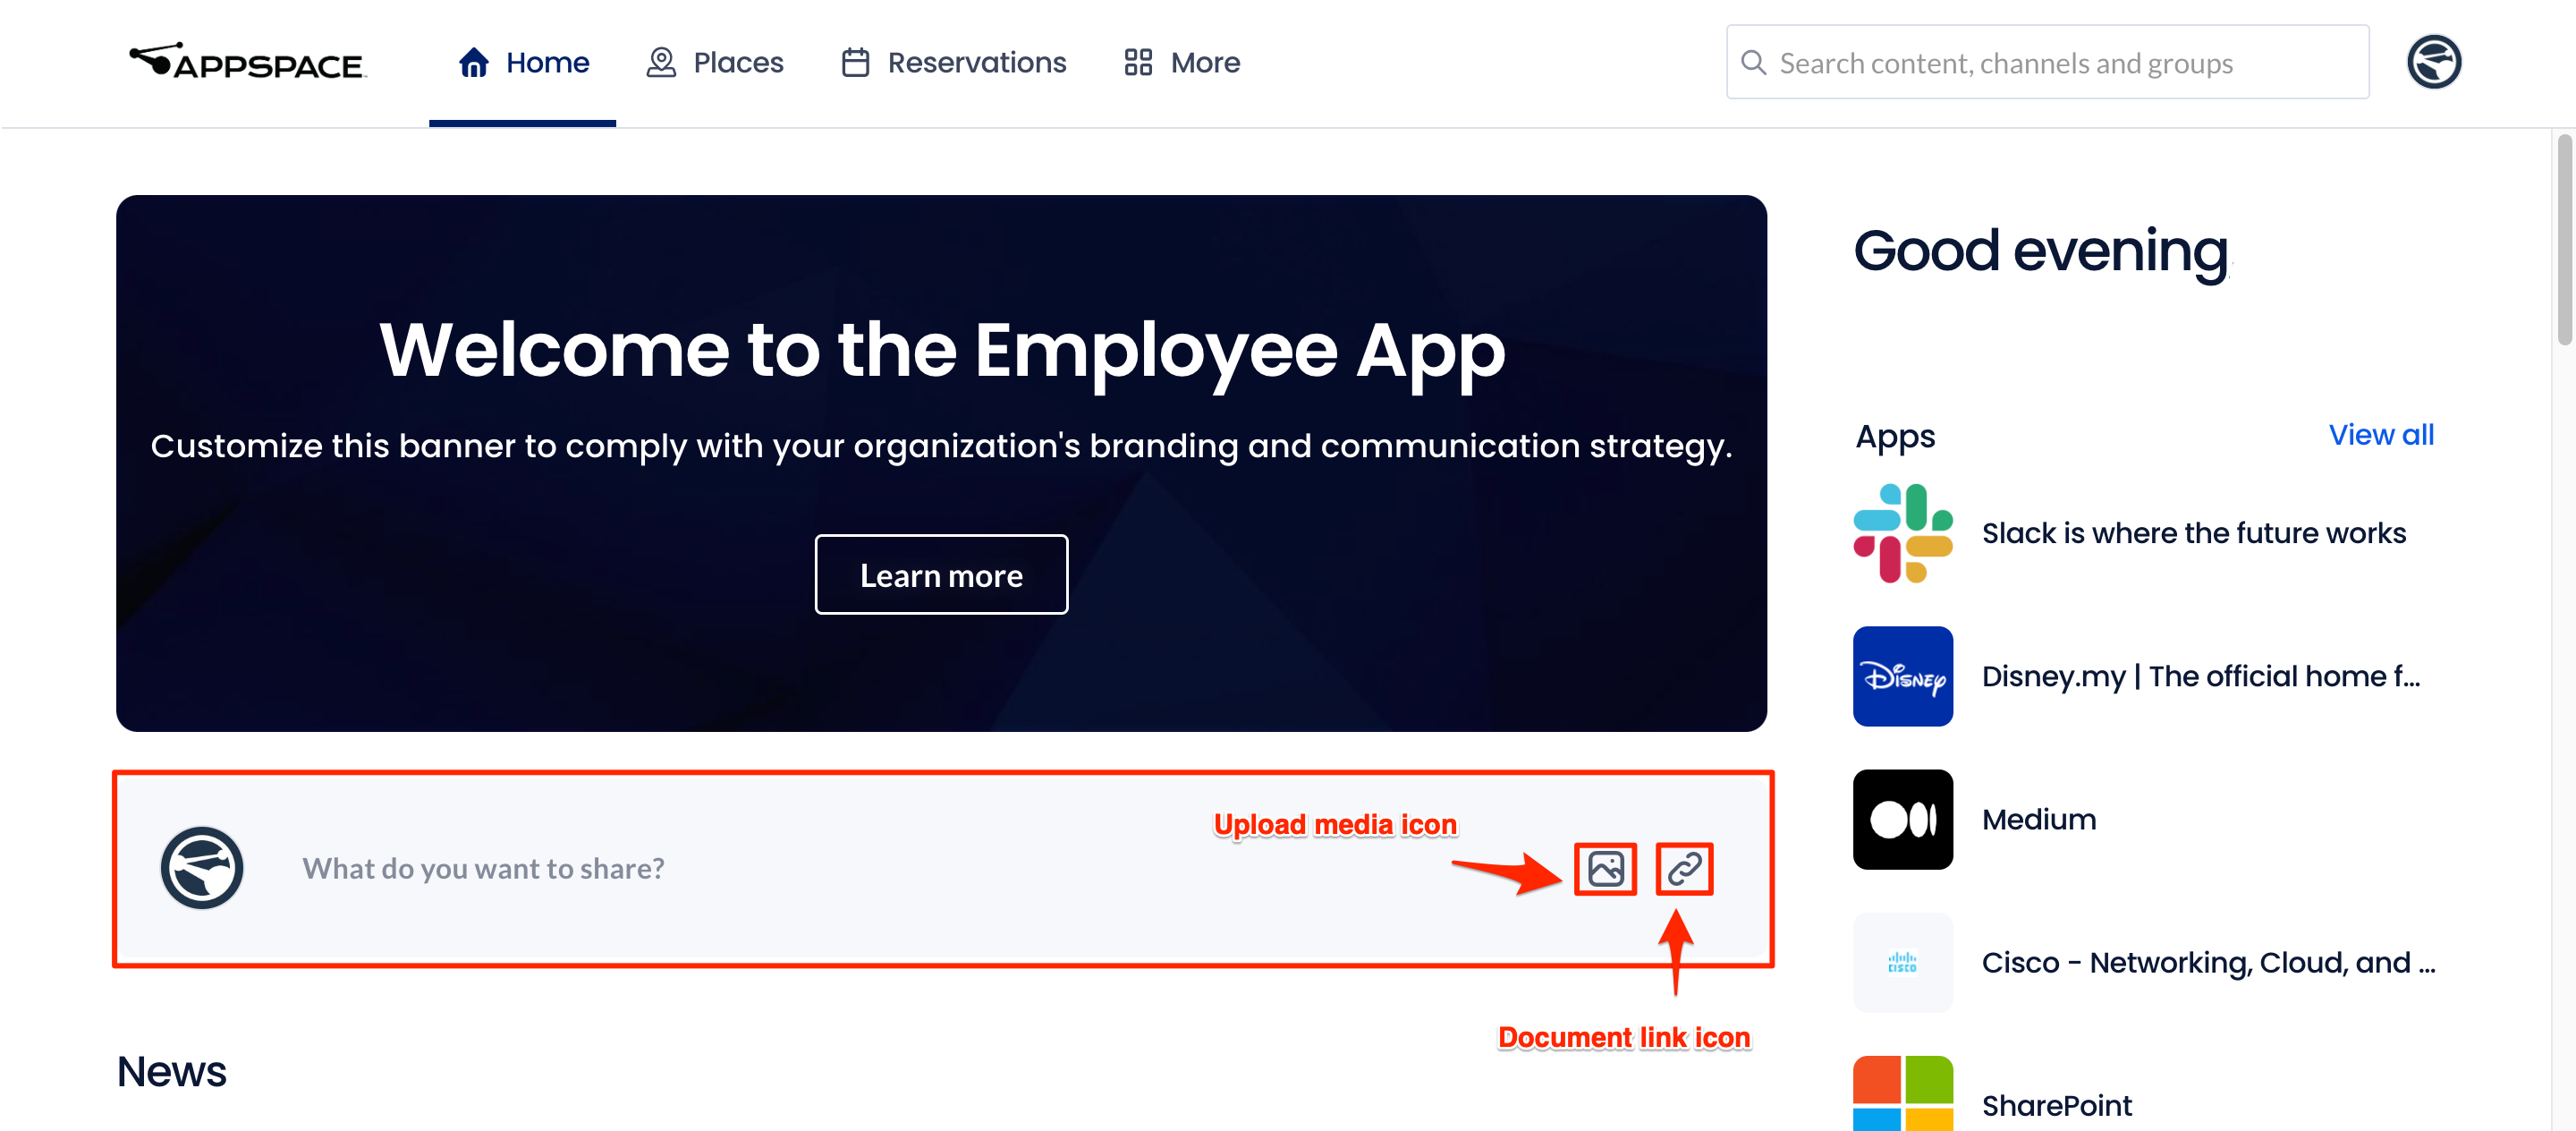
- To create a post, in the Home tab you can either click the + sign next to the notifications bell button or click the “What do you want to share?” text box.
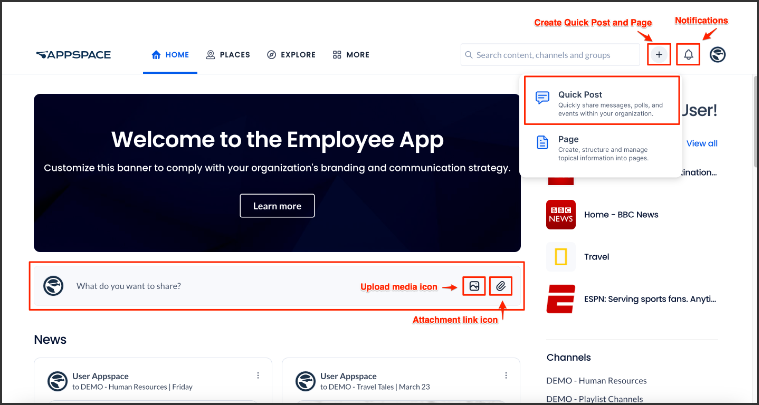
- You may also click the Upload media icon to upload media such as images and videos, or
- Click the Attachment link icon to upload a file.
- In the Create Post window, click the Select a channel drop-down menu to select the desired channel.
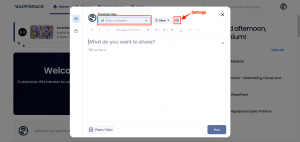
- Click the Now field to set the post schedule and proceed to step 5 below. Alternatively, just click the Settings button.
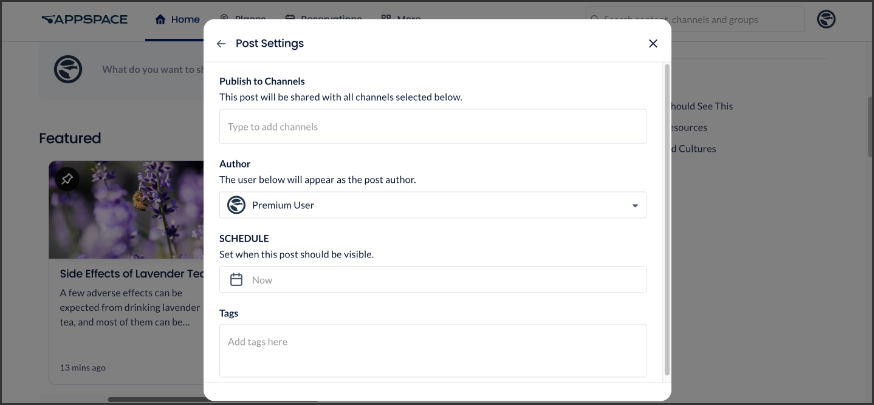
- In the Post Settings you may set the following:
- Publish to Channels – Choose the channels where the post will be shared.
- Author – Choose the author you want to appear in the post.
- Schedule – This is set to Now by default. You can perform one of the following options:
- Leave this setting to Now (default) for the post to go live immediately to its audience once you publish it.
- Click and select a date range to schedule the publishing of this post. To remove the scheduled date range, click X.
- Featured – Set the post as a Featured post in the Employee App. (new)
- Tags – You may include any relevant tags in the post.
- Click the “What do you want to share?” text to type in a post title.
- Click the “Tell us more…” text to type in your post content.
- Click the Photo/Video button on your left below to add an image or video. NoteWe support .jpeg, .png, and .gif image formats. For video, only .mp4 files are supported.
- Click the Post button.
- Your post will be published under the News section on the Home tab.


Post Reactions
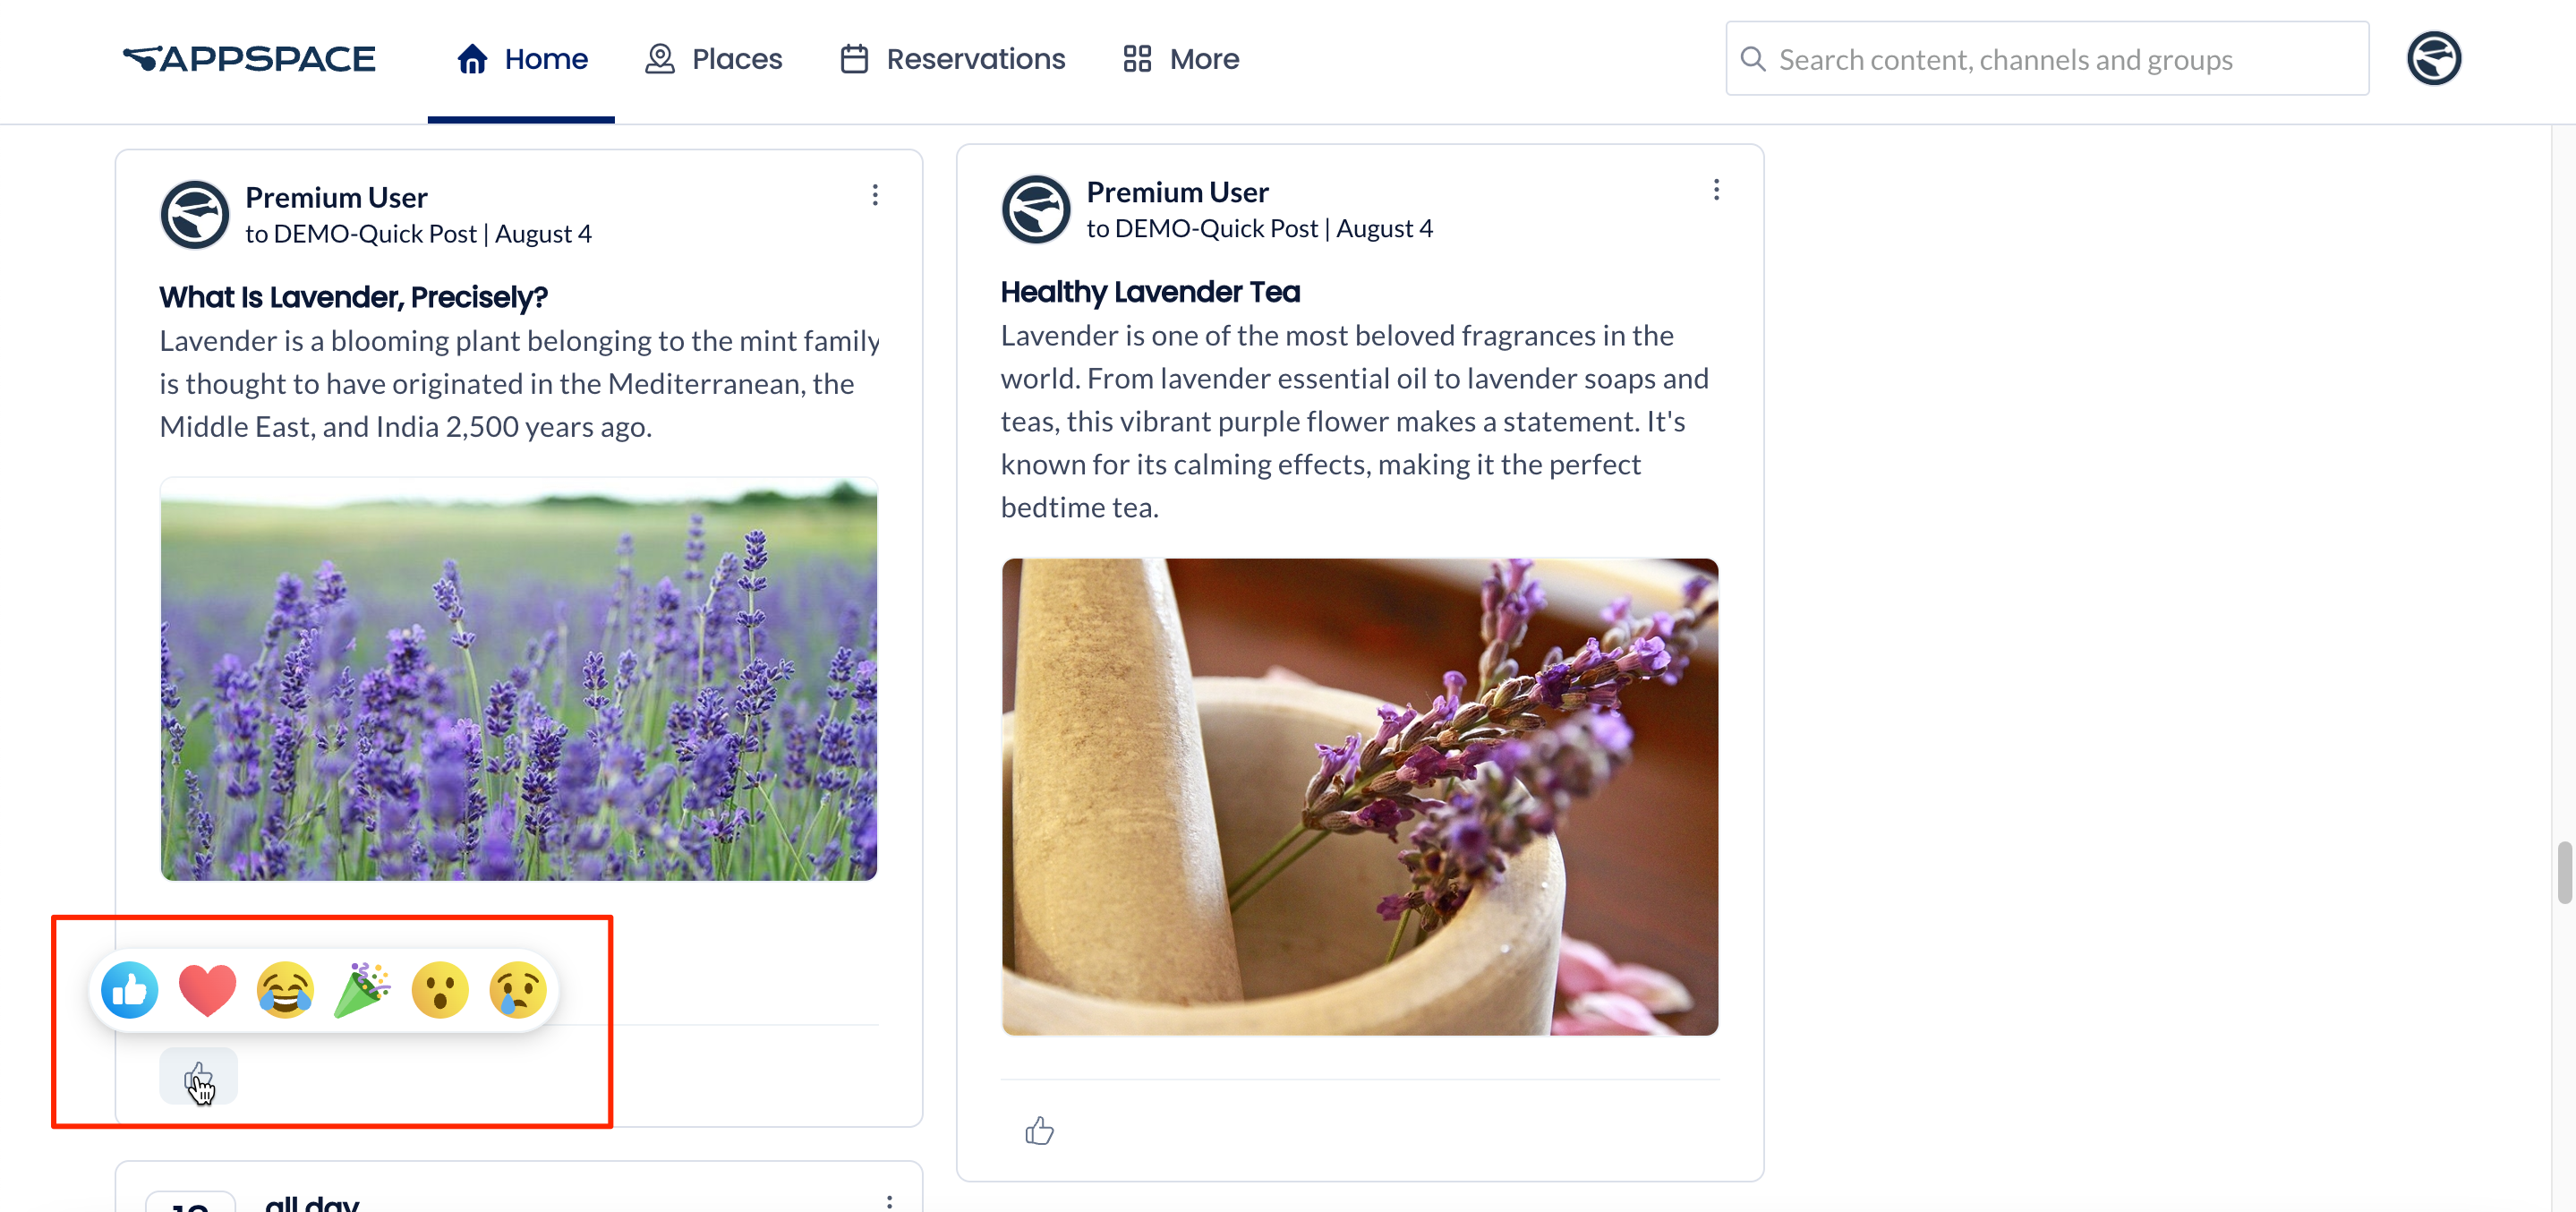
You can now react to any quick post in your Employee App, with “Like,” “Love,” “Laugh,” “Celebrate,” “Surprise,” “Sad,” emoticons, to express your emotions regarding the message content.
You can:
-
React to any post in the main news feed or channel feed.
-
React to the post from inside the post article view.
-
Add, change, or remove a reaction to a post. You just need to tap on the reaction button to like a post, and tap it again to unlike. When reacting to a post with a single tap, the Like reaction is the default selection.
-
See how many reactions a post has received. Just tap on the number of reactions on a post to view a list of everyone who has reacted to the post.
Reactions Notifications
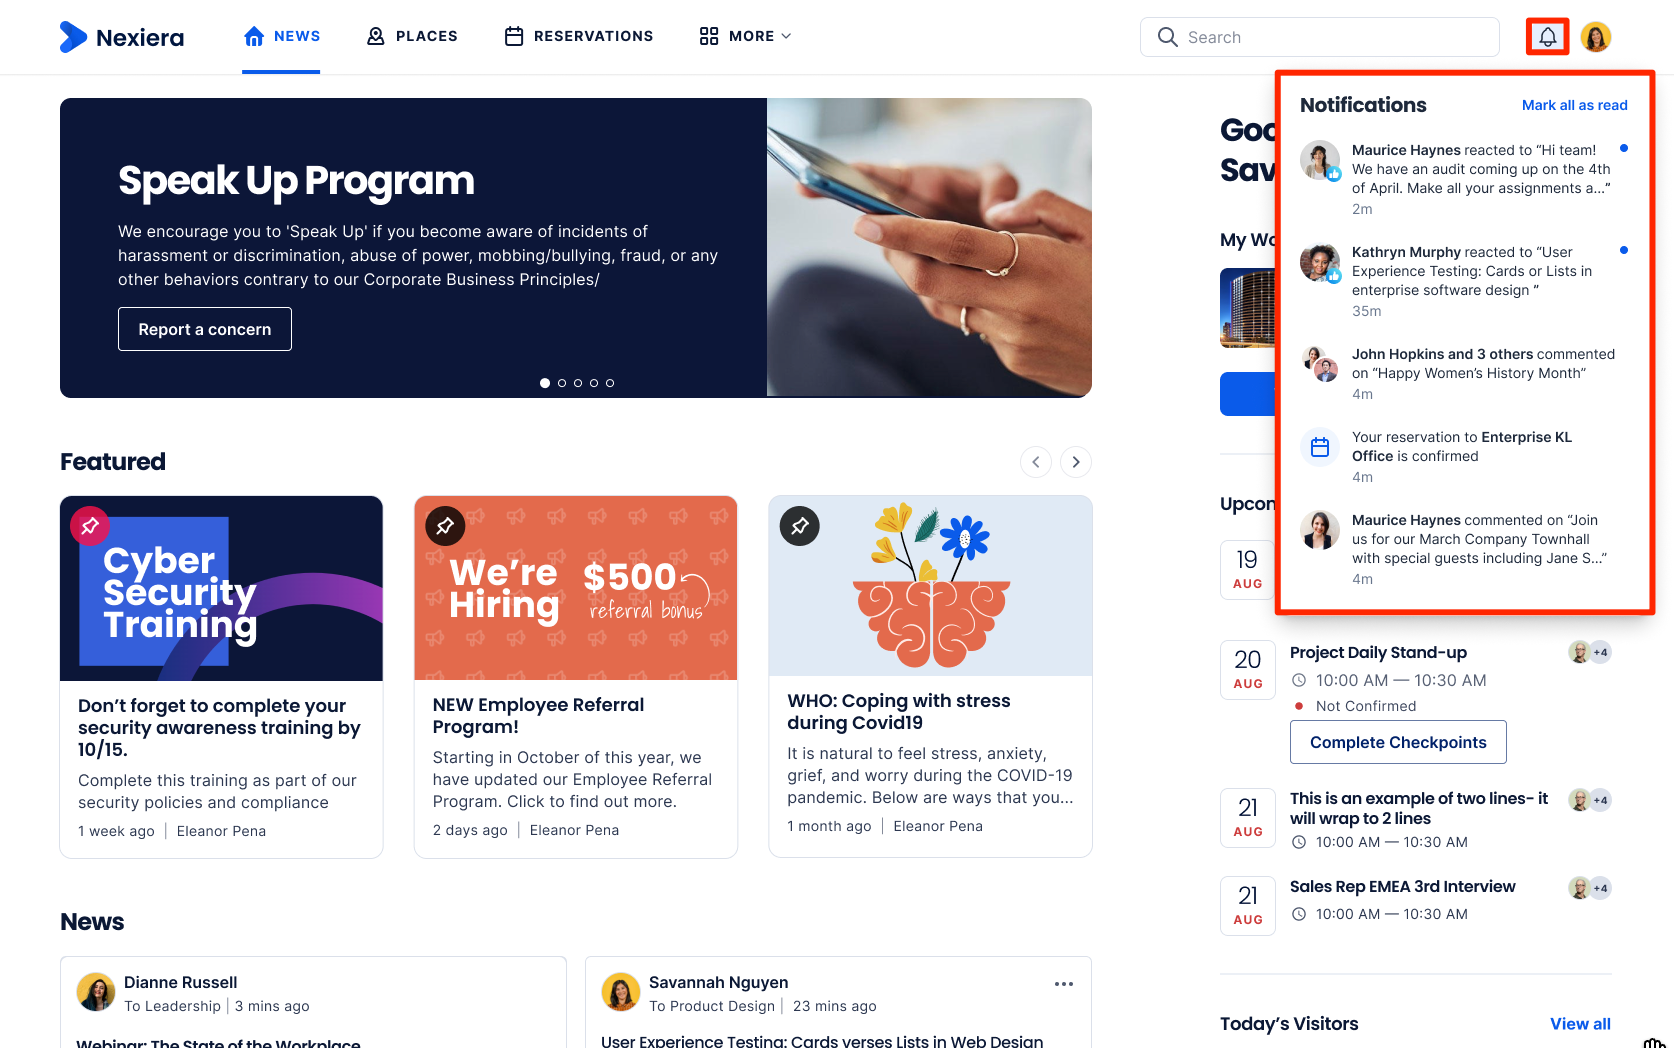
You are now able to receive notifications when a post gets a reaction. When the Notifications bell button is clicked, the Notifications dropdown opens to show the list of notifications.
Comments and Share on Post
As an Employee App user, you can post to and comment on feeds. All comments to the post will be communicated to the author of the post via the notification. Post authors have the option to moderate or remove comments made on their posts. Additionally, Employee App users can copy the URL of a post’s detail page and share its contents. The user can share the URL of a post if the share setting is enabled.

Reactions to comments added to posts are now available. Users are now able to click on the responses to the comments.

User Mentions in Comments
The User Mentions in comments feature improves employee engagement by allowing users to mention other employees in comments on multiple posts or pages. Users who have been tagged receive notifications in their User Notifications within the Appspace Employee app.
Create Event Post and Event Reservation
Follow the instructions below to create an event post and an event reservation in your Employee App:
- Log in to your Appspace Employee App.
- In the Home tab, click the “What do you want to share?” text box. Alternatively, go to More > Events and click the Create button.
- In the Create Post window, select the Event Post icon below the Create Post icon.
- In the Event Post window, customize according to preference. You may do any of the following:
- Click Share with drop-down to select the desired channel.
- Click the Ellipsis (…) to view the Settings. You may do the following:
- Spaces – Post will be shared with the desired communities and topics.
- Tags – You may include any relevant tags in the post.
- Schedule – This is set to Now by default. You can perform one of the following options:
- Leave this setting to Now (default) for the post to go live immediately to its audience once you publish it.
- Click and select a date range to schedule the publishing of this post. To remove the scheduled date range, click X.
- Author: Only available for certain roles:
- Channels – Feed publisher and feed editors, location publisher, and account owners.
- Communities – Owner and moderators, location publisher, and account owners.
- Featured – Set the post as a Featured post in the Employee App.
- Social features : You may configure this page’s social settings below:
- Reactions: Inherit (On) by default , On, Off
- Comments: Inherit (On) by default , On, Off
- Share: Inherit (On) by default , On, Off
- Click Upload Cover to upload an image for the event.
- Type in an Event title.
- Set the date.
- Select the starting time and ending time.
- Type-in and select a location for the event.
- Add the event details.
- Add the conferencing link. This option allows you to select either Microsoft Teams, Google Meet, Zoom, and Webex for video conferencing.
- Switch the Requires RSVP toggle option to ON to display the attendance option in the event post. This option allows employees to indicate if they plan to attend the event (Attending or Not attending).
- Click Post. Your post will appear in the Newsfeed section on the Home tab as well as in the More > Events also Reservations section.
- Refer to the Edit Post section for instructions on how to edit or remove your event post.
View and Indicate your Attendance for Event Post
As an Employee App user, you can view event posts in the Home > News section of the Employee App, or by navigating to the More > Events tab.
- The event post allows you to indicate if you plan on attending the displayed event.
- To view the list of attendees for the event, click on the event post. Employee App users who indicated that they will be attending the event (by selecting Attending) will be displayed in the Attending section of the event post view.
Click on an event post to view it in full. The line below the header displays the channels that the post is part of, and the published date and time. The right section displays the details of the event, such as the organizer. If the event post is set to require an RSVP, the attendance buttons (Attending, Not attending) and the list of attendees will also be displayed.
The event post view allows you to perform the following actions:
- Select the Attending or Decline option in the post to indicate your attendance for the event (this option will only be available if the event post is set to require an RSVP).
- View the information about the event (Date, time, Location, and description), as well as download the ICS file for the event to add it to your calendar.
- If you are the creator of the post, you may click the Ellipsis (…) option on the upper-right of the article to Edit or Remove the event post.
- Click the Organizer under the Organizer section to view the profile of the person in the People tab.
- View the list of attendees for the event in the Going section (this option will only be available if the event post is set to require an RSVP).
- You can like, comment, and share the post if you scroll down to the end of the article.
Edit Post
To update a post, navigate to the News or Channels section of your Employee App. From there, you can edit any post you find there.
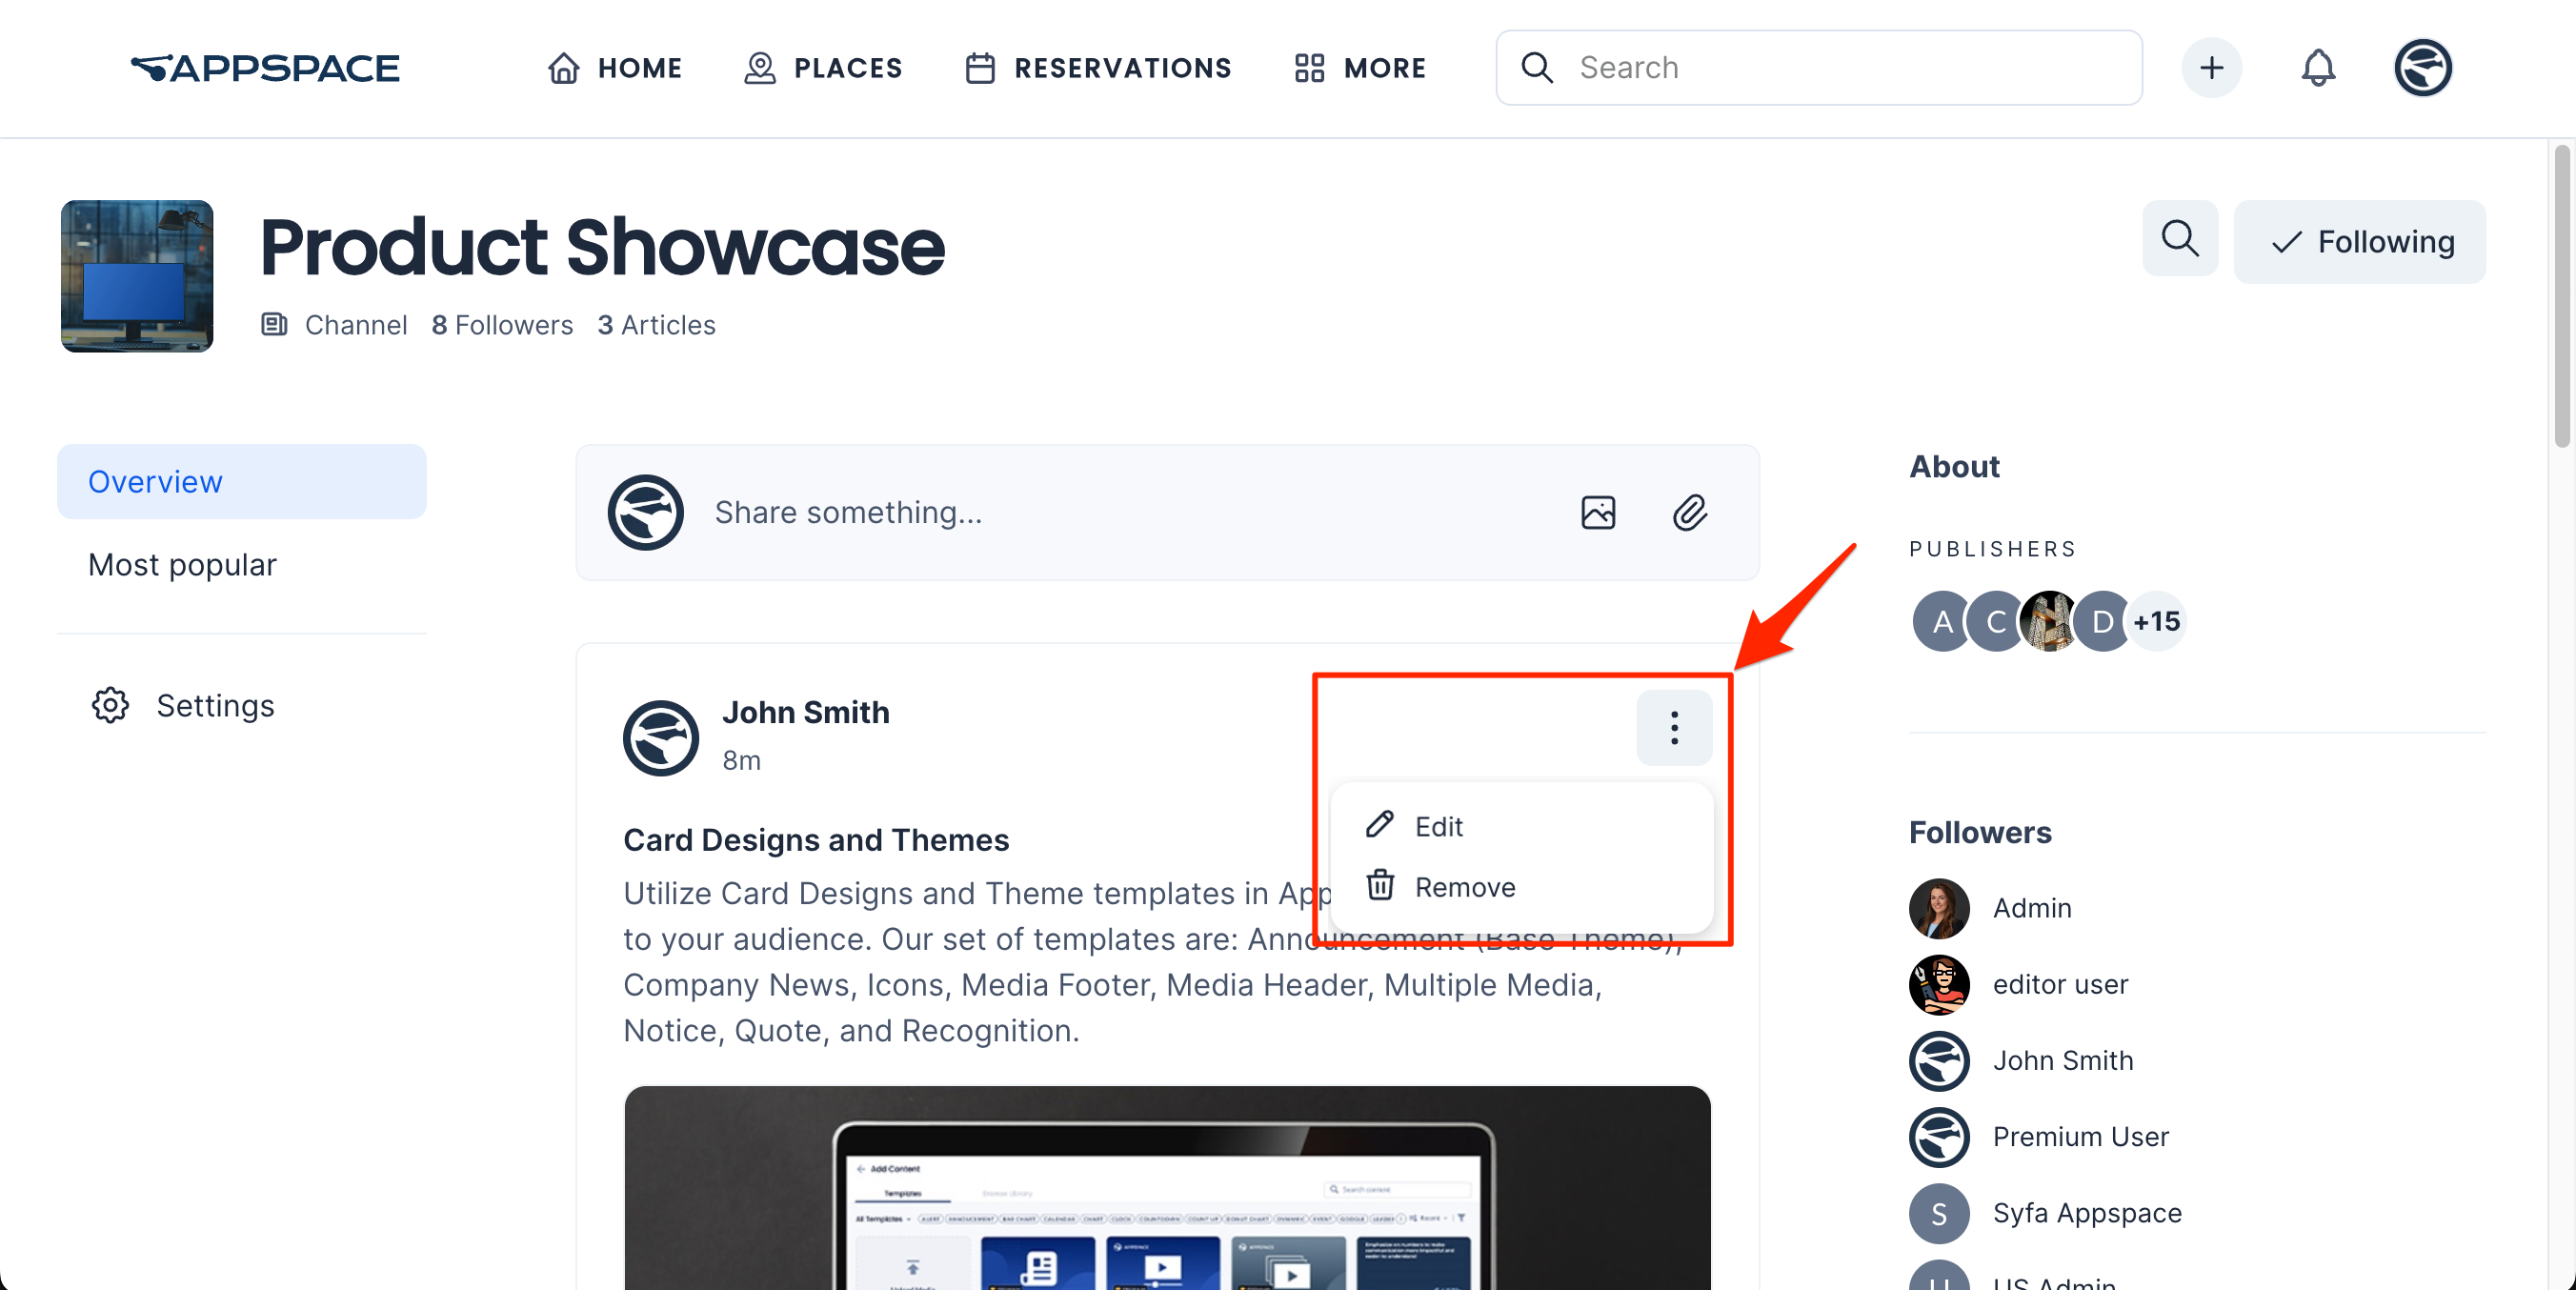
Edit Post in News
Follow the instructions below to edit any post in your Employee App:
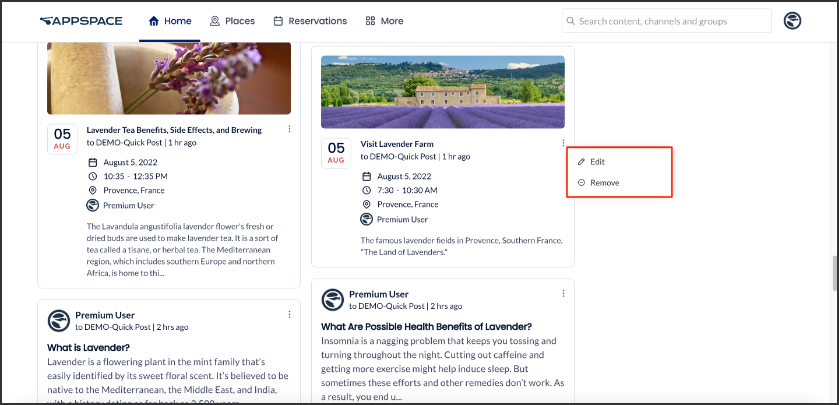
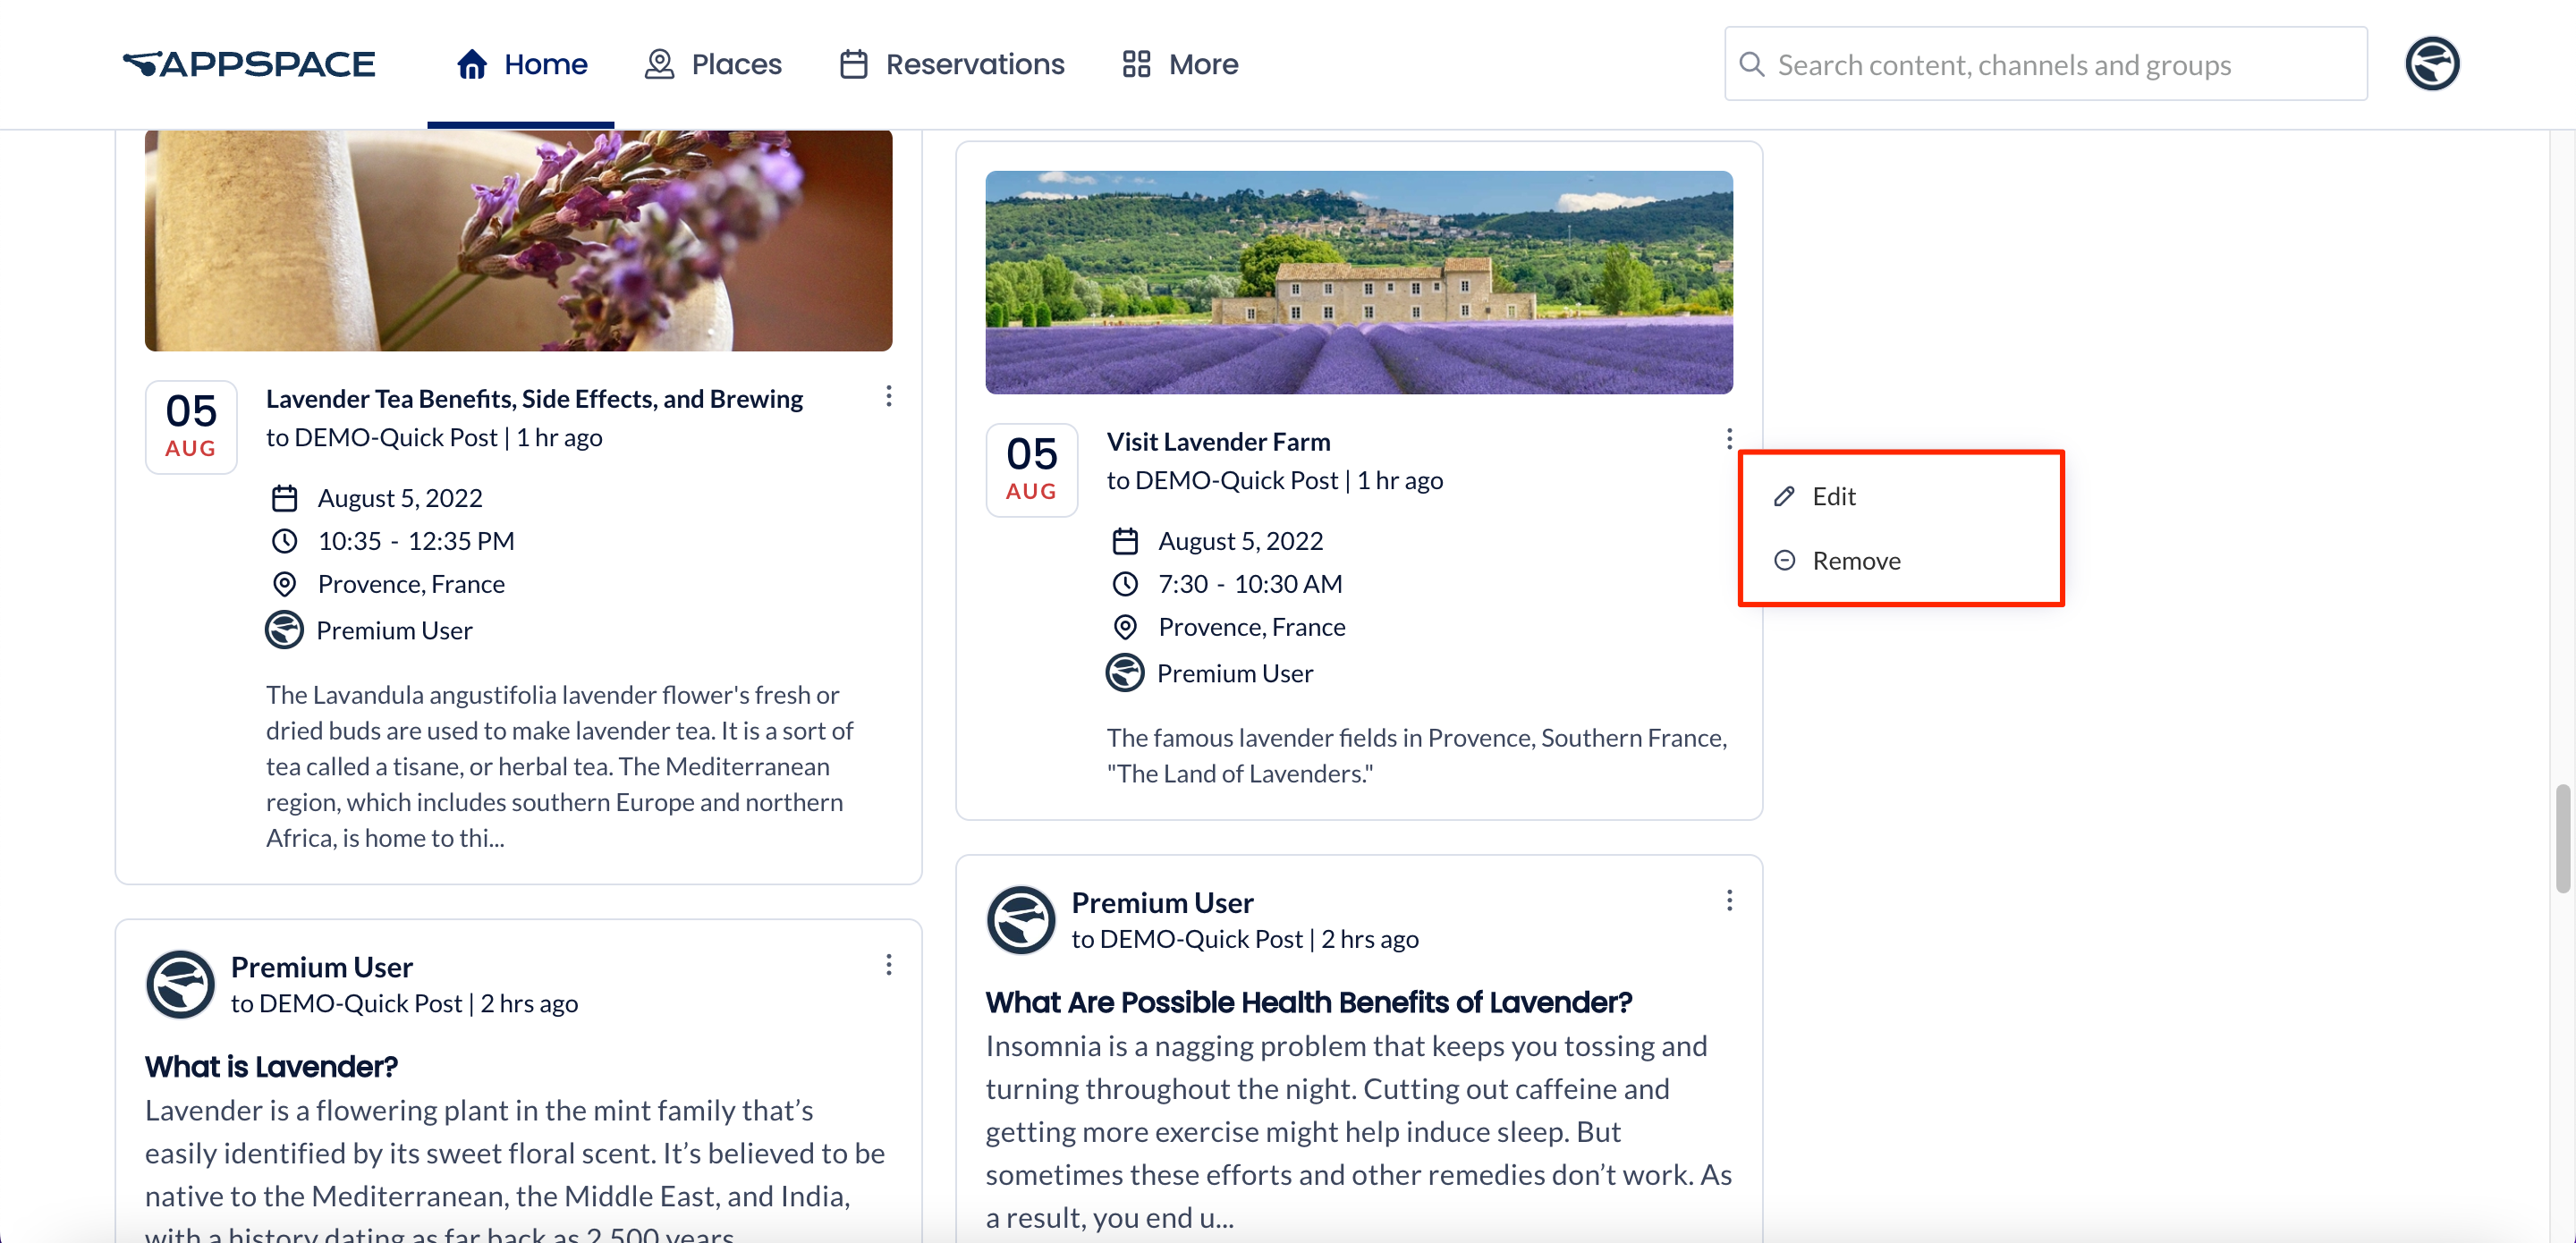
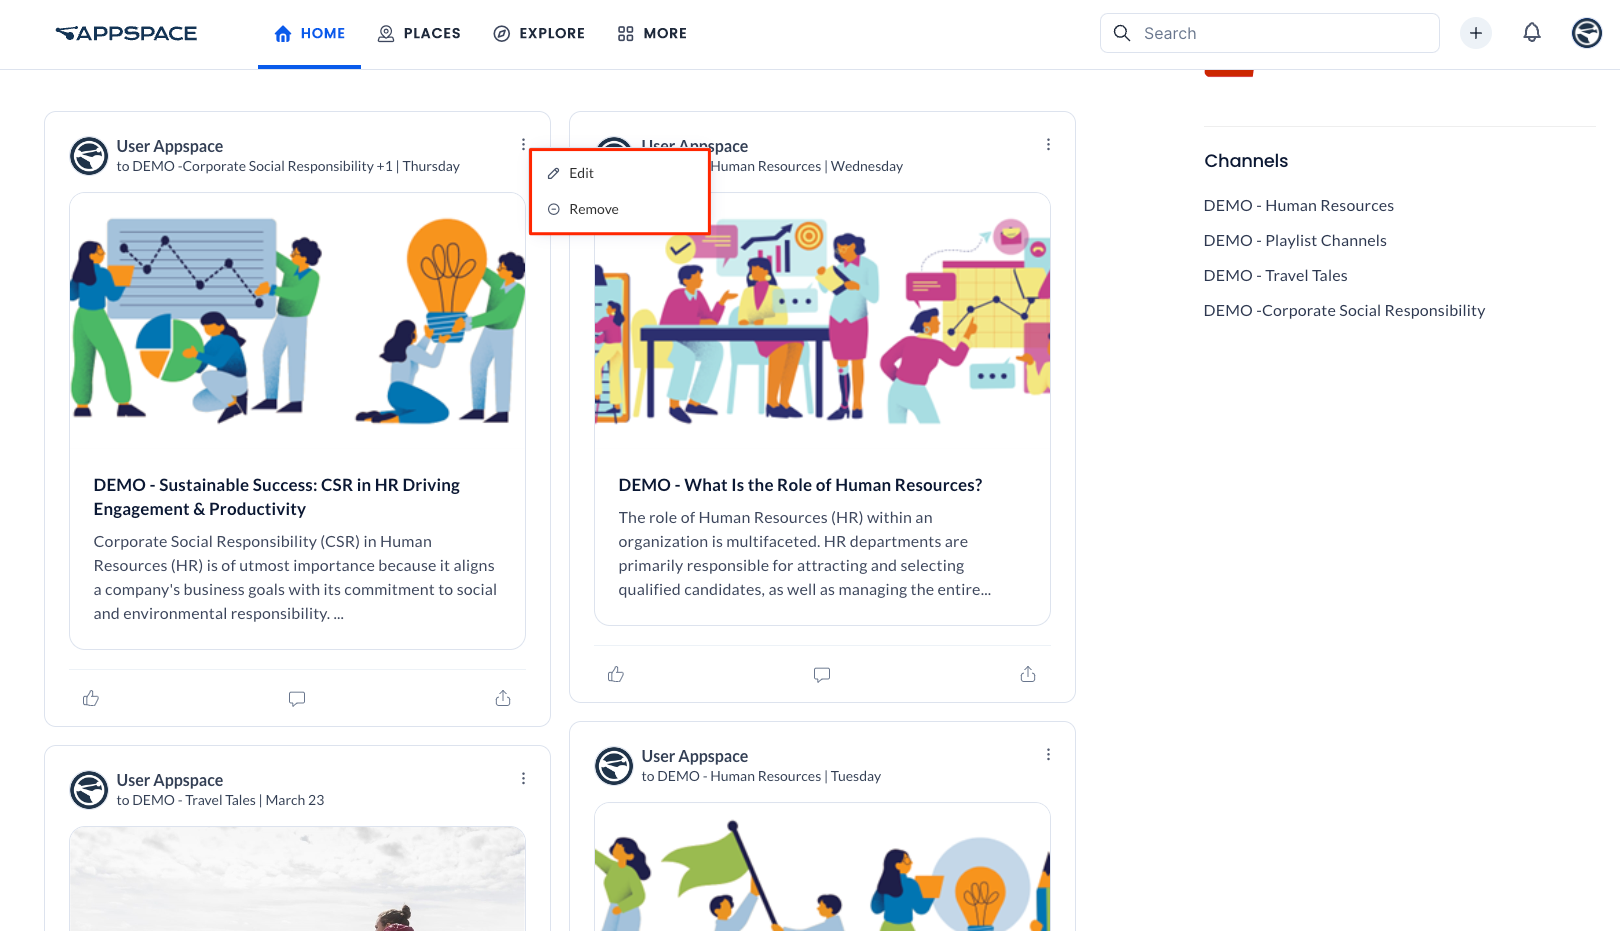
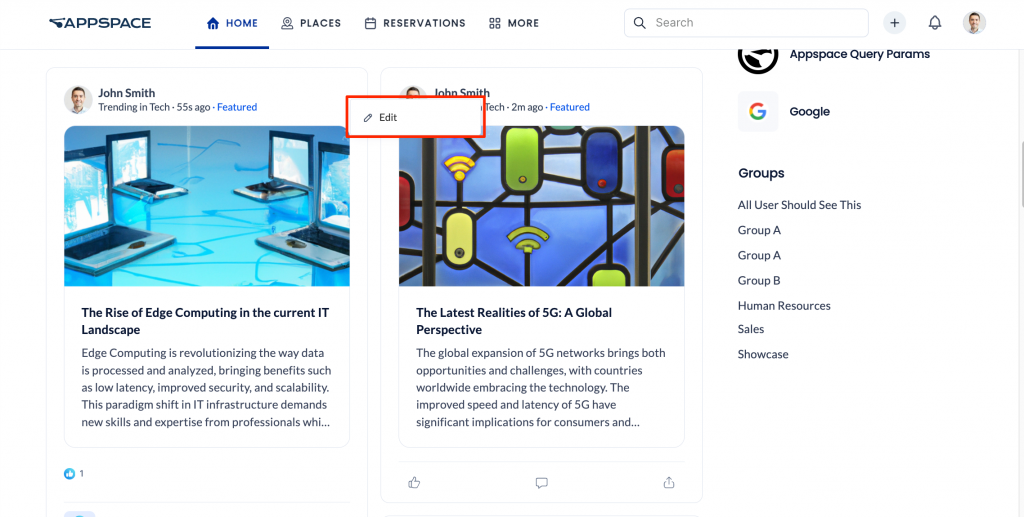
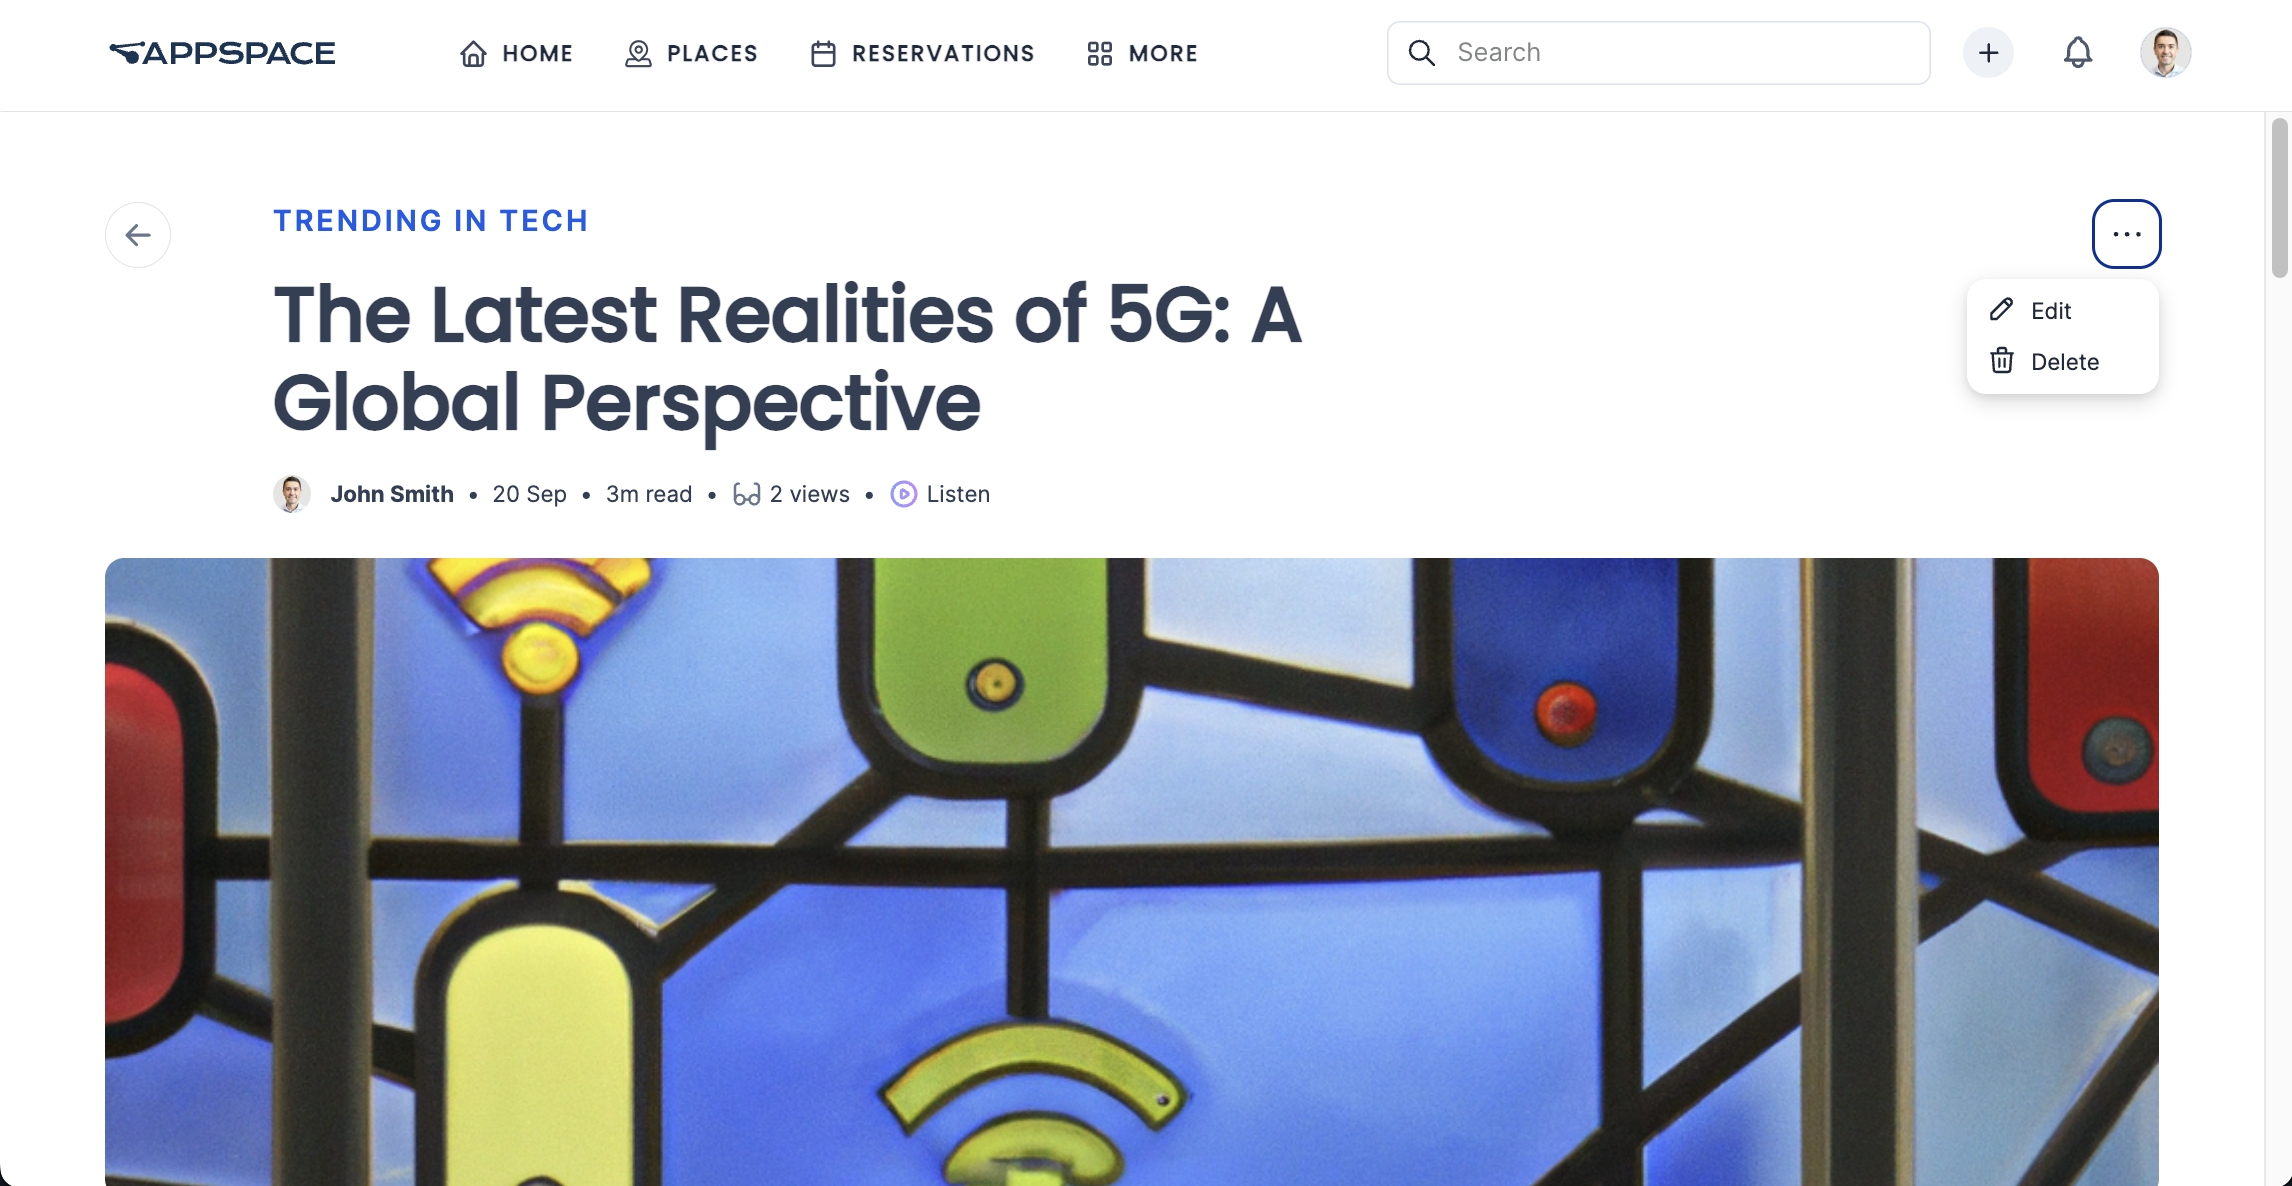
- To edit, navigate to your desired post in the Home > News section.
- Click on the ellipsis next to a post and select Edit. You can also delete your post by clicking the Remove button.
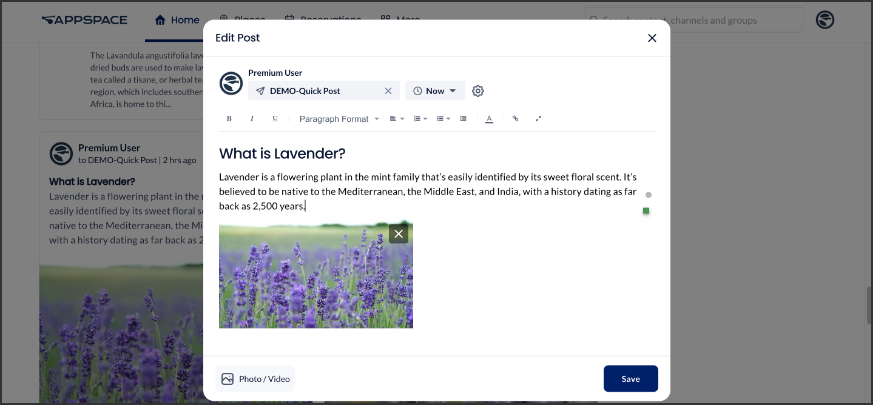
- Proceed to edit the content and click Save.

Edit Post in Channels
Follow the instructions below to edit any post in your Employee App:
- Go to the More > Explore section.
- Select the Channels tab.
- Select the Group or Channel that you want to edit the post in.
- In the group or channel, click on the ellipsis next to a post and select Edit. You can also delete your post by clicking the Remove button.
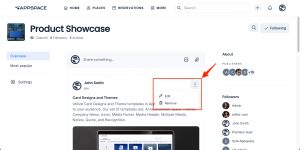
- Proceed to edit the content and click Save.
Create Page
To create and publish a page, proceed to the Create Page section of the article Create Pages on the Employee App.
Edit Page
To update a page, navigate to the News or Explore section of your Employee App. From there, you can edit any page you find there.
Edit Page in News
Follow the instructions below to edit any post in your Employee App:
- To edit, navigate to your desired post in the Home > News section.
- Click on the ellipsis next to a post and select Edit. You can also delete your post by clicking the Remove button.
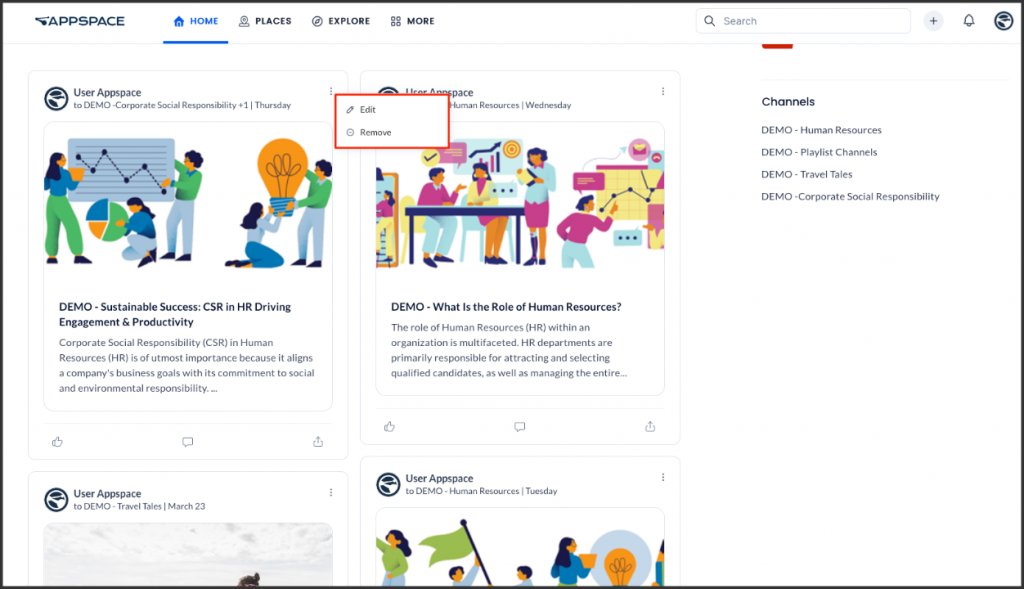
- Proceed to edit the content.
- Once done, click Publish Updates.

Edit Page in Explore
Follow the instructions below to edit any page in your Employee App:
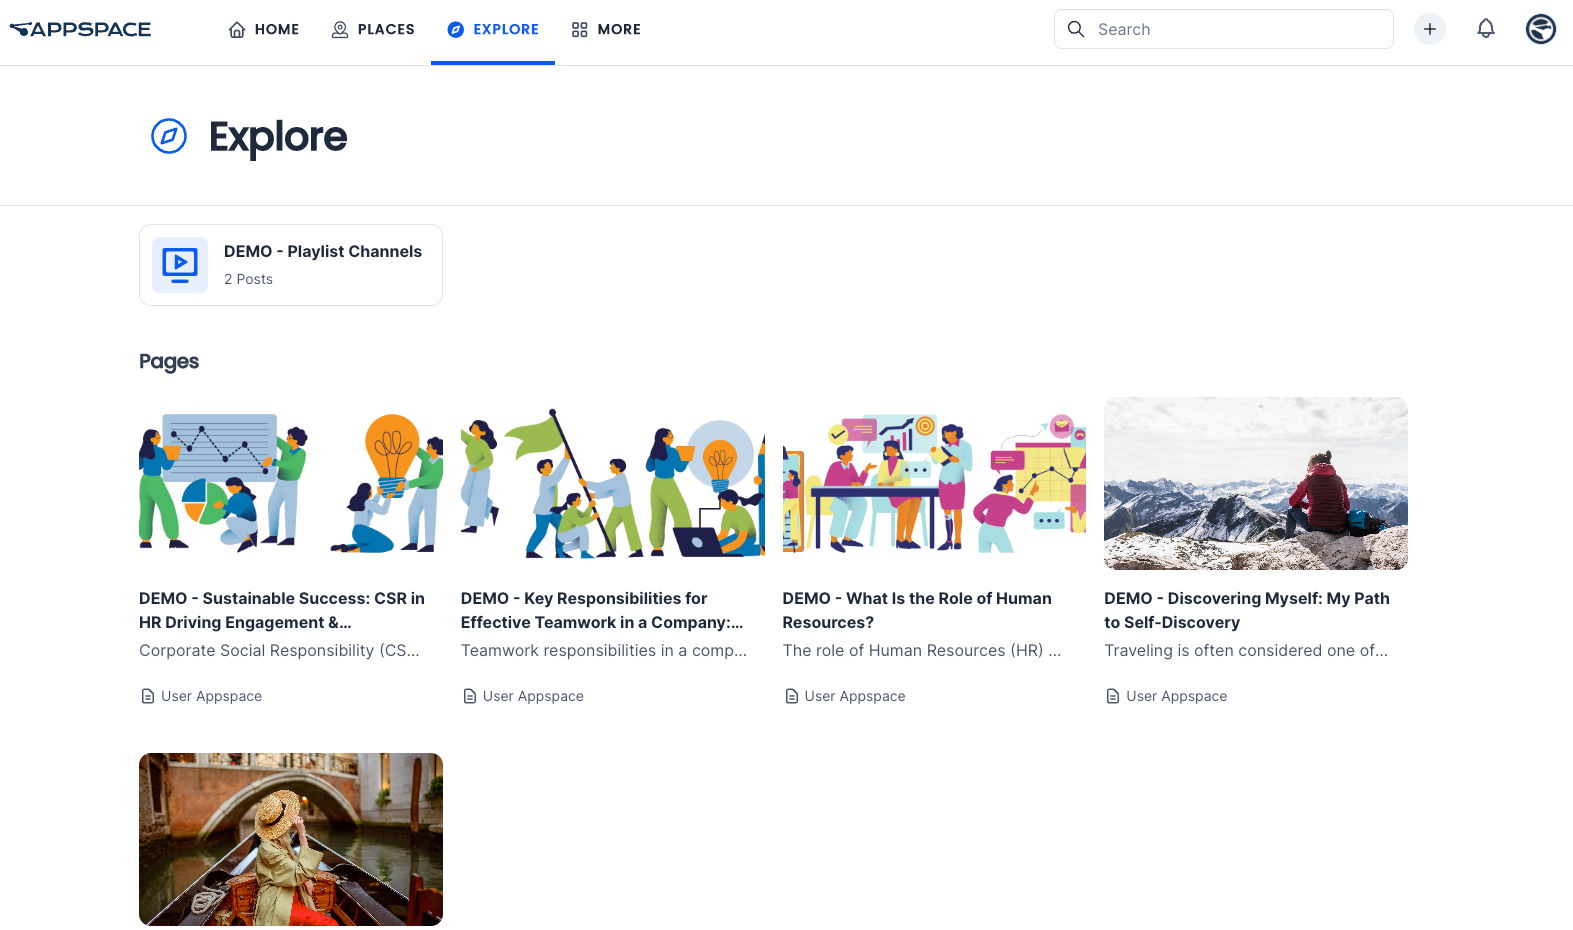
- To edit, navigate to your desired post in Explore > Pages.
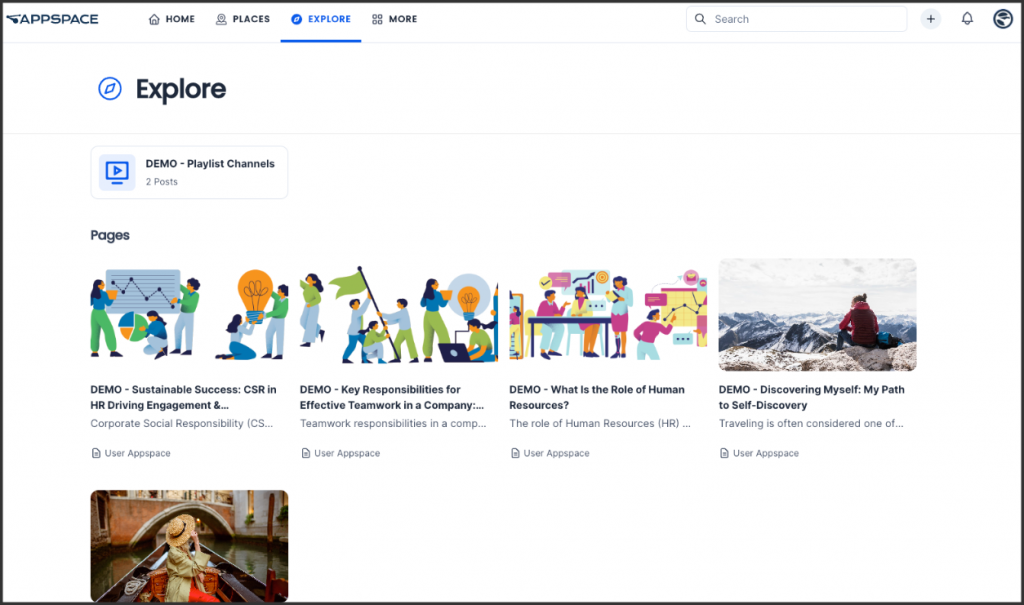
- Select the page you desire to edit.
- Click on the page and select Edit.
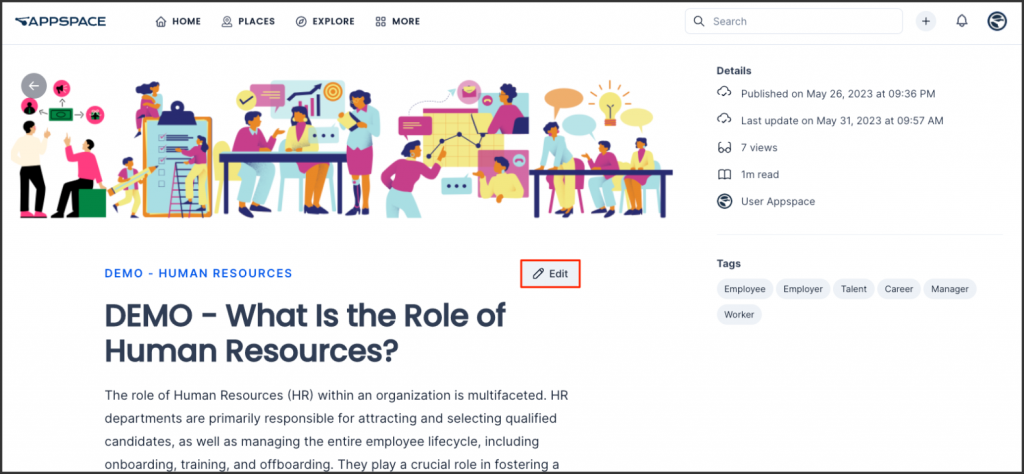
- Proceed to edit the content.
- Once done, click Publish Updates.

Create Story (New)
Stories provide a richer medium for compelling and thoughtful articles that include elements such as text, photos, and videos to create content that drives employee engagement within the company. For more information on stories, refer to this article.
To create and publish a story, proceed to the Create Story section of the article Create Stories on the Employee App.
Edit Story (New)
To update a story, navigate to the News or Explore section of your Employee App. From there, you can edit the stories you find there.
Edit Story in News
Follow the instructions below to edit a story in the Employee App:
- To edit, navigate to the desired story in the Home > News section.
- Click on the ellipsis next to a story and select Edit.
- Proceed to edit the content.
- You can also edit the story settings by clicking the Settings icon. refer to the settings panel in the Create Story section above.
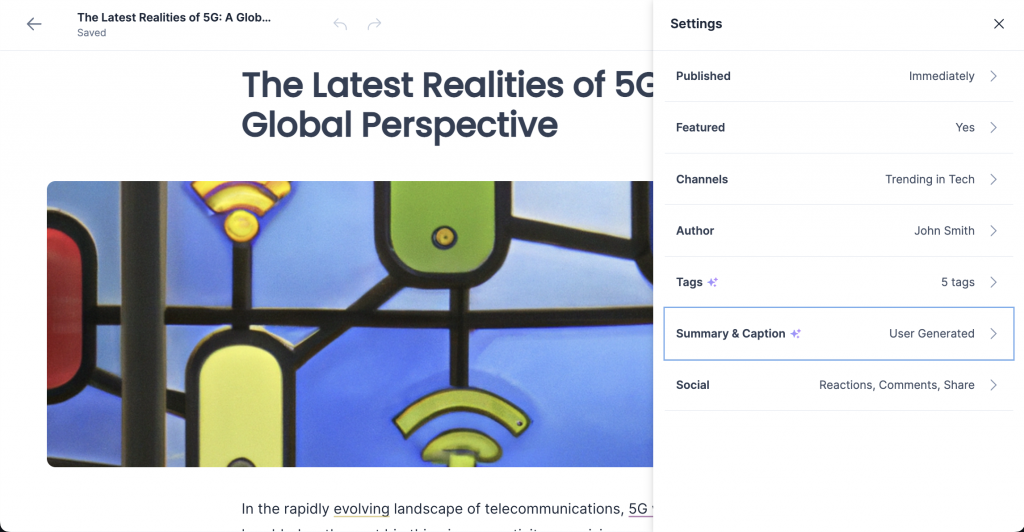
- Once done, click Publish Updates.


Edit Story in Explore
Follow the instructions below to edit a story in the Employee App:
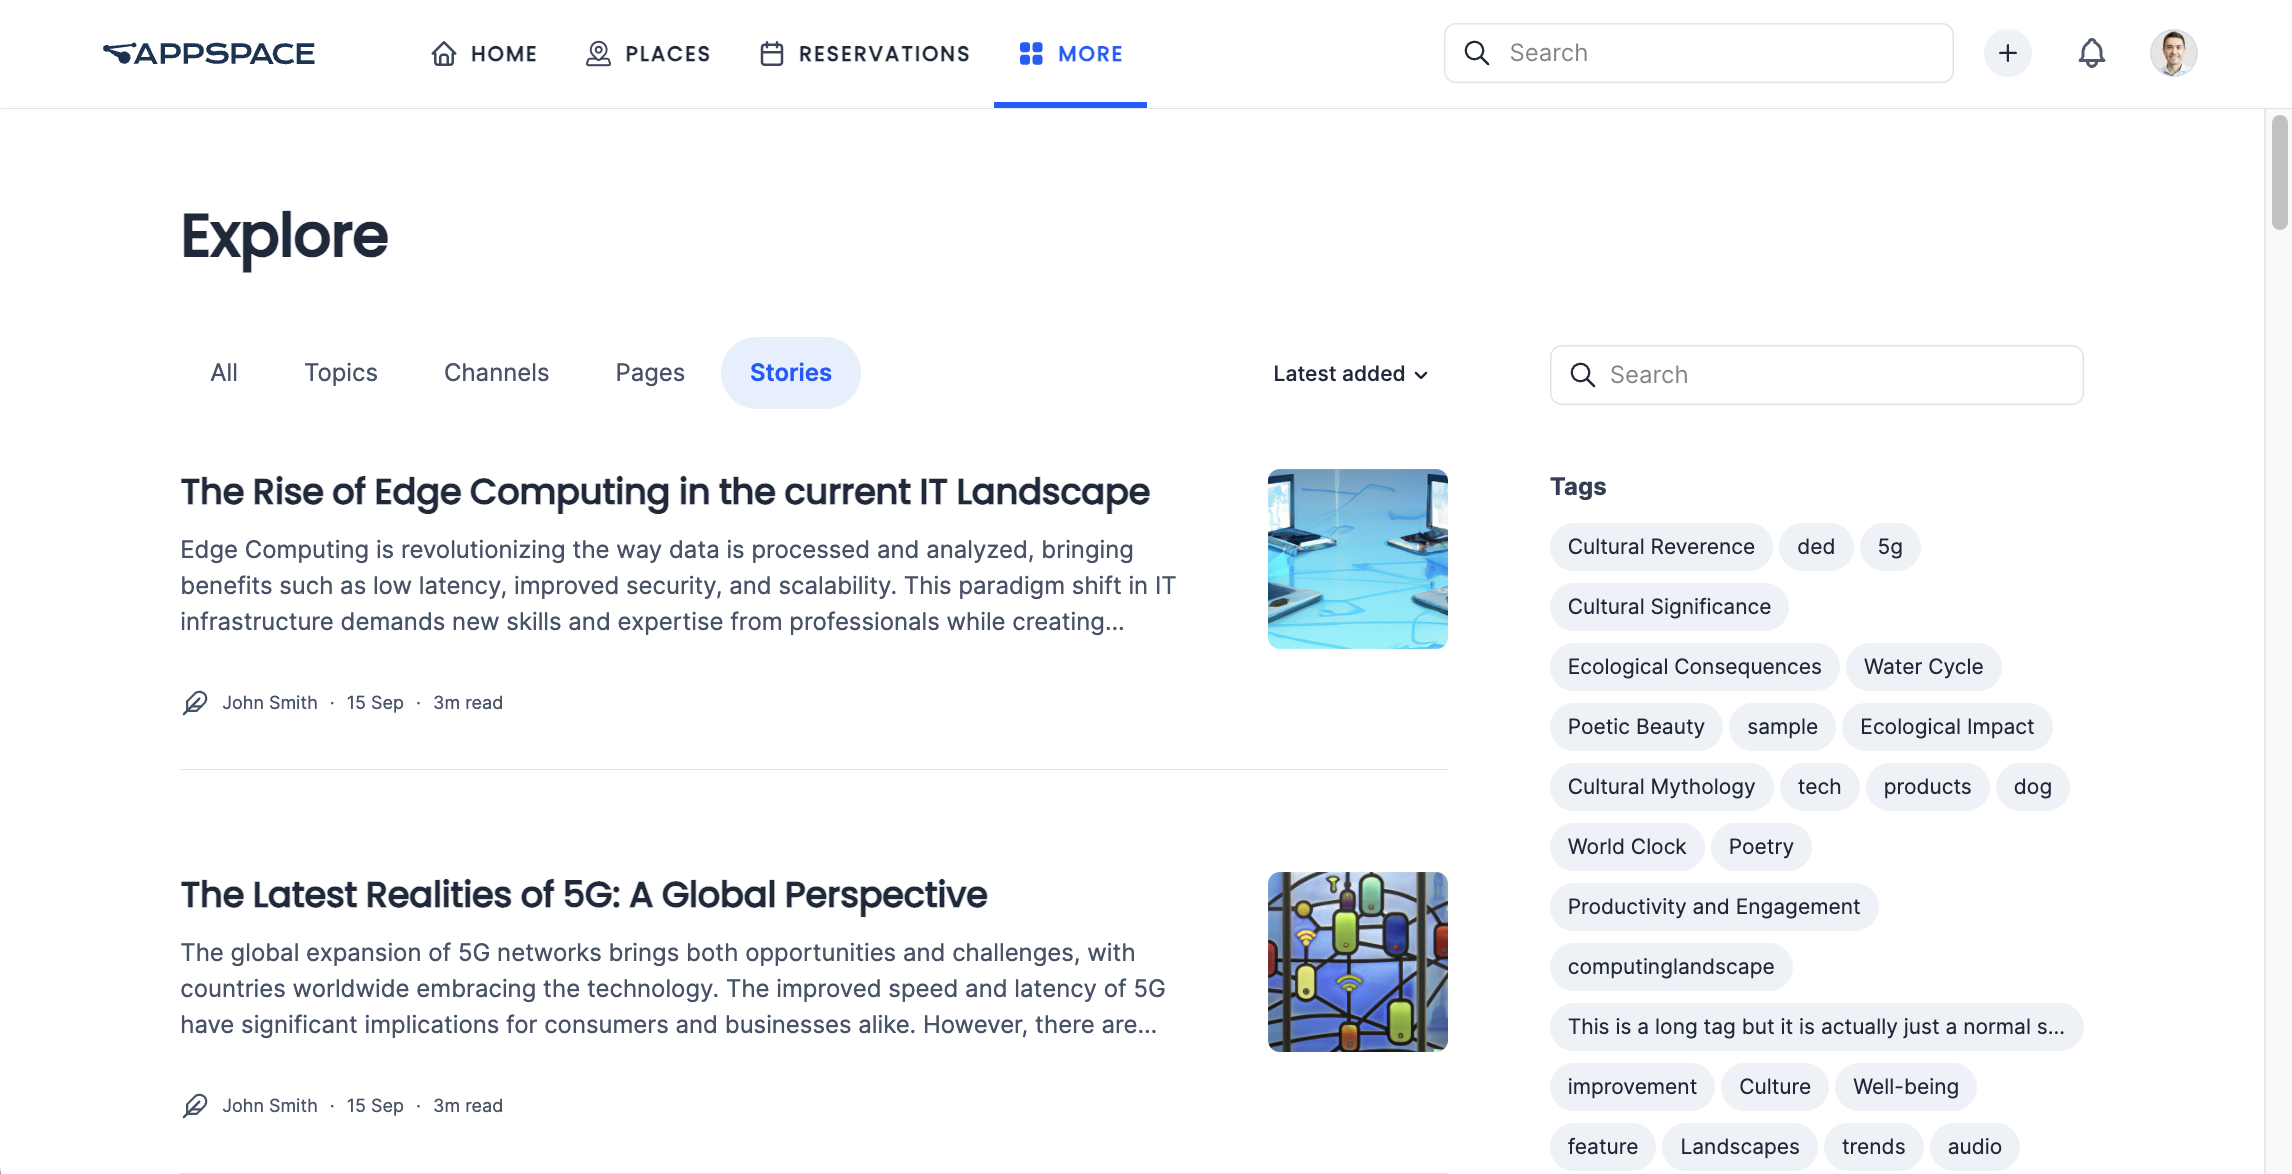
- To edit, navigate to the desired post in Explore > Stories.

- Click the story that you wish to edit.
- On the story page, click the ellipsis icon and select Edit.
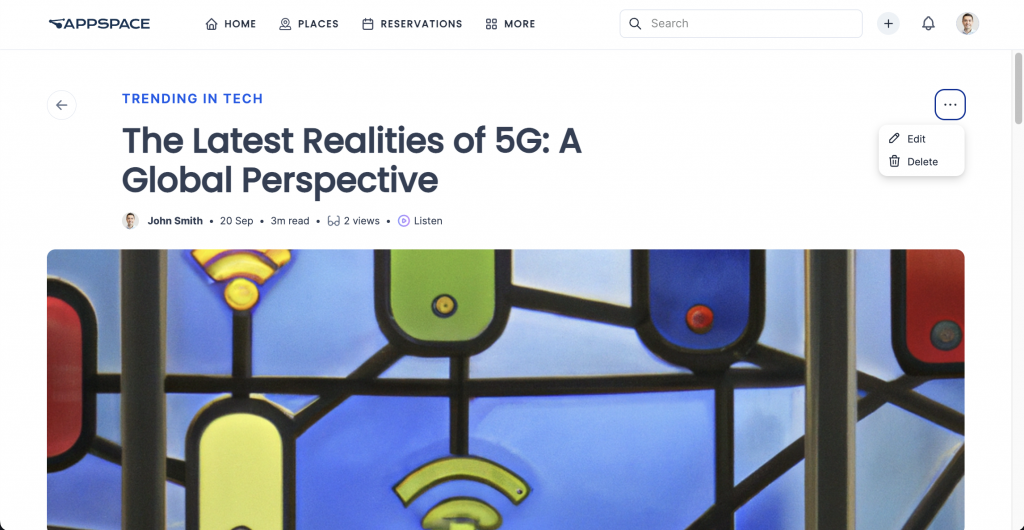
- Proceed to edit the content.
- Once done, click Publish Updates.
Edit Story in Channels
Follow the instructions below to edit a story within a channel in the Employee App:
- Go to the More > Explore section.
- Select the Channels tab.
- Select the Group or Channel that you want to edit the post in.
- In the group or channel, click on the ellipsis next to a story and select Edit.

- Proceed to edit the content and click Save.
