Once a user accepts an Appspace invite, they are automatically registered as a standard user by default if they are not initially assigned to a user group. Standard users, also known as Viewers do not have access to the Appspace console unless they are assigned with administrative or content permissions by an Account Owner.
For more information on user roles, please visit our User Roles & Permissions in Appspace guide.
This article provides the instructions to assign the user roles to Appspace users once they have accepted their email invitation.
Prerequisites
- An Account Owner can assign all roles to a user.
- A Network Administrator can assign a Network Administrator or Content Administrator to users to the network.
Assign an Account Owner or Content Producer User Role
Once a user has accepted the user invitation via email, configure the role as follows:
- Log in to the Appspace console.
- Click Users from the ☰ Appspace menu, and select the desired network from the Networks side panel.
- Click the desired user’s name link, and select the required user role from the Roles drop-down menu.
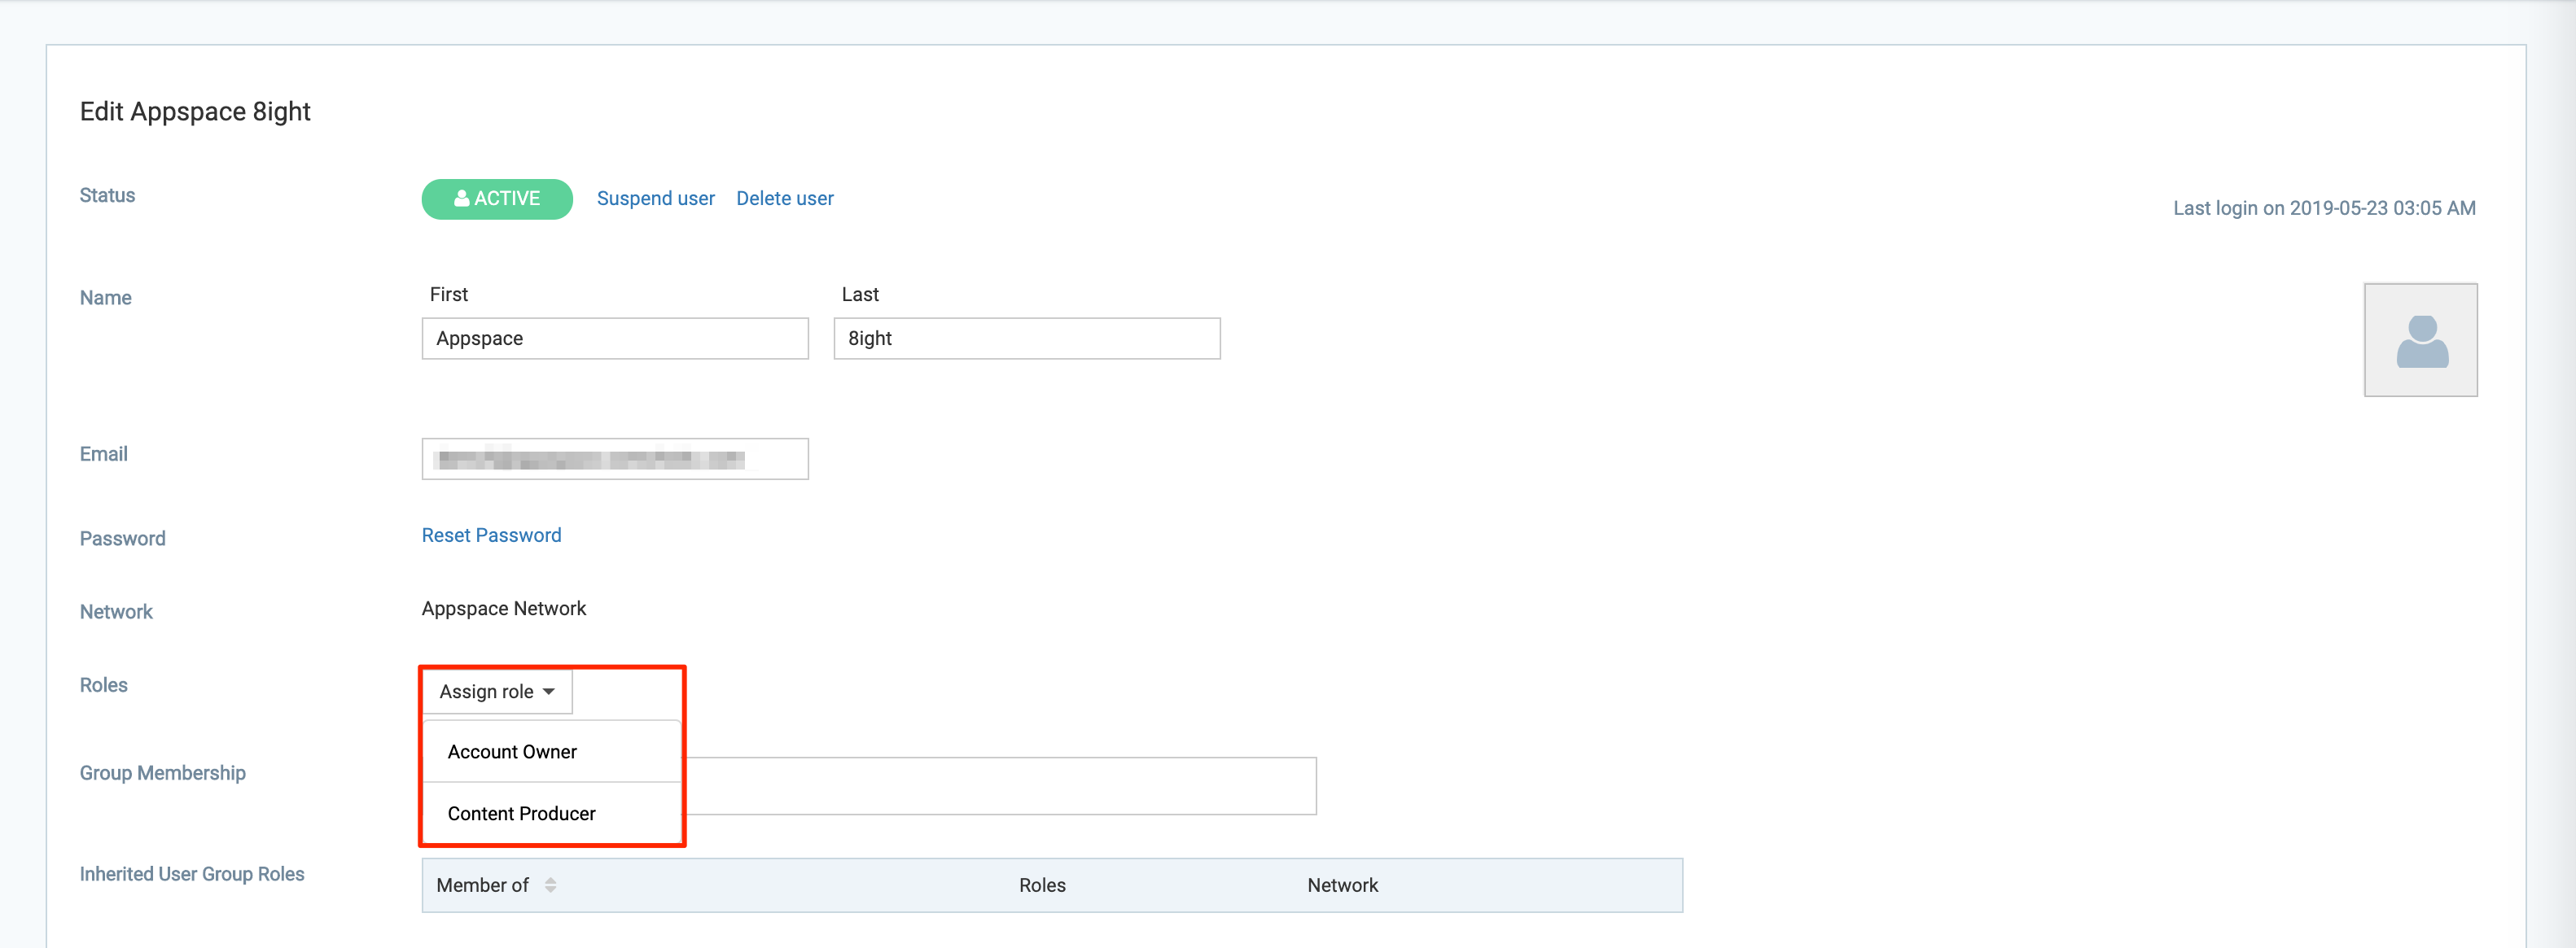
- Once done, click Save.
Assign a Network Administrator or Content Administrator User Role
Once a user has accepted the user invitation via email, configure the role as follows:
- Log in to the Appspace console.
- Click Devices from the ☰ Appspace menu, and click the Networks tab.
- Select the desired network from the Networks side panel, and click the Overview sub-tab.
- Click the Permissions Assign link, and enter the desired user name in the respective Network Administrator or Content Administrator fields.
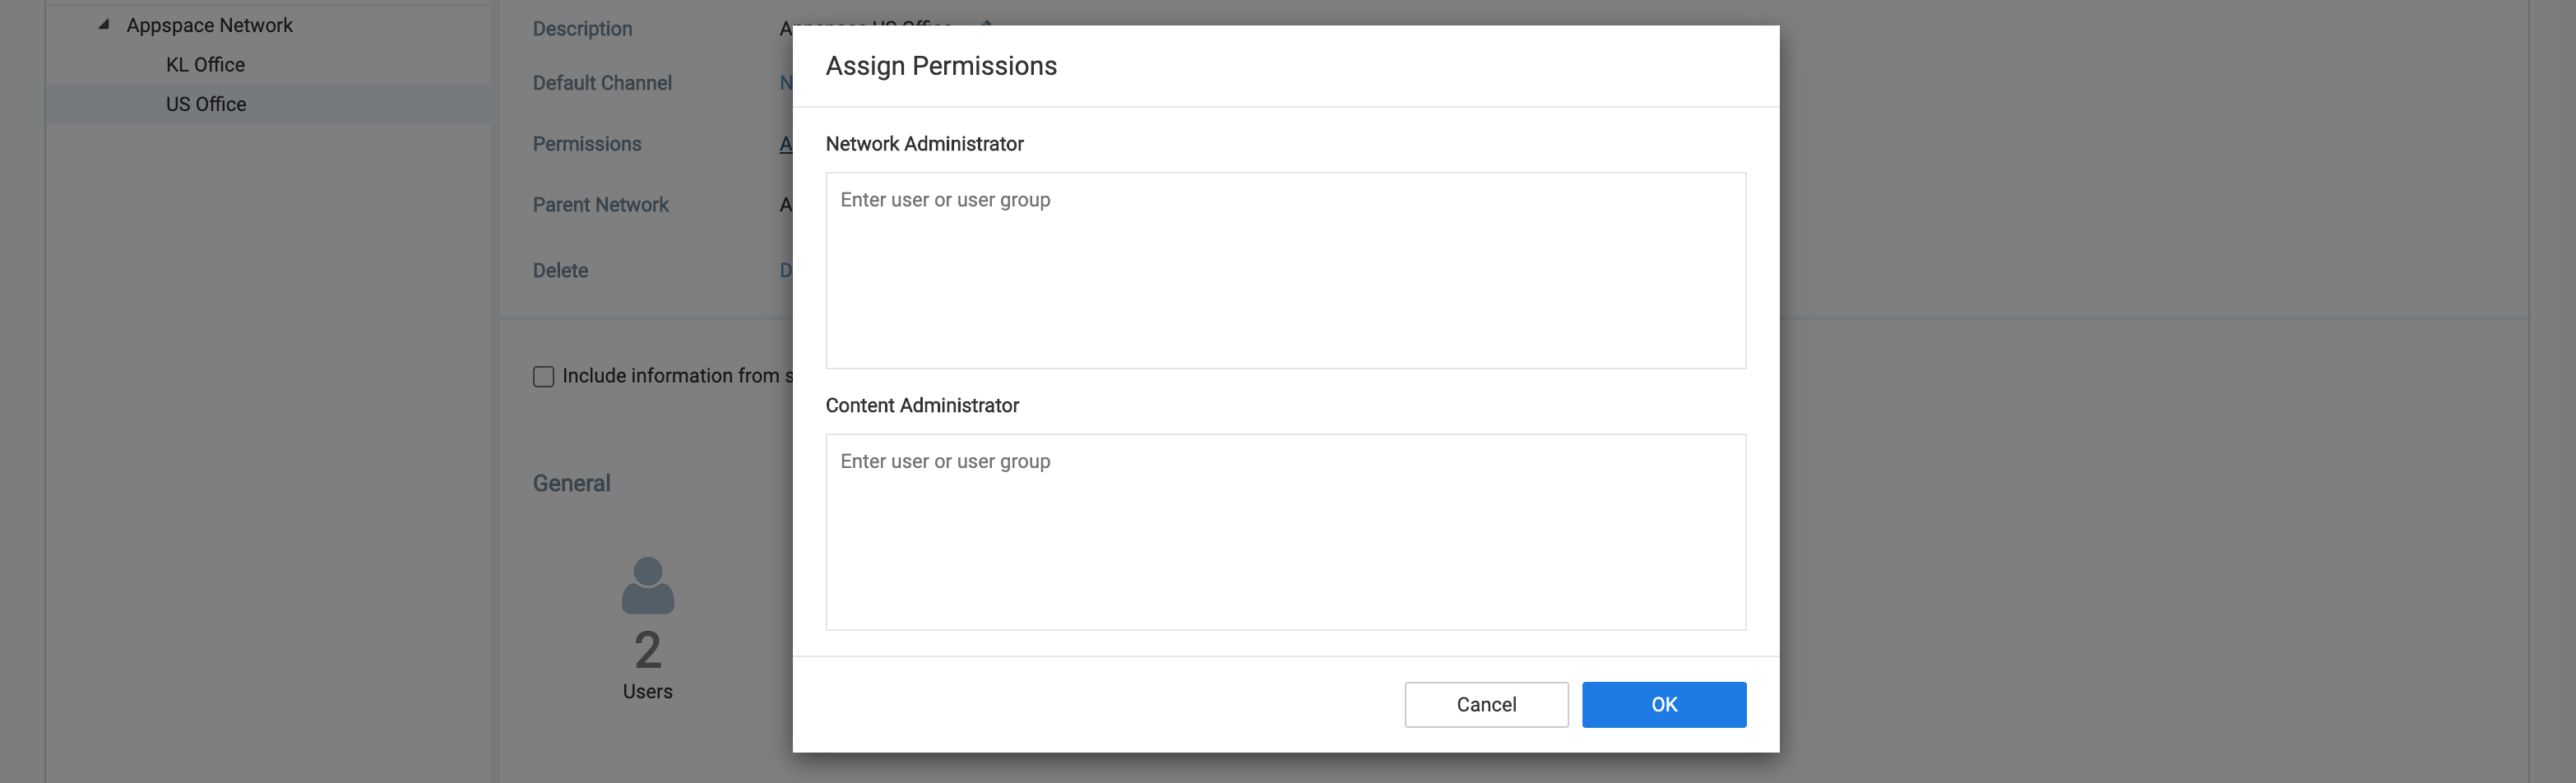
- Once done, click OK.
Was this article helpful?