Appspace SharePoint Intranet includes all community tools and sites, which are automatically enabled upon installation. However, administrators have the discretion to deactivate specific community tools. When a tool is disabled, it is hidden from the interface, preventing users from utilizing or accessing its content.
This article provides instructions on how to enable tools and sites in the Appspace SharePoint Intranet platform.
Note
By disabling a tool, the content created in it will not be deleted; instead, it will be hidden.
Prerequisites
- The Global Administrator user role.
Enable Global Features
Follow the instructions below to enable the global features.
- Log in to your Appspace SharePoint Intranet account.
- Click on the User menu, and select Intranet settings.
- In the Basic Configurations section, select Global features.
- In the Global features section, you may activate options by ticking the box next to each of the following:
- Getting started:
- Terms of use
- Allow to reject terms of use
- Intranet Spaces:
- Standalone blogs
- Standalone wikis
- Knowledge centers
- Ideas campaigns
- Mobile apps
- Stories
- Pages
- Sites
- Show Local Stories before the Global Stories in the App
- Space-related settings
- Restricted channels and articles creation
- Restricted topics and pages creation
-
(Additional configuration required on External APIs section). User may select options for the language settings:
- on language select
- on demand
- Communication
- Daily notification email
- Weekly community digest
- Email in announcements
- Notify on adding Editors and Writers
- Activities
- Pinned comments
- Office document preview
- Planner and ToDo tasks
- Share via Teams
- Third-party integrations
- OneDrive integration
- Microsoft Teams user status in the Newsfeed
- Microsoft Teams icon in the User Profile
- Getting started:
- Once done, click Save.
Enable Community Features
Follow the instructions below to enable the community features.
- Log in to your Appspace SharePoint Intranet account.
- Click on the User menu, and select Intranet settings.
- In the Basic Configurations section, select Global features.
- In the Community features section, you may activate options by ticking the box next to each of the following:
- Enable community home customization
- Relate communities as a graph (uncheck to relate hierarchically)
- Enable invitations for community owners
- Enable Folders
- Everyone can contribute by default in public communities
- Owners can edit others’ activities
- Editorial managers can delete other’s activities and comments
- Privacy types:
- Enable Public Communities
- Enable Moderated Communities
- Enable Restricted Discoverable Communities
- Enable Restricted Hidden Communities
- Tools configurations:
- Polls
- Files
- Wiki
- Blog
- Questions
- Links
- Calendar
- Praises
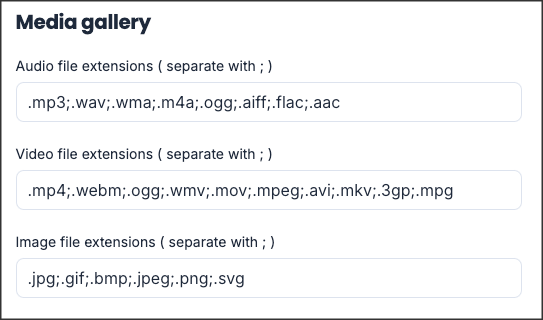
- Media gallery:
- Audio file extensions
- Video file extensions
- Image file extensions
- Once done, click Save.
Was this article helpful?