Appspace SharePoint Intranet’s 4.15.0 release delivered a powerful new feature for Stories and Pages: Automatic Translations, also known as Auto-Translations. With it, you can have with just one click an entirely translated and formatted version of their original Story or Page within seconds. This feature leverages one of the best-in-breed translation services in the market right now – Azure Cognitive Services – and is compatible with the old editor in Pages and the new editor in Stories, which means that Stories were created with the old editor have to be upgraded before successfully auto-translating.
This article provides instructions on how to auto-translate stories and pages in the Appspace SharePoint Intranet platform.
Prerequisites
- The Global Administrator user role.
Auto-Translate a Story or Page
Appspace SharePoint Intranet offers two different paths for users to Auto-Translate their Stories and Pages:
-
Translate on language select (known as Opt-Out translations)
-
Translate on demand (known as Opt-In translations)
Both options offer similar functionality. The key is to choose the experience that best fits your organization’s needs.
Translate on Language Select (Opt-out)
Users who select the Translate on language select option in Settings will have an automatic translation made when creating a new language version of a Story or Page, making this option the most convenient and powerful 1-click path available for the user in terms of experience in the editors.This method, also known as an Opt-Out translation, offers an Undo option (hence, the name Opt-Out) after the translation is completed, clearing the contents of the body and allowing you to re-enter the content.
Follow the instructions below to translate a story or page on language select.
- Log in to your Appspace SharePoint Intranet account.
- Select the Stories or Pages tab and select a page or story. Alternatively, you may use the Search function to search and open a story or page.
- In the Story or Page view, select Edit.
- Select the Languages tab at the top.
- Select the languages you wish to auto-translate the article to.
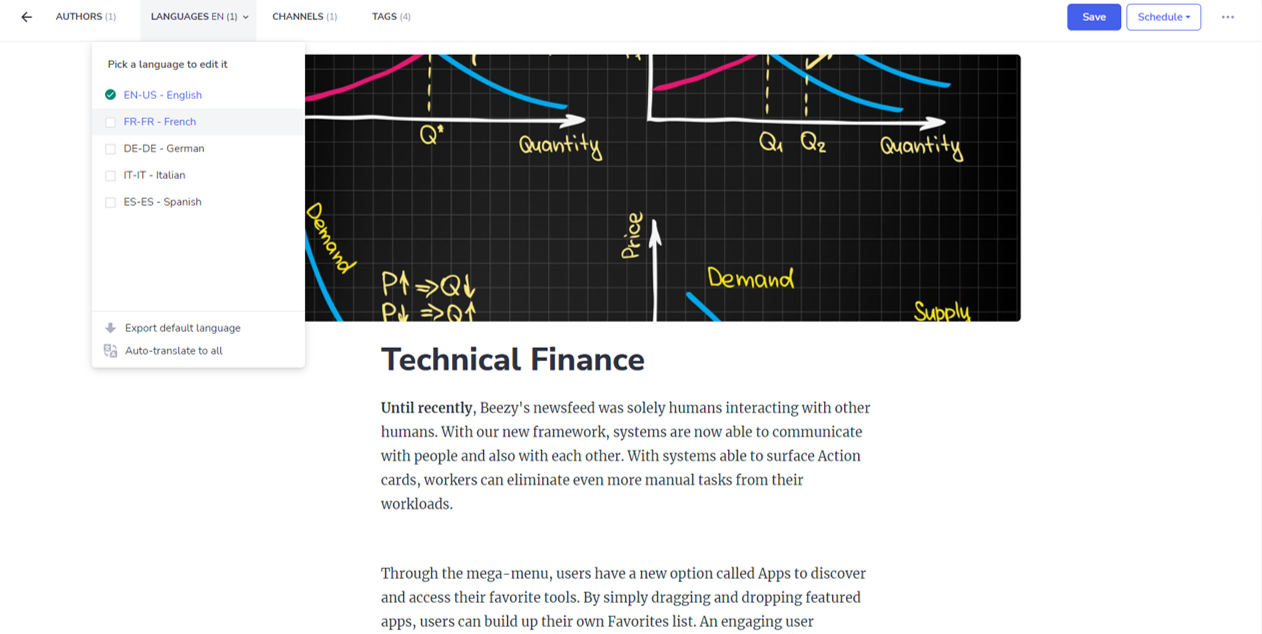
- The page is translated to the selected languages.
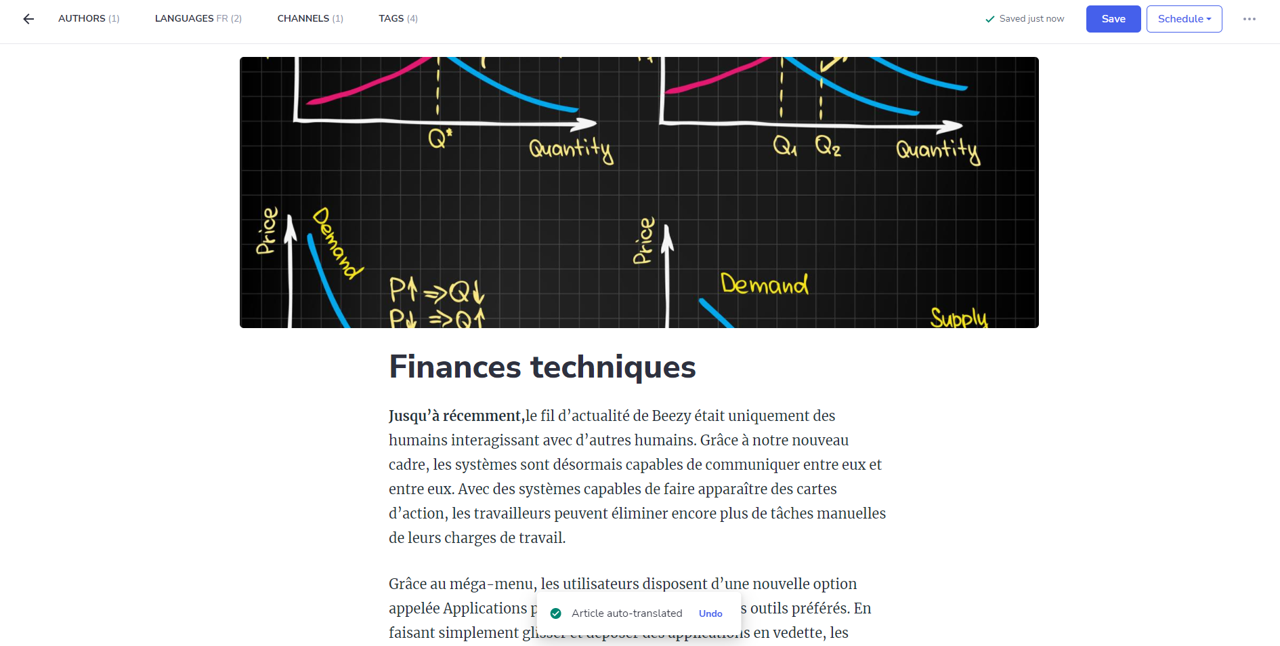
- After the translation is complete, a message displays that the article is auto-translated an Undo option (known as the Opt-Out path).
- Clicking the Undo option clears the generated translation and allows you to write the article from scratch.
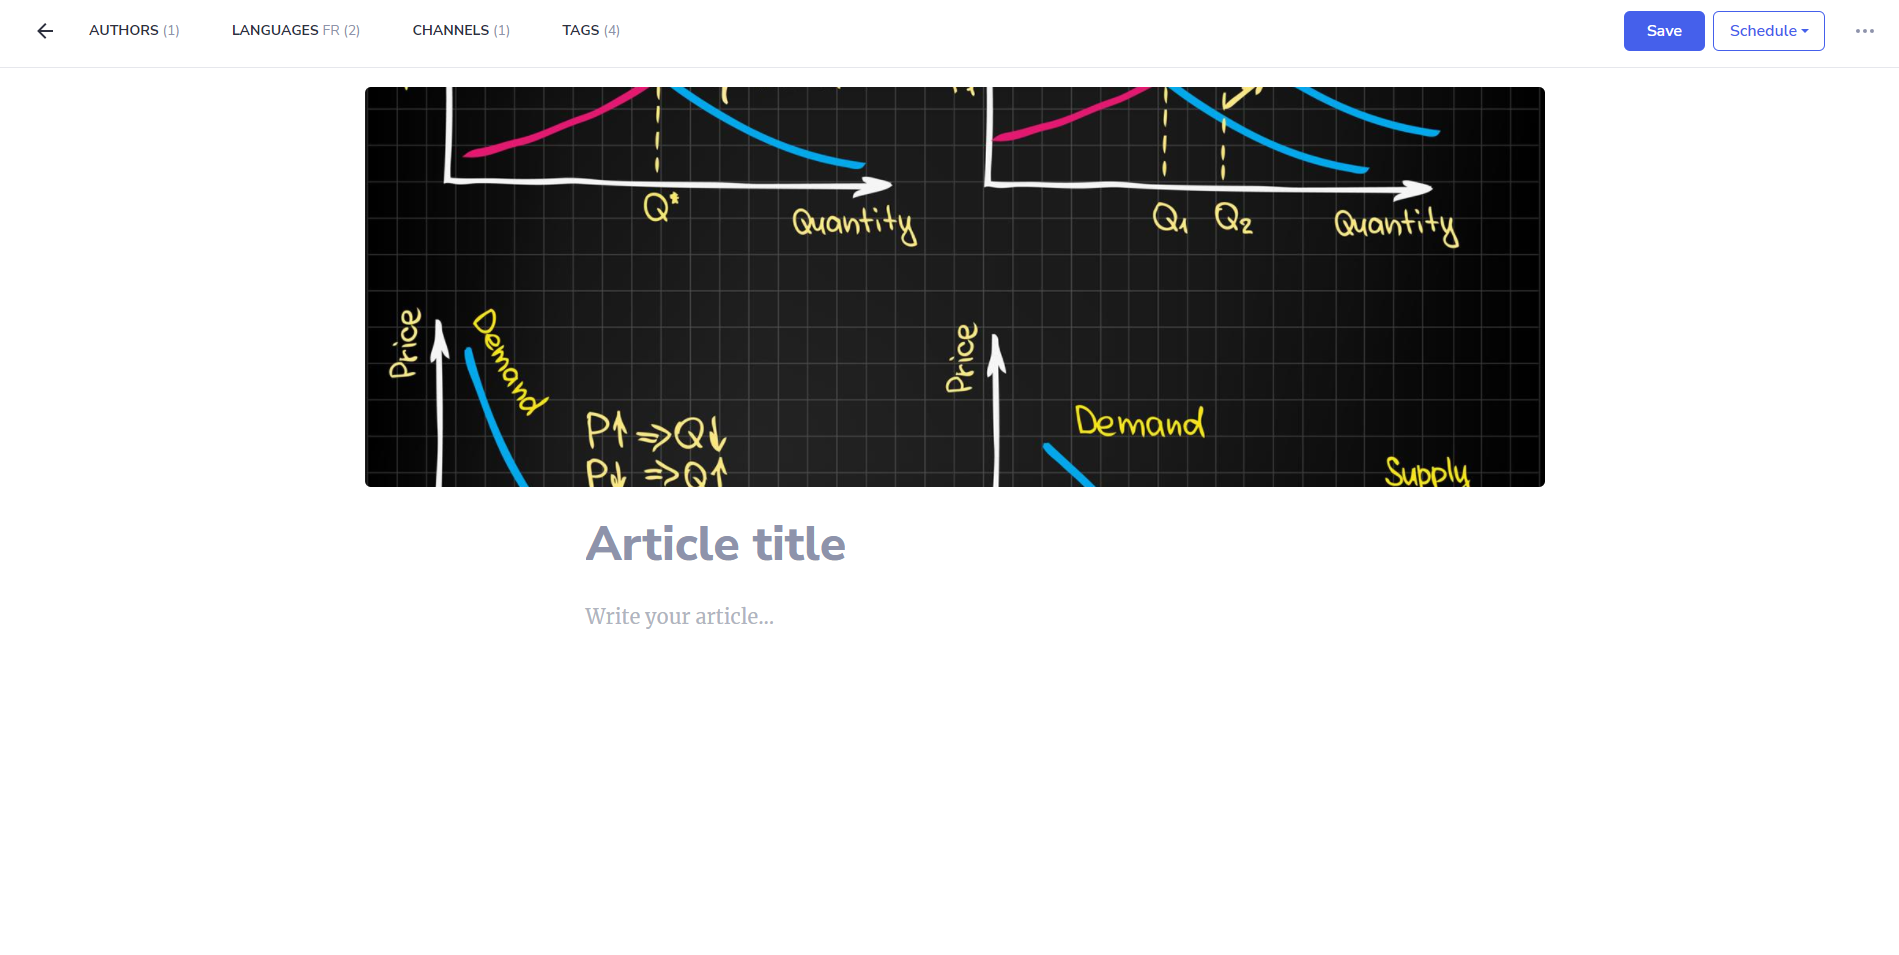
-
After you undo the translation, if you choose to redo the translation, delete the Page / Story and redo the steps.
-
If an error occurs during translation, an error message will be displayed, and the translation is canceled. There are no scenarios in which you will get partial translations that stopped mid-way.

Translate On Demand (Opt-in)
Users who select the Translate on demand option in Settings will be prompted with a message to optionally trigger an automatic translation when creating a new language version of a Story or Page (known as the Opt-In path).
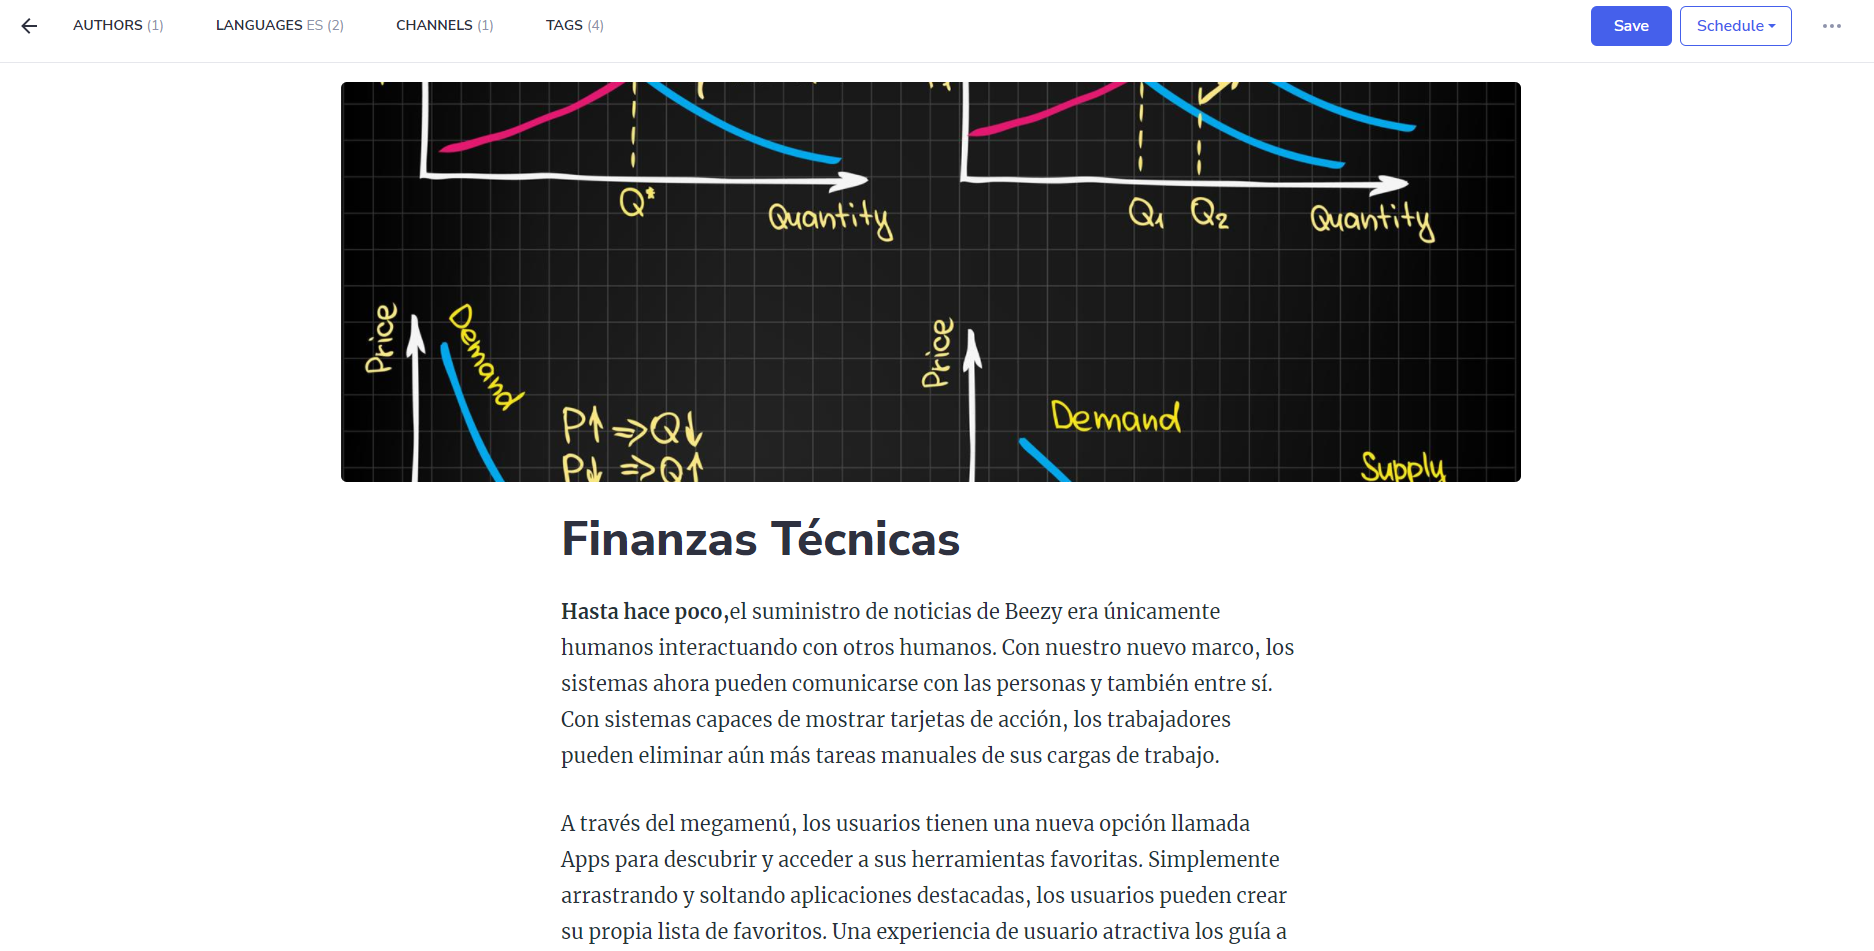
Following the example below in the Spanish language, we will see the standard blank version in the editor as we normally would. The main difference is that the auto-translation toast will be prompted upon loading the Page / Story.
- Log in to your Appspace SharePoint Intranet account.
- Select the Stories or Pages tab and select a page or story. Alternatively, you may use the Search function to search and open a story or page.
- In the Story or Page view, select Edit.
- Select the Languages tab at the top.
- Select the languages you wish to auto-translate the article to.
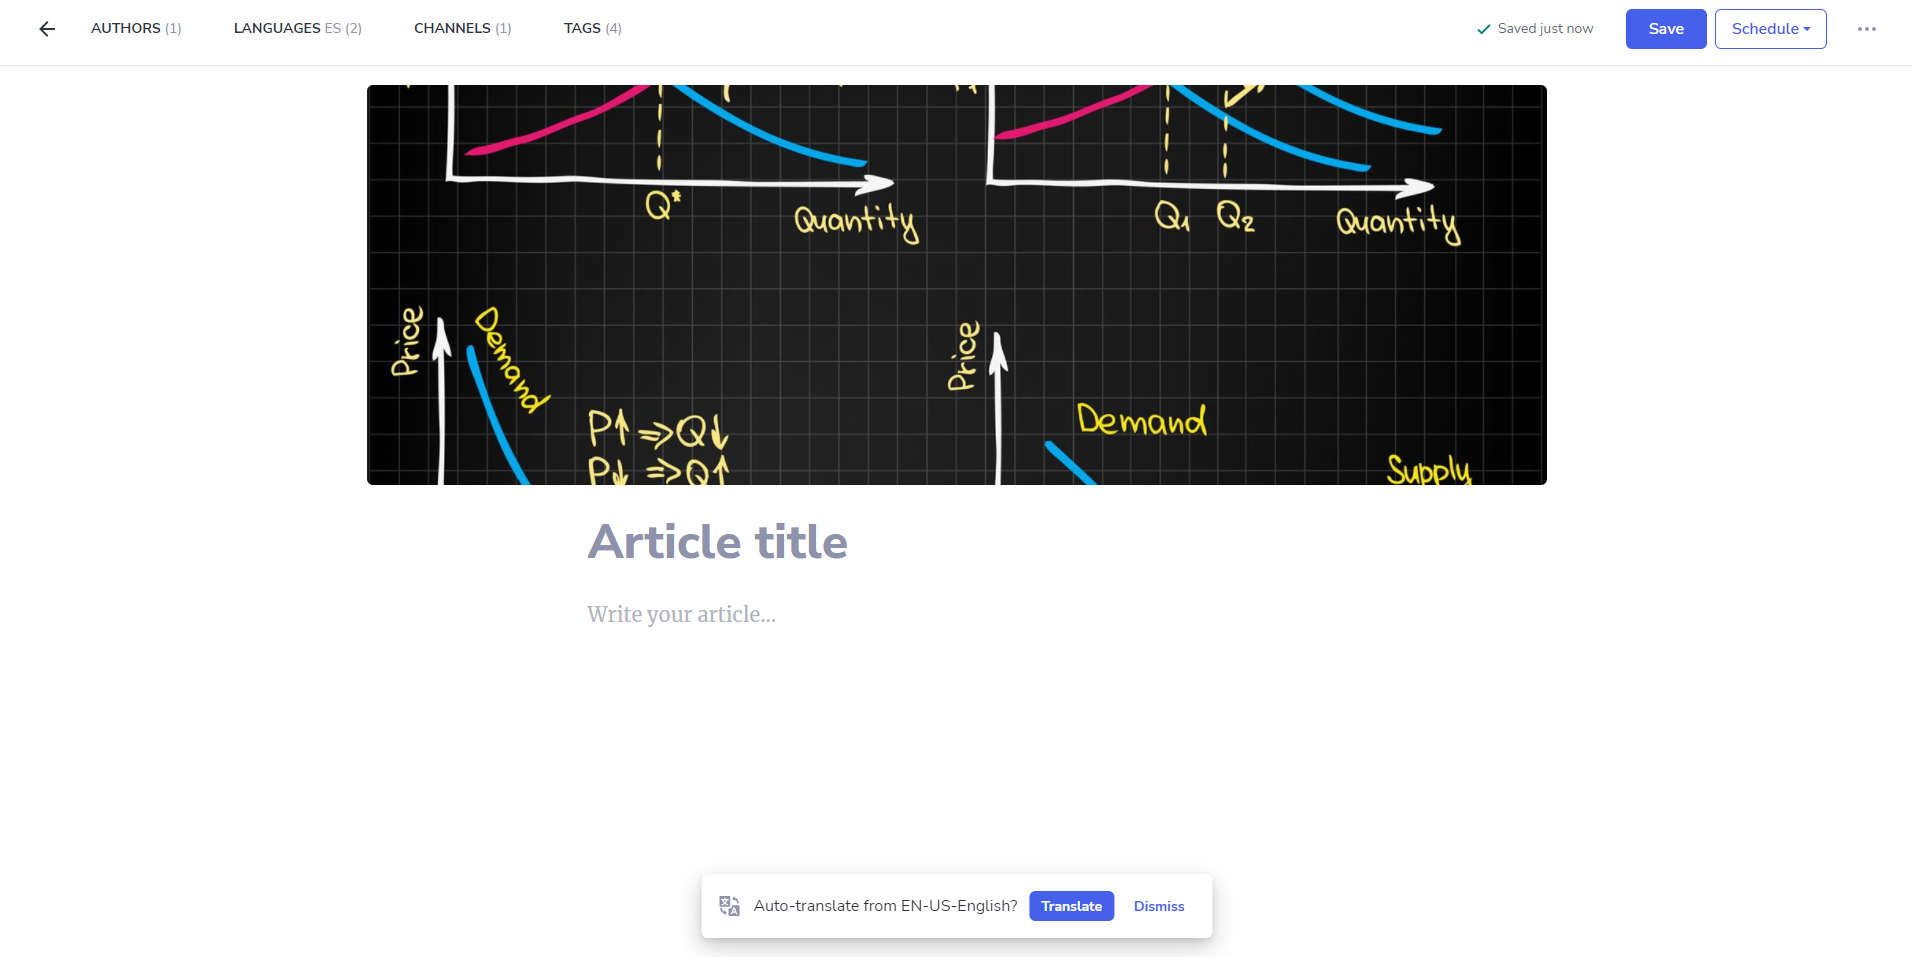
- Select Translate to trigger the translation. the Page / Story will be automatically filled in with the corresponding content.
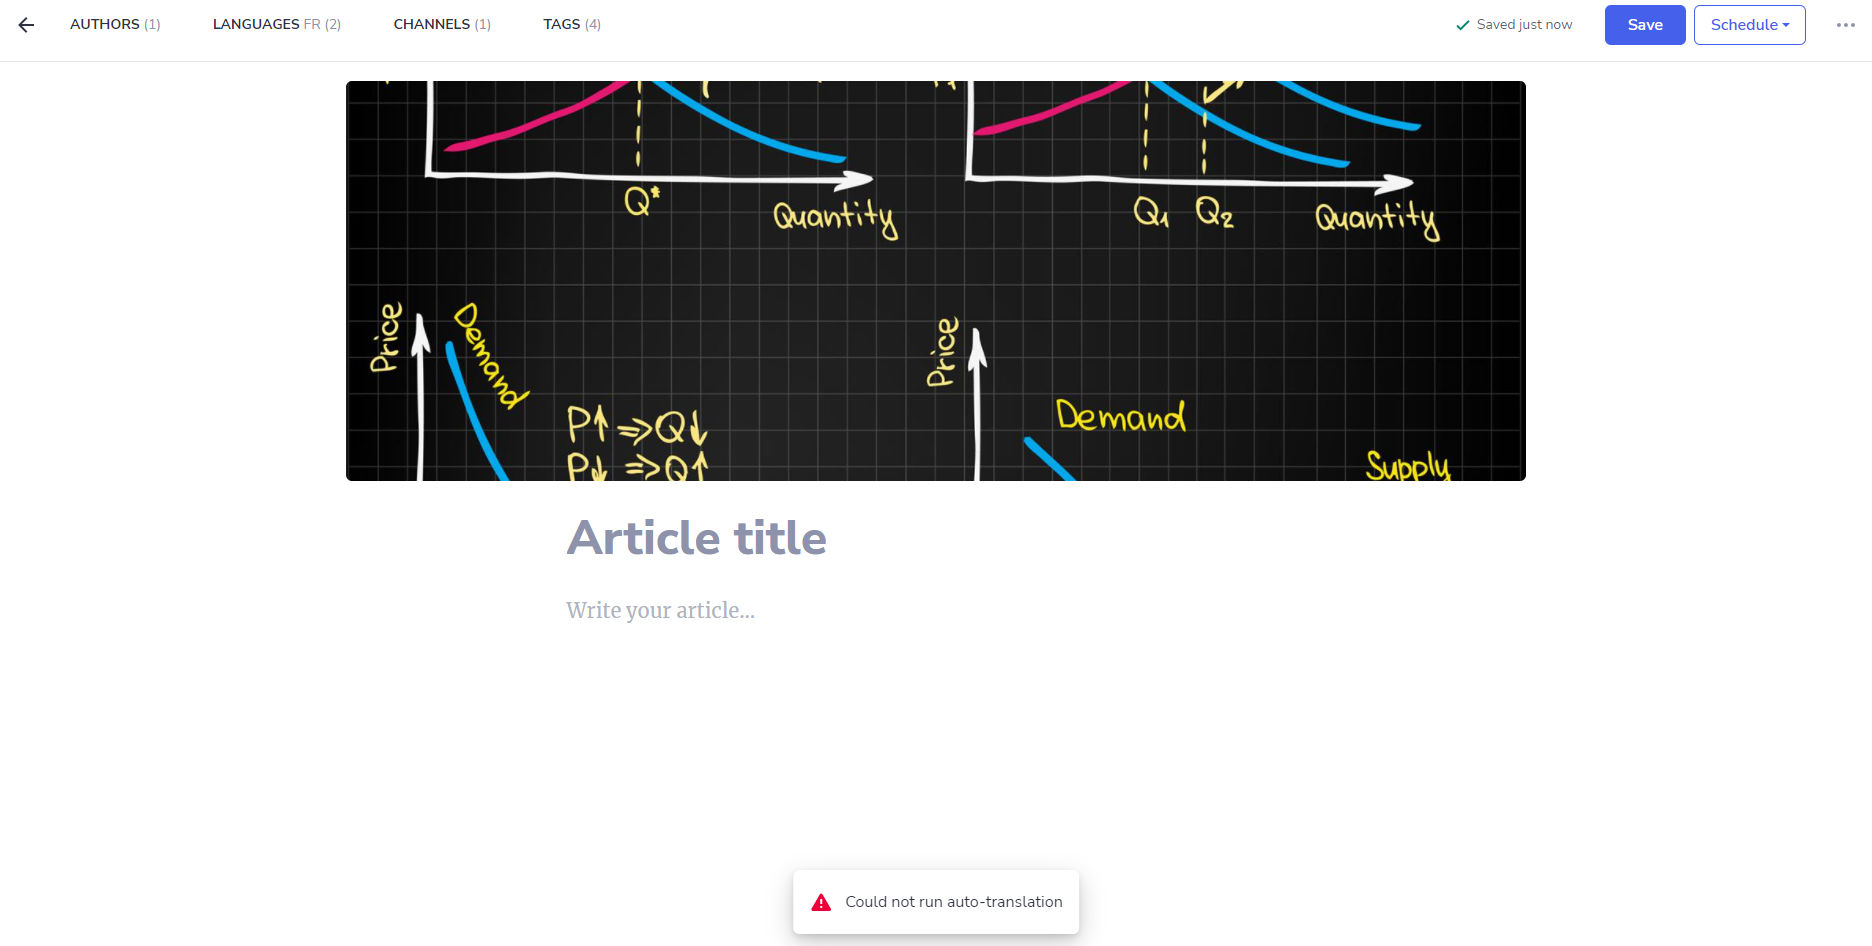
- The error message bar/toast in this scenario is presented in the default language version of the Story or Page. If the translation fails, retry to select the new language again.
Differences Between Translating Stories and Pages
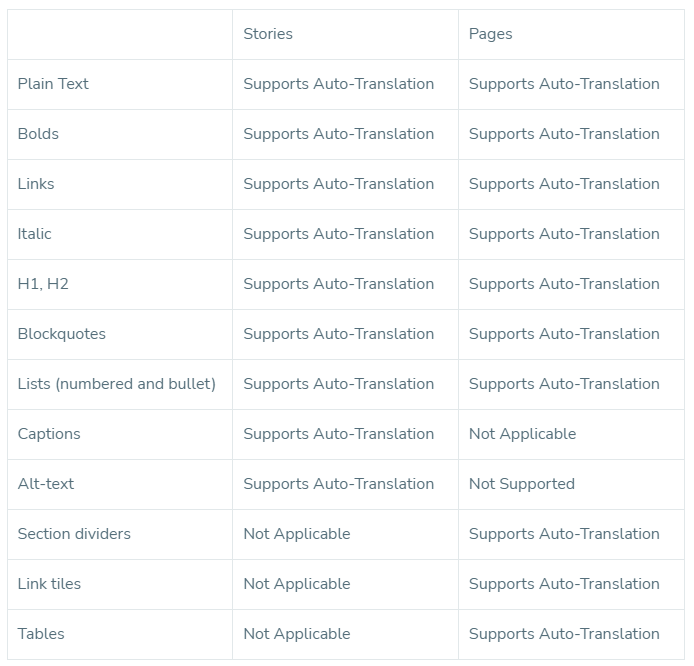
Stories and Pages use different editors, so there are some asymmetries when it comes to what gets translated and where. The differences are subtle, so, to help out, please consider the following compatibility table in which ‘Supports Auto-Translation’ means that the content gets translated and correctly formatted:
Was this article helpful?