Before we start using this feature within Appspace SharePoint Intranet, admins need to guarantee that their organization has a valid API Key registered in Azure for its Translator. This is a critical pre-condition totally under the customer’s responsibility that, if it isn’t met, the translations won’t be able to be up and running. The rationale here is simple: we integrated an existing service in our product, we didn’t build a translation engine from scratch.
Additionally, each customer will have their own Azure Cognitive Services subscription plan and it’s up to them to decide which one suits better their needs. According to that, they can have a broader or narrower radius of action with this service, affecting, for example, the maximum amount of characters that can be translated per month.
This decision has to be carefully taken since if the subscribed limit is passed, Microsoft can either overbill the service or just block the translations altogether until the subscription is renewed.
Bear in mind that only 1 configuration / API Key is supported per Appspace SharePoint Intranet Instance. This means that if a customer has one Appspace SharePoint Intranet installation used in different geographical regions through, for example, local entities, they will all share the same configuration.
After guaranteeing the Azure setup to get a valid API Key, the configuration on the Appspace SharePoint Intranet side is a fairly simple 2-step configuration process.
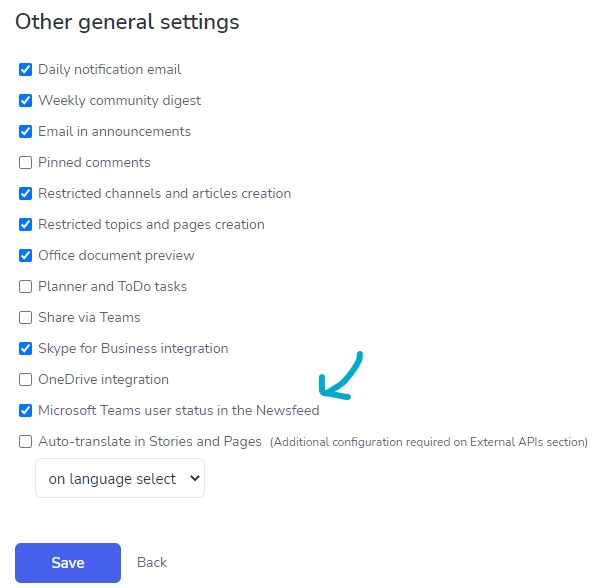
1) Activation through ‘Global Features’ section
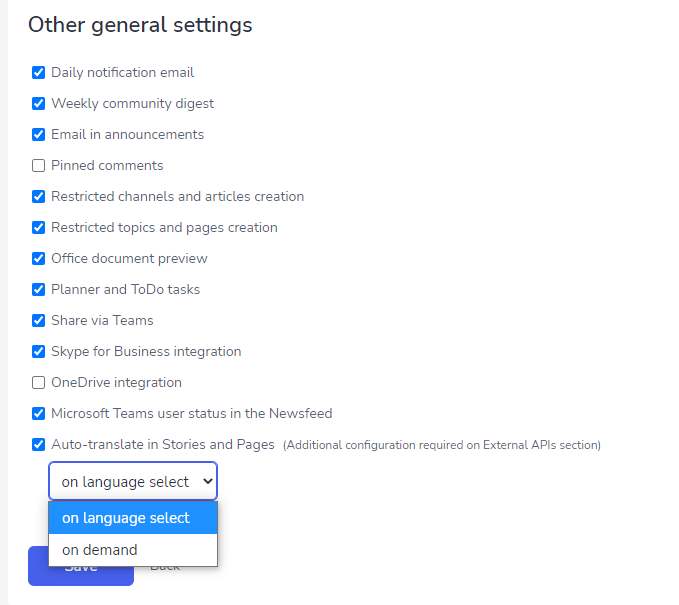
Browsing to the very end of this Settings page will show you a simple checkbox to enable Auto-Translation altogether, also giving you the option to select which method of single language translation you want:
-
‘On Language Select’ (a.k.a Opt-Out) basically pushes an instant translation as soon as the user clicks on a new language version of a Story or Page;
-
‘On demand’ (a.k.a Opt-In) triggers an alert message after getting into a new language version of a Story or Page, giving the option to either do it or not.
2) Configuration in the ‘External APIs’ section
The second and last step is simply to jump into the ‘External APIs’ section and configure both the API Key and its region according to the setup made in Azure Cognitive Services. This really is just a matter of going into Azure and copying/pasting both fields here, nothing much more to it.
Bear in mind that, if this is misconfigured, the users will all be prompted with a “Could not run auto-translation” generic error when trying to use the feature, so we advise system admins to test it before announcing to their peers that this is ready to use.
Was this article helpful?