Appspace 8’s native integration with the Slack enterprise messaging app allows companies to publish content (messaging, videos, charts) via a Playlist Channel directly to a Slack chat space.
This integration is ideal for unified team communications and engaging remote workers and keeping the team informed, engaged, and up-to-date, regardless of where they are located globally.
There are several content publishing and viewing options available. Publishers may configure the publishing settings, allowing employees to view the posted content in the chat window, click on a referral link in the post, or view the content on the Appspace Employee App portal (public/private cloud only) via a link in the post.
This article provides instructions to configure Appspace for integration with Slack.
Prerequisites
- An Appspace Platform user license for access to the Appspace console.
- An Appspace Premium user license to view content via the Appspace Employee App.
- Appspace Account Owner permissions to authenticate the enterprise messaging app.
- Appspace Publisher permissions to publish playlist channels to Slack.
- Access to a Slack account, with the necessary permission to add the Appspace App bot to Slack chat rooms.
- Appspace playlist channel(s). Only a playlist channel is supported for this integration.
Additional Prerequisites for Appspace On-Prem:
- An Appspace 8.0 on-prem server with an active internet connection and Cloud Integration enabled in the console.
Security and Scope
- We never store your login information During the account authentication process, you will be asked to enter your credentials for your Slack account. However, Appspace will not store those credentials. Instead, Appspace will receive an API token, which it will use for future communications.
- We request granular access to your organization Appspace does not request broad permissions to your organization. The integration only has the permissions required to perform its operation, which is to post content from the Appspace console into the Slack spaces/channels/chats.
- One way communication protects the privacy of your data Appspace is unable to see any messages in a channel/space/chat that are not directed to it, and can only see the messages shared via Appspace.
Configure Appspace-Slack Integration
Authenticate Slack Account
Follow the instructions below to configure and link Appspace to the Slack enterprise messaging app.
- Click the ☰ Appspace menu, and select Integration.
- Select the Passports tab and click the +ADD button.
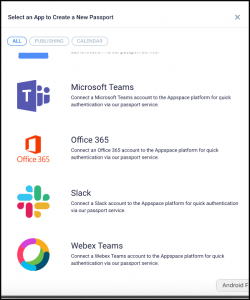
- In the Select an App to Create a New Passport window, click Slack. You may click the Publishing tag to filter results.
- In the Account Settings tab, click the CONNECT ACCOUNT button to authenticate Appspace to Slack. You may need to sign in with your Slack credentials if you’re currently not signed in.

- Click the Allow button in the Slack permissions window to grant Appspace integration permissions.
- Once complete, you’ll be returned to the Account Settings tab.
- In the Account Settings tab, you can perform the following actions;

- Change the name of the Slack integration, by entering a different name in the Name field.
- View the Account ID of the Slack integration.
- View the App Permissions granted to Slack.
- View and refresh the Status of the Slack integration.
- Remove the Slack integration, by clicking the Remove Account button. Refer to the Remove Appspace-Slack Integration section below.
- In the Permissions tab, you may grant any user or user group the permissions to view or manage this integration.
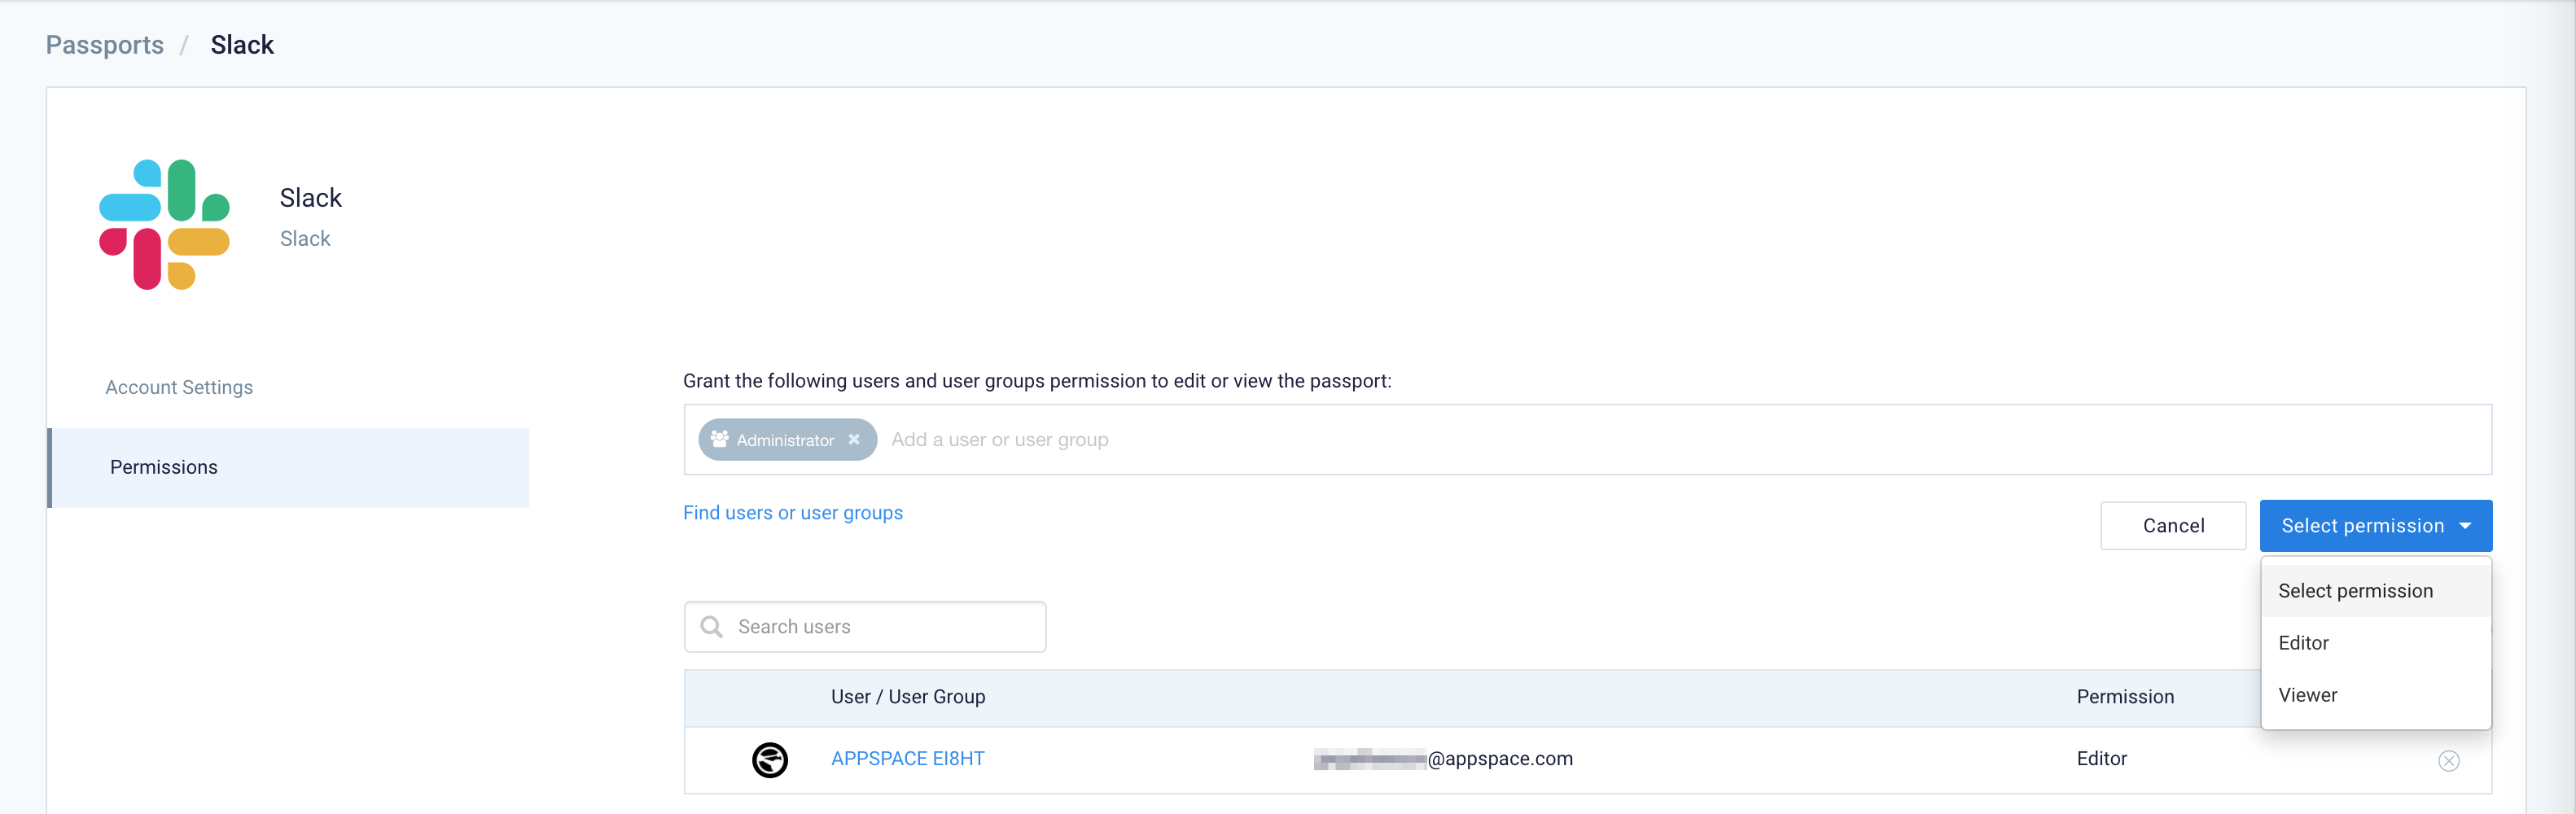
- Enter and select the users or user groups from the drop-down list, and select the permissions to grant from the Select permissions drop-down menu.
- You may also view and remove the users or user groups that have already been granted permissions.
- Proceed to the Configure Channel Publishing Settings for Slack section below.

Configure Channel Publishing Settings for Slack
Follow the instructions below to configure the publishing settings for Slack.
- Click the ☰ Appspace menu, and select Channels.
- Select the desired playlist channel you wish to publish.
- Select the Publish tab, and click the Apps sub-tab.
- Click the PUBLISH TO AN APP button.
- In the Select App window, select the Slack app integration created above, and the chat room to publish the content to from the Select a chat drop-down menu.

- Click Show Settings to view additional publishing settings.
- In the Bot Theming section, you may configure your company name and logo. When posts are made to Slack, the message will include this name and image. The default name is Appspace.

- Enter the name of the Slack bot.
- Upload a custom profile image for the Slack bot. (recommended size is 128px x 128px) NoteIt is recommended to use an image with a square aspect ratio (width = height). Please note these file types are NOT supported: .ICO and .SVG
- In the Post Format section, configure the following:

- Configure which elements from an Appspace content are included in published posts:
- Title
- Article
- Channel – Displays the Channel Name in the post
- Thumbnail
NoteAll four display elements are selected by default, however at least one display element must be selected from the drop-down menu.
- Configure if the content article or caption should be displayed in published posts:
- Caption Only (Default)
- Full Article
- Configure what happens when a viewer clicks the title of the published post:
- Cloud
- Do nothing – User reads posted content in the chat window. No other action available.
- Open in Appspace (Default) – Redirects user to the Employee App to view the post content in detail.
- Open Content Referral Link – Redirects user to the Referral Link set in the content during content creation.
- Open Content Referral Link, fallback to Appspace – Redirects user to the referral link set in the content, or the Employee App Portal.
- On-Prem
- Do nothing – User reads posted content in the chat window. No other action available.
- Open Content Referral Link (Default) – Redirects user to the Referral Link set in the content during content creation.
- Cloud
- Configure which elements from an Appspace content are included in published posts:
- In the Content Rules section, configure the following:

- If you would like to Schedule content, select the time zone as this will be used for scheduling, allowing content to be published to the chat room at a predetermined time, according to the scheduling rules set in the playlist channel.
- If you would like to Restrict content by type, configure the content type you wish to restrict in the published post, select one of the following content types:
- Images
- Videos
- Cards
- If you would like to Restrict content using tags, enter the content tags of the content that is allowed to be published to the chat room. Content not containing the listed content tags, will not be published in the post.
- If you would like to Exclude content using tags, enter the content tags of the content that is not allowed to be published to the chat room. Content containing the listed content tags, will not be published in the post.
- In the Updating Content section, select what happens when the posted content is updated (after the post was initially published) in the Appspace console:
- Update post (Default) – Updated content is republished to the existing post in the chat room.
- Do nothing – Content is not updated in the post.
- In the Removing Content section, select the action to perform:

- Select what happens when content is removed from a playlist channel;
- Remove Posts (Default) – Remove the post and content published in the chat room.
- Keep Posts – Do nothing, and keep the post and content published in the chat room.
- Select what happens when a playlist channel is unpublished from Slack:
- Remove Posts (Default) – Remove the published post from the chat room.
- Keep Posts – Do nothing, and keep the published post in the chat room.
- Select what happens when content is removed from a playlist channel;
- Click SAVE.
Access Channel Publishing Settings for Slack
- Click the ☰ Appspace menu, and select Channels.
- Select the playlist channel that is publishing to the Slack chat room.
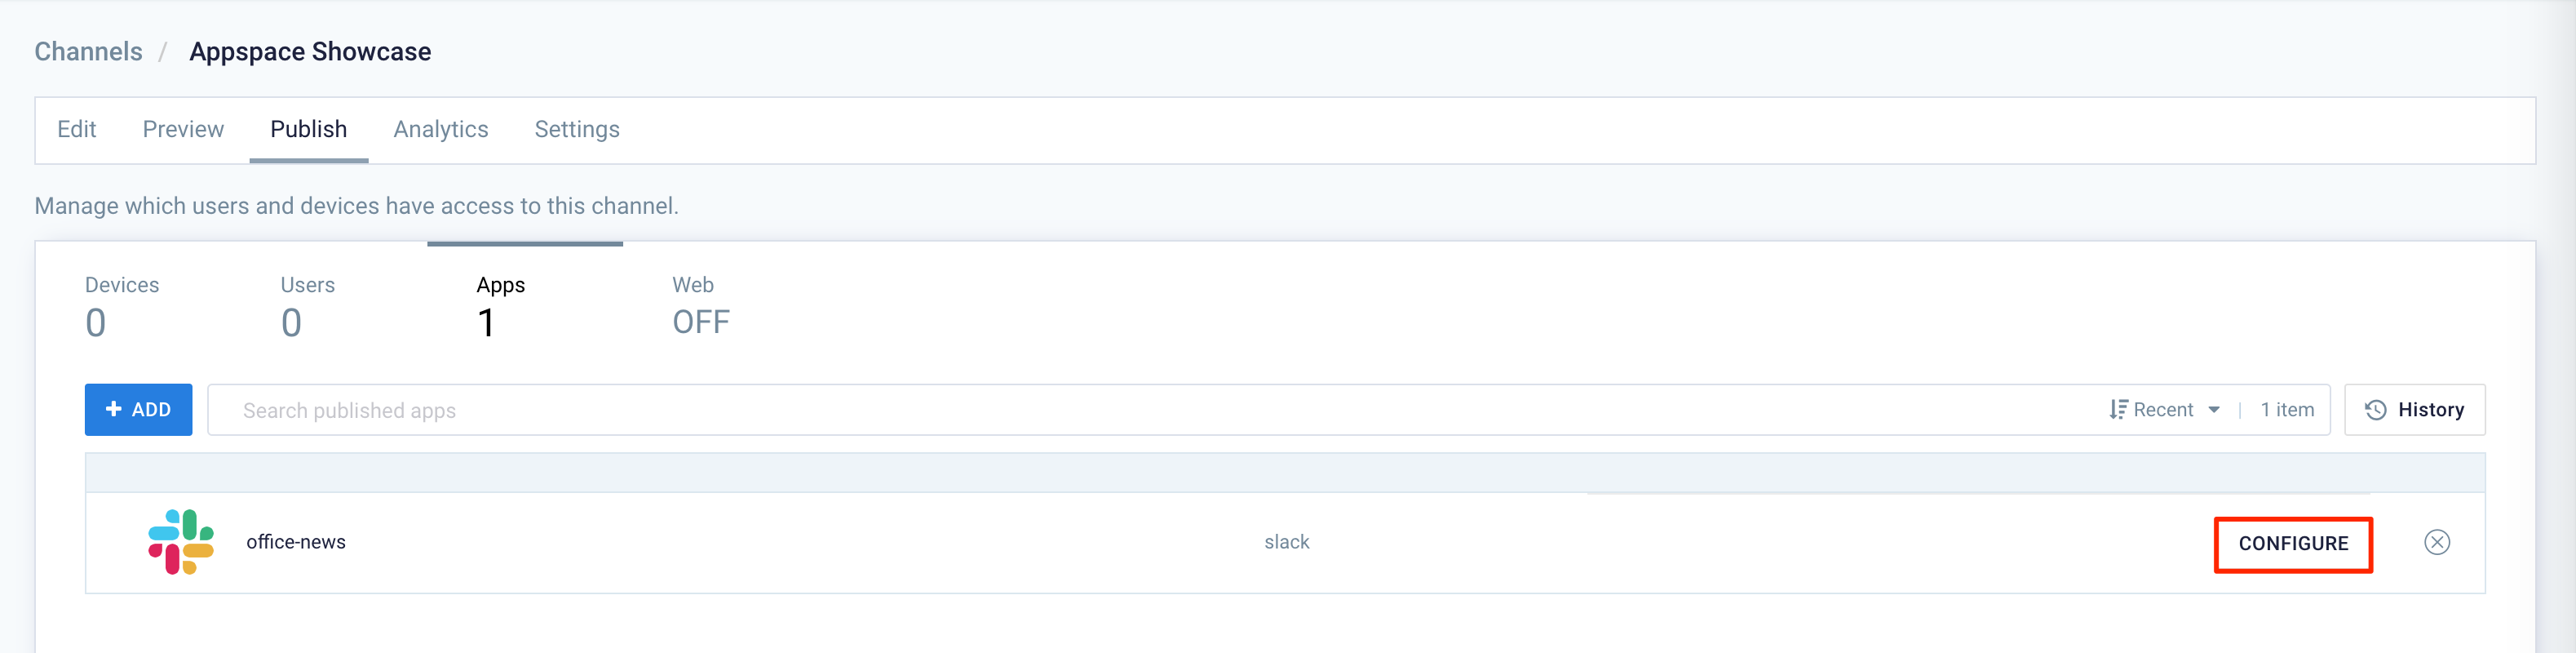
- Select the Publish tab, and click the Apps sub-tab.
- Click CONFIGURE on the selected Slack app integration.
Post Content to Slack Chat Room
Post New Content
Follow the instructions below to add new content to the configured channel and post it automatically to the Slack chat room.
- Click the ☰ Appspace menu and select Channels.
- Select the playlist channel configured with the above publishing settings.
- In the Edit tab, click +ADD, and select, create, or upload content to the playlist channel.
- The content will be automatically published to the Slack chat room.
Post Existing Content
Follow the instructions below to publish content already added to the configured channel but not posted to the Slack chat room.
- Click the ☰ Appspace menu and select Channels.
- Select the playlist channel configured with the above publishing settings.
- In the Edit tab, select the desired content to publish, and click the enterprise messaging app icon.
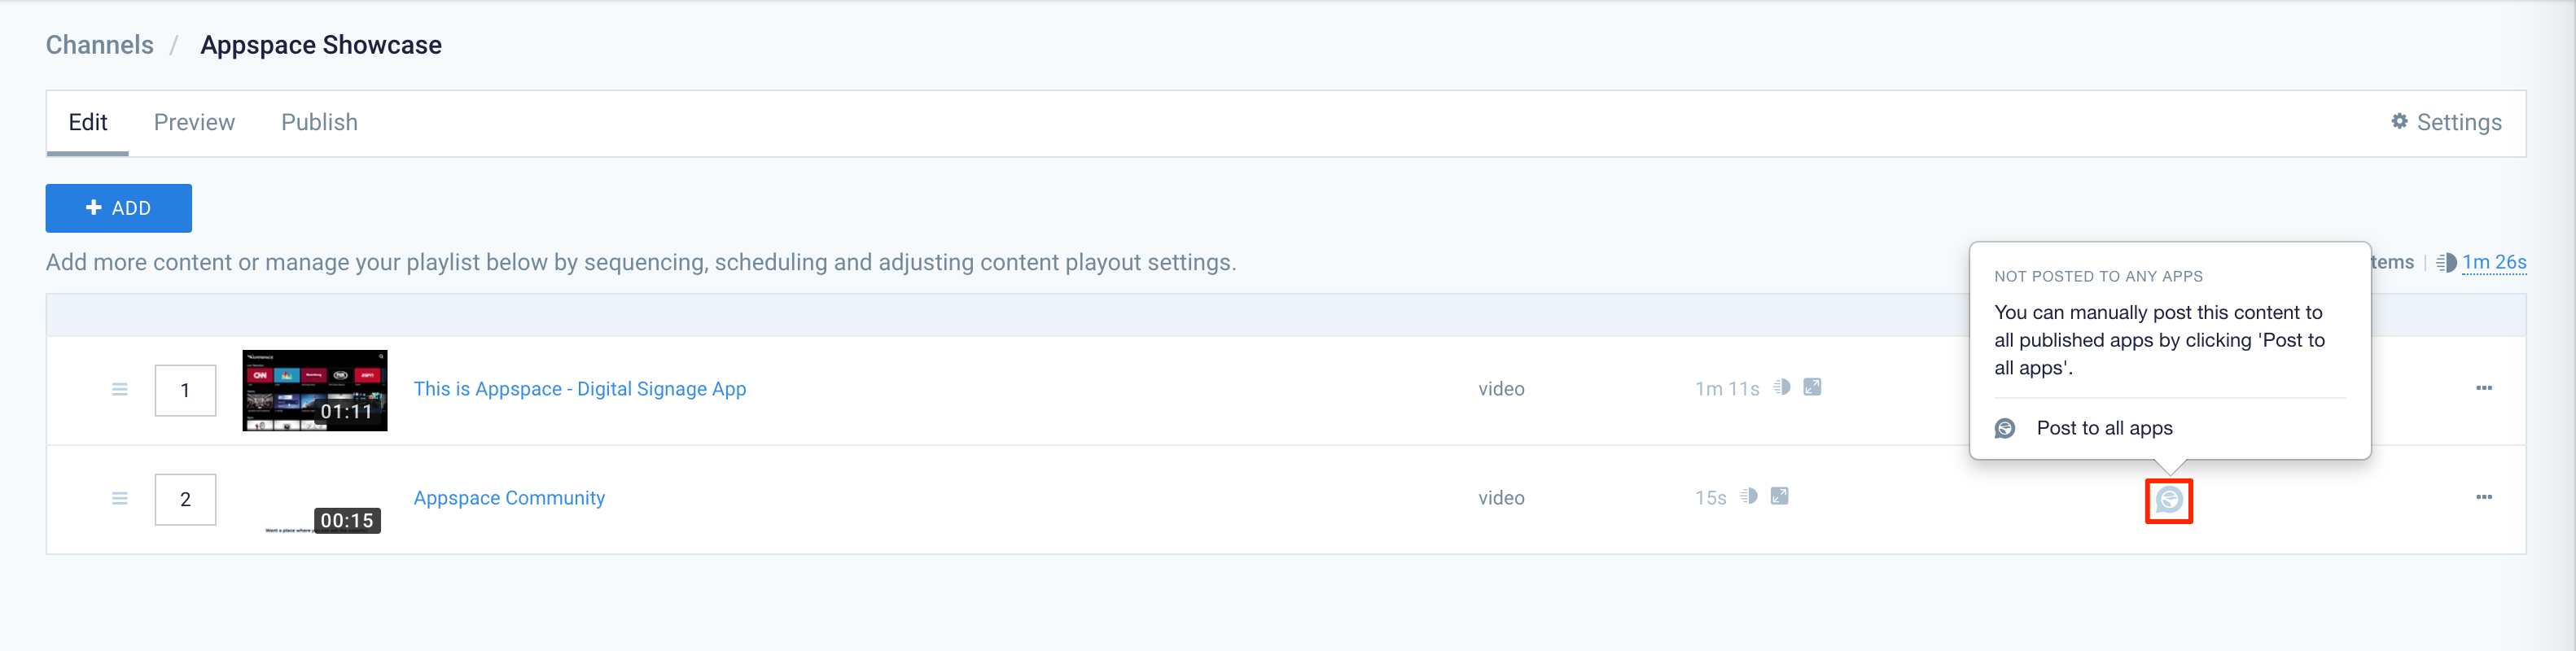
- Click Post to All Apps.
- The content will be automatically published to the Slack chat room.
Repost Content
Follow the instructions below to republish content that was previously posted to the Slack chat room.
- Click the ☰ Appspace menu and select Channels.
- Select the playlist channel configured with the above publishing settings.
- In the Edit tab, select the desired content to publish, and click the enterprise messaging app icon.
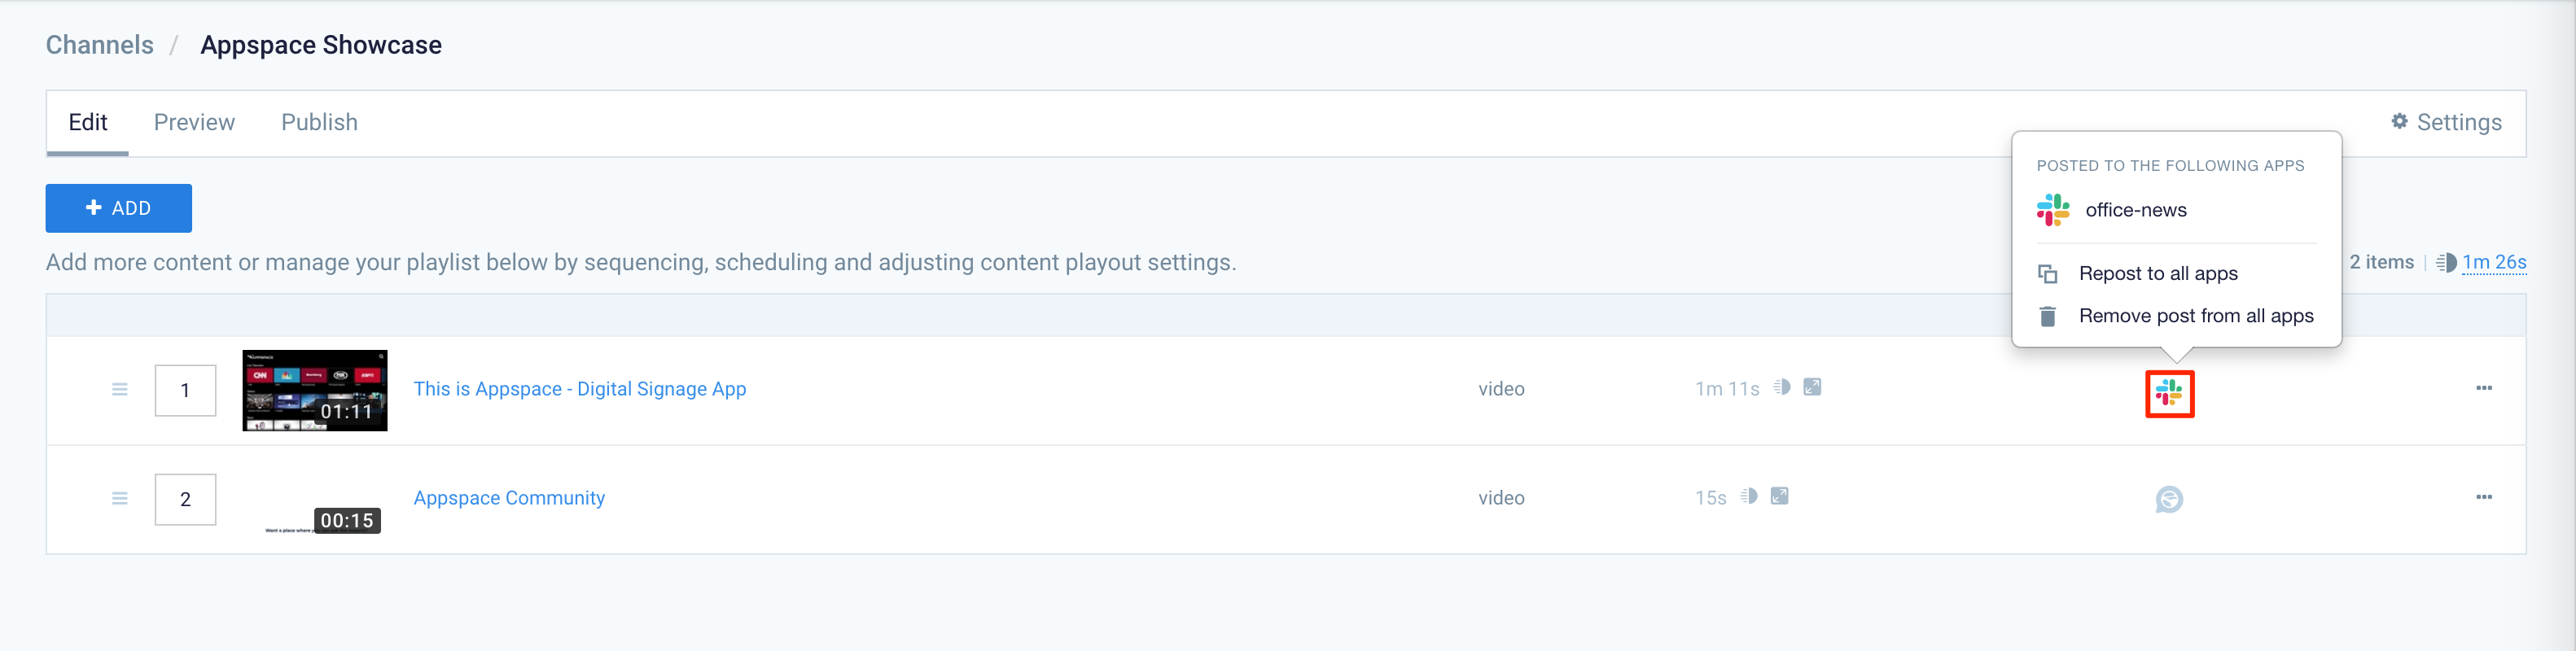
- Click Repost to all apps.
- The content will be automatically published to the Slack chat room.
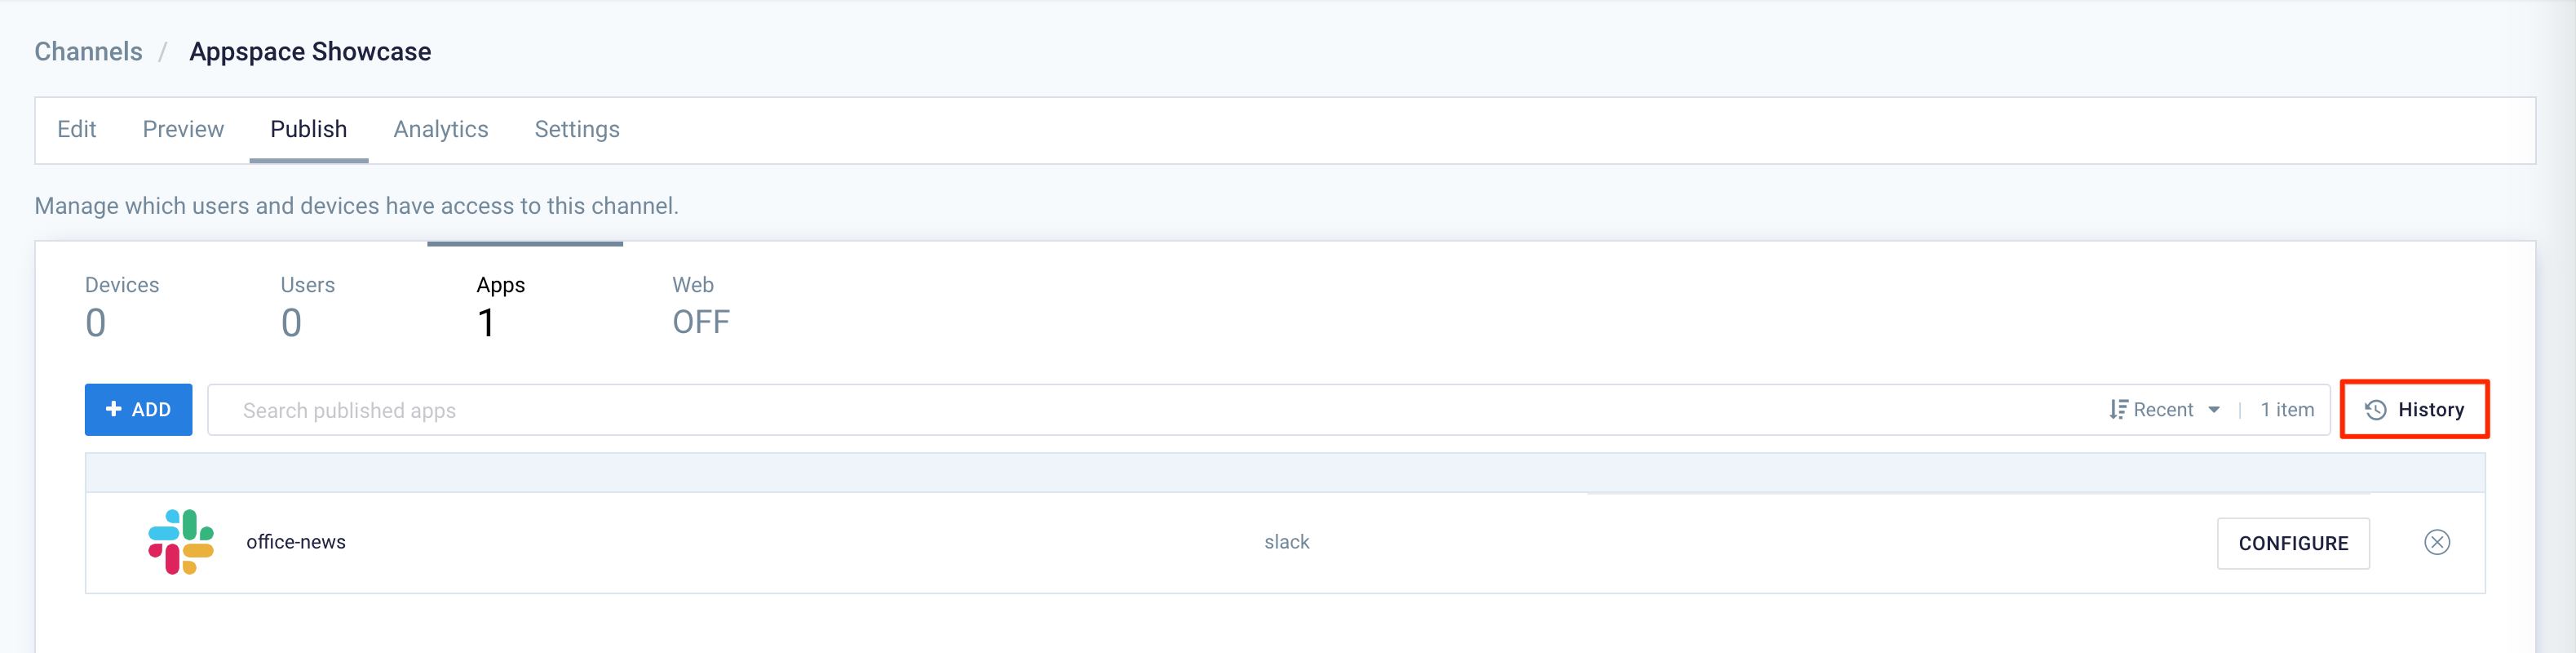
View Content History
Follow the instructions below to view content history previously posted to the enterprise messaging app chat rooms.
- Click the ☰ Appspace menu, and select Channels.
- Select the playlist channel that is publishing to Apps.
- Select the Publish tab, and click the Apps sub-tab.
- Click History to view all content previously posted to the enterprise messaging app chat rooms.
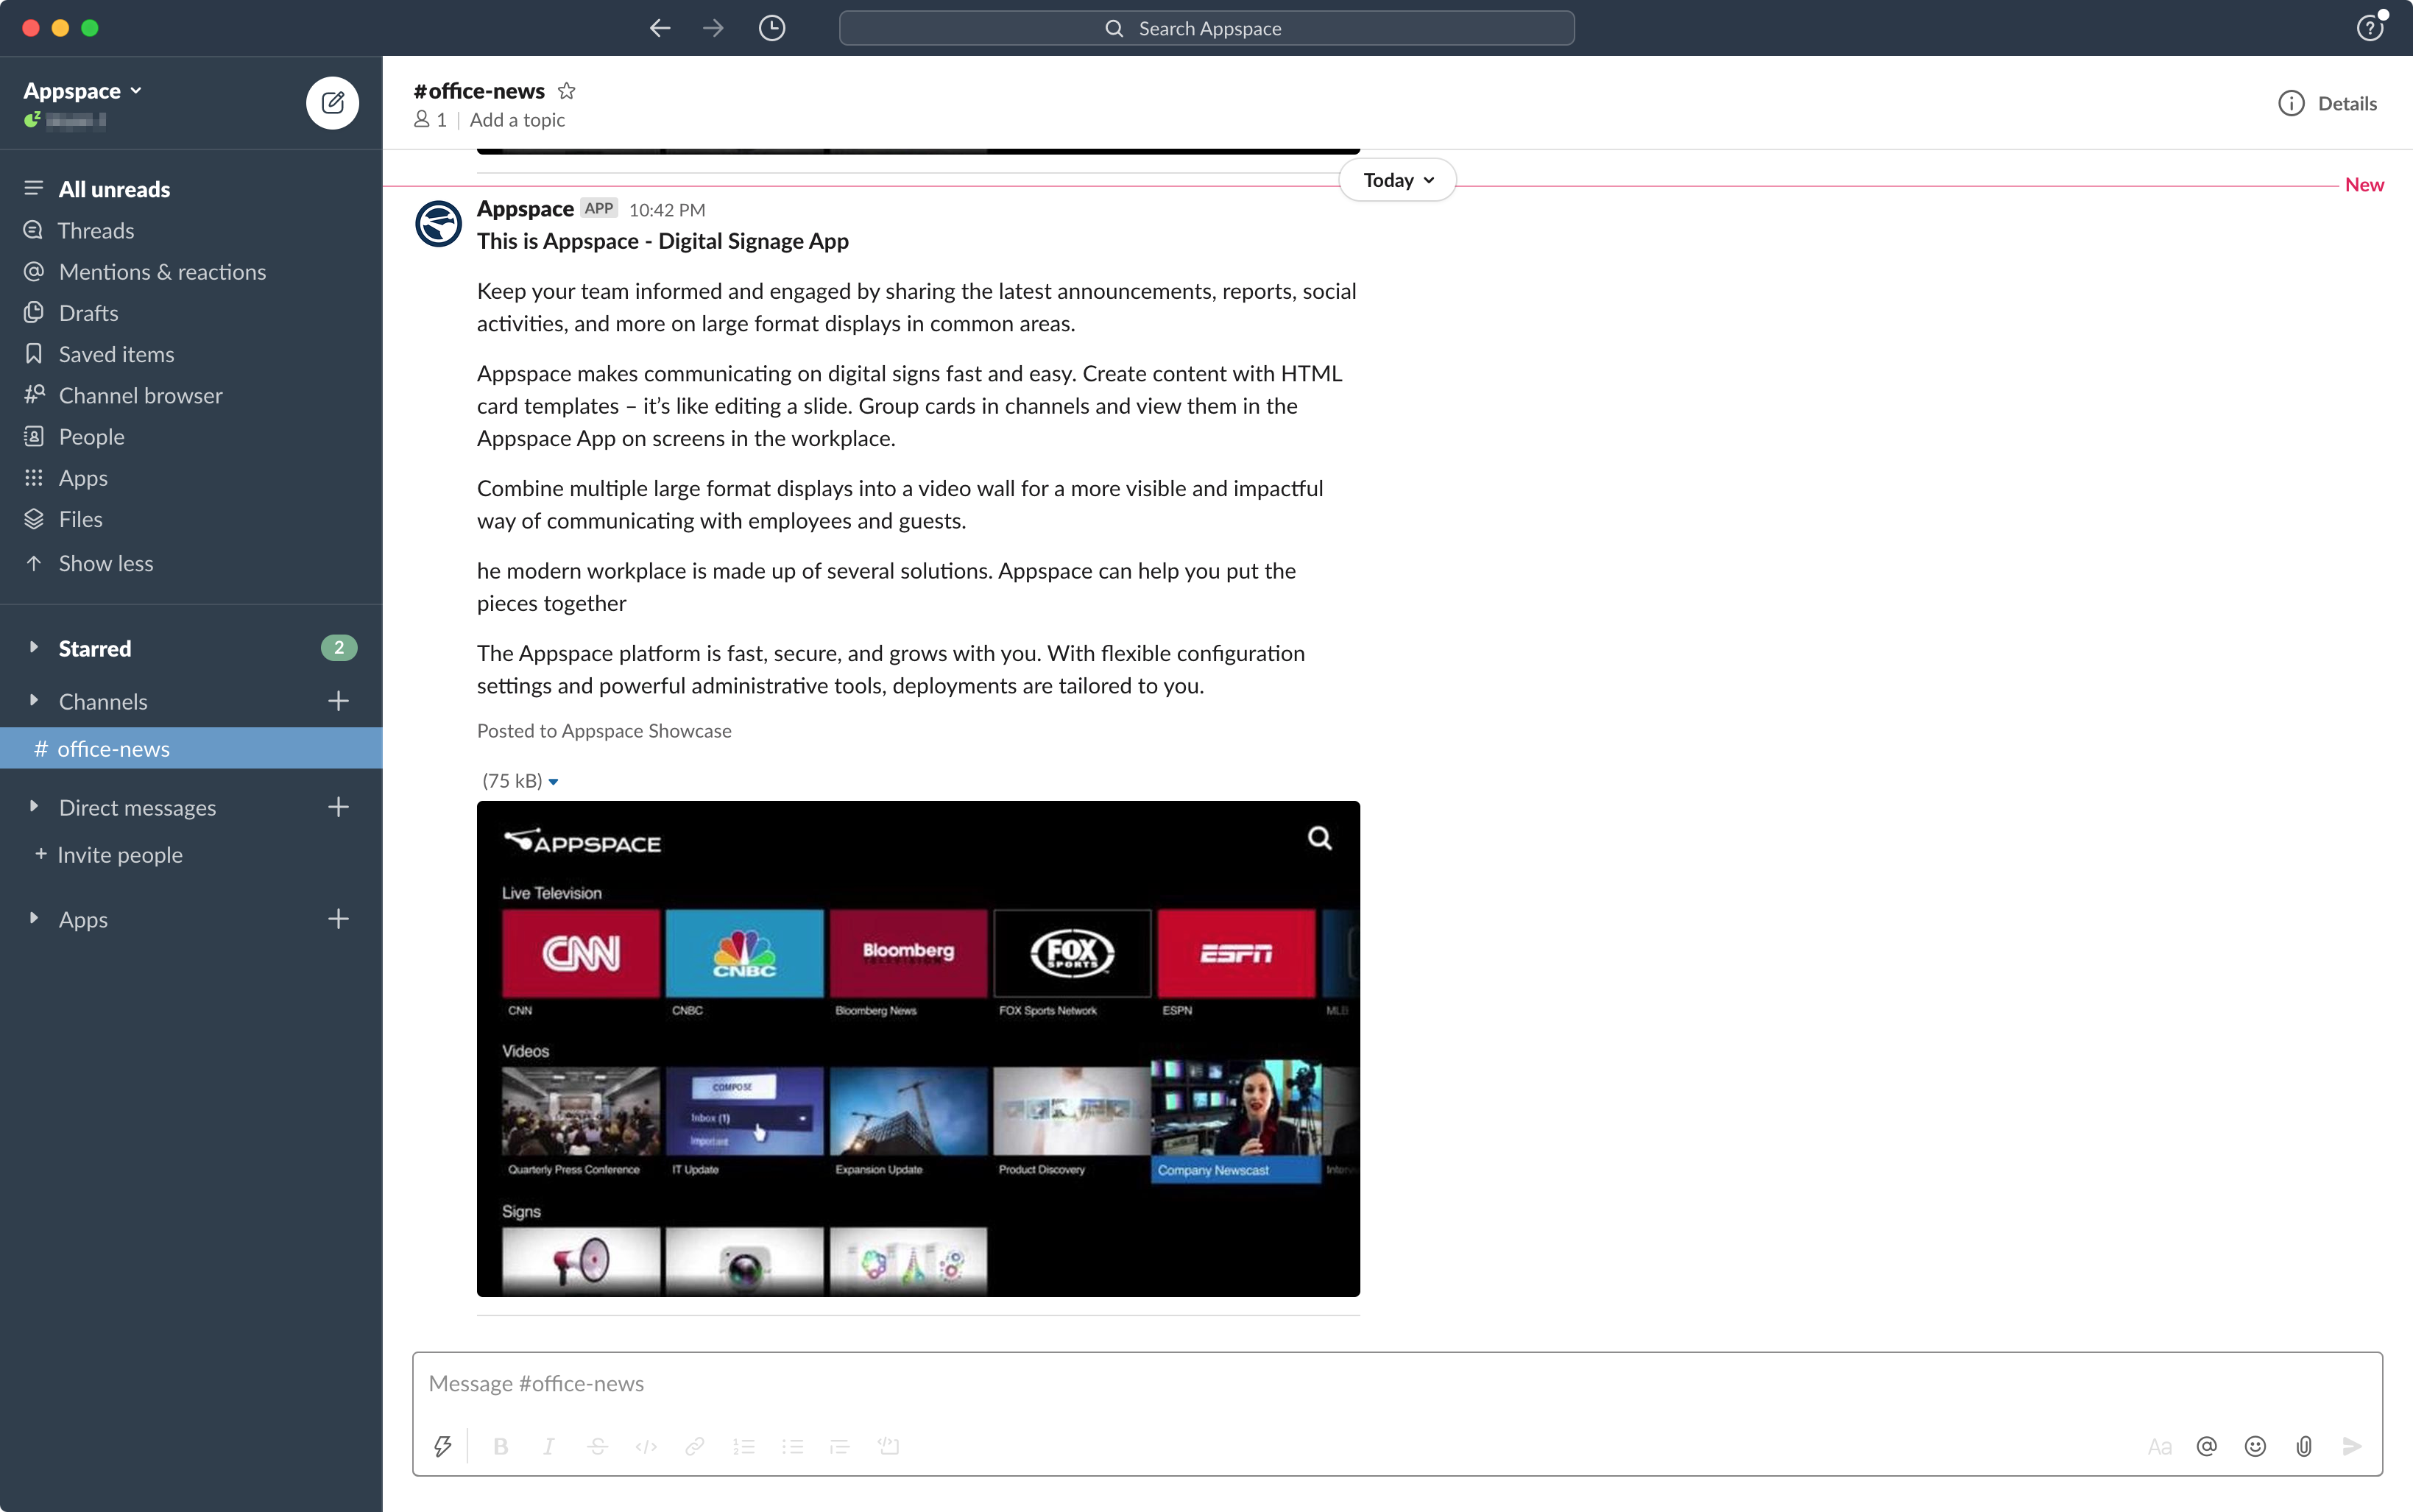
View Content in Slack Channel
In the Slack chat room, the Appspace publishing bot will publish content depending on the publishing Post Format settings configured earlier by the administrator in the Configure Channel Publishing Settings for Slack section above.

Link to Employee App Portal
If the Post Format settings were configured to “Open in Appspace” when the post title or thumbnail is clicked, then when a viewer/user in the chat room clicks the post, they will be redirected to the Employee App Portal.
Read Post in Slack Chat Room
If the Post Format settings were configured to display “Full Article” and “Do nothing“, the viewer/user will be able to read the entire contents of the post in the Slack chat room window, when the post title or thumbnail is clicked in the Slack chat room window.
View Referral Link in Web Browser
If the Post Format settings were configured to display “Open Content Referral Link” or “Open Content Referral Link, fallback to Appspace“, a web browser is launched to display the content referral link when the post title or thumbnail is clicked in the Slack chat room window. If however, the referral link fails to be displayed, the viewer/user will be redirected to the Employee App.
Remove Appspace-Slack Integration
Unpublish Content from Slack Chat Room
The instructions below show you how to unpublish content to the Slack chat room.
- Click the ☰ Appspace menu, and select Channels.
- Select the playlist channel, which has been published to a Slack app.
- In the Edit tab, select the desired content, and click the enterprise messaging app icon.
- Click Remove post from all apps to remove the content from the chat room.
Unpublish Slack App from Channel
The instructions below show you how to remove the published playlist channel from Slack chat room.
- Click the ☰ Appspace menu, and select Channels.
- Select the playlist channel, which has been published to a Slack app.
- Click the Publish tab, and click the Delete icon next to the selected Slack chat room.
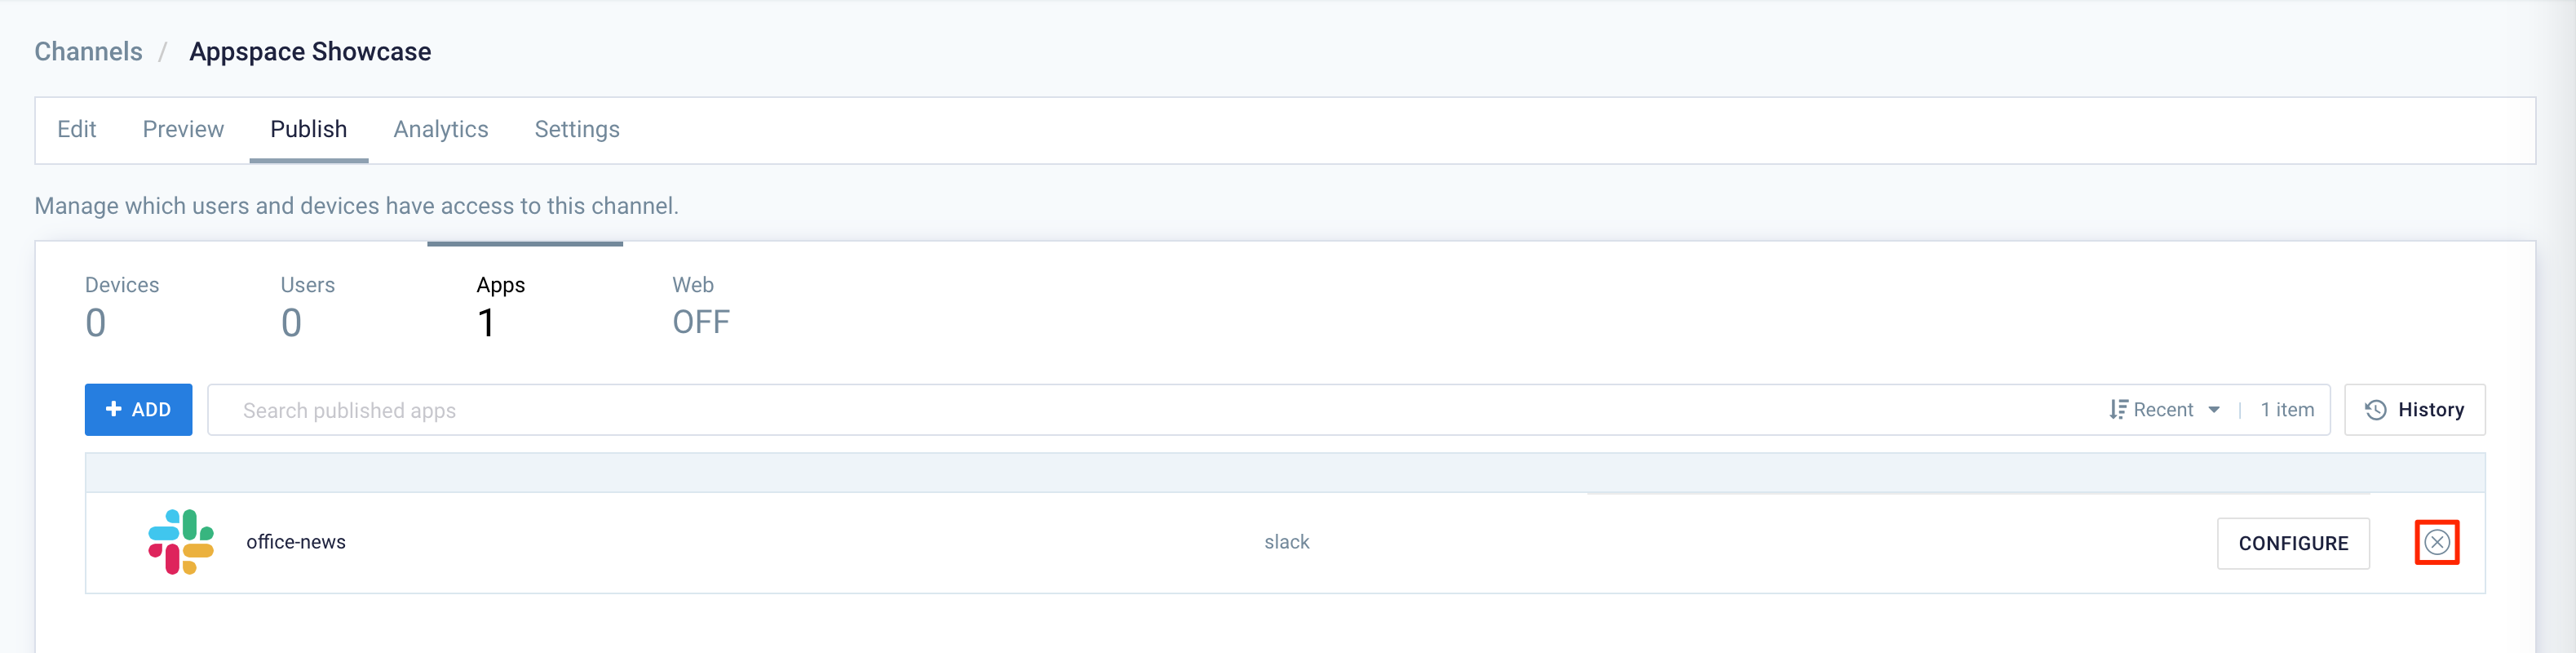
- Click OK to confirm the removal.
Delete Slack Authentication from Appspace
The instructions below show you how to delete the Slack enterprise messaging app integration from Appspace.
- Click the ☰ Appspace menu, and select Integration, and click the Passports tab.
- Click the ellipsis for the desired Slack integration, and click Delete.

- Click OK to confirm deletion.
Was this article helpful?