This article provides the instructions to configure Google G Suite calendar provider settings, for use with the Appspace Room Booking card.
The Room Booking card is ideal for single room booking. When the Room Booking card is configured and displayed on a tablet or device outside the respective meeting room, the following features will be available to you:
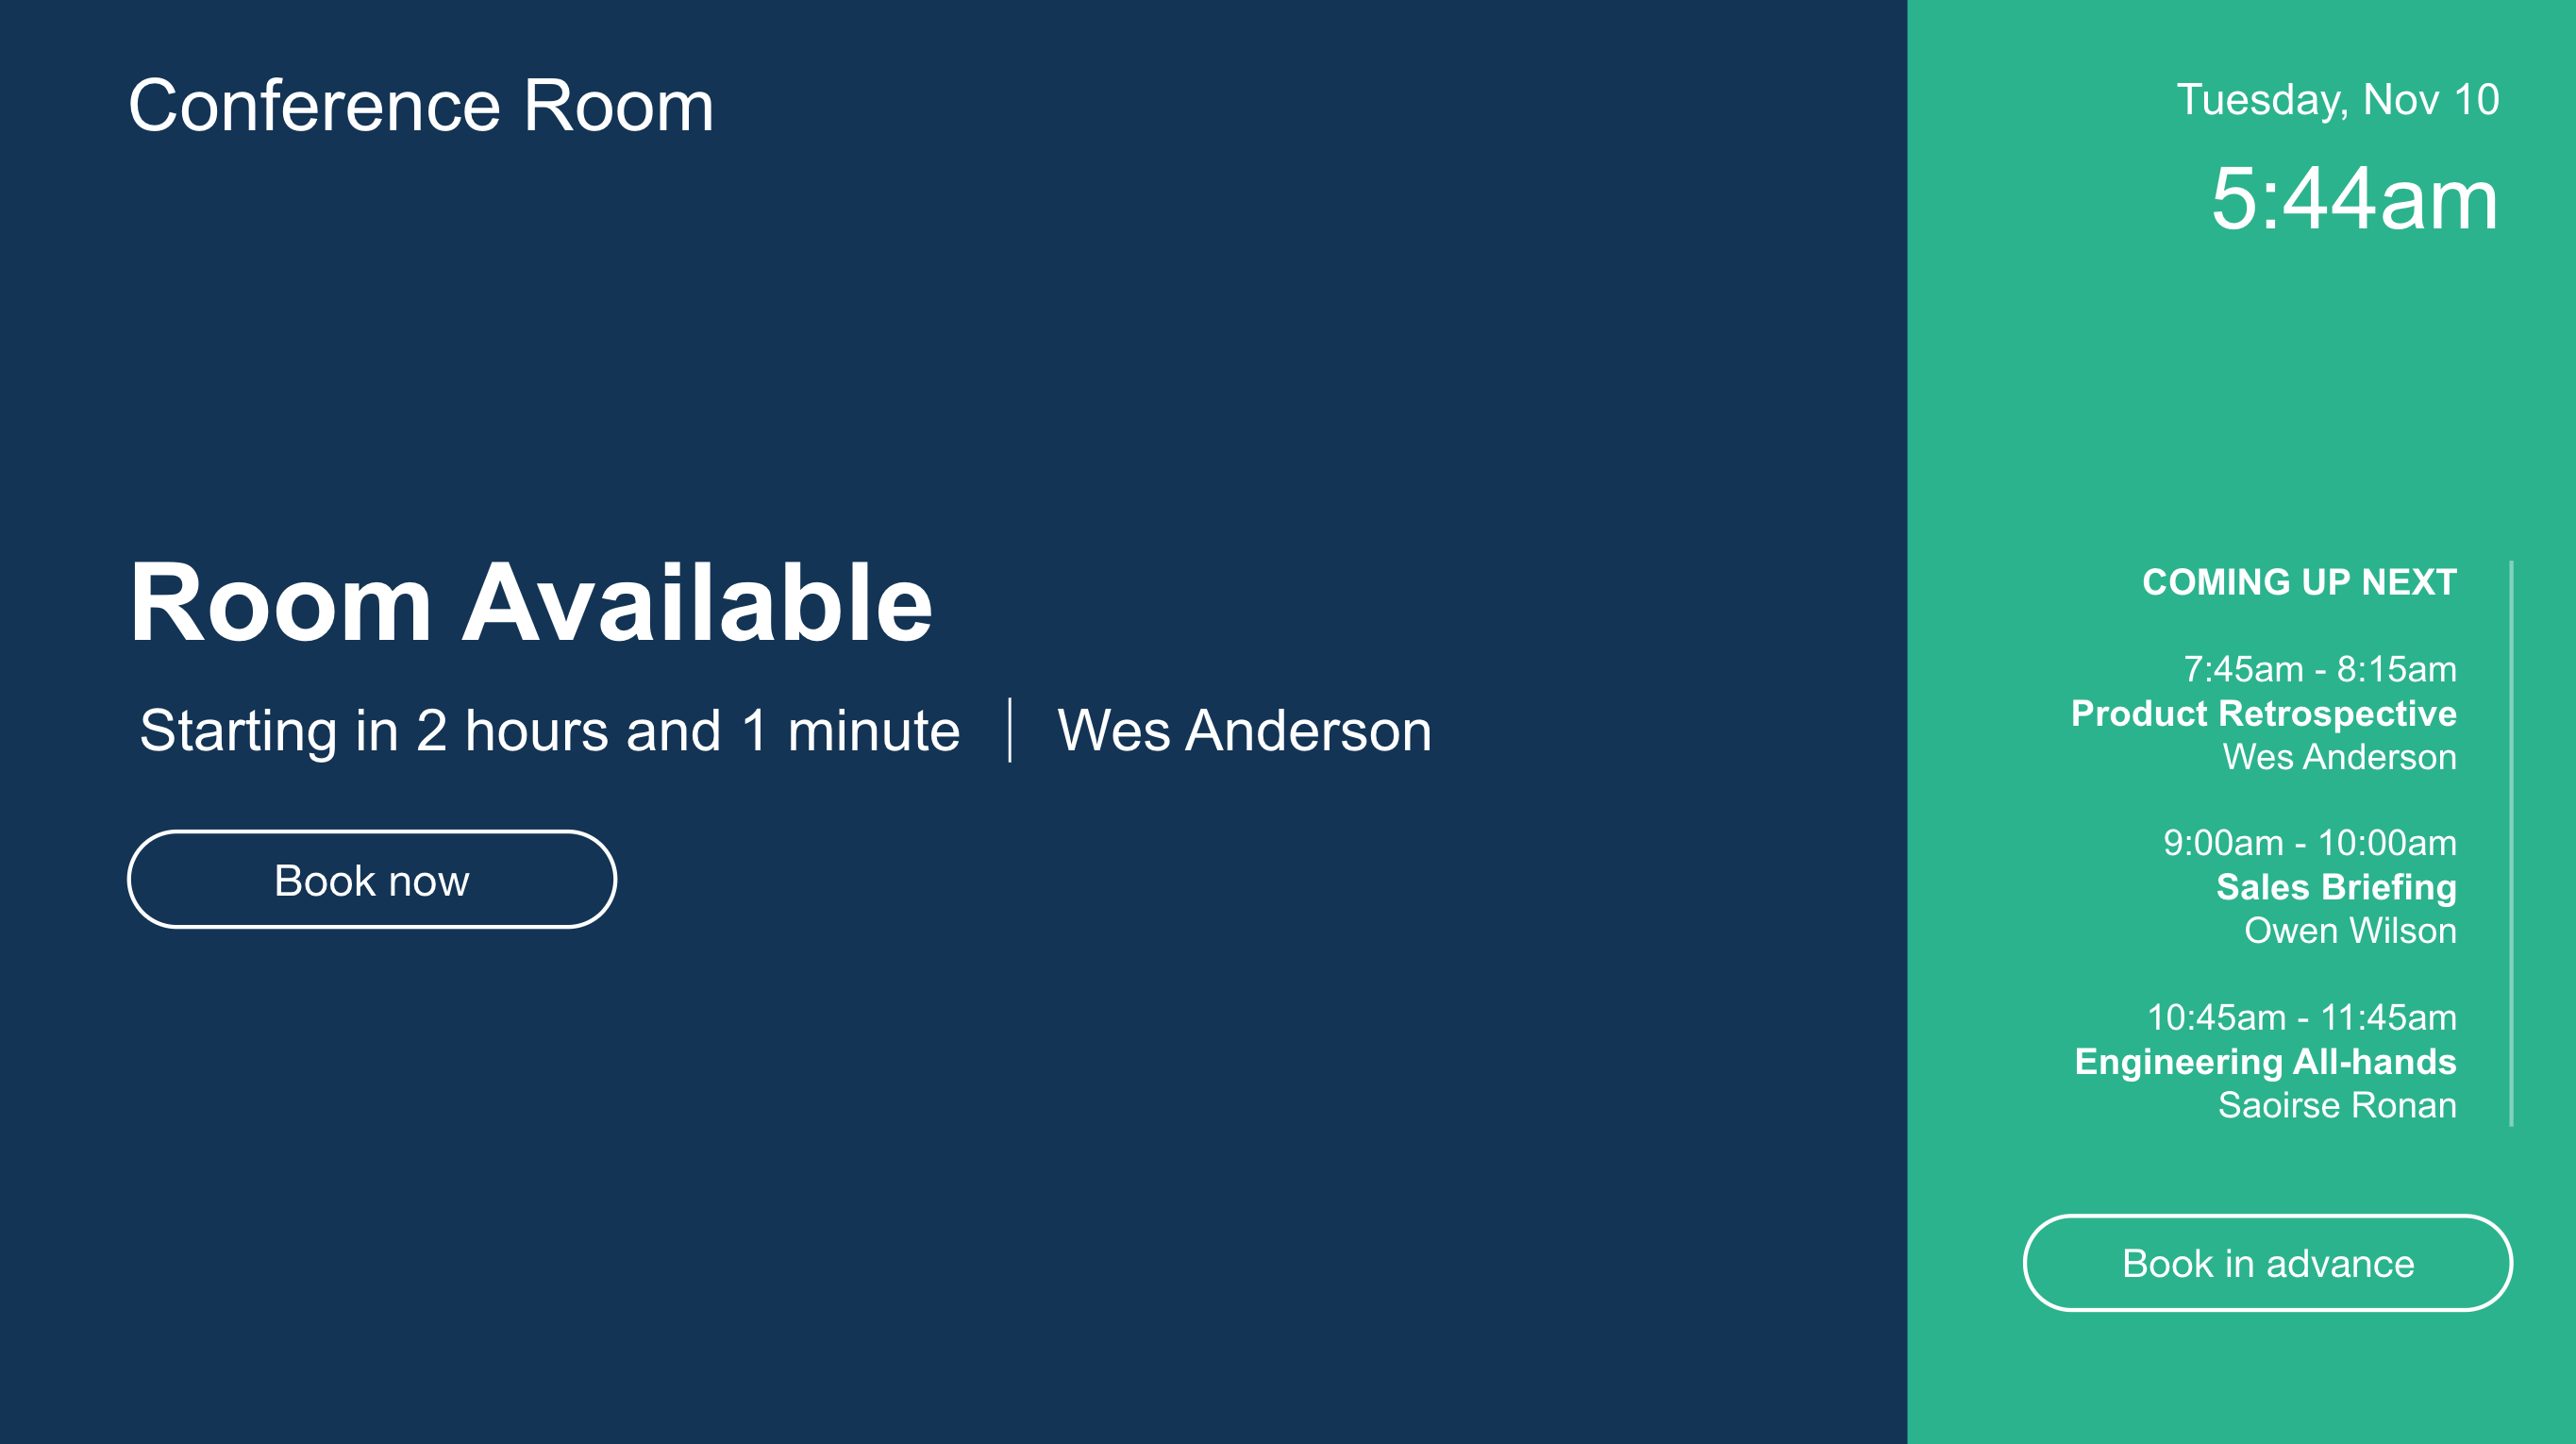
- Room Information: The room name and status indicating if the room is available, offline, or occupied is displayed.
- Meeting Information: Details of current the meeting and upcoming meetings for the day.
- Booking Functions:
- Book Now – Ability to book 30 minutes, 1 hour, or 1.5 hours from the current time, based on room availability.
- Book In Advance – Book future time slots (on the same day only) or up to 7 days in advance, based on room availability.
- Check In – Option to check in to a meeting from 10 minutes before until 10 minutes after the start of the meeting.
- Extend Meeting – Extend the current meeting by 30 minutes, 1 hour, or 1.5 hours.
- End Meeting – End the current meeting, and make the room available.
- Support for Occupancy Sensor – Enables integration with 3rd party occupancy sensors connected to an Appspace App device to manage the room status.ImportantTo utilize this feature, please contact Appspace Support, as this feature requires custom integrations that leverages on Appspace APIs, while some sensors may also require device tasks in order to function correctly.
In order to use the room booking and scheduling service with our Room Booking card, you must do the following:
- Create a booking account, add resources, and delegate access, with G Suite Administrator credentials.
- Create the Room Booking card in the Appspace console.
- Create a playlist channel and add the Room Booking card.
- Assign the playlist channel to a registered device (tablet) installed with the Appspace App.
- Book a room directly on the Appspace App or via your email calendar.
- Please refer to our Introduction to Cards guide for an in-depth introduction to the types of cards that are ideal for your signage solutions.
- Cards are only supported on devices with the Appspace App. Legacy devices are not supported.
This article provides the instructions to configure a booking account, add resources, and delegate access, with G Suite Administrator credentials, prior to configuring a Room Booking card.
Prerequisites
- A G Suite Administrator role to configure a Google calendar booking account.
Create Booking Account and Configure Resources
Follow the instructions in the order listed below:
- A. Enable API access in Google Admin console
- B. Create a booking account in G Suite
- C. Configure resources (meeting rooms) in Google Calendar
- D. Delegate access for resource’s calendar to booking account
A. Enable API access in Google Admin console
- Follow the instructions in this article to enable API access in the Google Admin console, to ensure the card will be able to retrieve resource data: https://support.google.com/a/answer/60757?hl=en
- Proceed to section B below.
B. Create a booking account in G Suite
We recommend creating an account in G Suite. This account will be used for authentication when configuring the Schedule Board card. We will call this the booking account.
- To create the booking account, follow the instructions in the Add users individually article here: https://support.google.com/a/answer/33310?hl=en
- Add the basic account information, such as:
- First and Last name
- Primary email address
- Password You may skip all optional information.

- Proceed to section C below.
C. Configure resources (meeting rooms) in Google Calendar
All meeting rooms in an organization are known as resources in Google Calendar. Follow the instructions below to configure all resources available in your company:
- Follow the instructions in the Manage Calendar resources article: https://support.google.com/a/answer/1686462?hl=en
- Follow the instructions in the 1. Create buildings, features, and resources step to add each meeting room in your organization as a resource to the calendar. NoteTake note of the resource id from the Edit resource page, which will be required for the ‘Automatic room assignment from a player property’ option when configuring the Room Booking card.

- Follow the instructions in the 2. Add resources to My Calendar list step to add all available meeting rooms to the calendar’s list.

- Follow the instructions in the 3. Share calendar resources step, and ensure the following settings are selected:
- In Step 4, select the Auto-accept invitations that do not conflict option.
- In Step 5, follow the instructions to share the calendar with everyone in the organization.

- Follow the instructions in the 1. Create buildings, features, and resources step to add each meeting room in your organization as a resource to the calendar.
- You may skip steps 4 and 5 in the Google article, and proceed to section D below.

D. Delegate access for resource’s calendar to booking account
You now need to provide your booking account with access to each meeting room’s calendar, a process known as delegate access. This will allow the Room Booking card to make bookings via Google Calendar using the booking account that is used to authenticate calendar access. To do this, you have two options:
- Delegate access to booking account for each resource individually.
- To delegate access to the booking account, follow the instructions in the Delegate calendar access article: https://support.google.com/a/answer/117596?hl=en
- In Step 4, select the resources (meeting room) calendar.
- In Step 5, enter in the booking account email address in the Share with specific person field.
- Repeat the above steps for all resources (meeting rooms).
- Proceed to the Create Room Booking Card & Assign to Device section below.
- To delegate access to the booking account, follow the instructions in the Delegate calendar access article: https://support.google.com/a/answer/117596?hl=en
- Delegate access to booking account with super administrator privileges. ImportantProviding super administrator privileges to the booking account gives it full access to all users’ calendars and event details. For more information please refer to https://support.google.com/a/answer/2405986#super_admin.
- Follow the instructions in the Assign administrator roles to a user article: https://support.google.com/a/answer/172176?hl=en
- In Step 4 of Assign roles to one user, select the booking account created earlier.
- In Step 6 of Assign roles to one user, select the Super Admin role.
- Proceed to the Create Room Booking Card & Assign to Device section below.
- Follow the instructions in the Assign administrator roles to a user article: https://support.google.com/a/answer/172176?hl=en
Create Room Booking Card & Assign to Device
To create and configure the Room Booking card and assign it to a device, please follow the instructions in the Cards: Configure Single-Room Scheduling with the Room Booking Card article.
Was this article helpful?