Managing Languages
Important
This is only applicable for On-Premise deployments.
This article provides the instructions to add, remove, translate languages, and import and export language packs in the Languages extension.
Prerequisites
- Portal Administrator permissions required
Adding Languages
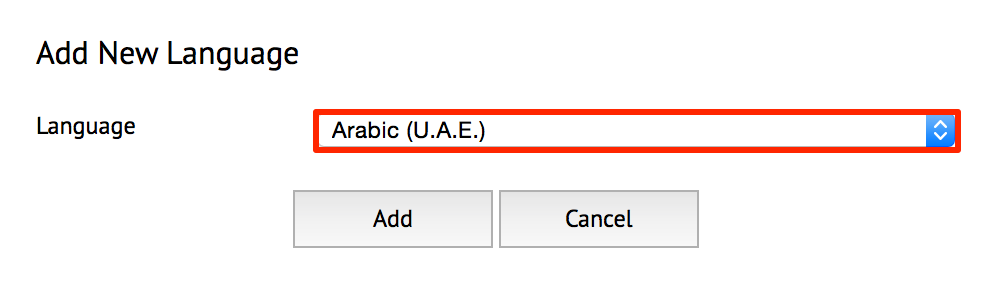
In Languages, click the Add New Language button.
Select the desired language from the drop-down menu, and click Add.
The language is added to the list of languages installed in the Languages pane.

To remove the language, click the Delete Selected Language button. Click OK to confirm deletion.
Note
If a language does not have any translations, proceed to translate the phrases in the language by following the instructions in the Translating Languages section below.
Translating Languages
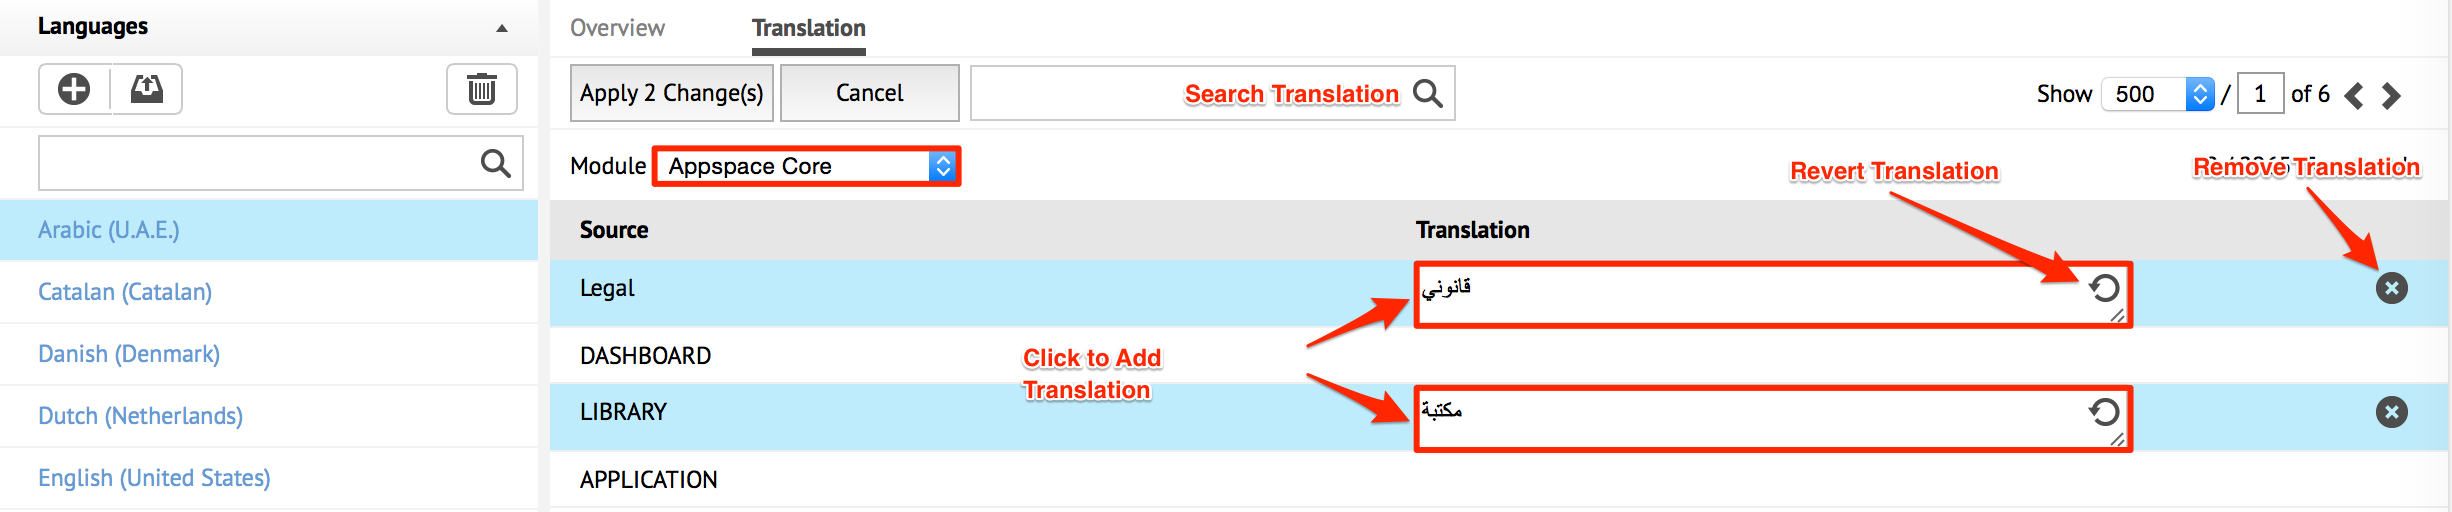
In Languages, select the desired language from the Languages pane, and click the Translation tab.
Select the desired extension from the Module drop-down menu, and click the desired phrase to translate.
Multiple phrases can be translated at one time. Click the Revert button to undo changes, and the Remove button to remove the translation from the phrase.
Alternative Method
Clicking the extension in the Overview tab takes you directly to the extensions’ Translation tab.
Once the phrases have been translated, click Apply x Change(s) to save. The new translations are displayed together with the old translations of the phrase.
Note
A blank entry in the Old Translation column indicates that no previous translations were available for the phrase.
Click Confirm x Change(s) to save the translation, or click the Delete button to revert changes.

Importing Language Packs
Note
The process of importing language packs is only applicable to those language packs that have been previously exported out of another Appspace instance (version 5.0 or later). It is currently not possible to import other language translation packs that did not originate from an Appspace server.
In Languages, click the Add New Package button.

Click the browse button to navigate, and select the desired language pack file (.lpkg file format). Click Upload to continue.
The language pack is added to the list of languages installed in the Languages pane.
Note
The Overview tab displays the Translation status of the extension that have been pre-populated with translated phrases. The completeness of these translations are related to the language translations at the time of export from the previous system.
Exporting Language Packs
In Languages, select the desired language from the Languages pane, and select the desired extensions.

Save the language pack in the .lpkg file format to your local machine.